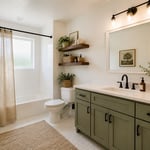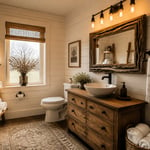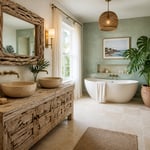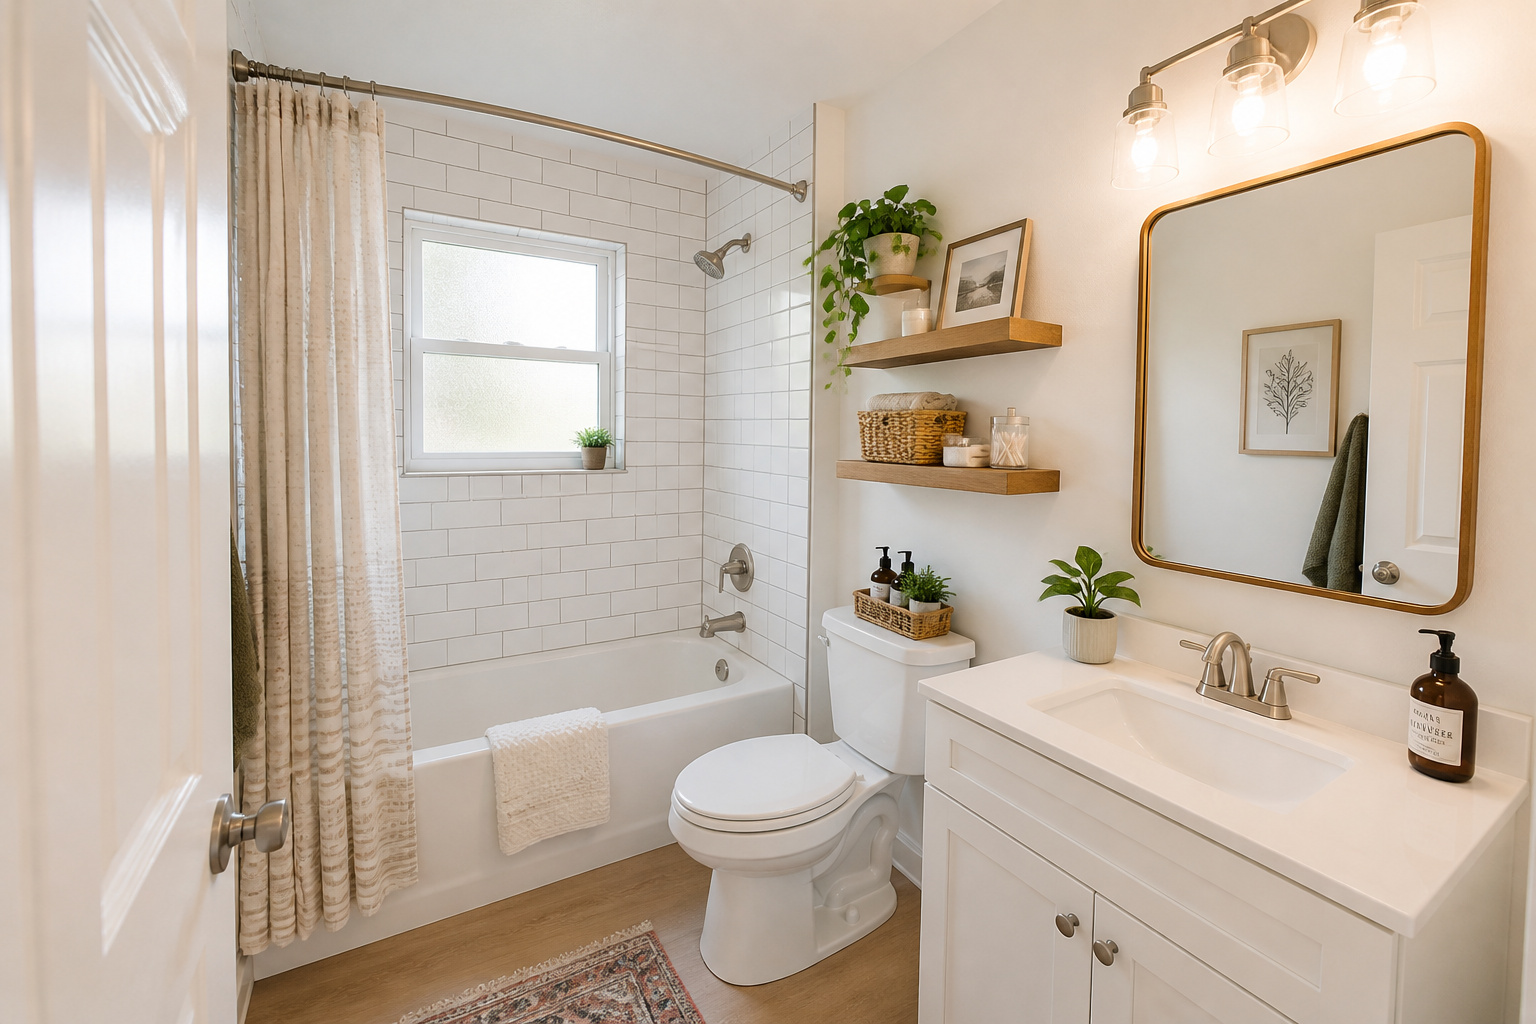
There is a moment most homeowners know well. You are standing in your bathroom on a Saturday morning, coffee in hand, staring at the same builder-beige walls and the same builder-chrome everything, and you think: something has to change. Then you look up a bathroom renovation quote and nearly choke. Twenty-five thousand dollars. For a small bathroom.
Here is the thing nobody tells you: most of what makes a bathroom feel dated is surface-level. Grout that has turned gray. A faucet from 1998. A light bar that flatters no one. These are not structural problems. They are swap-out problems, and swap-out problems have swap-out solutions. This guide covers 16 bathroom remodeling on a budget ideas that range from a $30 weekend project to a $600 vanity replacement. Together they cover virtually every tired-bathroom situation I have seen.
Pick the ones that match your bathroom, your skill level, and what you can spend right now. None of them require a contractor.
1. Fresh Paint in a Color That Does Double Duty
If there is one change that delivers more visual impact per dollar in bathroom remodeling on a budget, it is paint. A gallon of quality satin-finish bathroom paint costs $30-60, covers 350-400 square feet, and takes a weekend. That is the whole project.
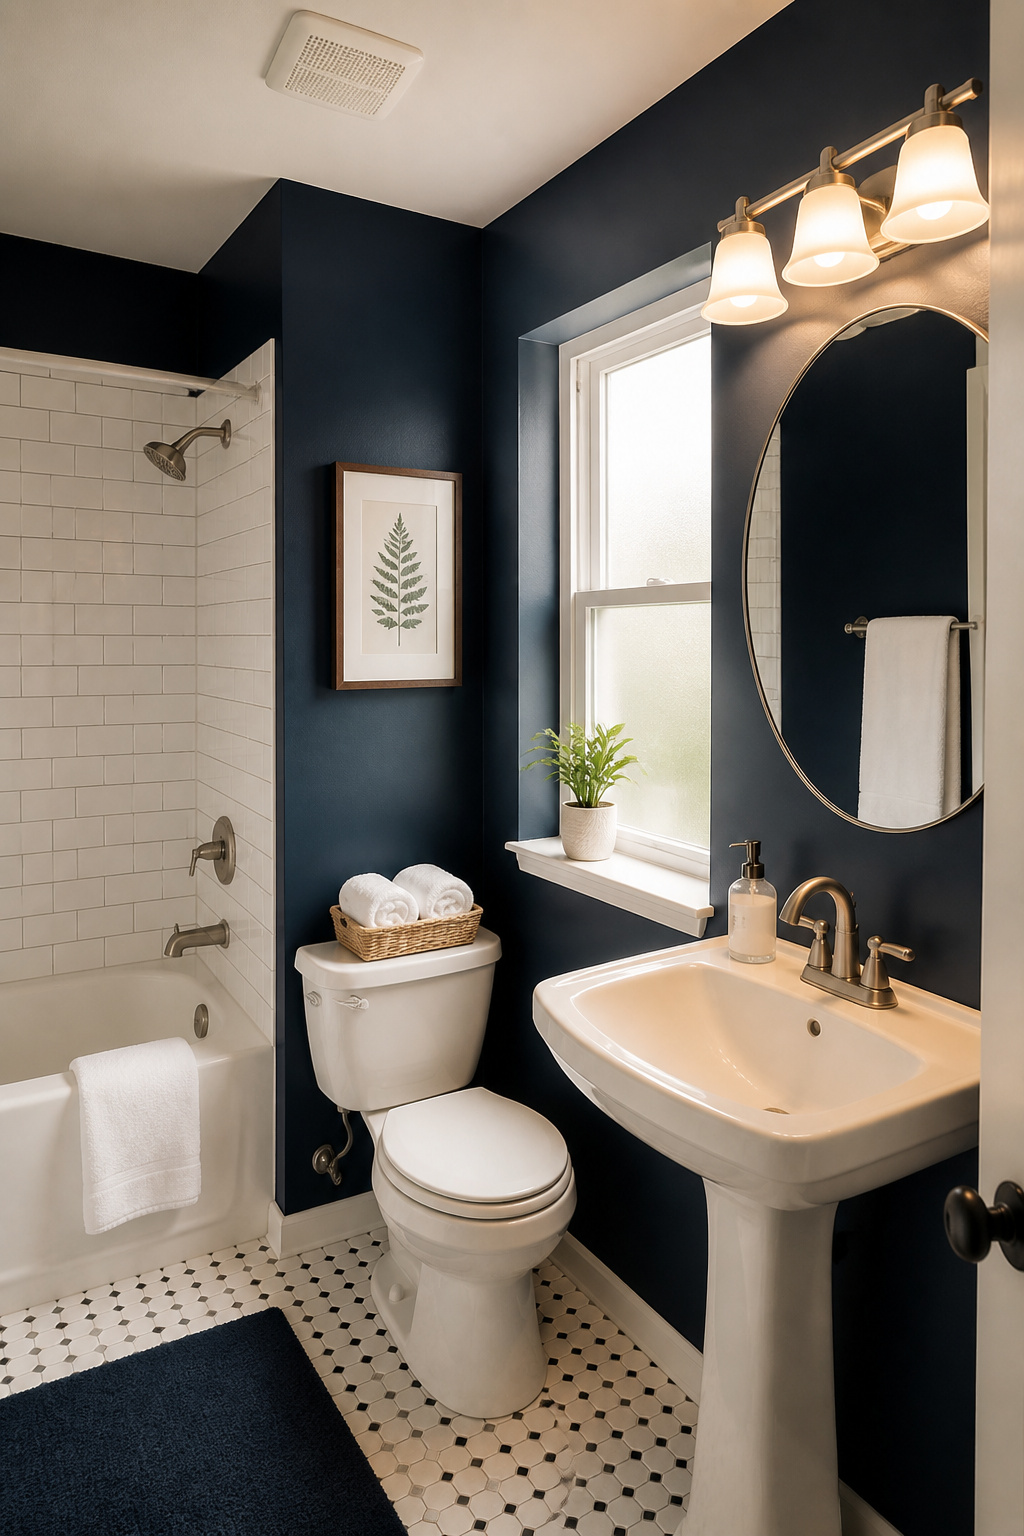
The finish choice matters more than the color choice. Satin is the sweet spot for bathroom walls: it has just enough sheen to repel moisture and wipe clean without broadcasting every wall imperfection the way semi-gloss does. Semi-gloss is better reserved for trim, baseboards, and cabinet doors. Flat finishes are the wrong call for bathrooms: they absorb steam, peel faster, and mildew at the tub line. The exception is Benjamin Moore Aura Bath & Spa, which uses a proprietary moisture-resistant formula that holds up in matte — worth the premium if you love the look.
On color: the conventional wisdom says light colors make small bathrooms feel bigger, but the data does not fully back this up. Research across 150 small-space transformations found rooms painted in deep, saturated colors tested 23% higher for perceived spaciousness than white-walled counterparts. Deep navy, forest green, and charcoal all punch above their weight in small bathrooms, especially paired with a large mirror and good lighting. For specific direction on the best paint colors for small bathrooms, there is well-tested guidance out there.
One prep note before you start rolling: clean the walls with TSP to remove soap scum residue, and prime any shiny surfaces. Paint that cannot grip properly will peel by spring.
2. Reface Cabinet Doors Instead of Replacing the Whole Vanity
Before you order a new vanity, take a harder look at the one you have. If the cabinet box is structurally sound — no soft spots, no warped corners, no swollen particle board — what you are paying for in a replacement is a new box that sits in the same spot and does the same job. The doors are the face of the thing.
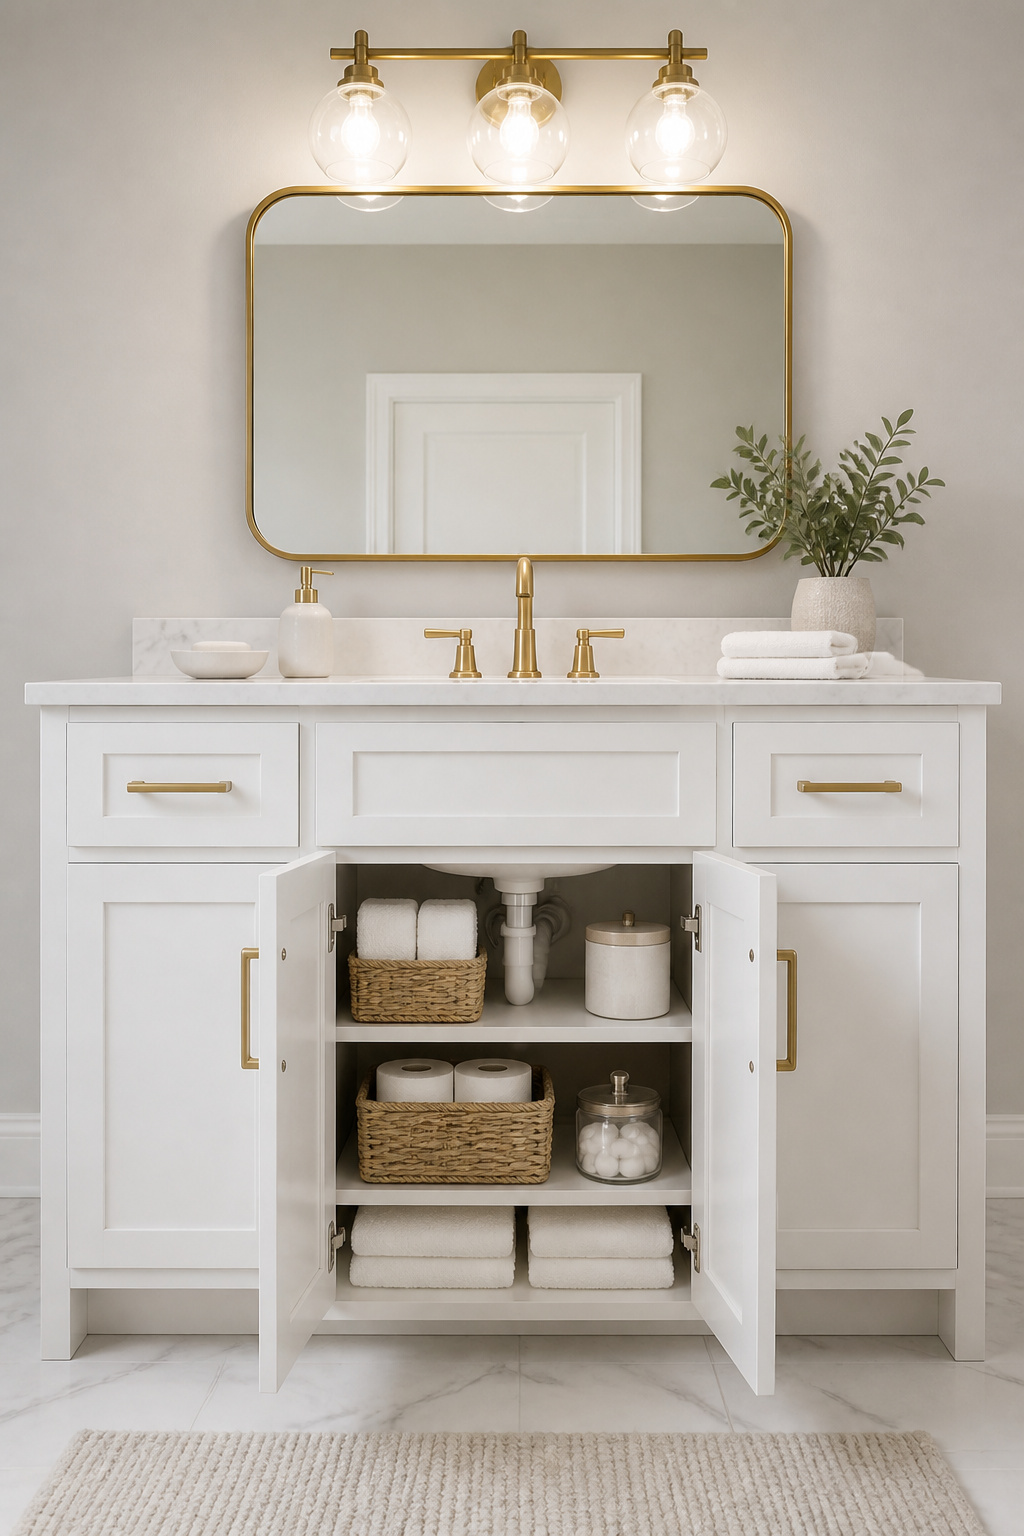
Refacing means keeping the existing box and replacing only the door fronts, drawer fronts, and hardware. For a single-sink vanity, that is typically 2-4 doors and a drawer or two. Shaker-style MDF replacement doors from online RTA suppliers like Barker Doors start at $30-80 per door. Sand the existing box sides, paint everything to match, add new hardware, and the result reads as a new vanity from four feet away. As a bathroom remodeling on a budget strategy, it saves 40-70% compared to full replacement.
If even that feels like too much, painting the existing doors is a legitimate option. Sand them lightly, prime well, and use a satin-finish cabinet paint (Benjamin Moore Advance or Sherwin-Williams Emerald Urethane both hold up to bathroom humidity). The cost is $40-80 in materials.
Check inside the cabinet box before committing to either approach. Press the corners. If the particle board is soft or the back panel is bubbling, that is water damage and no new doors will fix it.
3. Swap Out Every Piece of Hardware for an Instant Refresh
This one always surprises people with how much it does. Bathroom hardware — drawer pulls, towel bars, toilet paper holder, robe hooks — adds up to maybe 15 square inches of visible surface total. And yet changing it out is often the single most visible upgrade in a budget bathroom refresh.
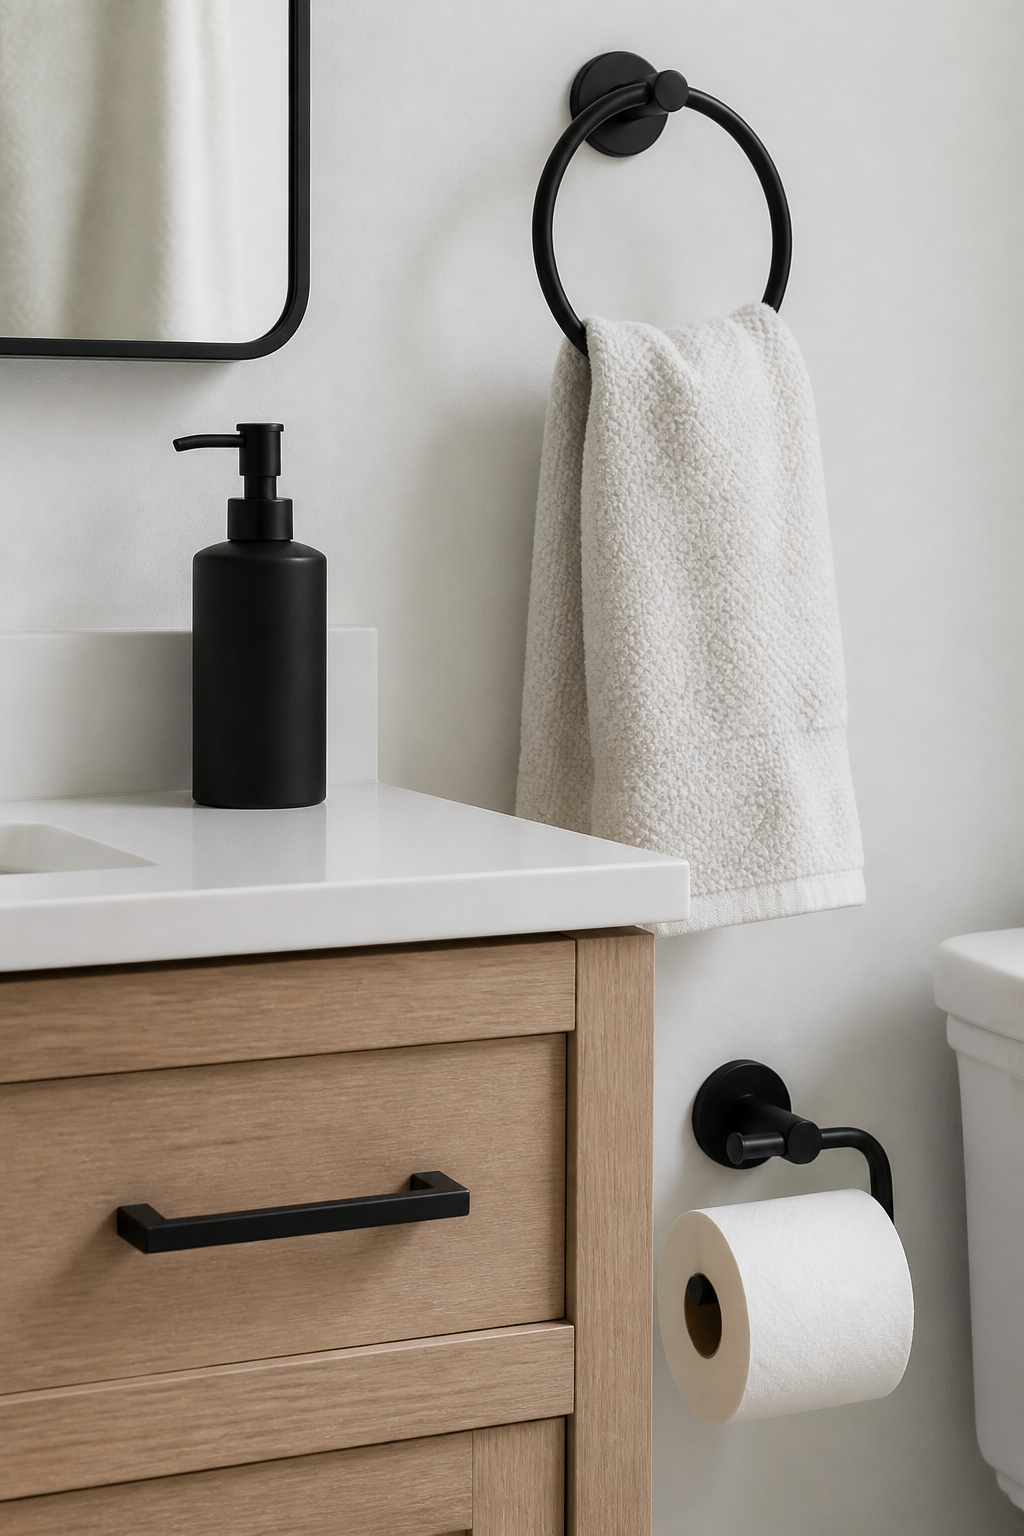
The reason is simple: hardware is what guests’ hands touch. It is at eye level and arm level. Old chrome hardware from 2006 signals 2006 in a way that is hard to define but impossible to miss. Brushed nickel or matte black hardware reads as a deliberate choice about this bathroom.
Matte black is having a sustained moment. It reads as intentional and contemporary, and fingerprints barely register. The one caveat: hard water areas with high mineral content leave visible deposits on matte finishes, so test one fixture before committing the whole bathroom. Warm brass is the other trending direction, especially paired with white walls and light wood tones. If you use two finishes — which is fine, even encouraged — keep a 70/30 ratio where one metal clearly dominates.
A full hardware set for a single bathroom runs $50-100 at Target, Amazon, or Home Depot. One measurement to take before you buy: the center-to-center hole spacing on existing towel bars. Standard sizes run 18 and 24 inches, but they are not universal.
4. Reglaze or Resurface the Tub Instead of Buying a New One
A cast iron tub replacement in a standard bathroom runs $1,500-5,000 installed once you factor in demolition, tile repair around the opening, and plumbing reconnection. Reglazing the one you already have runs $450-1,200 and can result in what feels like a completely different tub — without moving a single floor tile.
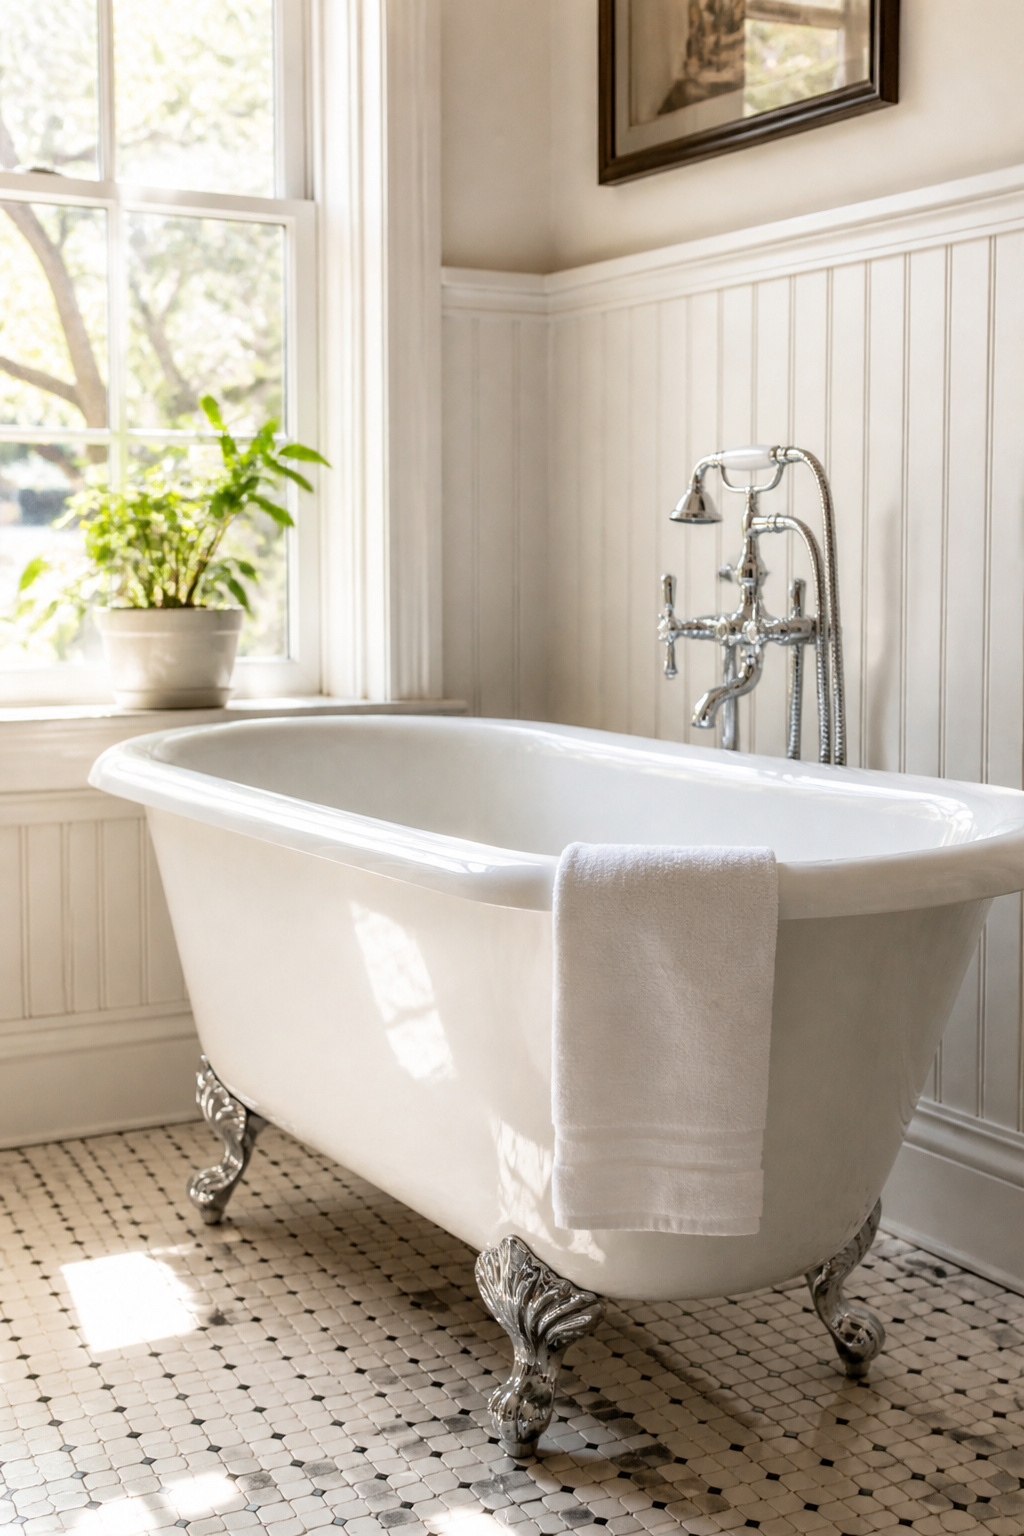
Reglazing is not magic. A professional applies a chemical bonding agent to the existing surface and sprays on new acrylic or polyurethane coating in multiple thin layers. When done well and cared for properly, a professional reglaze lasts 10-15 years. That is a meaningful return on a $500-700 investment, especially for a tub that is structurally fine but cosmetically exhausted. For more on everything you need to know about bathtubs before deciding whether to reglaze or replace, the options cover more ground than most people realize.
The DIY kit temptation is real — Rust-Oleum Tub and Tile runs $30-50. But nearly 70% of standard DIY reglazing kits fail within two years, and if a DIY finish fails, a professional charges $200 extra just to strip the previous attempt before applying a new coat. The Ekopel 2K kit at $80-100 is the exception — a thicker, better-adhesion formula that gets genuinely close to professional results in the right hands. For most people, though, the $500-700 professional job is the better financial decision when you think in decade-long terms.
Check before calling anyone: press gently on the tub floor. Structural softness or cracks through the material cannot be reglazed. Surface staining, dullness, and light scratches are what reglazing is made for.
5. Peel-and-Stick Tile: The Bathroom Remodeling on a Budget Hack That Actually Works
Peel-and-stick tile has been through a reputation cycle. For a while, everyone was applying the wobbly self-adhesive stuff and watching it peel by February. The current generation of premium tile from brands like Stickwoll, Art3d, and Smart Tiles is a different animal.
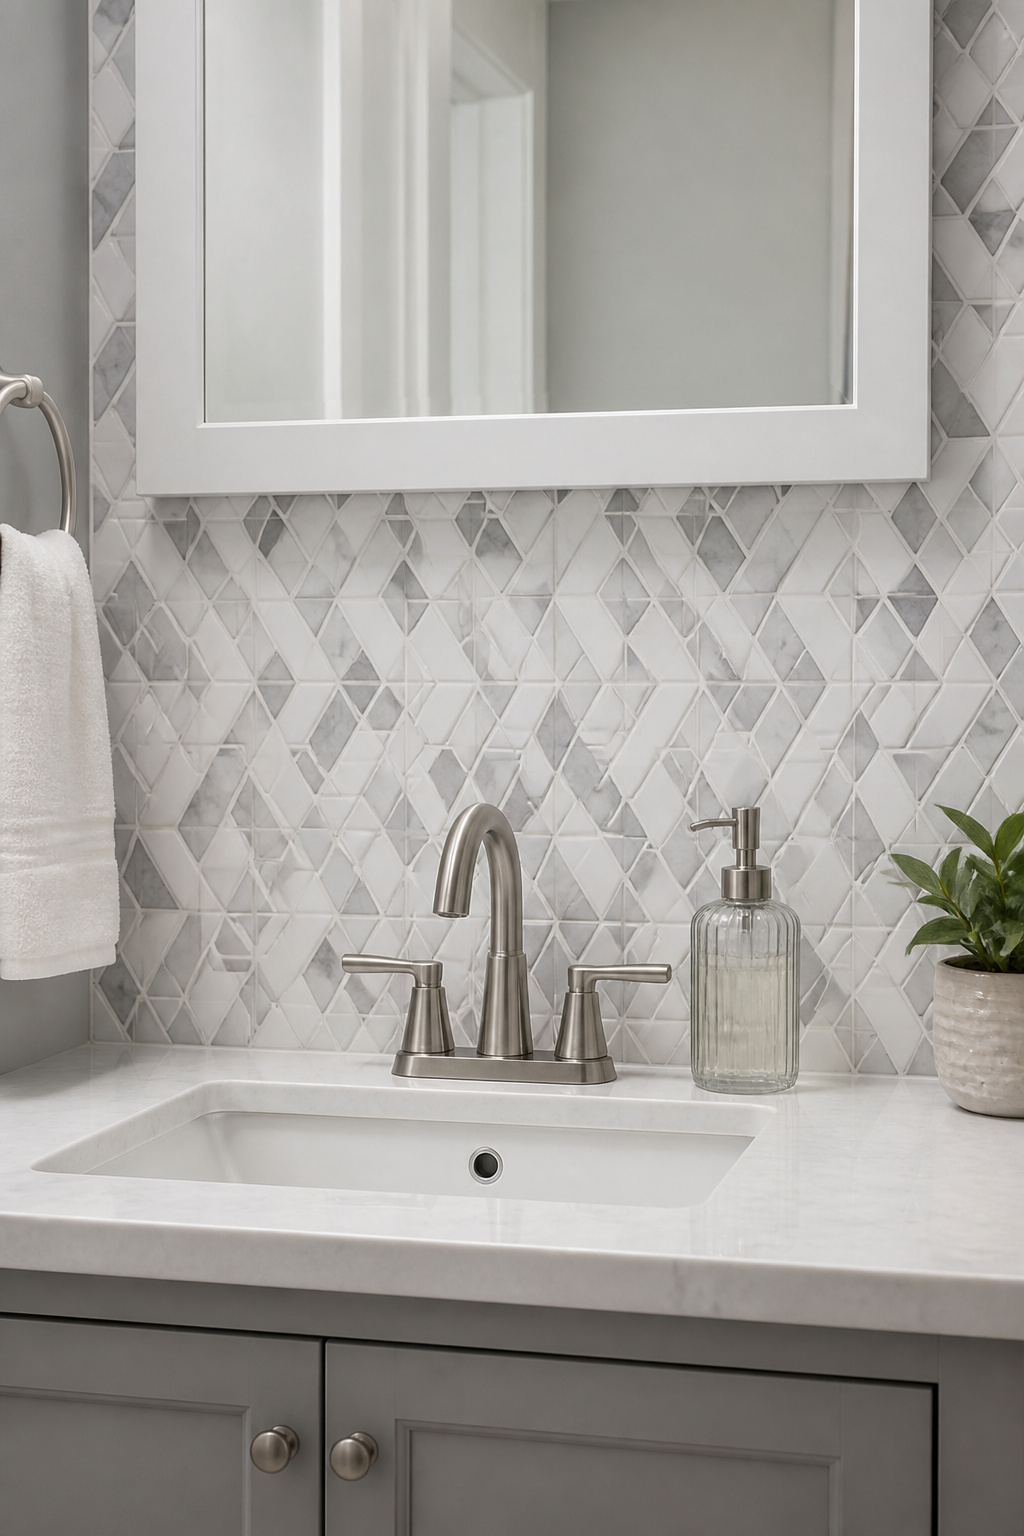
The key is knowing where to use it. Behind the vanity as a backsplash — excellent, this is the application it was designed for. Inside a shower niche, protected from direct spray — also excellent, and a detail that reads as genuinely designed. On the interior wall of a shower enclosure facing direct water streams daily — no, this is where peel-and-stick fails regardless of brand.
Stickwoll earned the top overall rating in 2025 testing, specifically for humidity chamber performance. Art3d subway tile is the value pick at $2-4 per square foot with strong adhesive. Smart Tiles has the widest in-store availability.
Surface prep is everything. Clean the wall with TSP or 70% isopropyl alcohol and let it dry completely. Any dust or grease will compromise the adhesive within months. And if you have recently repainted — wait 30 days before applying any peel-and-stick tile. Fresh paint needs time to fully cure, and applying adhesive too soon pulls the paint off with the tile.
6. Replace the Vanity Light Fixture With Something That Changes the Mood
Nobody talks enough about how much bathroom lighting matters. Old builder-grade Hollywood strip lights — the ones with four or five bare globe bulbs in a row — make everyone look like they are being interrogated and make the room look like a motel. A new fixture changes what you see in the mirror, not just what is on the wall.
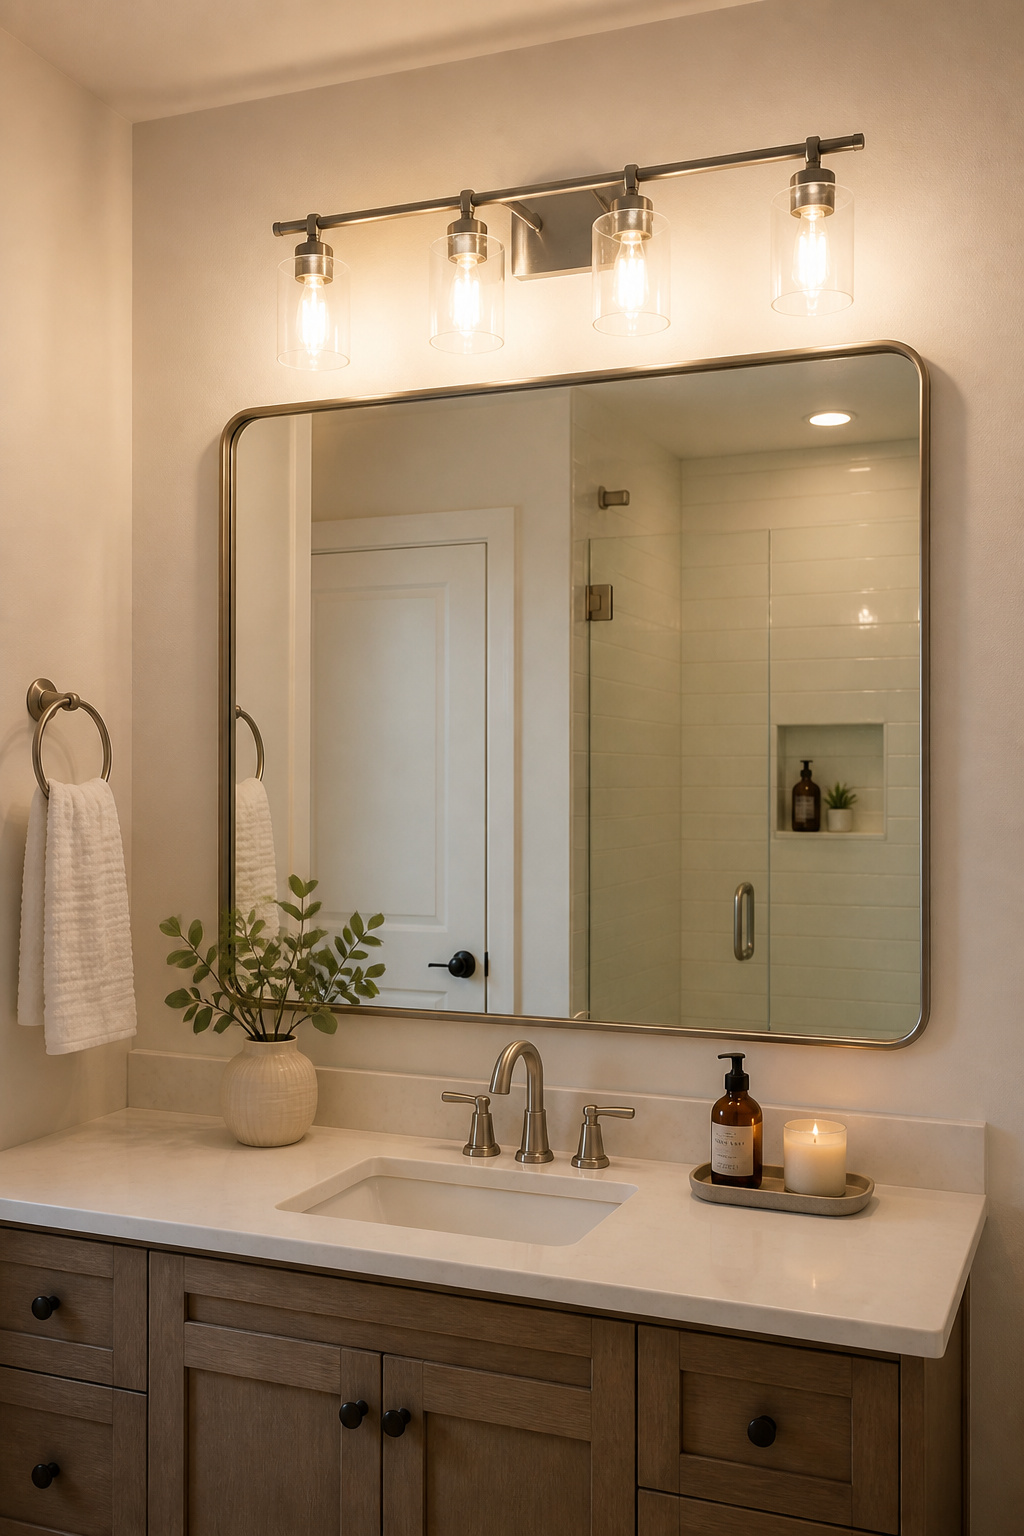
The two specs that actually matter: CRI (Color Rendering Index) and color temperature. CRI measures how accurately a light source renders color. Below 80, skin tones look gray and makeup is impossible to apply accurately. For a bathroom you use every morning, look for CRI 90 or higher. Color temperature: 3000K-3500K produces warm, flattering light; 4000K is crisp and neutral, better for makeup accuracy. Avoid 5000K and above — it is fine for a workshop, not a bathroom.
Budget range $40-80: brushed nickel bar lights from Progress Lighting and Hampton Bay at Home Depot are genuinely workable. The $80-200 range from Kichler and Moen steps up build quality noticeably. Installation is a wire-for-wire swap if the existing junction box stays: turn off the breaker, match black-to-black and white-to-white, cap with wire nuts, mount the fixture. Most people are done in 30-60 minutes.
7. Frame Your Existing Mirror to Look Like a Custom Built-In
The builder’s favorite move is a frameless plate-glass mirror held to the wall with silver clip hardware. It is functional, it is cheap, and it makes the bathroom feel unfinished. A frame turns that same mirror into something that looks like it was designed there.
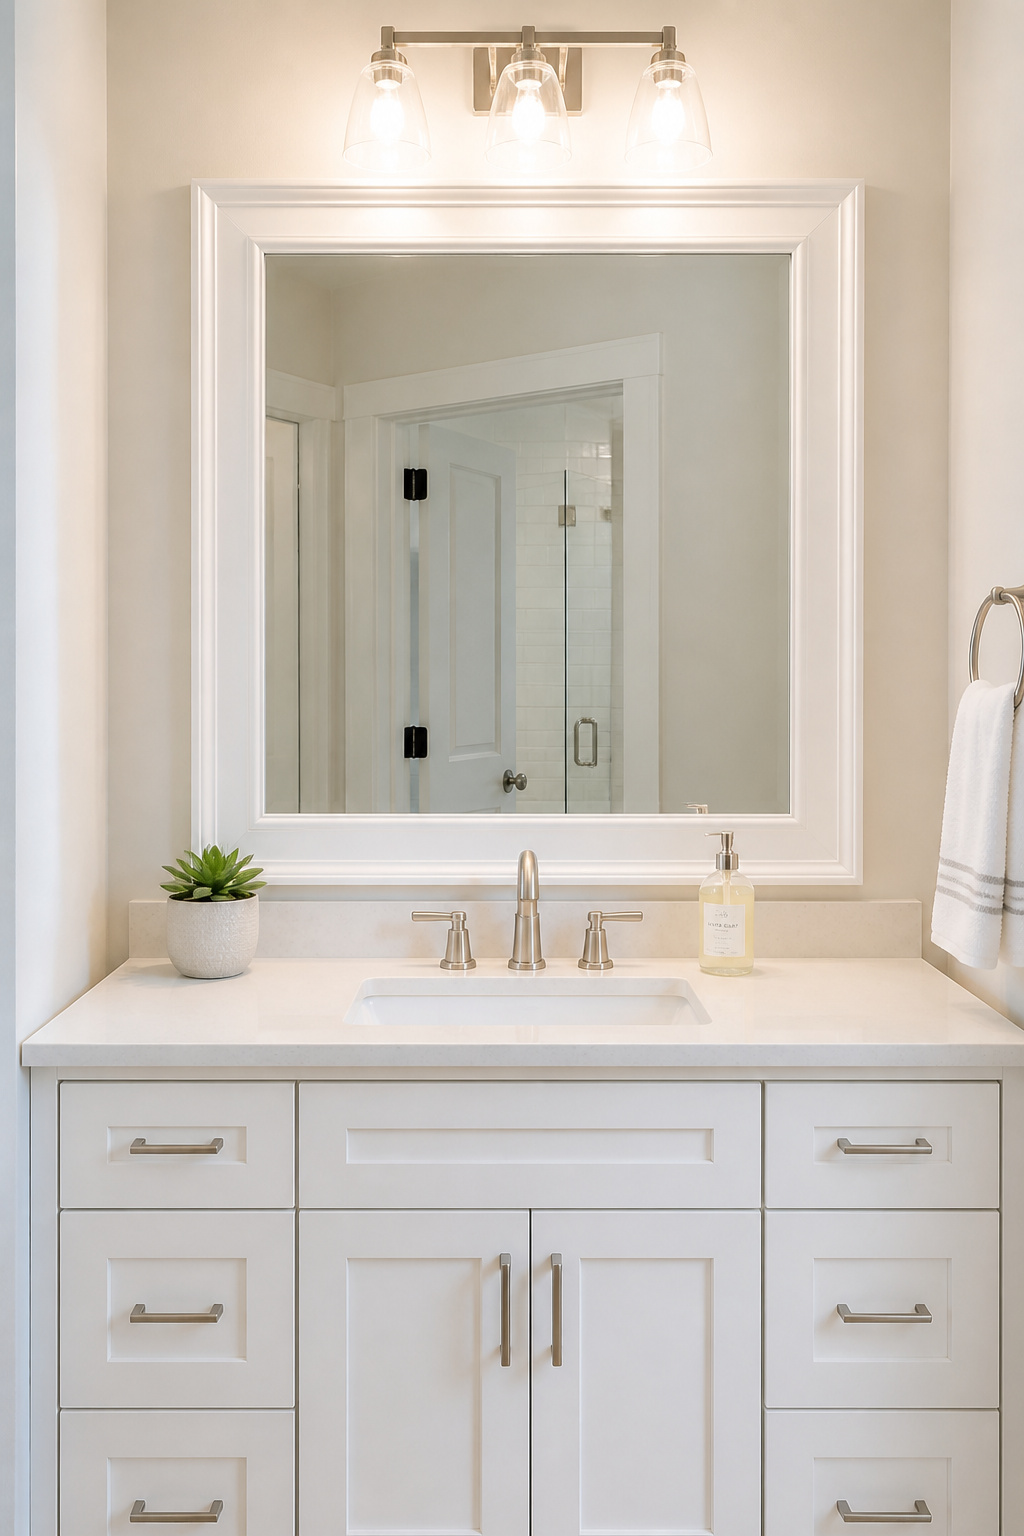
MirrorMate makes frame kits specifically for clip-mount mirrors — pre-cut pieces that snap together around the mirror without gluing anything to the glass itself. Sizes up to 72 inches wide, finishes from brushed gold to dark walnut, prices from $99 to $200 depending on size. If your mirror is glued directly to the wall (no clips visible), MirrorMate does not work — but you can still frame it with wood trim. Standard door casing from Home Depot runs $1-3 per linear foot. Cut 45-degree miters at the corners, run a bead of construction adhesive on the back, press to the wall.
For truly custom-looking results, 1×3 or 1×4 poplar boards with a routed edge profile look substantial on a standard bathroom mirror. Poplar takes paint beautifully and costs less than hardwood. Seal all edges before installing — bathroom humidity warps unprotected wood over time. The whole project runs 2-4 hours and $25-200 depending on which method you choose.
8. Lay Vinyl Plank Flooring for an Affordable Bathroom Remodel in a Weekend
Ceramic tile is the default flooring in most bathrooms, and with good reason: it is waterproof and durable. It is also cold, hard, and difficult to DIY without experience. Luxury vinyl plank flooring (LVP) gives you the waterproof durability at a price and installation difficulty that makes it the most accessible bathroom flooring choice on the market.
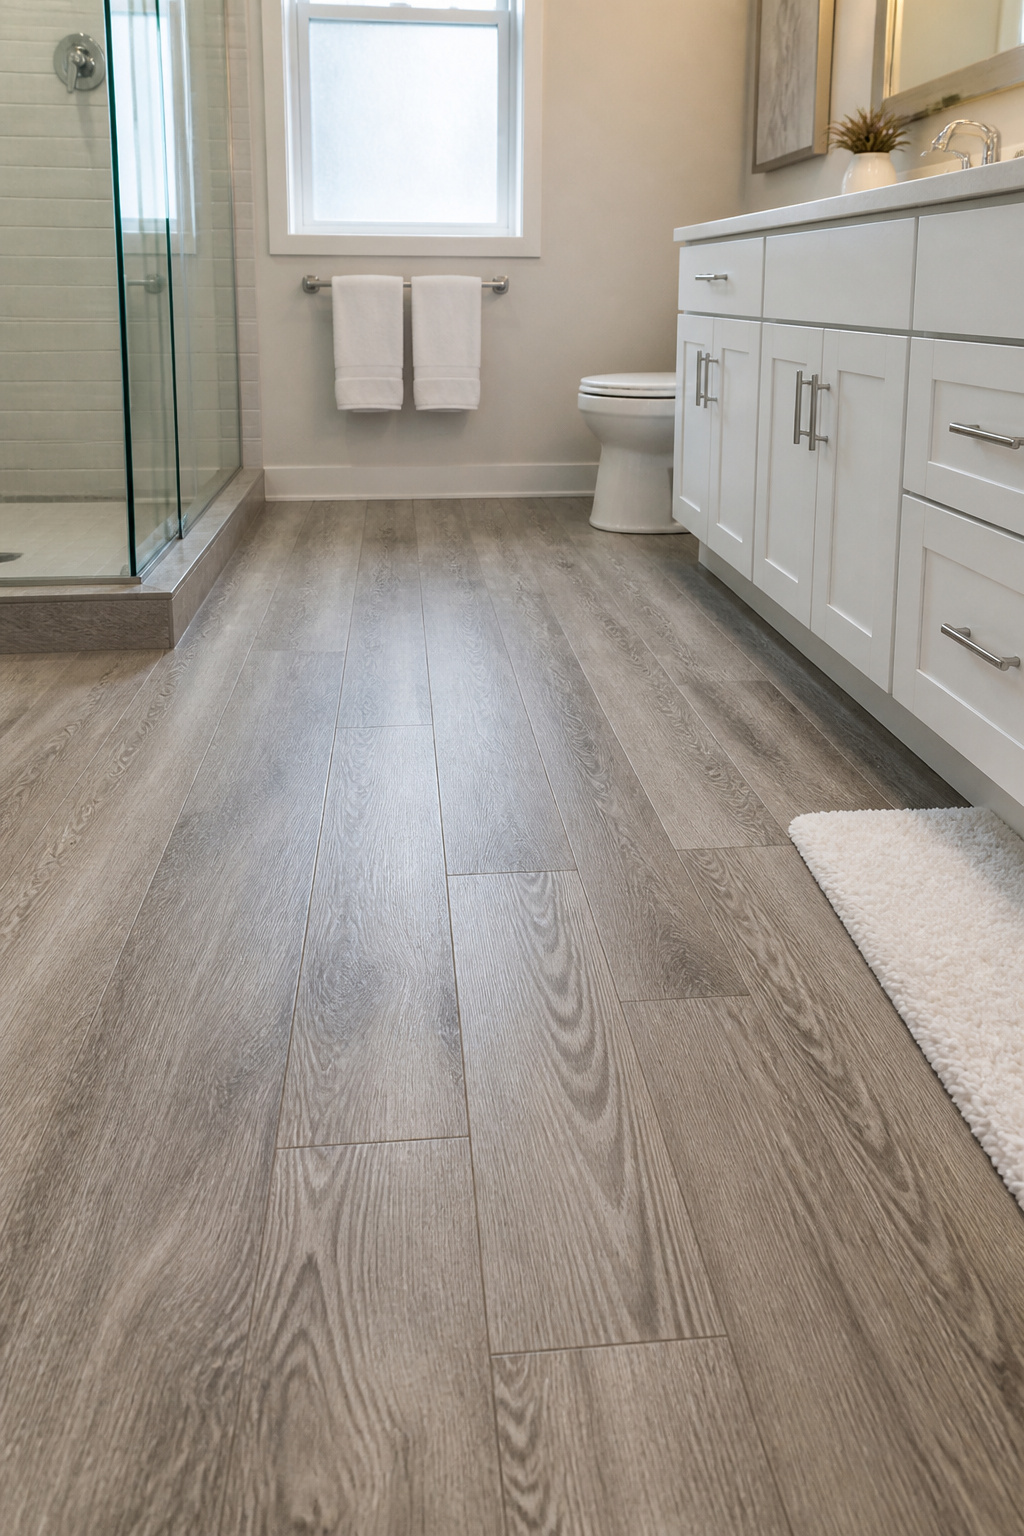
LVP costs $2-5 per square foot for materials. A 50 square foot bathroom floor runs $100-250 in materials. The core is 100% waterproof (unlike laminate, which warps if water gets under it), and the wear layer on quality LVP handles bathroom foot traffic without issue. There is a wide range of styles covered in the bathroom flooring ideas that match any style guide if you are still deciding on the look.
Installing over existing tile is viable as long as the tile is firmly adhered. Standard LVP adds 5-8mm of height to the floor, which means checking door clearance before you start. Thin-profile 4mm options exist specifically to minimize this.
Layout rule: start from the most visible wall and work toward the door. Leave a quarter-inch expansion gap at all walls — LVP moves with temperature changes, and skipping the gap causes buckling.
9. Add Open Shelving for Storage That Does Not Require Demolition
The above-toilet zone is prime real estate in most bathrooms and almost universally underused. A few floating shelves add storage and visual interest without touching any tile, moving any plumbing, or requiring more tools than a drill.
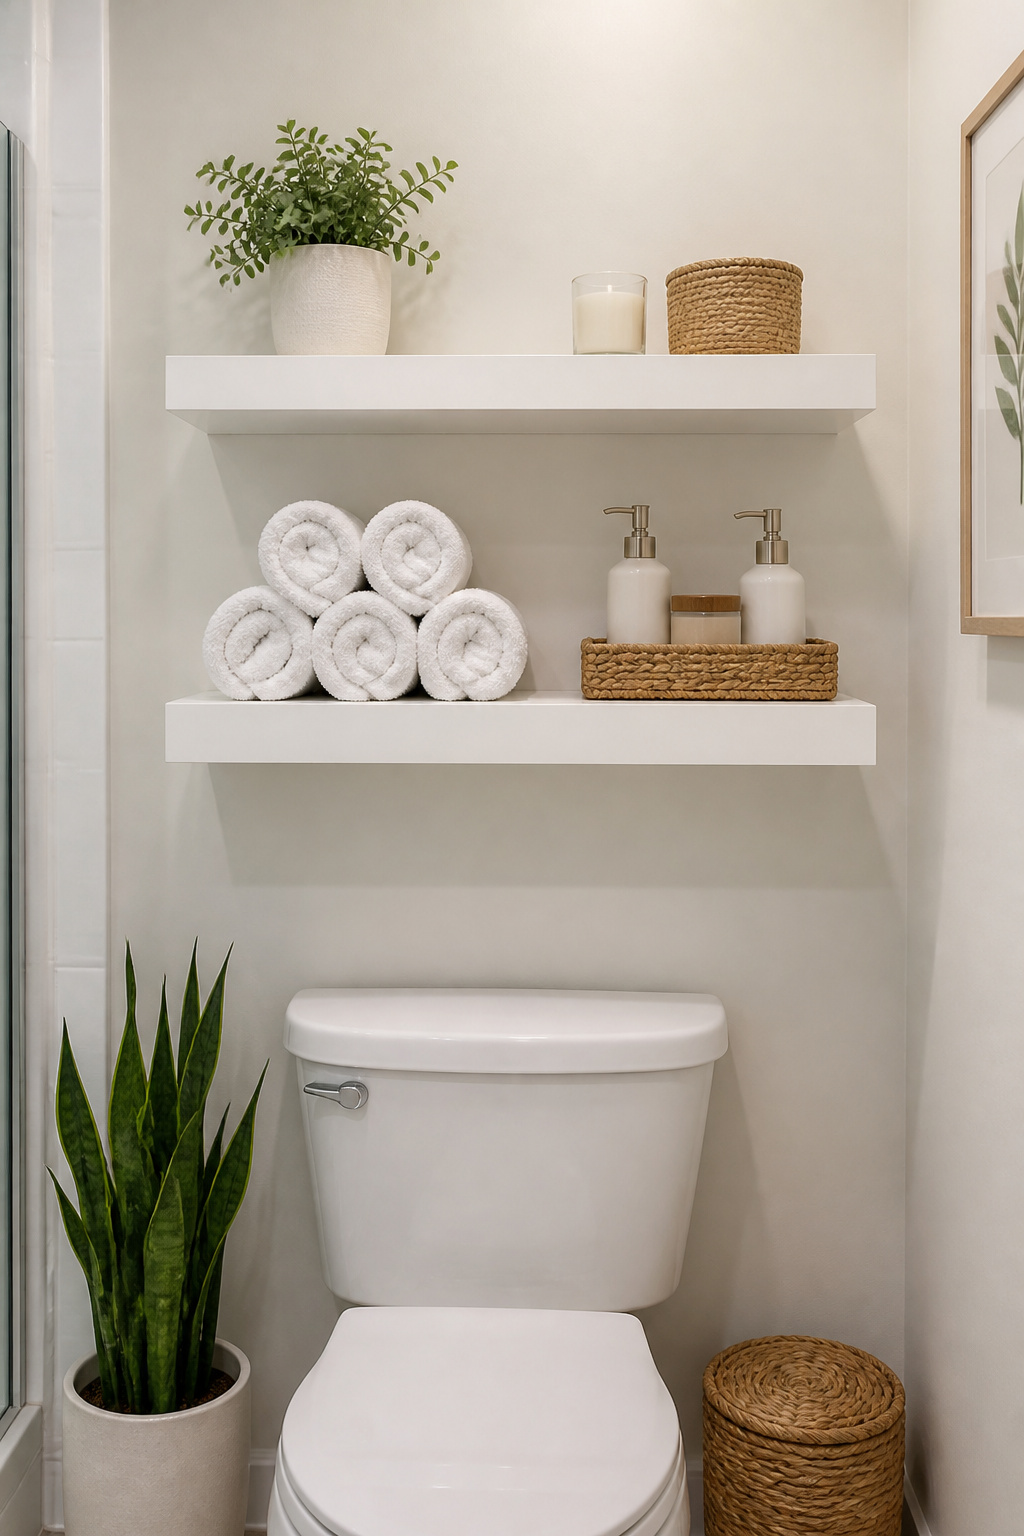
Floating shelves for bathrooms run $25-60 per shelf for the concealed-bracket variety at IKEA or Home Depot. The concealed bracket style looks built-in once installed — no visible hardware, which gives it a more intentional finish. Industrial pipe shelves — black iron pipe brackets with a wood plank — work especially well in bathrooms with any farmhouse or eclectic lean. For a more rustic take on storage that is part of the overall design, rustic bathroom remodel ideas show how open shelving and pipe brackets build into a cohesive aesthetic.
Weight matters. Standard brackets hold 25-50 pounds per shelf. They need to be anchored into studs — humidity cycles loosen drywall anchors over time, and a loaded shelf pulling away from the wall is an unpleasant discovery.
The styling discipline required is also the thing that makes it look good: roll the towels instead of folding them, use one or two matching containers for cotton rounds and Q-tips, limit decorative objects to two or three. Open shelving rewards restraint.
10. Upgrade the Showerhead and Transform 10 Minutes of Your Day
This is the upgrade that pays you back every single morning. A showerhead is not a design element — nobody outside the bathroom can see it. But you interact with it daily, and swapping the builder-grade nozzle for something engineered for actual pressure is one of the fastest quality-of-life improvements on this list.
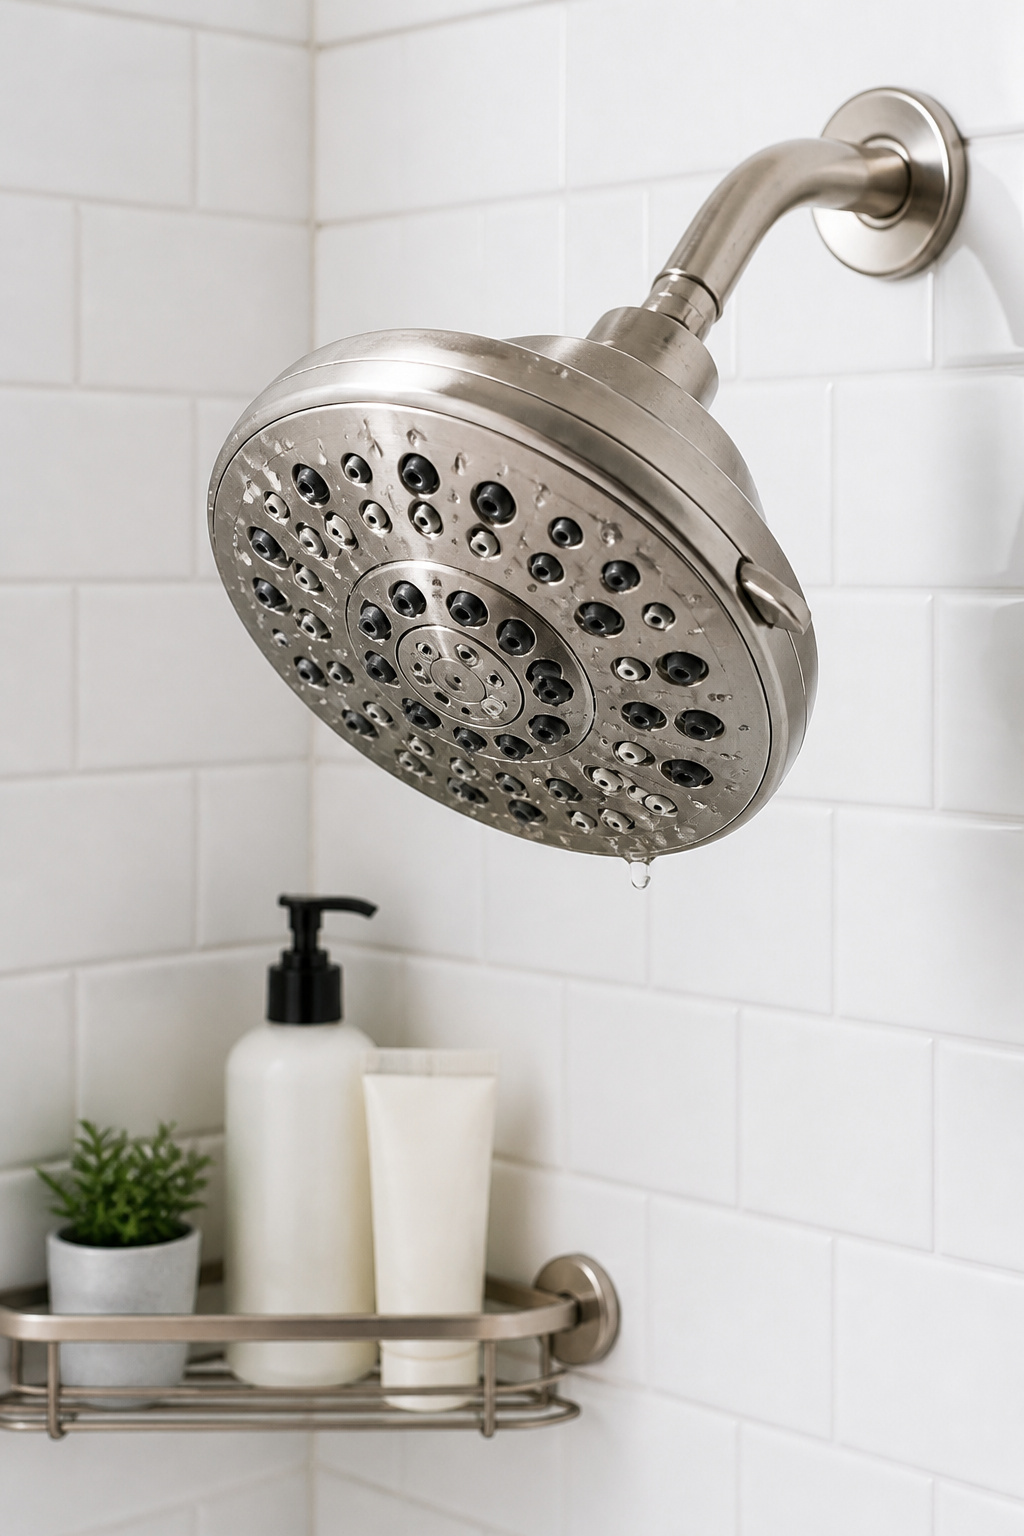
High water pressure is not just about high GPM (gallons per minute). US federal law caps new showerheads at 2.5 GPM, which means the engineering that determines how a shower feels is in nozzle design and spray pattern distribution — not raw flow volume. A well-designed 1.8 GPM showerhead can feel stronger than a 2.5 GPM discount model.
The Speakman S-2005-HB sits at the top of the under-$80 category. It has 48 self-cleaning nozzles, five spray settings, and 2.5 GPM. SparkPod makes a pressure-boost design at $25-45 that performs above its price point for low-pressure homes.
Installation is 10 minutes: unscrew the old head, wrap 2-3 layers of PTFE tape clockwise on the shower arm threads, hand-tighten the new head, and add one quarter-turn with an adjustable wrench. No plumber needed.
11. Regrout and Recaulk: The Bathroom Remodel on a Budget Job With the Biggest Payoff
Walk into a bathroom with grout that has turned from white to a mottled gray-brown, and the whole room feels dirty — even if the tile is clean and everything has been scrubbed. Grout is porous. It absorbs years of soap scum and mineral deposits at a cellular level, and no cleaner gets it fully back. The fix is to remove it and put in new grout.
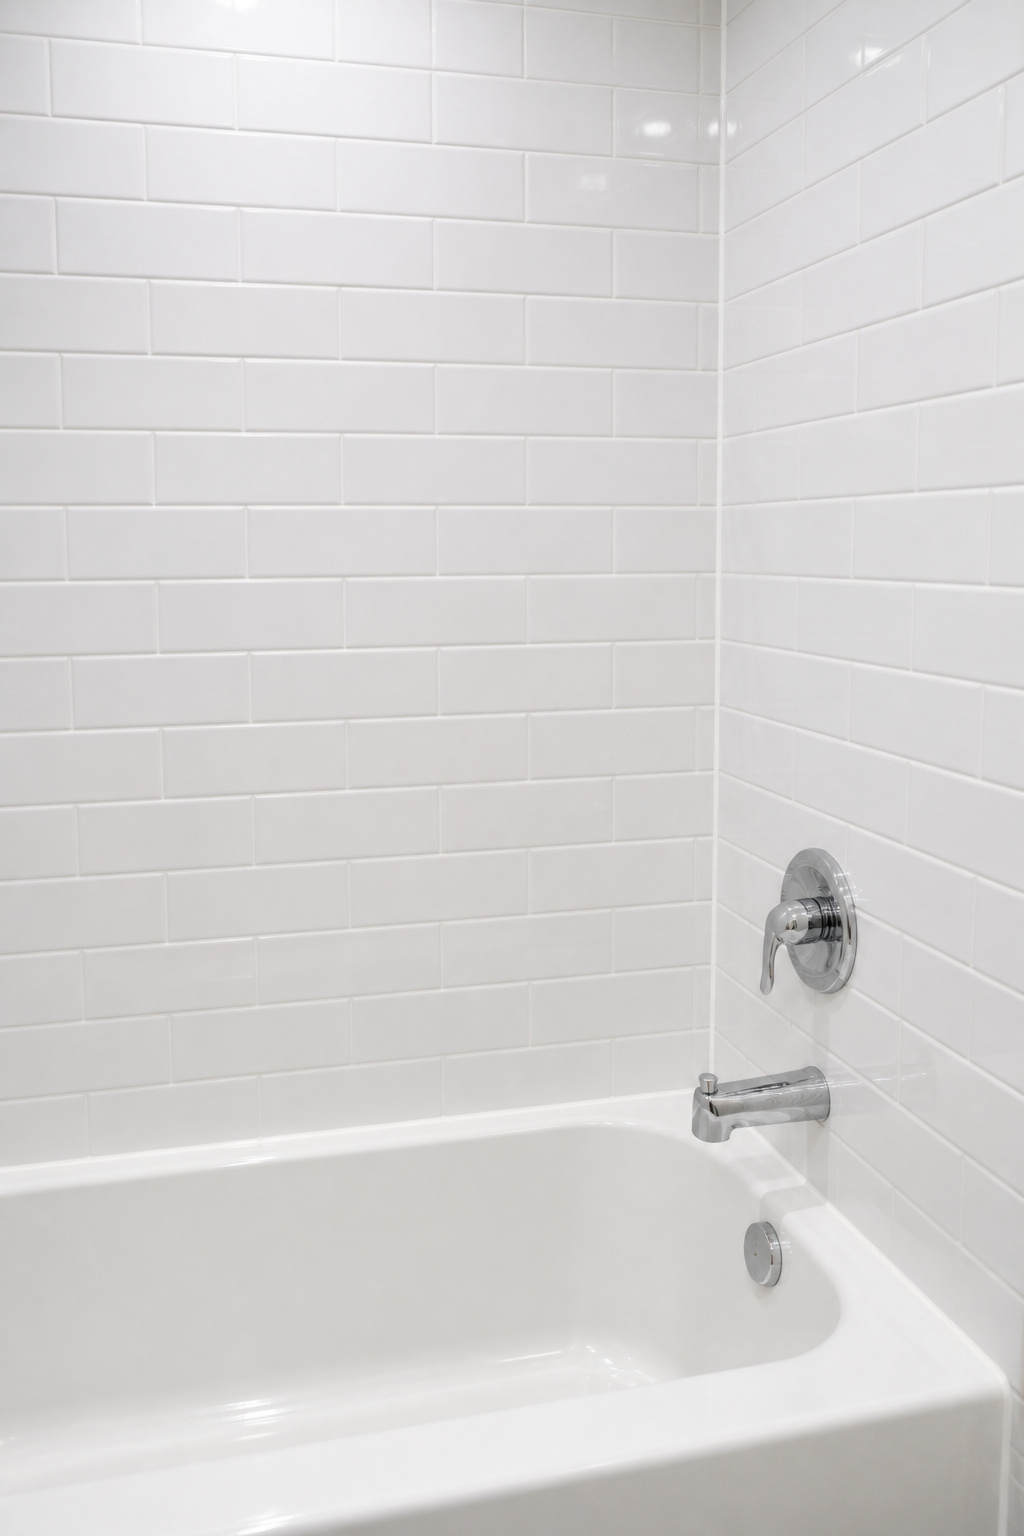
That sounds harder than it is. An oscillating multitool with a grout removal blade handles the work at a reasonable pace — rent one for $30-60. The goal is to remove grout to about two-thirds of its depth, not all the way to the back. New grout bonds to the existing substrate and the tile sides; you do not need to excavate the whole joint. For a deeper breakdown on project approach, the expert bathroom renovation tips for a flawless remodel resource covers this and other remodel sequencing well.
Grout color matters: if your tile is off-white and you grout with bright white, you will see a patchwork effect. Match within a shade or two, or go deliberately dark for a contemporary grid look. Epoxy grout at $25-45 per bag is far more stain-resistant than standard cementitious grout at $10-20 and never needs sealing — harder to work with, but worth it for shower floors.
Always caulk the corners and the floor-to-wall line instead of grouting them. These joints flex when the building moves; grout in flexible joints cracks within a year. And always remove old caulk completely before applying new — layering caulk on caulk is the fastest route to mildew and peel.
12. Replace the Faucet — One of the Easiest Bathroom Wins You Will Ever Make
The bathroom faucet is at eye level and hand level. It is the first thing you touch in the morning and the last at night. A dated polished brass faucet signals “this bathroom was last updated in 1997” more clearly than almost anything else in the room. Replacing it is one of the most impactful and most underrated moves in budget bathroom remodeling.
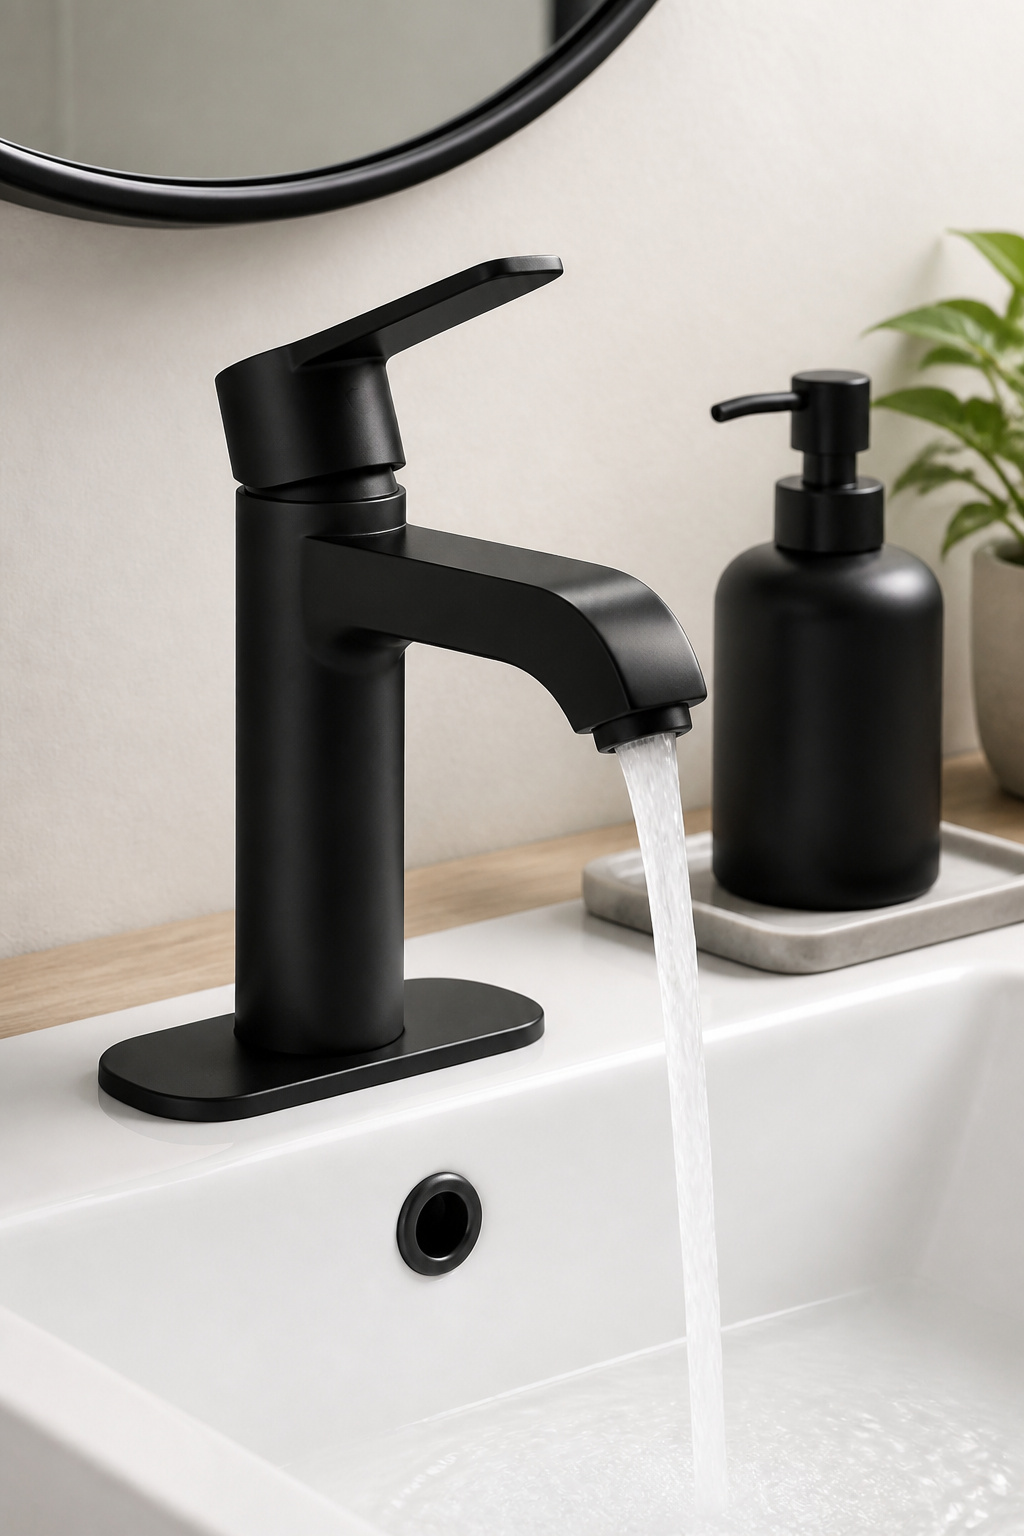
New faucets in the $50-150 range have gotten genuinely good. Moen Adler, Delta Foundations, and Glacier Bay are the reliable names at this price point — all available at Home Depot, all equipped with ceramic disc cartridges that do not drip, and all available in brushed nickel or matte black. Before you buy, determine your hole configuration. Most US bathroom sinks are pre-drilled for centerset faucets — two handles and a spout in a single unit with a 4-inch center-to-center spread. That is the easiest replacement: one-for-one swap.
The tool you actually need: a basin wrench. It has a long handle specifically designed to reach the mounting nuts behind the sink basin. Without it, this project is nearly impossible. Test the shutoff valves under the sink before you start — if they will not close fully, replace them first. And replace the supply lines regardless, even if the existing ones look fine. Braided stainless lines cost $5-10 each and are cheap insurance against the kind of under-sink leak you discover three months later.
13. Add Wainscoting or Beadboard for Budget Bathroom Remodeling With Real Character
Wainscoting does something that paint and hardware cannot quite do: it adds architectural dimension. It divides the wall plane horizontally, creates shadow lines, and makes a builder-spec bathroom feel like it was designed rather than assembled.
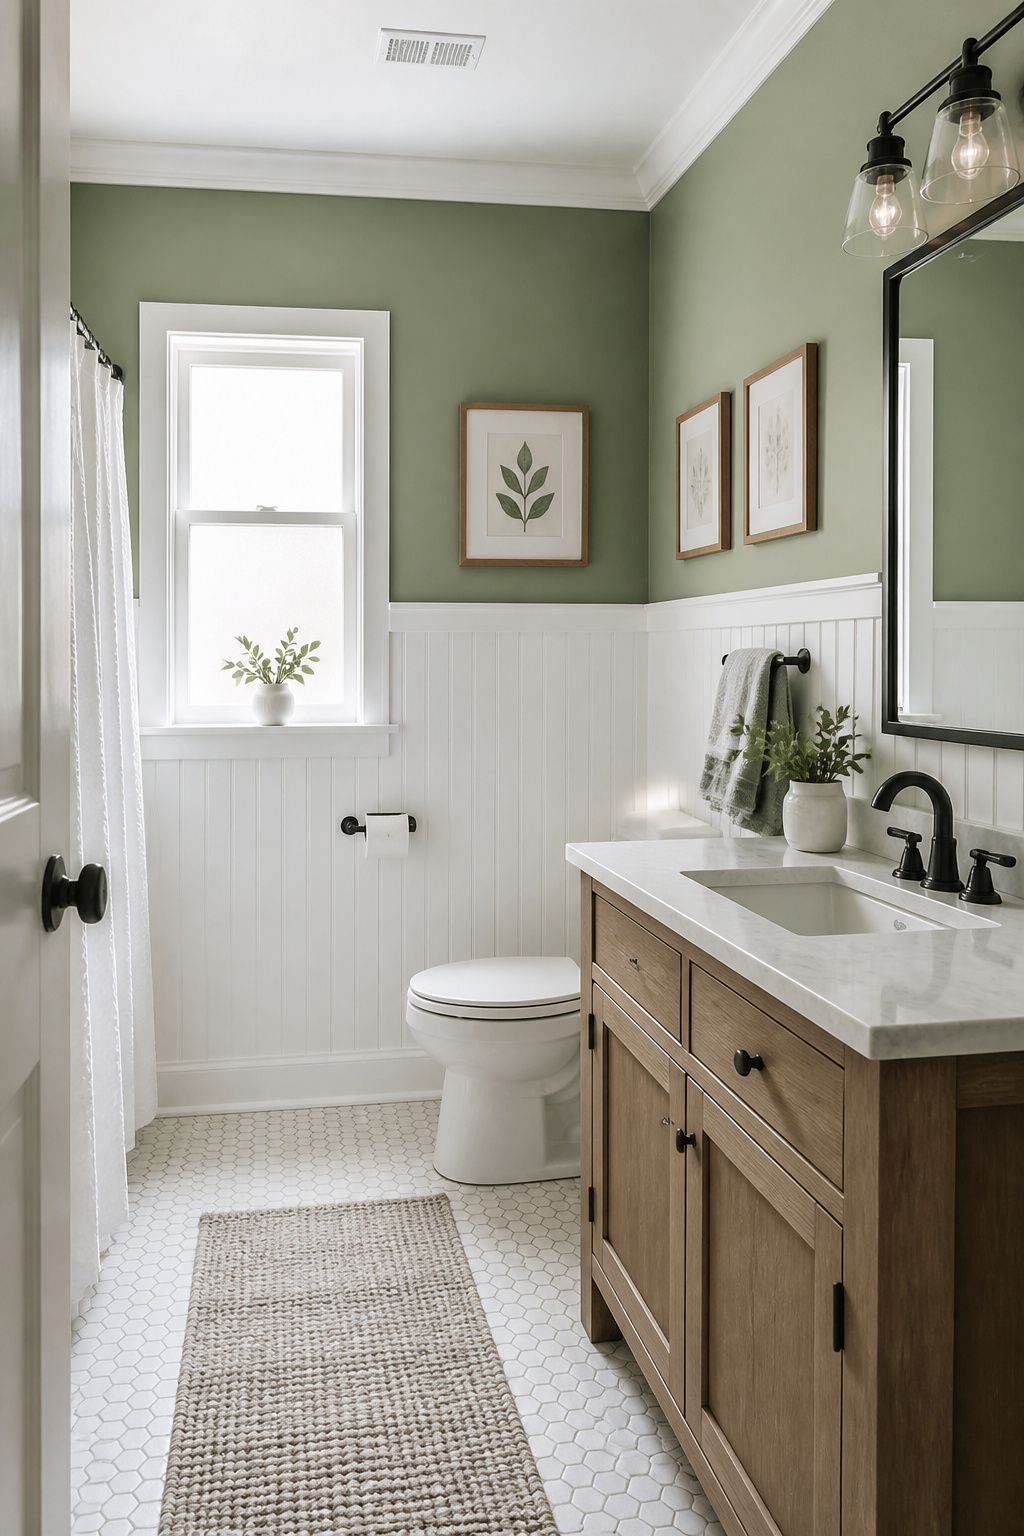
The key material decision for bathrooms is PVC beadboard over MDF beadboard. MDF is cheaper, but it absorbs moisture, and in a bathroom with daily showers and high humidity it will swell within 12-18 months and panels will begin separating from the wall. Fine Homebuilding specifically recommends against MDF in bathroom applications. PVC beadboard at $4-8 per square foot is 100% waterproof and will outlast the rest of your bathroom remodeling on a budget project. Pre-primed solid wood is the middle ground if you seal all edges and back surfaces before installation.
Standard installation height runs 48-54 inches. Cap it with a chair rail molding ($1-2 per linear foot) that gives the wainscoting a clean horizontal termination. Attach with construction adhesive plus 2-inch finish nails into studs every 16 inches — adhesive alone pulls away over time in high-humidity environments. Caulk every seam and nail hole before painting. That final step is what separates a professional-looking installation from one that looks like a shortcut.
14. Swap the Toilet Seat — or Go All-In and Replace the Toilet Itself
Nobody loves the toilet seat conversation, but the toilet is the largest fixture in most bathrooms and gets the most actual use. A soft-close seat at $30-60 eliminates the slamming lid immediately and installs in 10 minutes with a screwdriver. It is the lowest-effort upgrade on this list with a daily quality-of-life return.
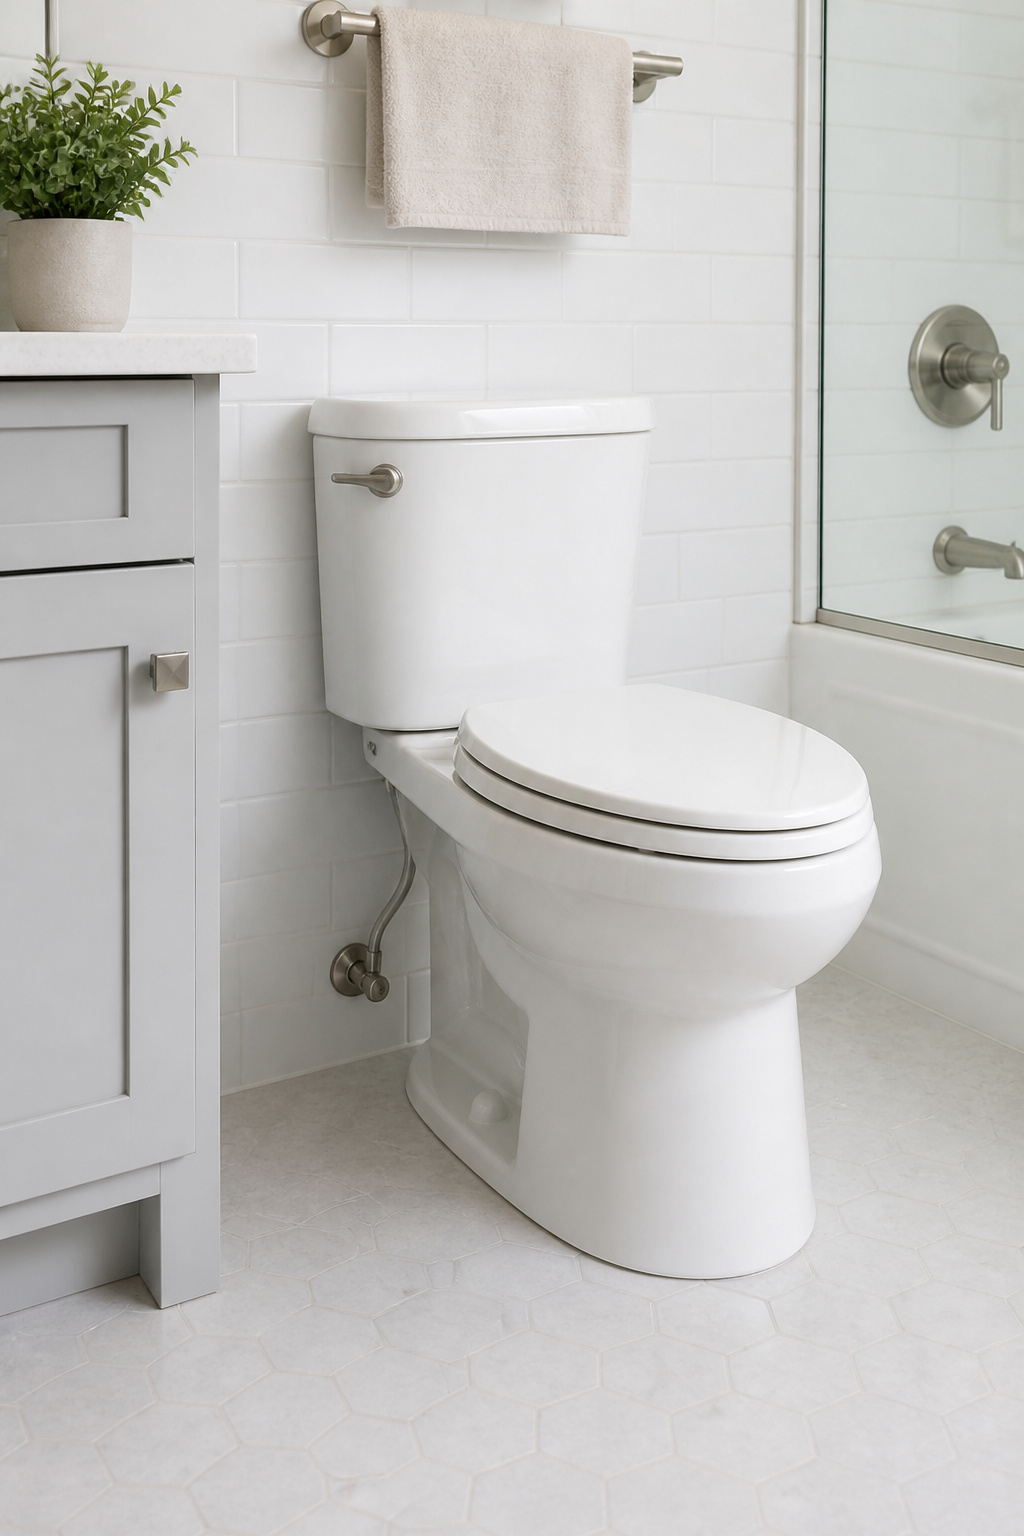
If you want to step further up, an entry-level bidet seat changes the experience significantly. Tushy Classic 3.0 and TOTO Washlet C2 are the most-recommended options at $100-350. They connect to the existing water supply shutoff at the toilet with no additional plumbing required. One caveat: heated bidet seats need a GFCI outlet within reach of the toilet. Most bathrooms do not have one positioned there.
For the toilet itself: if your home was built before 1994, you are probably using 3.5-7 gallons per flush. Modern WaterSense-certified toilets use 1.28 gallons per flush. Over 10 years, that pays back a toilet replacement multiple times in water savings. The TOTO Drake, Kohler Cimarron, and American Standard Cadet 3 are strong choices in the $100-350 range. DIY installation requires only a wax ring, closet bolts, supply line, and shutoff valve — $20-40 in supplies — plus one key measurement: the rough-in. That is the distance from the finished wall to the center of the toilet drain. Standard is 12 inches, but older homes are sometimes 10 or 14 inches. The wrong rough-in means the toilet physically will not fit.
15. Install a New Vanity: The Bathroom Remodeling Upgrade That Changes Everything
If you are doing one big move in your bathroom remodeling on a budget project, make it the vanity. It is the room’s largest visual element, the piece that sets the design direction for everything else, and the one fixture whose quality you interact with every single day. Skimping on the vanity and spending more on accessories is a common mistake — the accessories cannot compensate for a vanity that looks cheap.
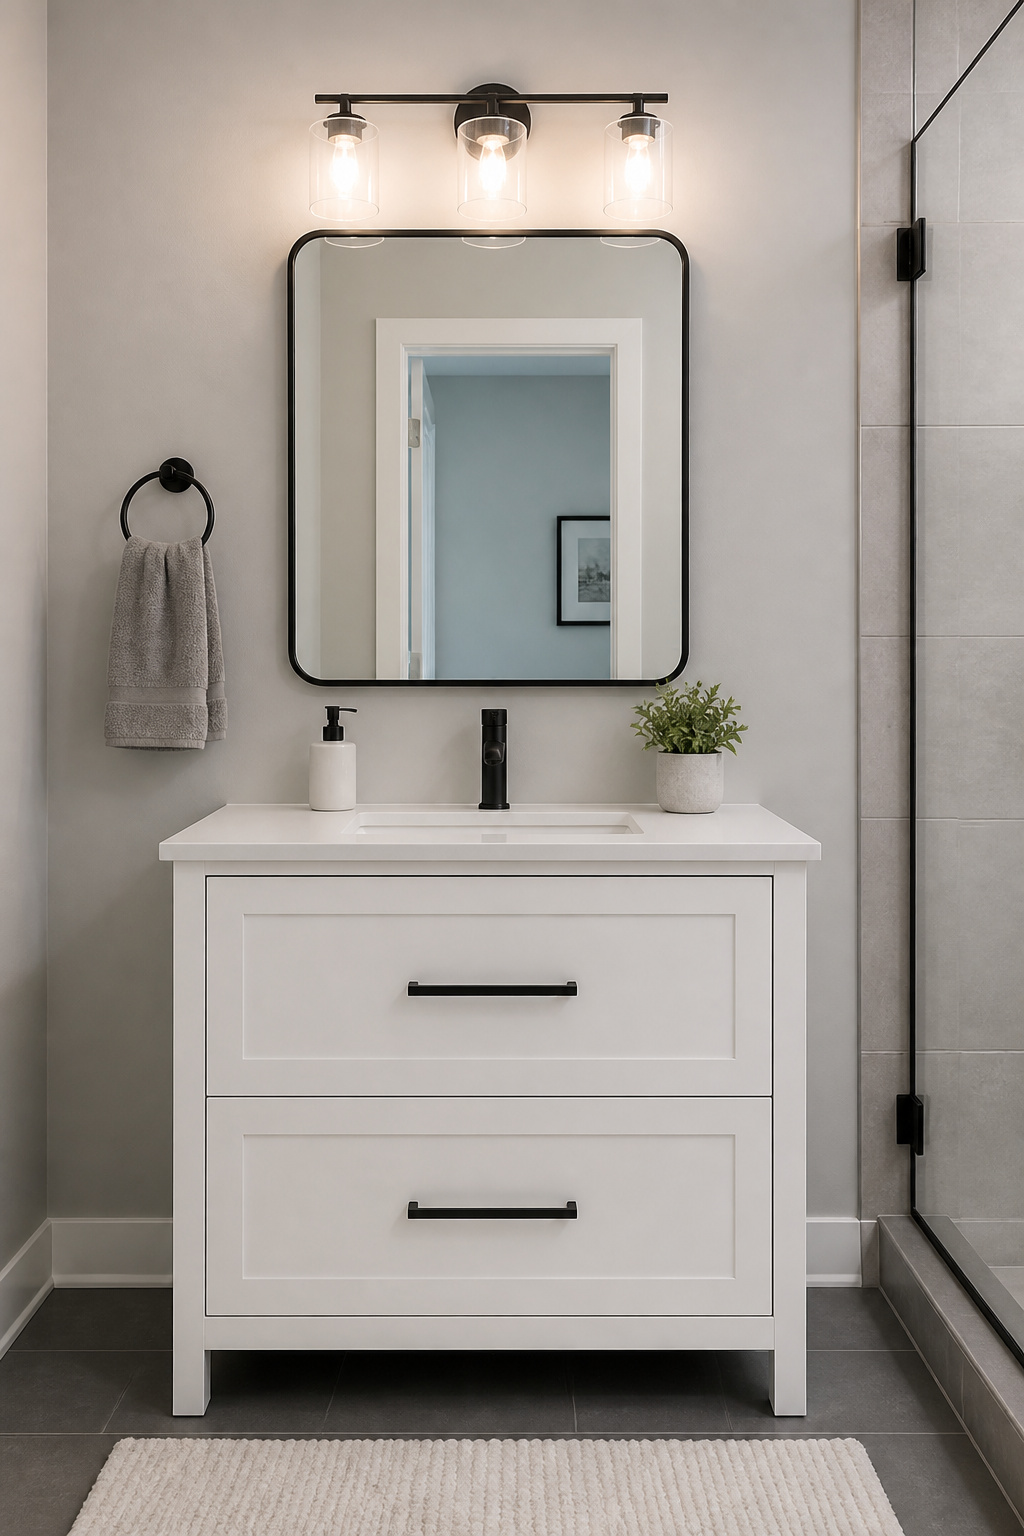
For budget-friendly bathroom vanity ideas that look like they belong in a real bathroom, the IKEA GODMORGON series is the most well-known budget-to-mid option. The cabinet unit runs $250-600, features moisture-resistant construction, soft-close hinges and drawer slides, and pairs with ODENSVIK and VATTENKRASSE sink bowls. The Home Decorators Collection at Home Depot and Glacier Bay are solid alternatives at $200-400 with the sink included.
On sizing: measure carefully before ordering. Standard single vanity widths are 24, 30, 36, 42, and 48 inches. More important than width is the plumbing rough-out location — specifically whether your drain comes up in the center of the cabinet footprint or off to one side.
Removal and reinstallation is a project most confident DIYers can handle. Shut off the water supply lines, disconnect the supply lines, put a bucket under the P-trap, loosen the slip-joint nuts, and remove the trap. Most vanities are held to the wall by screws through the back panel into studs — remove the screws and the vanity lifts out. Installing the new one reverses the process: level and mount the cabinet, connect the drain assembly, reconnect the supply lines, and test for leaks thoroughly before caulking anything.
16. Finishing Touches That Complete Your Bathroom Renovation on a Budget
Here is where bathroom remodeling on a budget either finishes strong or falls flat. You can repaint, reglaze, regrout, add a new vanity, and still walk into the room feeling like something is missing. That something is almost always the accessories — the small details that signal the space was styled, not just fixed.
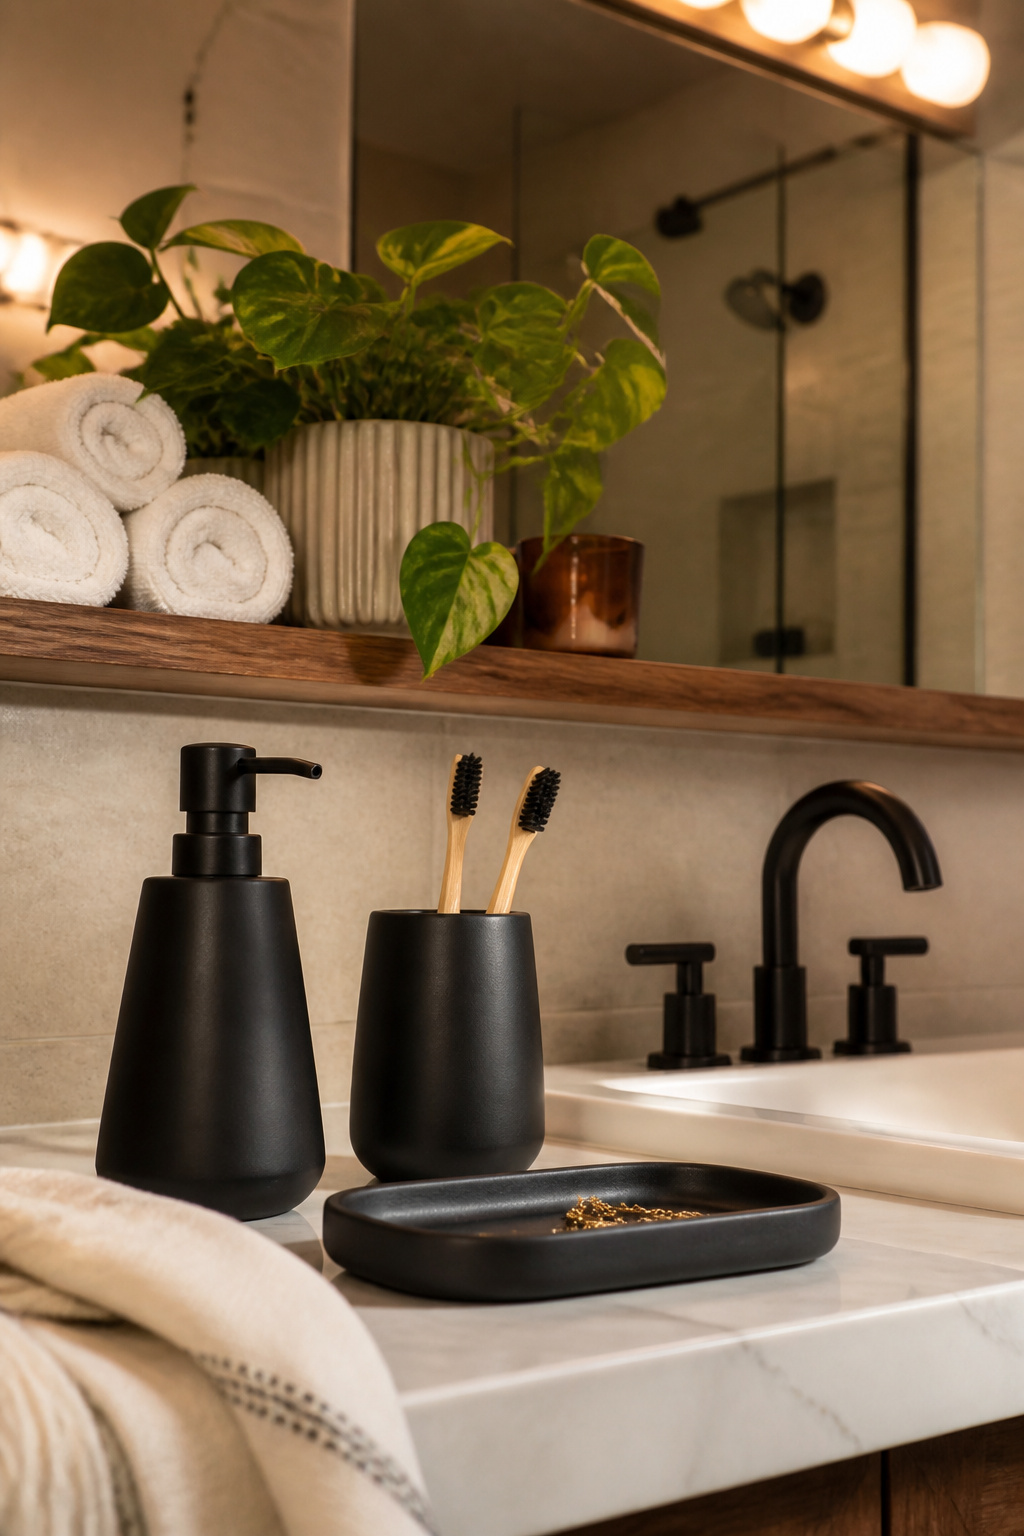
The $50-100 range goes surprisingly far when spent with intention. A matching set of soap dispenser, toothbrush holder, and small tray in a single finish costs $20-50 from Amazon or Target and creates immediate visual cohesion on the vanity surface. One small rattan or ceramic basket corrals the cotton ball situation. A single piece of framed art at eye level — an IKEA RIBBA frame with a digital print for $5 — reads as more intentional than a gallery wall in a small bathroom.
Textiles matter more than people expect. Hotel-quality towels start at 600 GSM (grams per square meter) — Target’s Threshold line and Amazon Basics both hit that mark at $15-30 per set. Below 600 GSM, towels look thin and feel rough after a few washes. A memory foam bath mat at $15-30 feels noticeably better than a standard looped mat. For the shower curtain: a plain weighted-bottom curtain plus a separate frosted PEVA liner at $10-15 is a better combination than a single curtain-with-liner.
Plants are the detail most people dismiss and the one that does the most. Pothos, snake plants, and ZZ plants all thrive in bathroom conditions — low light, high humidity, irregular watering. Pick the one that matches your light level. Put it somewhere visible. Done.
Planning Your Bathroom Remodel on a Budget: Where to Start
The 16 ideas above cover a wide range of investment and effort. If you do all of them, you have a different bathroom. But most people work in phases, and the sequencing matters.
For a $500-1,000 first phase, the highest-impact combination is paint, hardware, a new light fixture, and a new showerhead. These four changes affect everything visible in the room, everything you touch, and the light that determines how all of it looks. They require no demolition, no contractor, and no shutting off the main water supply. They can all be done in two weekends.
For a second phase at $800-1,500, add reglazing the tub (if it needs it), new flooring, and mirror framing. These touch surfaces more directly but still fall within confident DIY territory. Save the vanity replacement, wainscoting, and any tile work for when budget allows — they reward the progress you have already made instead of creating a patchwork of new and old.
One rule that applies to every phase of bathroom remodeling on a budget: set aside a 20% contingency. Angi’s 2026 data puts unexpected discoveries — soft subfloor, failed shutoff valves, wiring that does not match the plan — at about 1 in 3 bathroom remodels. That is not a reason to panic; it is a reason to have the contingency so you are not making decisions under financial pressure.
And know when to call a professional. Moving pipes, adding circuits, and waterproofing a shower surround are the places where DIY errors become expensive water damage. Everything else on this list is genuinely within reach for a motivated homeowner with a free weekend and a willingness to watch one good how-to video first.