There’s a moment every homeowner recognizes: you walk into your bathroom, really look at it for the first time in months, and feel that familiar knot. The grout is stained. The hardware is dated. The caulk around the tub has gone from white to a color you’d describe as “regrettable.” You want to fix it, but the quotes from contractors make it feel impossible.
Here’s what I’ve learned from three decades of budget decorating: the most convincing bathroom renovations on a budget don’t replace things. They refresh them. The projects that transformed my own 1970s rental bathroom — and the bathrooms of hundreds of readers I’ve helped — cost under $200 each and read as something that cost ten times that. Every idea in this list is a genuine DIY project. Most of them start and finish in a single weekend. I’ve included realistic cost estimates so you know what you’re walking into before you pick up a paintbrush or a wrench. Start with one. Finish it completely. Then move to the next one.
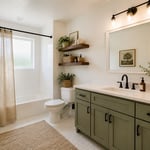
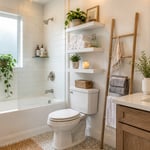
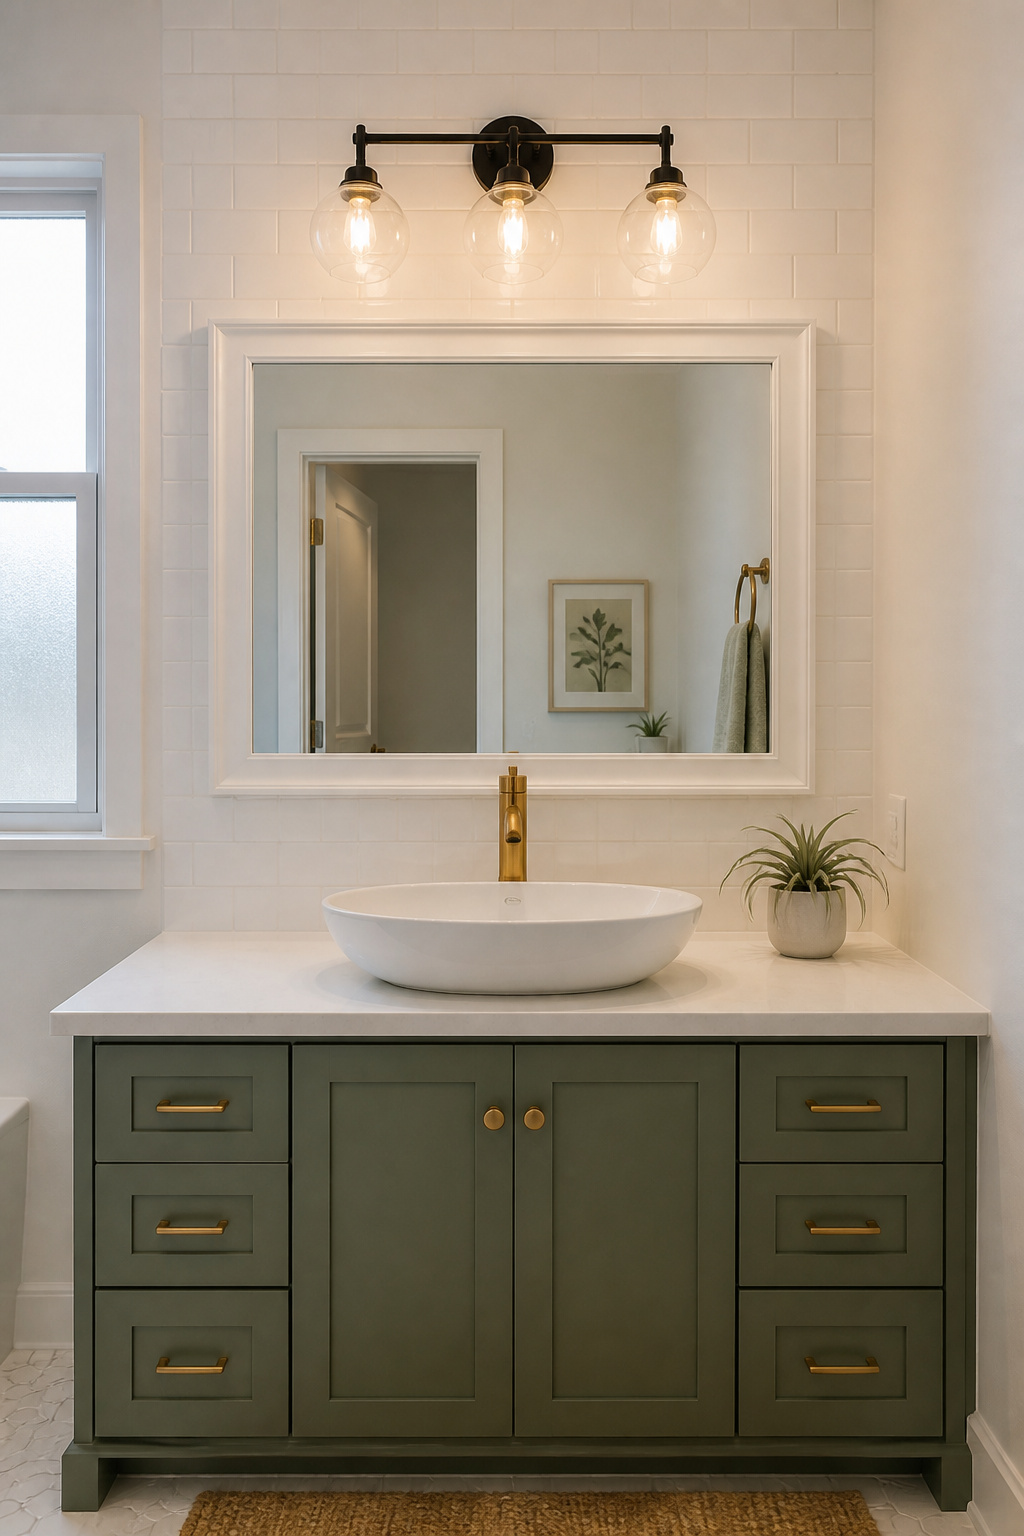
1. Repaint Walls and Vanity Cabinets Instead of Replacing Them
Paint is not a compromise. It’s the highest-return investment in any bathroom — consistently, across every project I’ve worked on and every reader I’ve walked through. A gallon of Behr Premium Plus Ultra or Valspar Signature costs $35-$45 and covers a standard bathroom twice over. That same visual impact from new fixtures would run you $400-$600, minimum.
The key to a paint job that holds in a bathroom is primer. KILZ Kitchen & Bath Primer is a water-based, purpose-built formula for high-humidity spaces — apply one coat before any paint on bathroom walls and you’re building on a foundation that resists the daily temperature and moisture swings. For walls, satin finish is your best bet: scrubbable, moisture-resistant, and far more forgiving than flat or eggshell. Save semi-gloss for trim, cabinet doors, and drawer faces.
Getting Cabinet Paint Right
Cabinet painting has its own rules. First, degrease and scuff-sand the cabinet fronts — paint won’t bond to old semi-gloss without it, no matter how good the product is. Then prime with an oil-based primer on MDF fronts specifically, since water-based primer causes MDF to swell at the edges and the paint eventually cracks. Remove the doors and paint them flat on sawhorses if you can: drips and brush marks are ten times more visible on vertical doors. Zinsser PERMA-WHITE is also worth knowing about for the walls — it carries a 5-year mold-and-mildew-proof film guarantee, which is a real promise in a room that generates steam every day.
2. Swap Out Hardware for an Instant Budget Bathroom Renovation Win
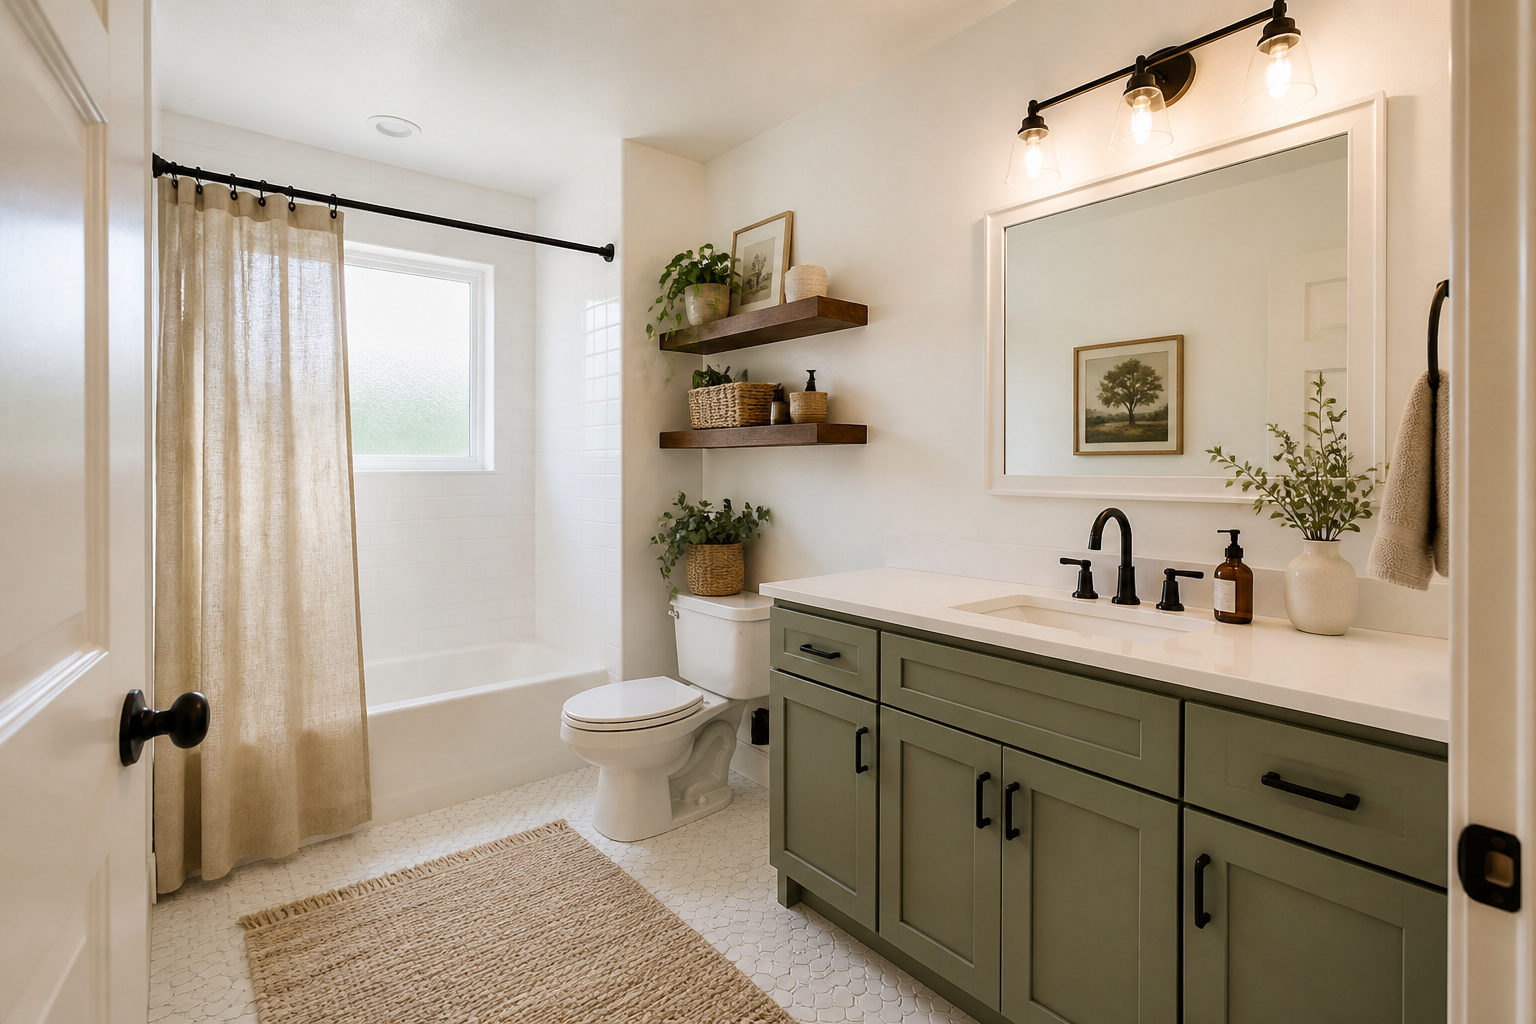
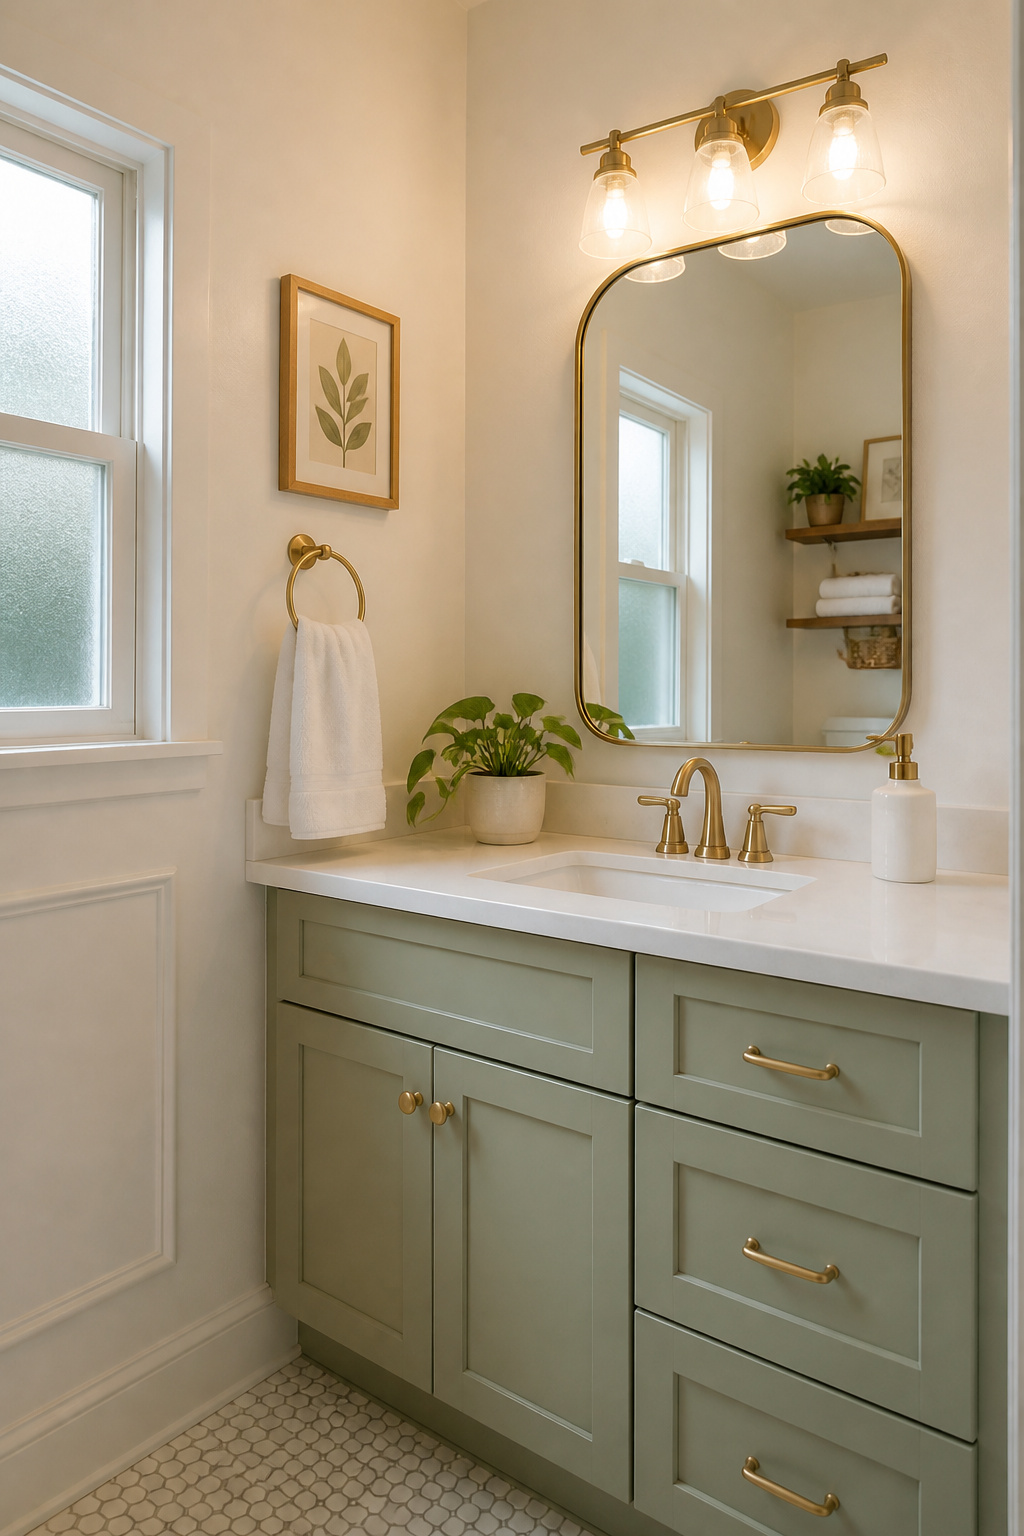
This is the project most people overlook because it seems too simple. A $30-$80 hardware swap — drawer pulls, towel bar, toilet paper holder, robe hook — does something disproportionate to what it costs. When everything from the drawer pulls to the light switch plate shares one metal tone, the eye stops registering individual pieces and starts seeing a room that was designed rather than assembled.
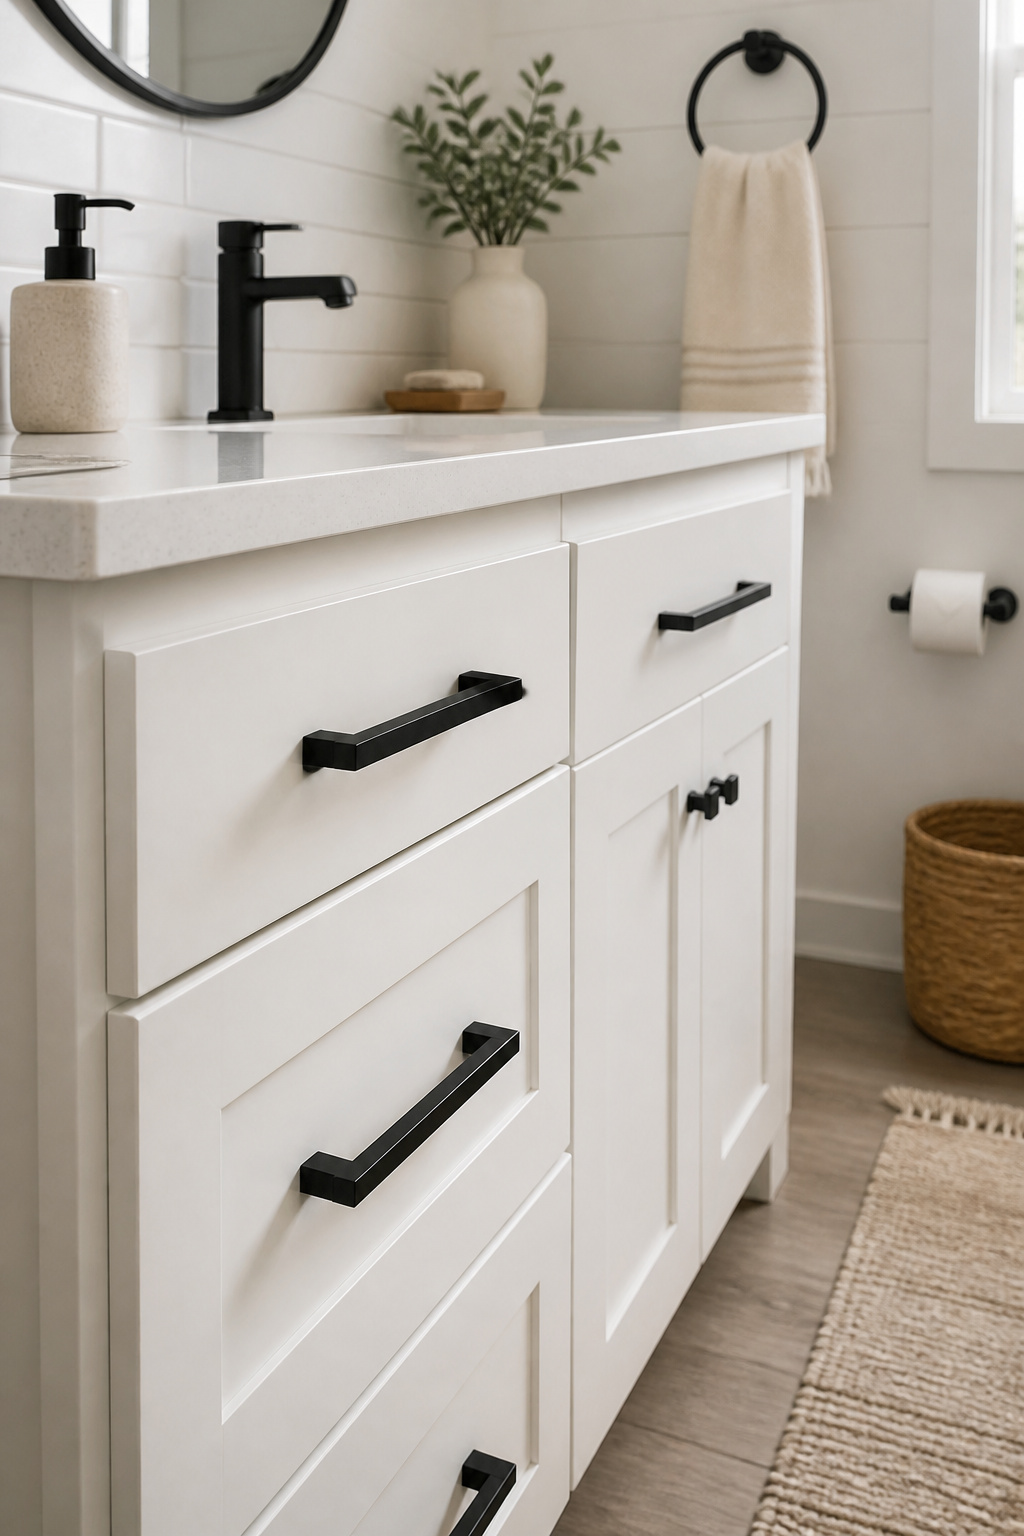
Brushed brass and matte black are the dominant finishes right now, and both hold up well in humid bathrooms — far better than polished chrome, which pits and tarnishes over 5-8 years of steam exposure. A 4-piece bathroom hardware set (towel bar, towel ring, toilet paper holder, robe hook) runs $40-$90. HAPNY Home, Forge Hardware Studio, and Amazon Basics all have solid options; Style Selections at Lowe’s and Home Depot frequently goes on sale. Buy as a set rather than mixing brands — slight finish differences are obvious under bathroom lighting.
The Two-Finish Rule
Follow the two-finish rule: choose one dominant finish and one accent, and stop. Brushed brass for the main pieces, matte black for the mirror frame — that’s a pairing that works. Chrome faucet, brushed nickel towel bar, and brass drawer pulls — that’s three competing finishes, and it shows. You don’t have to replace the faucet either: most brands sell escutcheon plates and handle sets in popular finishes separately for under $20, so you can match hardware to an existing faucet rather than the other way around. For more ideas across the full scope of a more budget bathroom remodeling ideas that actually work, keep this page bookmarked once the hardware is done.
3. Install a New Vanity Light Fixture to Change the Whole Mood
The standard 5-bulb bar light is in approximately 80% of builder-grade bathrooms built before 2010. It’s flat, unflattering, and immediately reads as the “nothing was thought about this” fixture. Replacing it — or working around it — is one of the most effective bathroom renovations on a budget because the before and after are impossible to ignore.
Color temperature is the thing most people don’t consider until they’ve made the wrong call. Anything above 4000K feels institutional — like a doctor’s office. 2700K is warm and relaxing, genuinely spa-like; 3000K is clean and neutral. If you’re replacing the fixture, the wiring is already in place: turn off the breaker (not just the switch), match your wire connections (black to black, white to white, bare copper to bare copper), and you’re done. Home Depot and Lowe’s carry 3-light vanity bars in matte black, brushed nickel, and brushed gold starting at $45. For detailed placement advice before committing to a mounting height, it’s worth reading more about getting bathroom lighting over the mirror right first.
No-Wiring Alternatives
If wiring isn’t something you want to touch — completely understandable — plug-in wall sconces use the existing GFCI outlet above the vanity, with cord covers for $8 to hide the wire. Rechargeable LED mirror light bars mount without drilling, recharge via USB-C, and most run 6-8 hours on a charge for $30-$80. EzLightWraps slip directly over existing Hollywood-style bulb bars with no tools — a genuine solution for renters who can’t touch the fixture. The one thing to avoid: replacing a wide bar with a narrow fixture and leaving visible holes or paint shadows behind it.
4. Lay Peel-and-Stick Floor Tiles Right Over Your Existing Floor
Peel-and-stick floor tiles have crossed a quality threshold that makes them a legitimate option for main bathrooms — not just powder rooms. SPC (Stone Plastic Composite) tiles are multi-layer, rigid, waterproof, and scratch-resistant. FloorPops Medina and Art3d are consistent performers with strong adhesive backing and an installation that takes under two hours for a standard bathroom. Compare that to traditional ceramic at $8-$15 per square foot professionally installed. These run $1.50-$3.00 per square foot, yourself, in an afternoon.
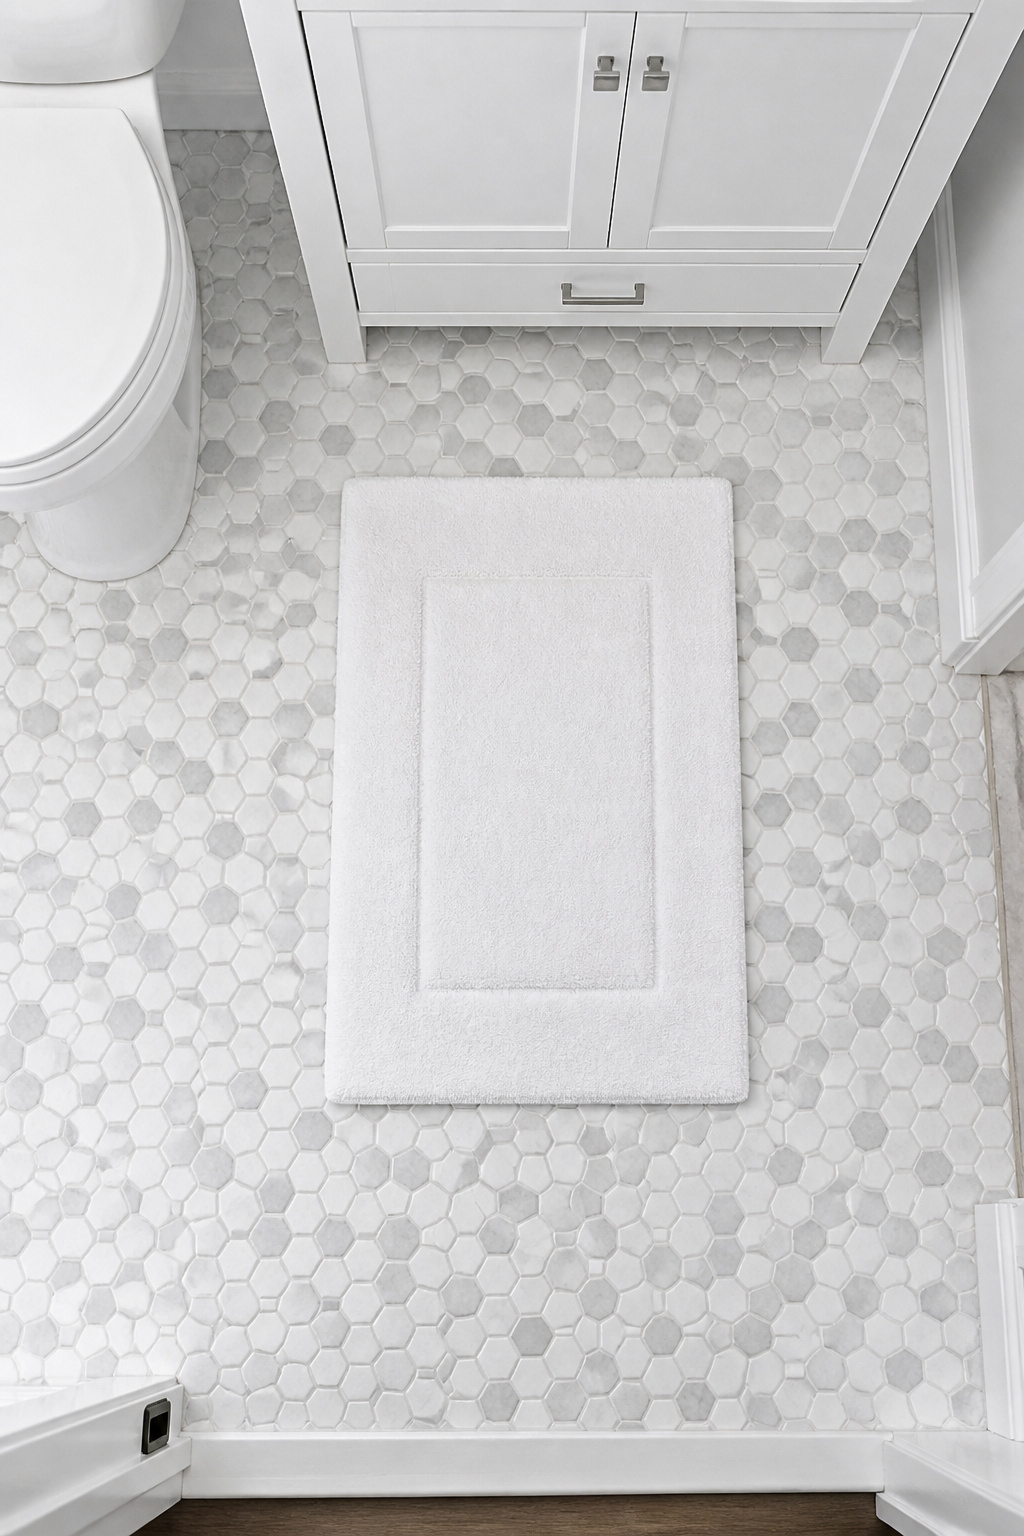
The installation succeeds or fails on surface prep. The floor must be clean, dry, and flat — any ridges or bumps over 1/8 inch telegraph through the tile and eventually cause edges to lift. Bring tiles inside and let them acclimate at room temperature for 24 hours before you start; cold tiles don’t adhere properly. And commit to 48 hours without heavy traffic or water after installation. That curing window is the step most people skip, and it’s why edges lift within a month.
What to Buy and What Not to Skip
Always buy 10-15% extra for cuts and mistakes — peel-and-stick can’t be repositioned cleanly once it contacts the floor. Edge sealing is non-negotiable: run a thin bead of clear silicone caulk along the tub base, toilet base, and every point where the tile meets a fixed surface. Water getting under the adhesive from these contact points is how peel-and-stick floors fail, and it’s entirely preventable with $6 of silicone caulk.
5. Add a Peel-and-Stick Backsplash Above the Sink
The six to twelve inches of wall between the countertop and the mirror is the first thing anyone sees at the vanity — and the easiest square footage to upgrade in the room. A $40 peel-and-stick panel does more visual work here than a $200 accessory, and the installation takes under an hour.
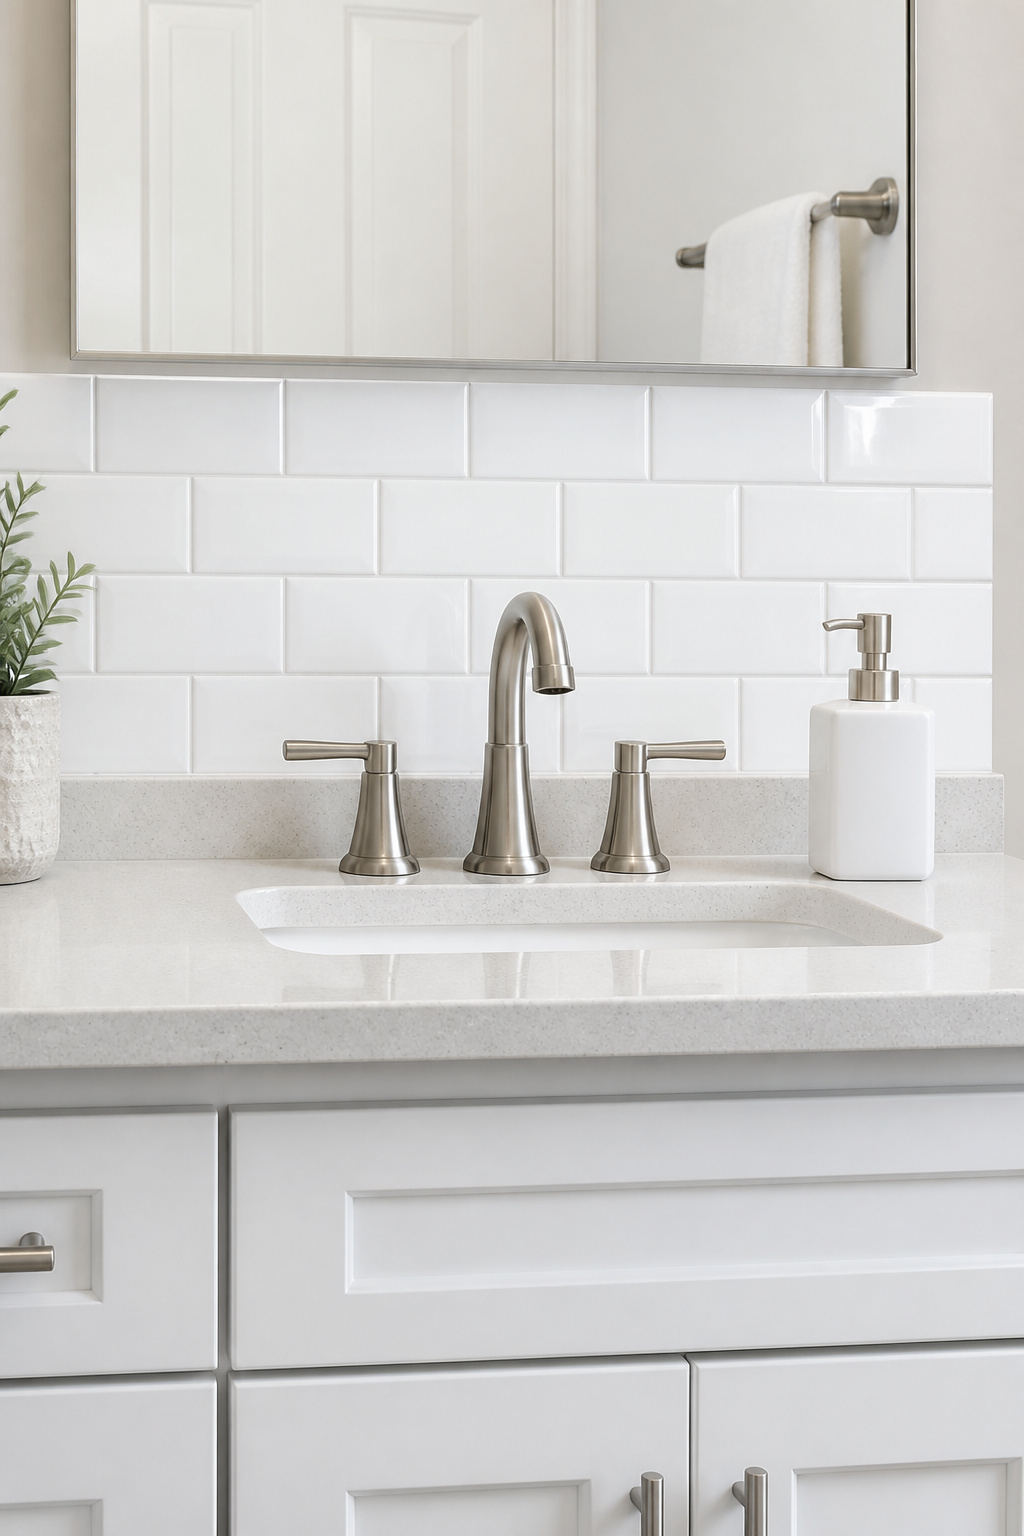
Peel-and-stick backsplash tiles work well in the vanity zone because it’s a splash zone rather than a wet zone. It handles condensation and light splashing — well within the capability of quality vinyl tile when properly sealed. Aspect and Art3d both make 12″×12″ panels that install like any other peel-and-stick. Wall prep matters more here than almost anywhere: soap residue and bathroom spray build up on that wall and prevent adhesion. Wipe with rubbing alcohol and let it dry completely before you peel anything.
After installation, run a thin bead of clear silicone caulk along the bottom edge where tile meets countertop — this is the highest-splash point and where most peel-and-stick backsplashes fail prematurely. For cuts around outlets, trace the outlet box on the tile back and score with a utility knife; always turn off the circuit first. The mistake that makes this project fail: applying these tiles inside the shower surround, where they’re rated for splash exposure but not full immersion.
6. Regrout the Tile for a Fresh Look Without Replacing a Single Tile
Grout lines make up 10-15% of the visible surface of a tiled wall. When they’re stained or cracked, that’s what the eye registers — not the tile itself. And the reverse is equally true: fresh grout makes average tile look newly installed. Regrouting as a budget bathroom renovation costs $15-$40 in materials versus $500-$2,000 to retile. It’s the highest-value tile refresh available to a budget renovator, and most people don’t think to do it because they assume the grout can’t be changed without removing the tile.
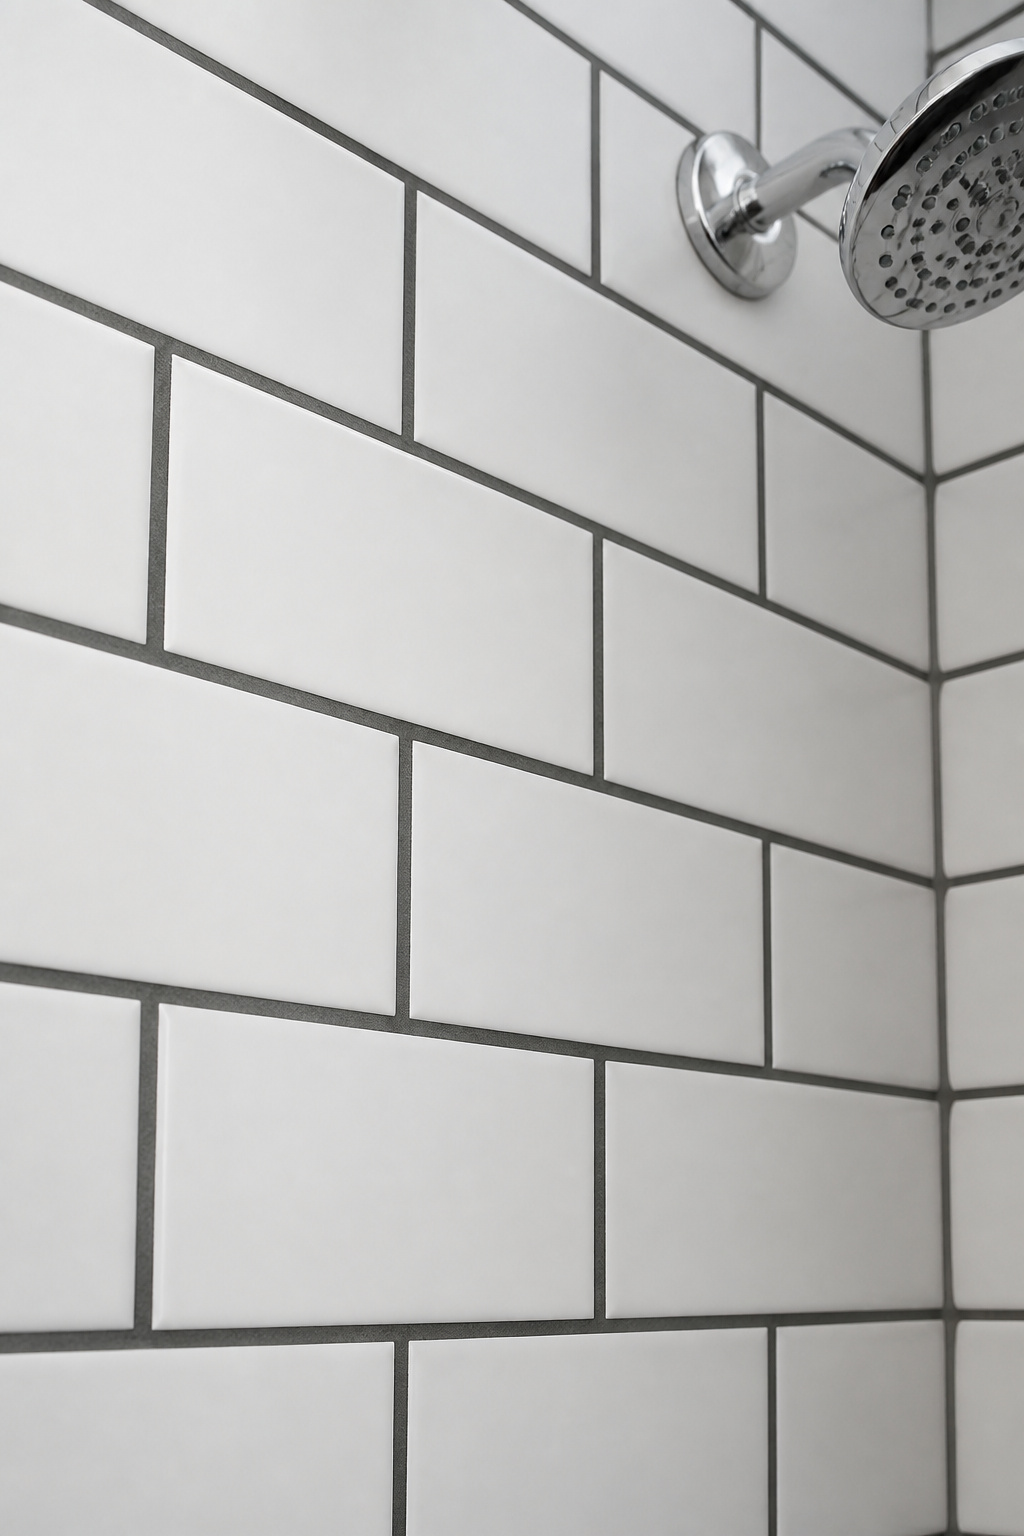
The fastest way to remove old grout is an oscillating multitool with a grout blade attachment — the Dremel Multi-Max or Ryobi JobPlus are solid mid-price options; carbide grout blades cost $10-$15 each. Manual grout saws ($8-$12) take longer but give better control near fixture edges. Work to remove grout to about two-thirds of the tile depth — far enough for new grout to bond, but you don’t need to reach the substrate.
Choosing Grout Color
Use sanded grout for joints wider than 1/8 inch; unsanded for narrower joints — the wrong choice causes cracking in the first year. Mapei Keracolor S in Charcoal and Silver are consistently strong sellers and are widely available. Gray is the consensus pick for most bathrooms: it hides dirt far better than white, looks cleaner than beige, and complements virtually every tile color. White grout is beautiful fresh but needs sealing every 6-12 months in a shower to stay that way — if that maintenance won’t happen, go medium gray from day one. For inspiration on how different tile-and-grout combinations play out, bathroom tile designs to complement fresh grout is worth a browse before you commit to a color.
7. Replace the Faucet and Showerhead for Under $100
A gold builder-grade faucet from 2003 is doing more damage to your bathroom’s perceived age than almost anything else in the room. Swapping it out for something in matte black or brushed nickel shifts the room forward by fifteen years — and at the $60-$100 price point, it’s a genuine DIY budget bathroom renovation, not a plumber’s bill.
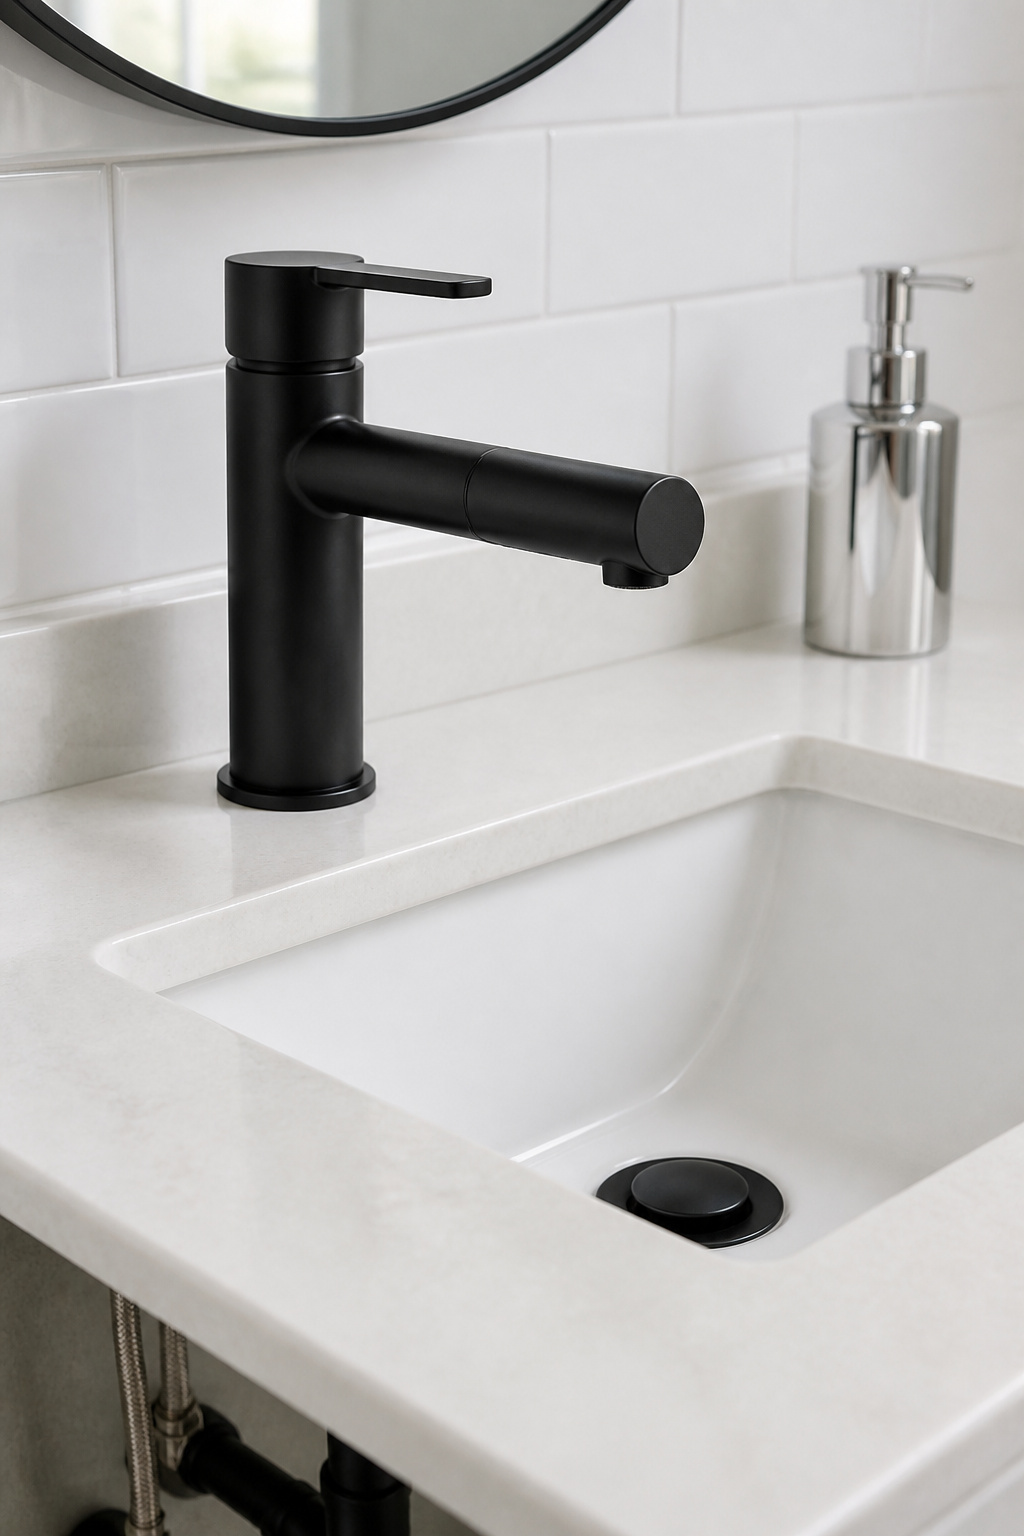
At this price range, Pfister and Glacier Bay outperform entry-level Delta and Moen, which at their cheapest don’t live up to the brand’s reputation. The Pfister Masey (~$59) is the standout: it includes a drain assembly, uses ceramic cartridge valves rather than plastic, and comes with a limited lifetime warranty. Glacier Bay is Home Depot’s house brand and is appropriate for a guest bath or rental where longevity is less critical.
DIY Installation Tips
The tools you need are likely already in your kitchen drawer: an adjustable wrench, channel-lock pliers, Teflon tape, and a bucket with towels. Turn off the shutoff valves under the sink — not the main supply. Disconnect the supply lines, remove the old faucet, clean the deck surface, drop in the new one, hand-tighten before using the wrench. The most common mistake is buying the wrong hole configuration — measure your sink deck first (1-hole, 3-hole, or widespread) before ordering. And while you have everything apart, replace the supply lines: old braided lines are a future leak waiting to happen, and new ones cost $6 each.
8. Frame Your Existing Mirror With Molding From the Hardware Store
Almost every bathroom built before 2015 has the same plate-glass mirror clipped to the wall. It’s functional. It’s also unmistakably builder-grade, and working around it costs under $25 and takes one afternoon. A DIY mirror frame using MDF molding from the hardware store reads as a custom built-in.
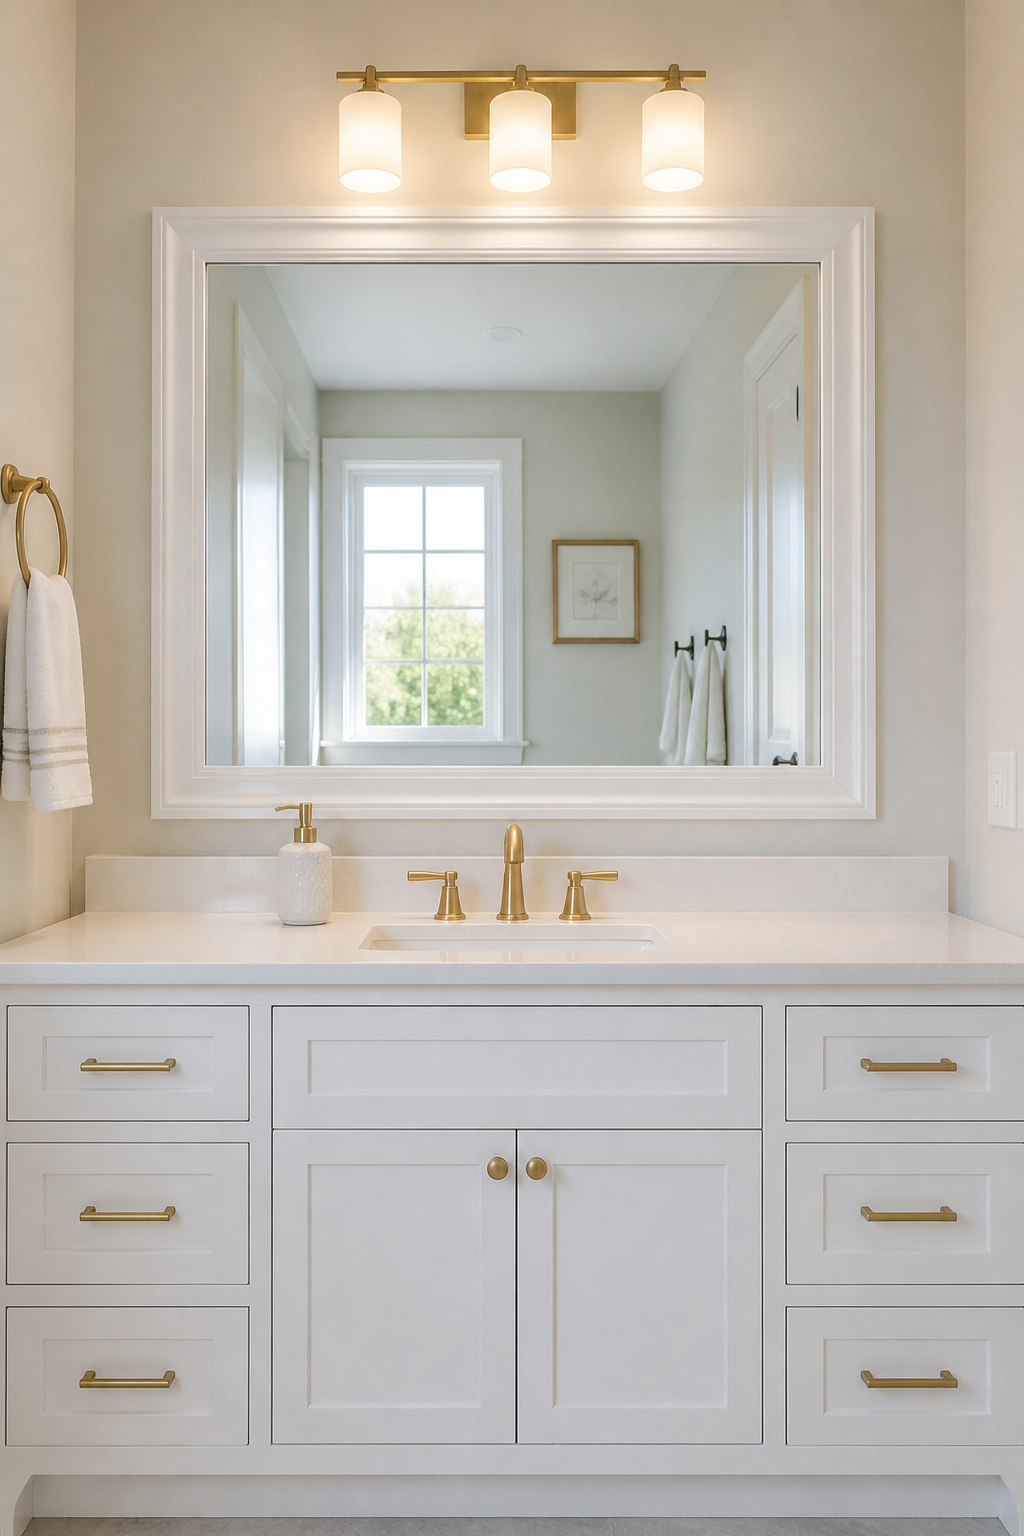
MDF molding is the budget material of choice: it comes pre-primed, cuts cleanly, and is widely available in 8-foot lengths at $3-$8 per piece. A miter box ($10) and hand saw produce clean 45-degree corners without power tools. Measure two or three times before cutting. The adhesive matters more than most people realize: use Mirror Mastic specifically, not regular construction adhesive. Standard adhesives contain solvents that dissolve the silver backing and leave black spots on the mirror over time — irreversible damage that shows up gradually. Apply Mirror Mastic along the outer portion of each board, press against the mirror, and hold with clean-release painter’s tape for 24 hours.
Finishing the Frame
Paint all six sides of each board before installation. The mirror will reflect the unpainted back of each board — brown MDF visible in your own reflection is the detail that makes the whole thing look amateur. Matte white is the most versatile and the easiest to touch up; matte black creates a dramatic look that photographs extremely well; metallic gold spray paint over gray primer in two light coats looks genuinely expensive. Before you start cutting, browsing bathroom mirror designs worth considering before you frame helps clarify which looks a DIY frame can achieve and which ones require replacing the mirror entirely.
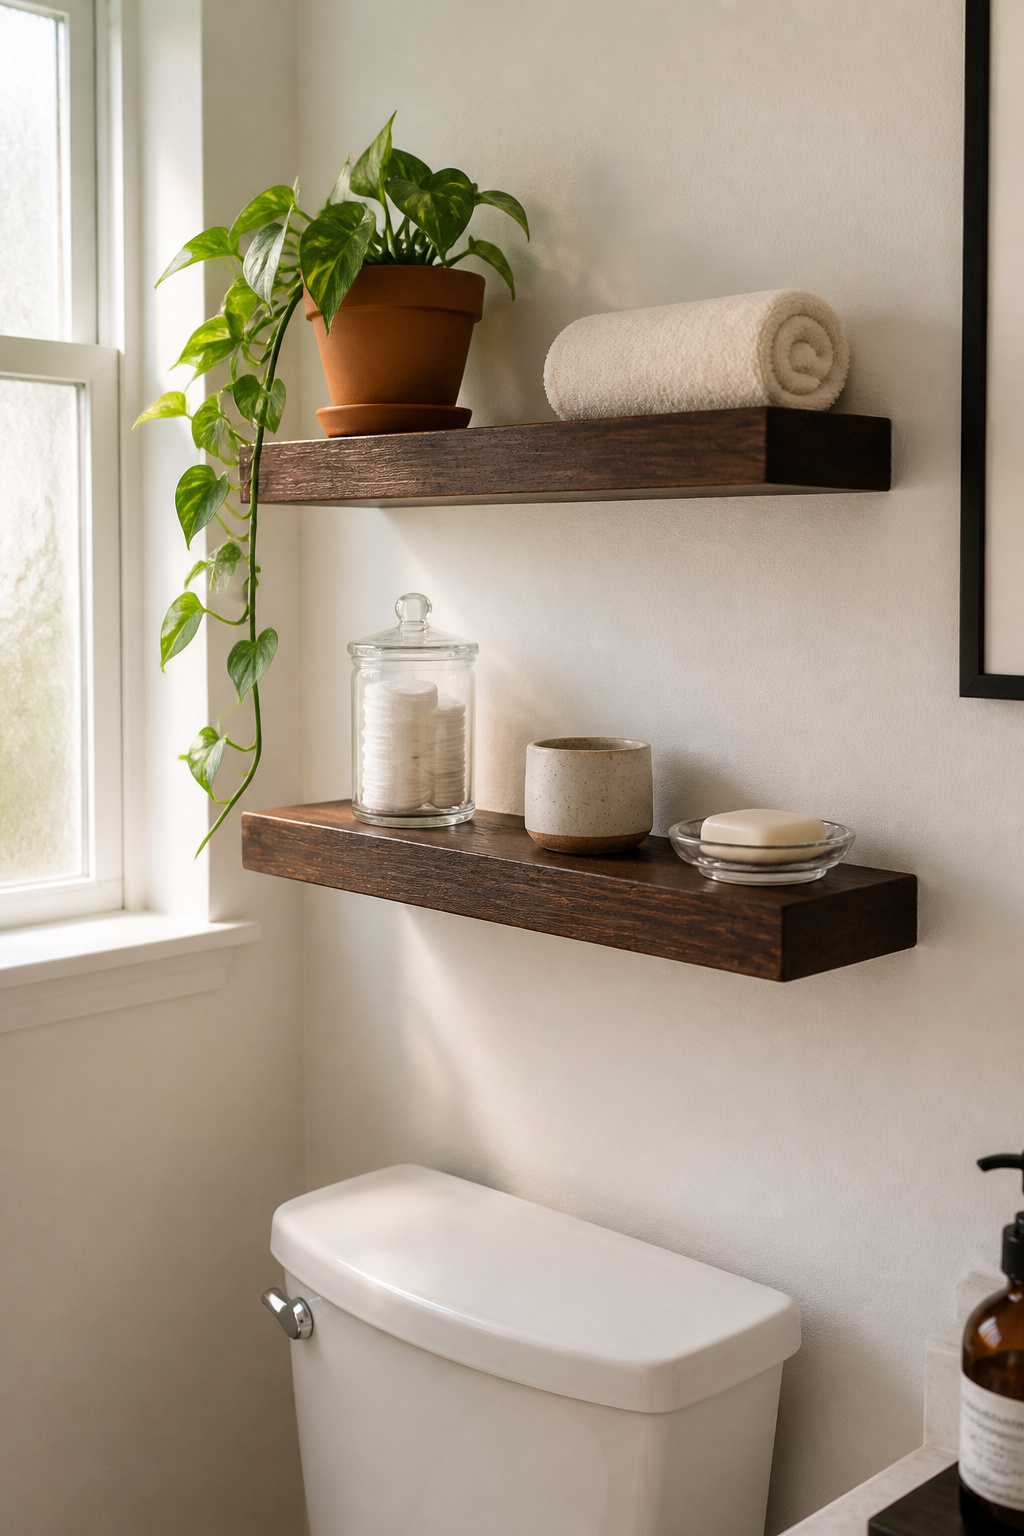
9. Install Open Shelving to Create Budget Bathroom Renovation Storage
A single floating shelf above the toilet or beside the vanity costs $25-$80 in materials and adds storage without the expense or footprint of cabinetry. The reason it reads as expensive when done right is entirely about editing — open shelving looks thoughtful when styled well and looks like a stockroom when it’s not.
Standard floating shelf brackets hold 20-30 lbs when mounted to studs. In a bathroom, always mount to studs: humidity weakens drywall over time, and wall anchors that would hold fine in a bedroom become less reliable in a wet environment. Use a stud finder, or the knock-and-nail method: tap along the wall until the hollow thud shifts to solid, then confirm with a small test nail. For shelf material, avoid untreated MDF — it swells from moisture exposure and the paint eventually cracks. Sealed pine, teak, treated oak, or glass shelves (8-10mm thick) are all better for the environment.
Styling the Shelves
The rule that makes open shelves look curated rather than crowded: one tall object, one medium, one low, different textures. A glass pump bottle, a small plant, a woven basket — three heights, three materials, 30 seconds to arrange. Everything with an ugly container goes inside the basket. Everything with a beautiful container goes on the shelf. You can build the storage system significantly from there — bathroom storage solutions that go beyond open shelves covers a range of approaches from over-toilet units to built-in that complement this kind of wall shelving well.
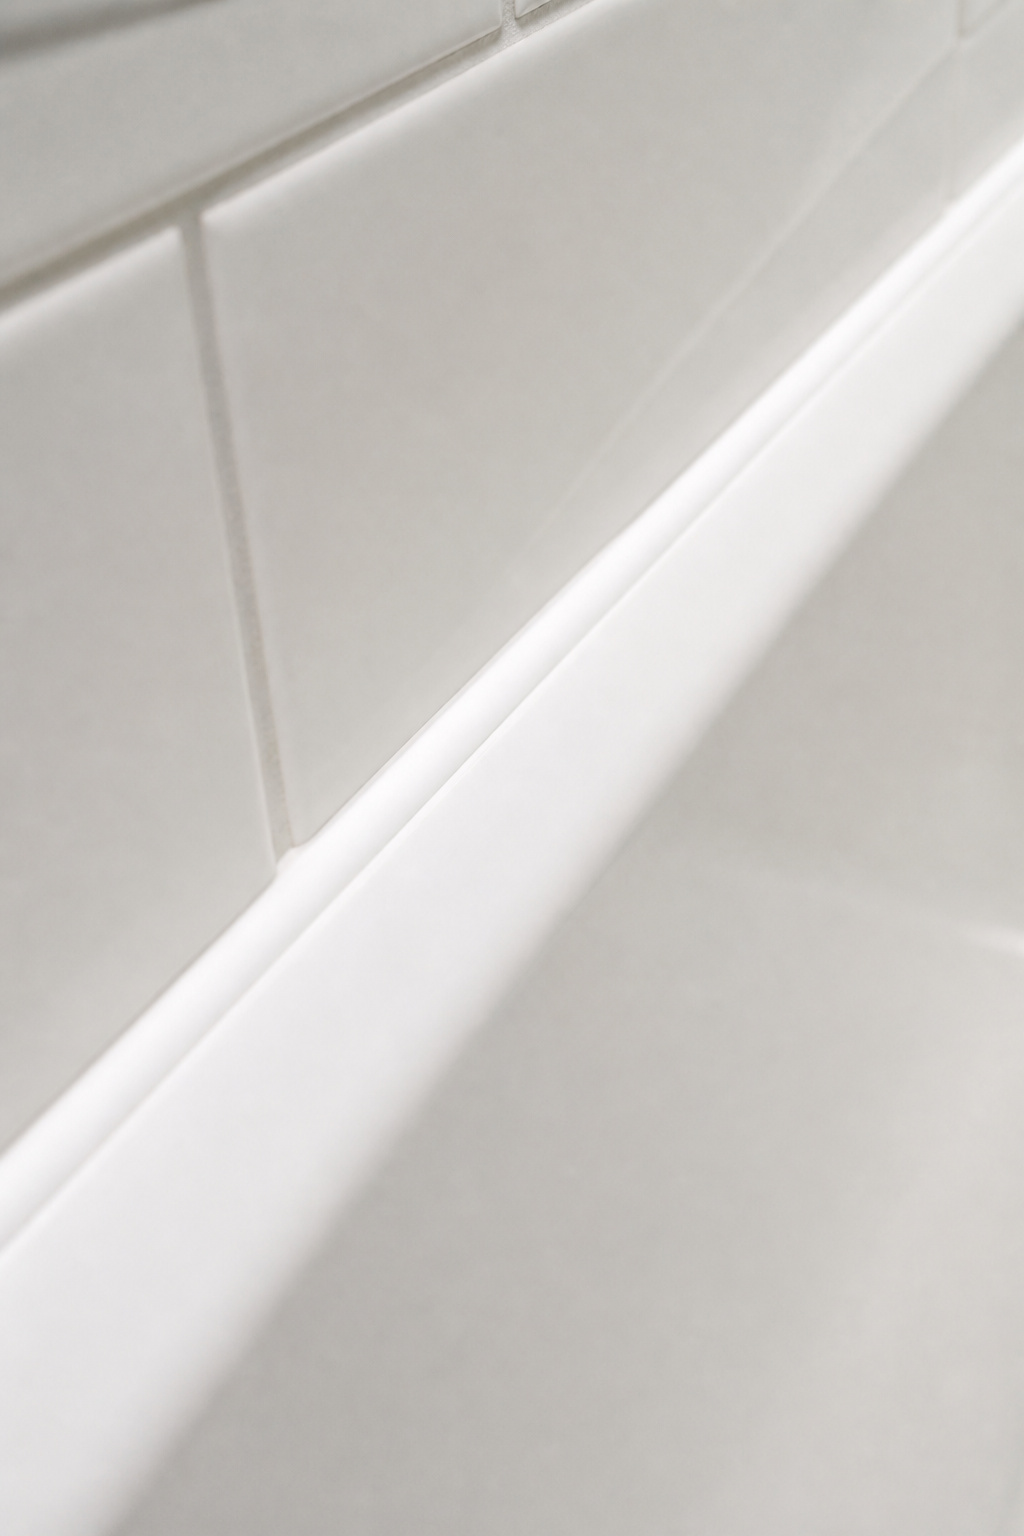
10. Caulk Around the Tub, Sink, and Shower for a Professional Finish
Fresh caulk is the fastest transformation in this entire list. It costs $6-$12, takes 2-3 hours (mostly drying time), and completely changes how maintained the bathroom looks. Yellowed, cracked, or moldy caulk around the tub is the most visible sign of neglect in a bathroom — and it’s also among the cheapest to fix.
The removal step matters more than the application. For silicone caulk: score the center with a sharp utility knife, grab the cut end with needle-nose pliers, and pull it out in one strip. For stubborn bits, DAP Caulk-Be-Gone ($6-$8) applied for 2-3 hours softens even tenacious silicone adhesion. For latex caulk: soften with warm water and a putty knife — much easier than silicone. After scraping, wipe the joint with rubbing alcohol and let the surface dry for a minimum of 30 minutes. No caulk bonds properly to a damp surface, and bathroom walls stay damper than they look.
Caulk Type by Location
Shower and tub joints: 100% silicone — flexible, fully waterproof, and it lasts 10-20 years. The sink surround and toilet base work fine with acrylic-latex “tub and tile” caulk, which is easier to apply, cleans up with water, and handles splash conditions rather than submersion. One useful trick: fill the tub with water before caulking (the weight opens the gap to its maximum). Caulk it, let it cure fully, then drain — this prevents the new bead from cracking when the tub is under load.
11. Hang a New Shower Curtain and Rings That Make a Design Statement
The shower curtain is the largest piece of fabric in the room. It covers more visual surface area than the towels, rug, and accessories combined — and changing it takes under five minutes, no tools required.
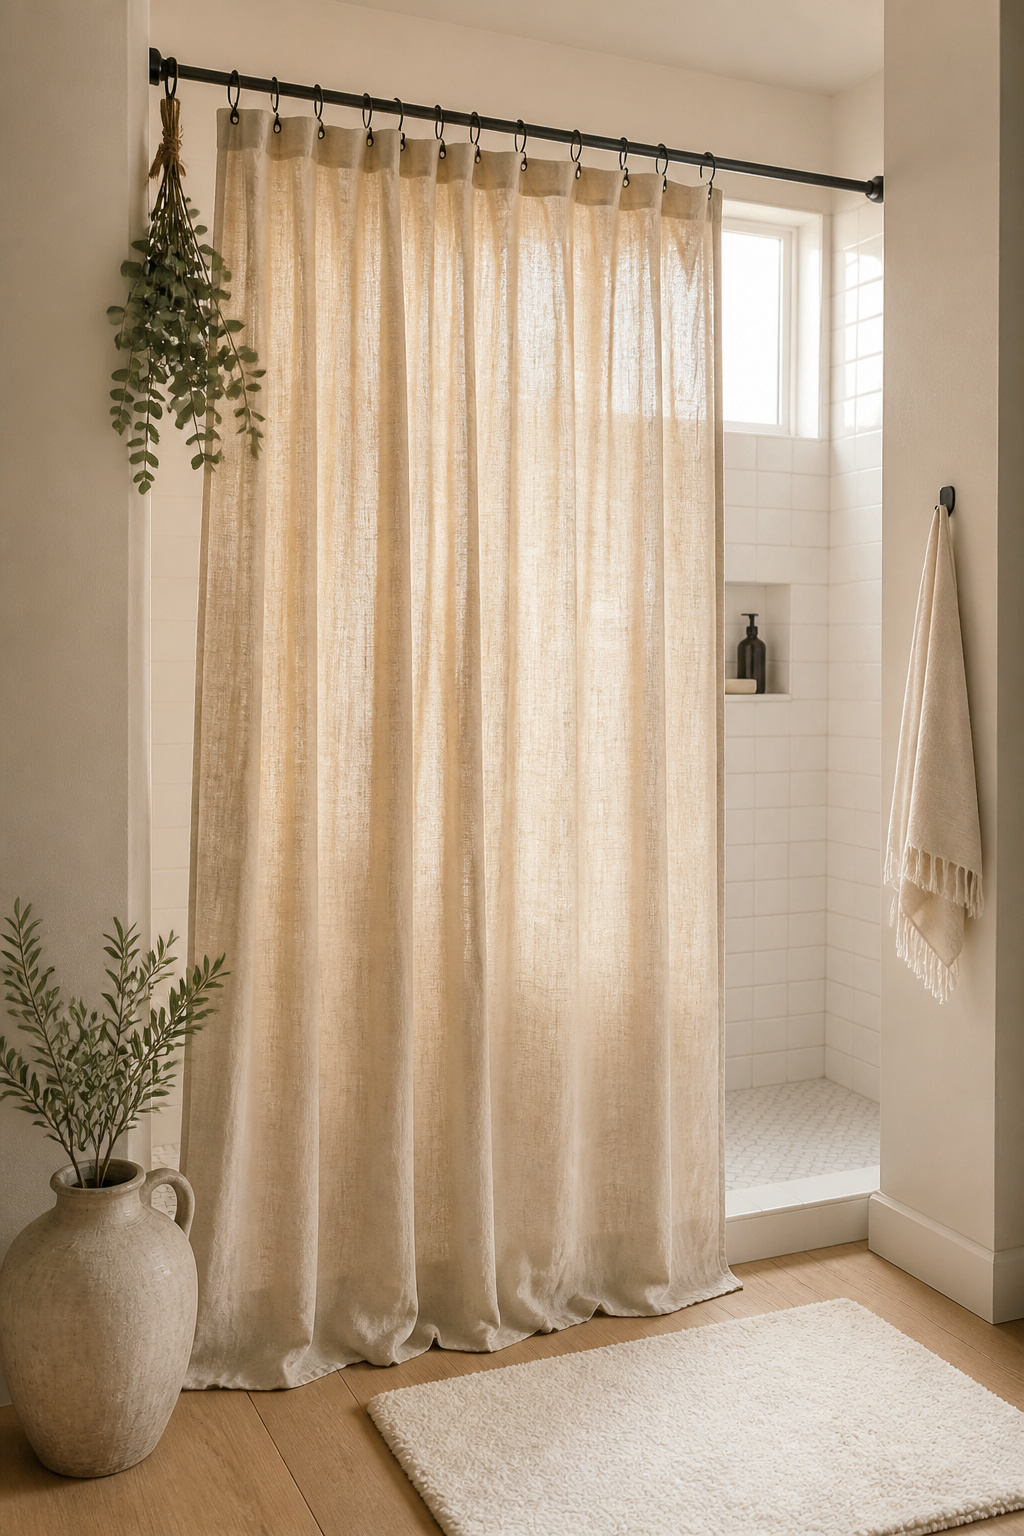
Linen and linen-poly blend curtains are the current consensus choice for a spa-like bathroom: the natural texture reads as elevated, the neutral tones work with virtually any vanity color, and the soft drape feels distinctly unlike a plastic liner. In a small bathroom, a solid neutral makes the space feel more open than a bold pattern; vertical stripes elongate a low ceiling. An 84-inch extra-long curtain in a room with an 8-foot ceiling creates a floor-to-ceiling effect that reads as expensive even when the curtain itself costs $30.
The budget breakdown: $15-$20 for a white PEVA liner (IKEA GULVIKEN or Amazon Basics), $25-$35 for a linen-blend curtain (Target Threshold or H&M Home), and $8-$12 for 12 rings in your chosen finish. Buy separate rings rather than using grommet hooks — real rings on a rod drape far better. And match the ring finish to your towel bar: that detail ties the whole accessories layer together without any additional cost.
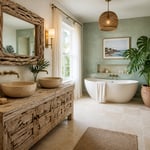
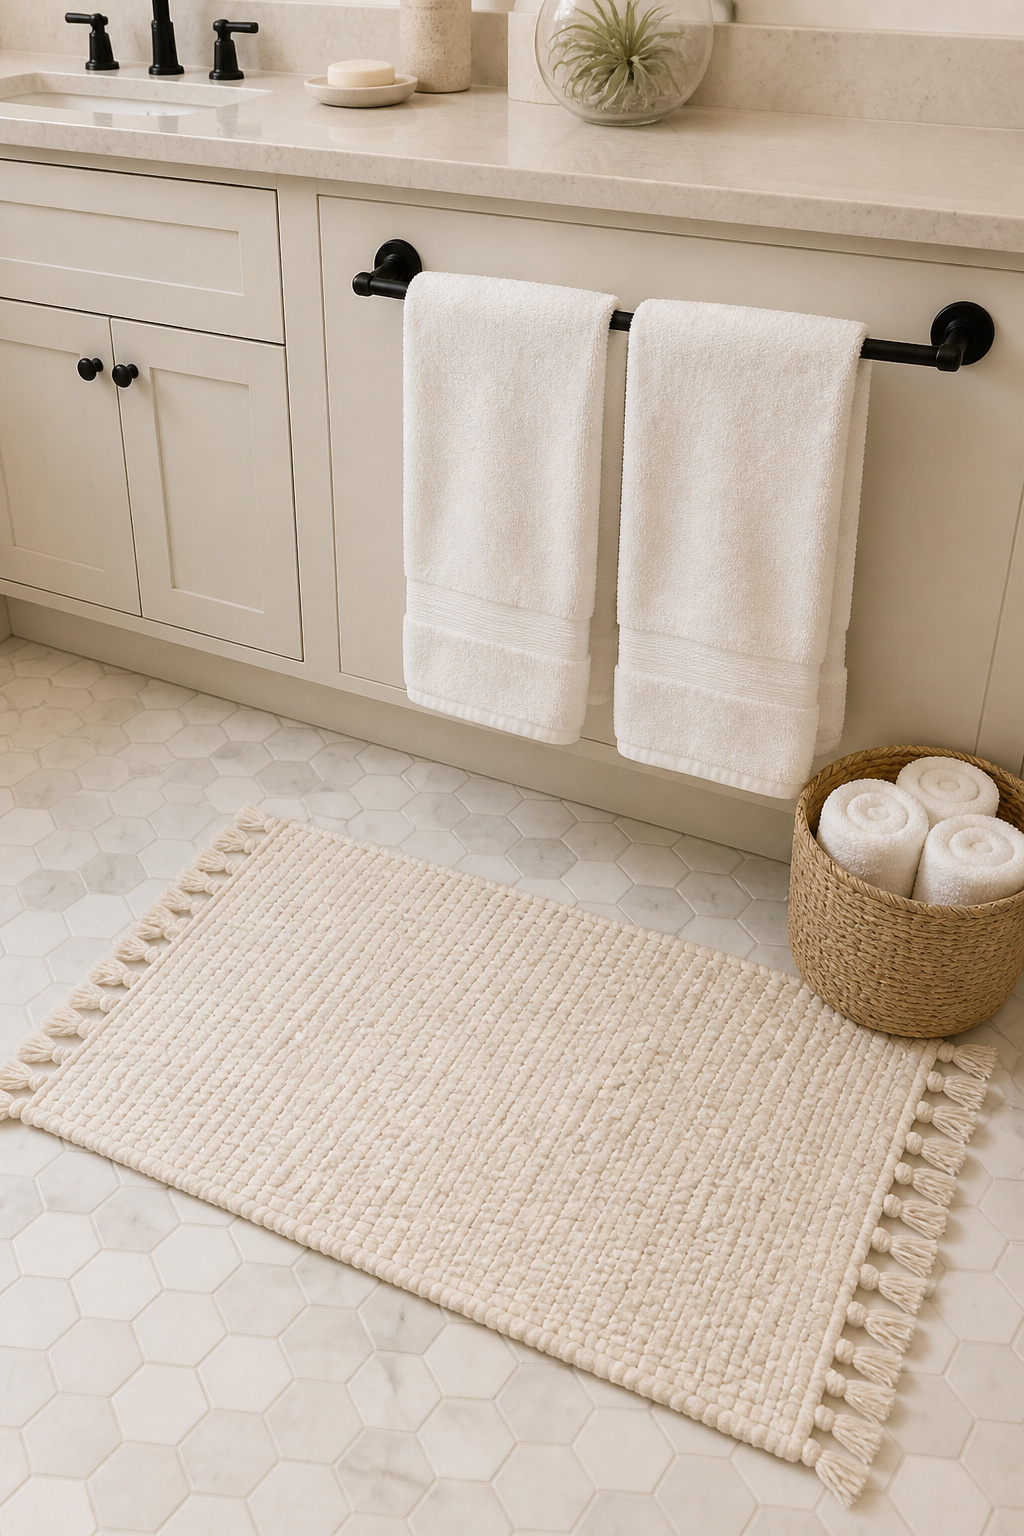
12. Introduce Plants and Woven Baskets for Texture on a Budget Bathroom Renovation
Plants in a bathroom do two jobs: they add life and organic texture, and they absorb humidity — which is exactly what you want them doing in a room that generates steam daily. Three plants handle bathrooms reliably. Pothos is the most forgiving: it tolerates low light, irregular watering, and actually benefits from bathroom humidity; it trails dramatically from a shelf or looks good in a macrame holder. Snake plant adds vertical structure without taking counter space and purifies air; water it every 2-4 weeks and make sure it drains well. Air plants absorb moisture directly from the air, require no soil, and cost $3-$10 each at garden centers.
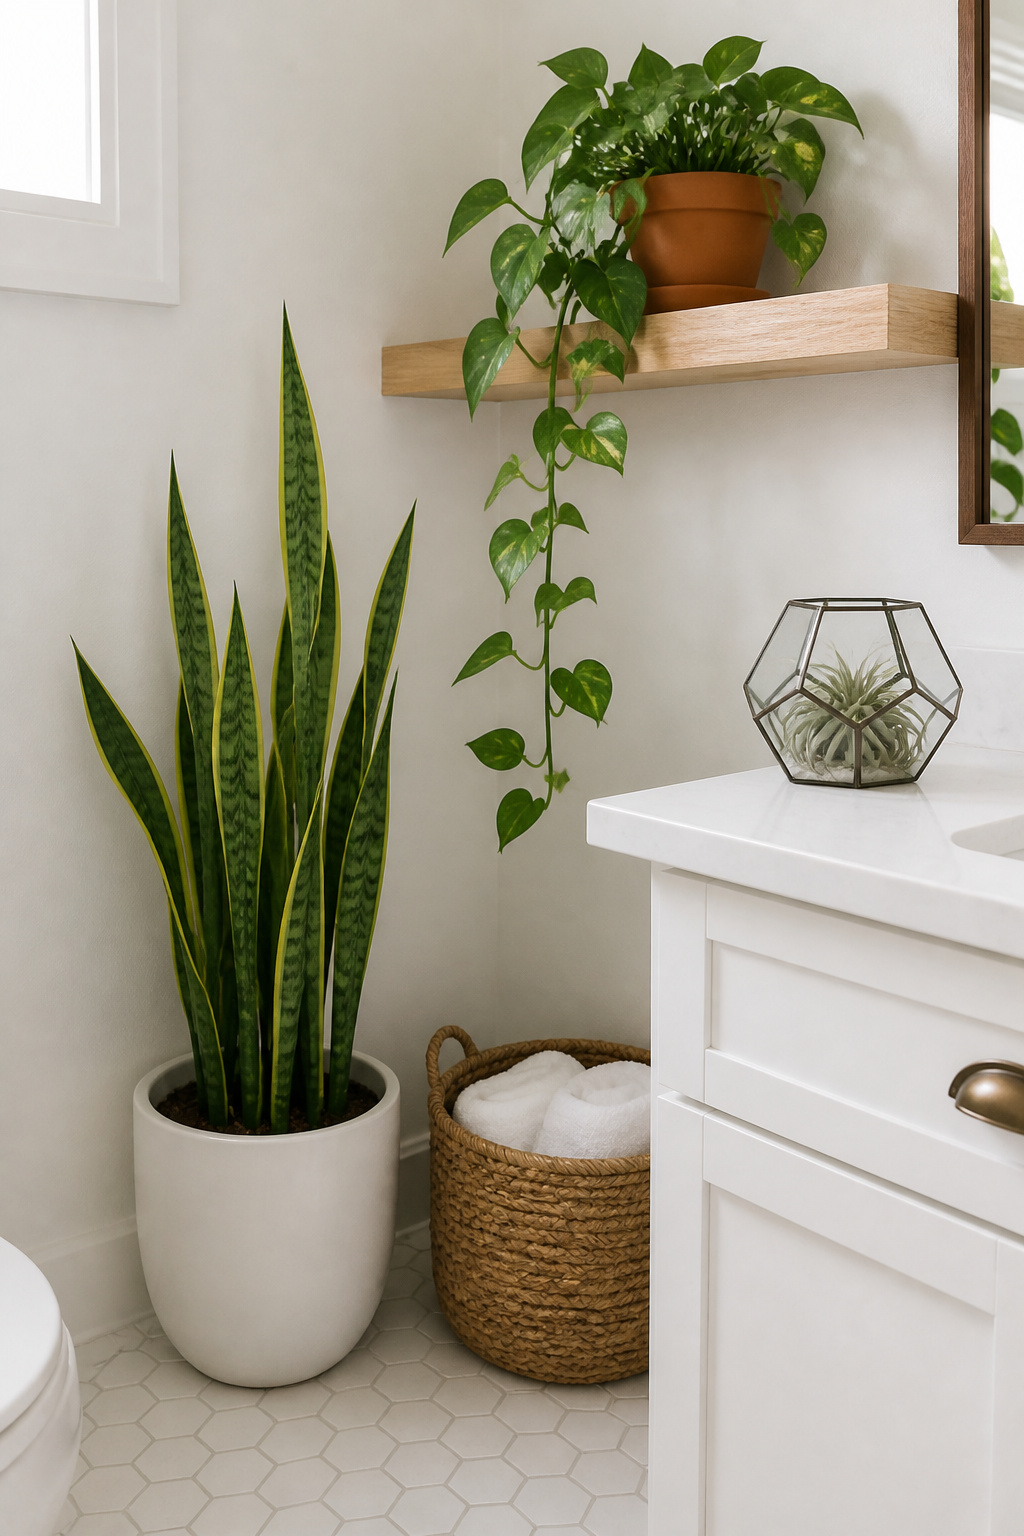
Woven baskets are the other piece of this. A seagrass or woven cotton basket does something no plastic organizer can: it holds the ugly necessities while adding organic texture that the eye reads as intentional. IKEA’s NIPPRIG seagrass baskets ($5-$12) and TJ Maxx wicker baskets ($8-$18) are identical in function to the $60 versions at specialty stores. On the back of the toilet, a tall narrow basket holding rolled hand towels looks curated; the same items in a plastic holder just looks functional.
Layer heights for the most put-together look: one tall plant on the floor or a stool, one medium on a shelf, one small on the counter. Two or three plants maximum in a standard bathroom — more than that competes with the other elements and starts to feel like a greenhouse. Match the basket material to the towels rather than the wall color: natural seagrass pairs with white or cream; dark wicker reads well with charcoal, navy, or deep green.
13. Swap In a New Toilet Seat — the Most Underrated Bathroom Renovation on a Budget
This is the project people laugh at when I mention it and thank me for when they do it. A toilet seat is the one bathroom renovation on a budget that takes under 10 minutes, requires no special tools, and costs $20-$35. An original builder seat from 2005 is yellowed, slightly loose on its hinges, and makes a sound when the lid drops. Every guest notices all three of these things.
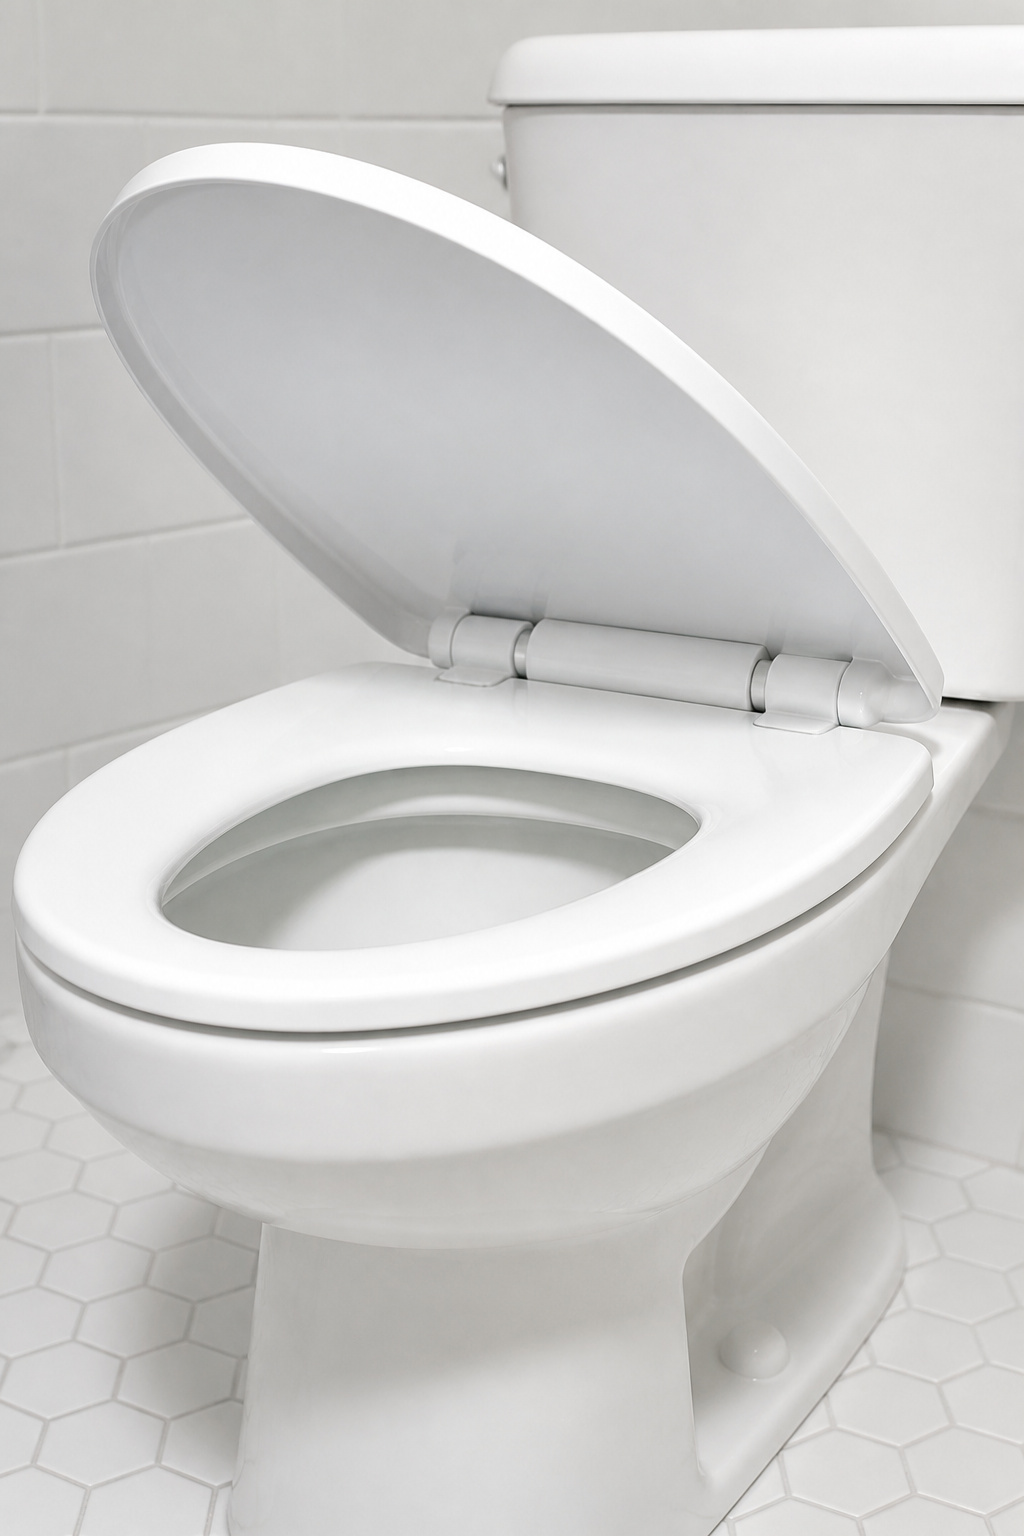
A matte white soft-close seat reads as “recently renovated” to anyone who uses the bathroom after you do it. The slow-close mechanism — the whisper-close feature — signals quality in the same way a quiet car door does: it’s the small thing that tells you something was engineered rather than manufactured to a price. The Mayfair Linden Slow Close ($22-$35) is the consistent mid-market recommendation: whisper-close hinge, heavy-duty plastic, Made in USA, fits Kohler, American Standard, TOTO, and most other major brands. Molded wood seats (Mayfair Cassel, $30-$40) feel warmer in cold months and look slightly more upscale; standard plastic works fine but feels noticeably thinner.
Getting the Right Size
Measure before buying: round toilet bowls measure approximately 16.5 inches from the bolt holes to the front; elongated measure about 18.5 inches. Wrong size and the lid won’t sit flat. Installation needs only an adjustable wrench: two plastic bolts drop through the toilet bowl holes, a nut tightens from below, and the seat snaps onto the hinge posts. Hand-tighten and add one quarter turn — the plastic mounting nuts crack easily if overtightened.
14. Add a Board-and-Batten or Beadboard Wall Treatment Below the Tile Line
This is the project that gets the most before-and-after gasps. Board-and-batten wainscoting adds real architectural detail — the kind that makes guests assume the bathroom was professionally renovated — and it costs $50-$150 in materials for a standard bathroom. The visual trick is the chair-rail cap: a horizontal piece at 32-36 inches creates an upper-lower zone that makes even a builder-grade bathroom feel custom-built.
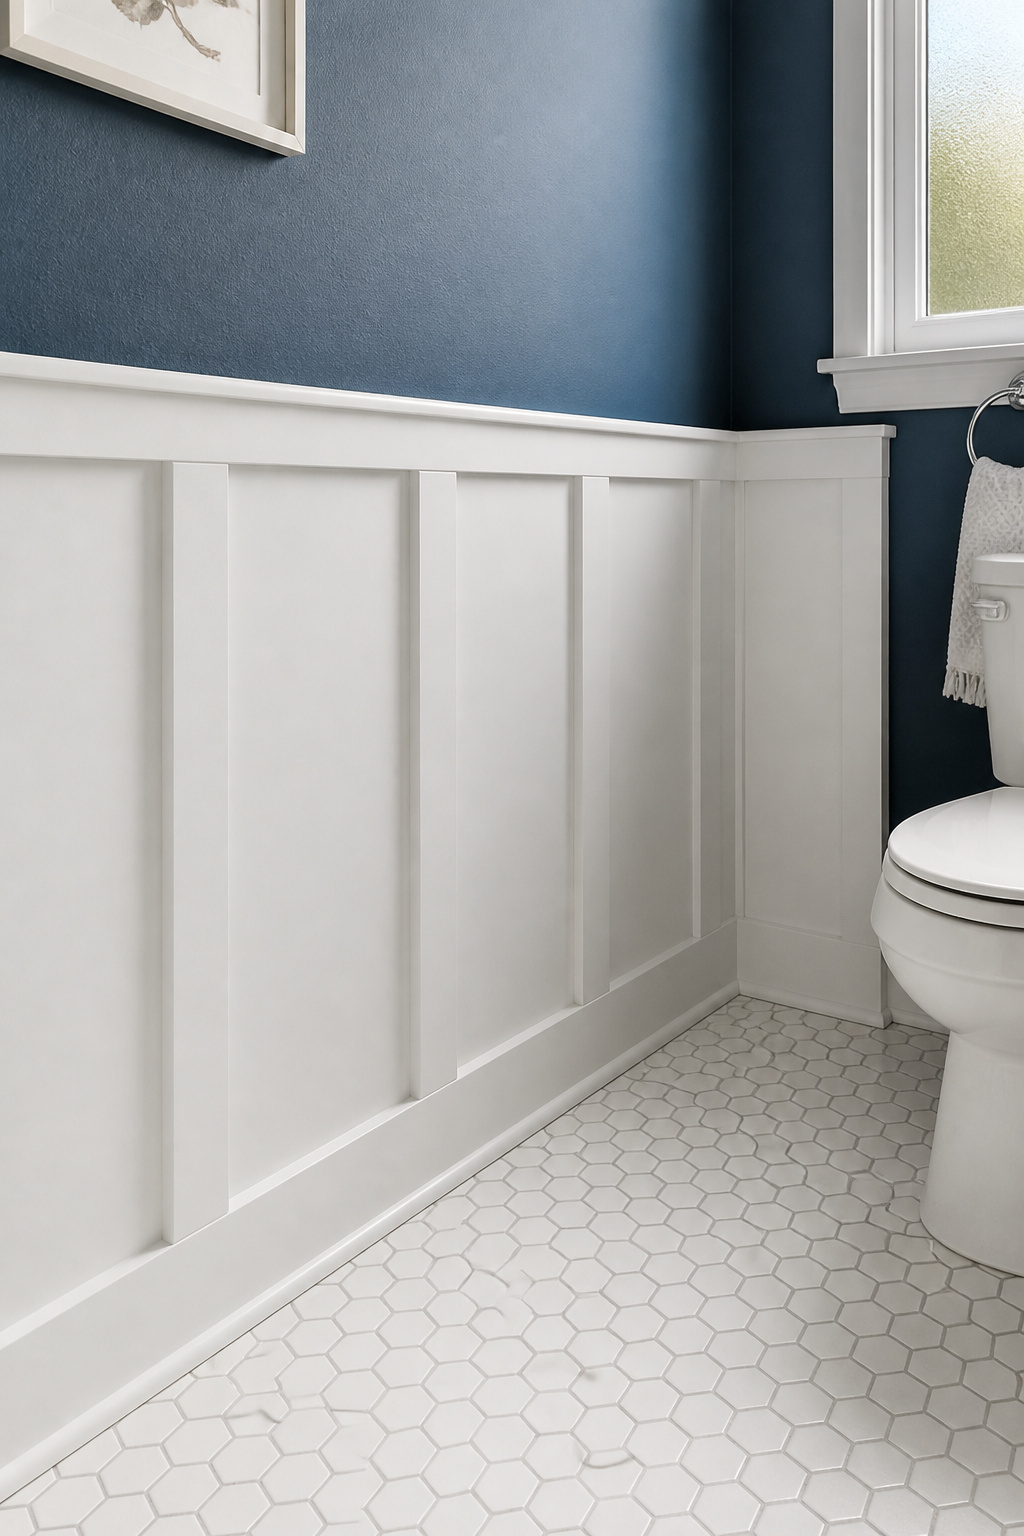
PVC trim boards are the right material for a bathroom wall treatment, full stop. They’re waterproof, won’t swell or warp in humidity, cut like wood, and cost about 20-30% more than MDF — worth it in a room that generates steam daily. If you use MDF for budget reasons, prime all six faces of each board with oil-based primer before cutting: water-based primer causes the edges to swell and crack, and that damage is permanent. Space battens 8-12 inches apart for a traditional look; 16 inches (on-stud) for a more modern, open feel. For how this treatment plays in rooms under 60 square feet, it’s worth checking out small bathroom design solutions for tight spaces before you start planning your layout.
Making It Look Built-In
The step that separates a DIY board-and-batten from a professional-looking one is caulking before painting. Run a thin bead of paintable caulk along every joint: where each batten meets the horizontal rail, where the boards meet the wall, and along the top of the chair rail cap. When that caulk dries and you paint over it, the whole treatment reads as one seamless piece. Use satin or semi-gloss for the treatment — more durable, easier to wipe down. White is the classic choice; deep navy, forest green, and charcoal are increasingly popular for making small bathrooms feel dramatic rather than diminished.
15. Layer Rugs, Towels, and Textiles to Complete Your Budget Bathroom Renovation
Soft goods are the most underestimated design tool in a bathroom. They cover more visual surface area than almost any single fixture, and they’re the most reversible change you can make — swap the rug, towels, and shower curtain and the room reads completely differently in ten minutes. Hotel bathrooms feel luxurious largely because of high-GSM white towels, not because of their plumbing. The same effect is available to anyone willing to spend $25-$40 on a good towel set.
For rugs, 100% cotton is worth prioritizing over microfiber. Cotton bath rugs hold their loft and texture through repeated washing far better; microfiber rugs pill, flatten, and look worn within a year. A 600-GSM towel is the hotel standard — noticeably plush and genuinely absorbent. Target Threshold, Amazon Basics, and — if you check in person regularly — TJ Maxx and HomeGoods (where luxury brands appear at 60-70% off retail) are the best budget textile sources. Ollie’s Bargain Outlet is another source people overlook: hotel-grade bath rugs and towel sets at 50-70% off, less curated, but genuine quality.
The styling approach that works: keep the value (light-to-dark ratio) consistent across your rug, towels, and shower curtain, even if the exact colors differ. All neutrals, all warm tones, or all cool tones — pick a direction and hold to it. Mixing too many color families in the soft goods layer makes the room feel chaotic rather than styled. Also, don’t buy cheap microfiber rugs just to tick the box — they flatten and pill within a year of daily use, and the end result looks worse than no rug at all.
How to Plan Your Bathroom Renovation on a Budget Without Overwhelm
The biggest reason bathroom renovation projects stall is that people try to do everything at once. They buy the tiles and the hardware and the curtain and the paint all in one weekend, start three projects simultaneously, and end up with a room that’s half-done in four different places. It feels like momentum in the first hour and chaos by Sunday night.
Sequence Your Projects
Sequence matters more than speed. Paint first — walls and cabinets — because it’s the highest-impact change and sets the visual baseline everything else coordinates to. Lighting and hardware come next, since the new hardware finish should coordinate with the freshly painted room, not the old wall color. Caulk and grout come after any tile or flooring work, because new caulk applied over construction dust or freshly cut edges won’t adhere. Soft goods go in last, after everything else is settled, because color-matching towels to a paint color you haven’t chosen yet is a moving target.
If you want to prioritize ruthlessly, the four highest-impact projects in this list — paint, lighting, hardware, and fresh caulk — will transform how the room reads without touching the tile, the floor, or the vanity structure. Do those four well before you do anything else. These 15 bathroom renovations on a budget cover everything from a 10-minute toilet seat swap to a weekend board-and-batten project, and the full list can be worked through gradually over several months rather than all at once. A bathroom that looks like it was just renovated is less about budget and more about finishing each project completely before you start the next one.