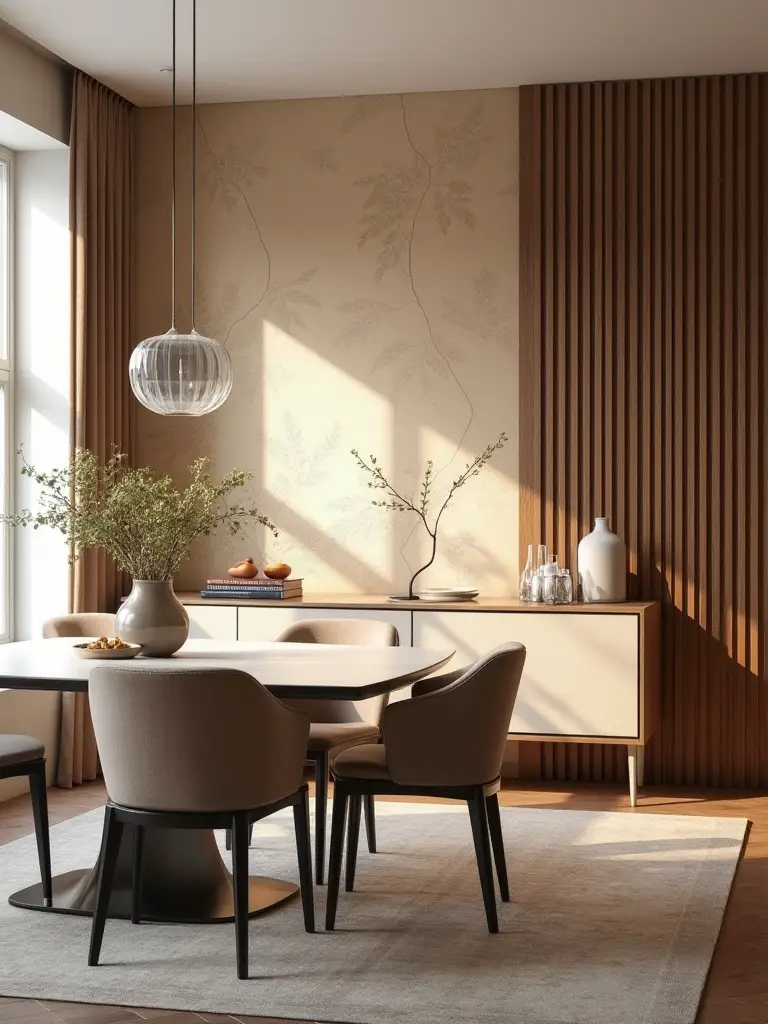
I was on a shoot last week, photographing a beautiful modern home. Everything was dialed in—the furniture, the light fixtures, the flow. Then we got to the dining room. And there it was: an Accent wall that felt like a complete stranger at a family dinner. The color was technically fine, but it was on the wrong wall, fighting with the light, and visually shrinking the space. It was a classic case of a good idea executed without a strategy.
That’s the trap so many people fall into. You see a cool idea on Pinterest, you get excited, you buy the paint, and you go for it. But a great accent wall isn’t just a different color. It’s an architectural element. It’s the Focal Point, the anchor for the entire room. Getting it right is what separates a space that looks intentional and high-end from one that just looks… decorated. So let’s talk about how to get it right. No corporate jargon, just the stuff that actually matters.
Strategic Planning & Concept Development for Your Dining Room Accent Wall (Part 1)
Before you even think about cracking open a can of paint or unrolling wallpaper, we need to talk strategy. This is the part everyone wants to skip, and it’s the single biggest reason accent walls fail. Getting these first few steps right saves you time, money, and the headache of having to repaint a wall you thought you’d love.
1. Define the Accent Wall’s Primary Purpose in the Dining Space
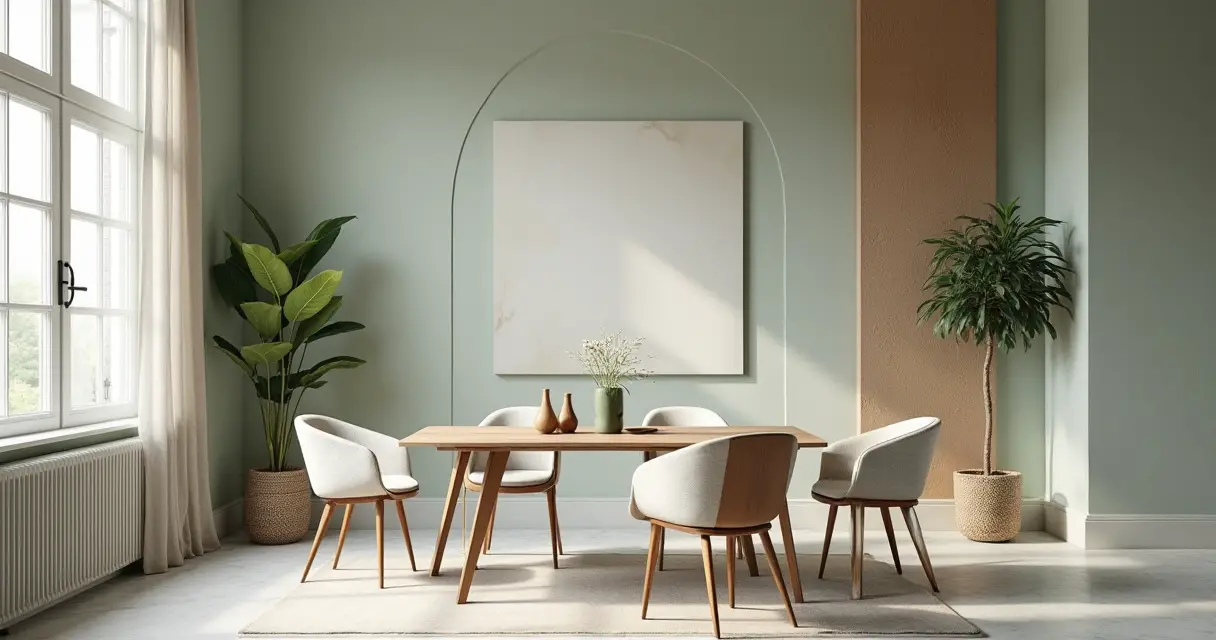
You know what people always ask me? “Which wall should I paint?” And my answer is always another question: “What do you want the wall to do?” An accent wall needs a job description. Is it there to add drama and create a backdrop for a beautiful piece of art? Is its purpose to visually expand the room by drawing the eye to the furthest point? Or is it meant to add architectural texture where there is none, like with paneling?
Don’t just pick a wall because it’s the biggest or the blankest. Think of it from a photographer’s perspective: you are composing a shot. Your accent wall is your subject. Everything else is secondary. If you just splash paint on a random wall, it’s not a focal point; it’s just a distraction. So before you do anything else, write down a single sentence defining your wall’s mission. For example: “This wall’s purpose is to create an intimate, cozy backdrop for dinner parties.” Boom. Now every decision you make serves that purpose.
With your wall’s mission defined, we can now look at the physical space itself. The biggest mistake is treating the room as a blank box, ignoring the powerful, non-negotiable elements that are already there.
2. Assess Room Layout and Natural Light for Optimal Wall Selection
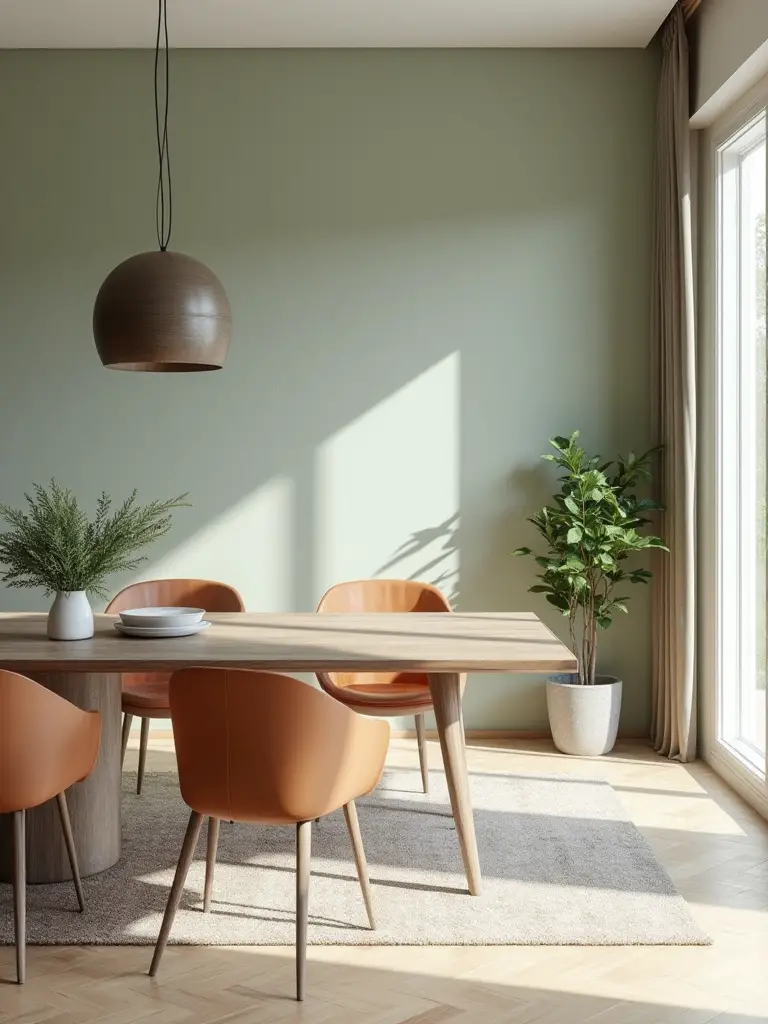
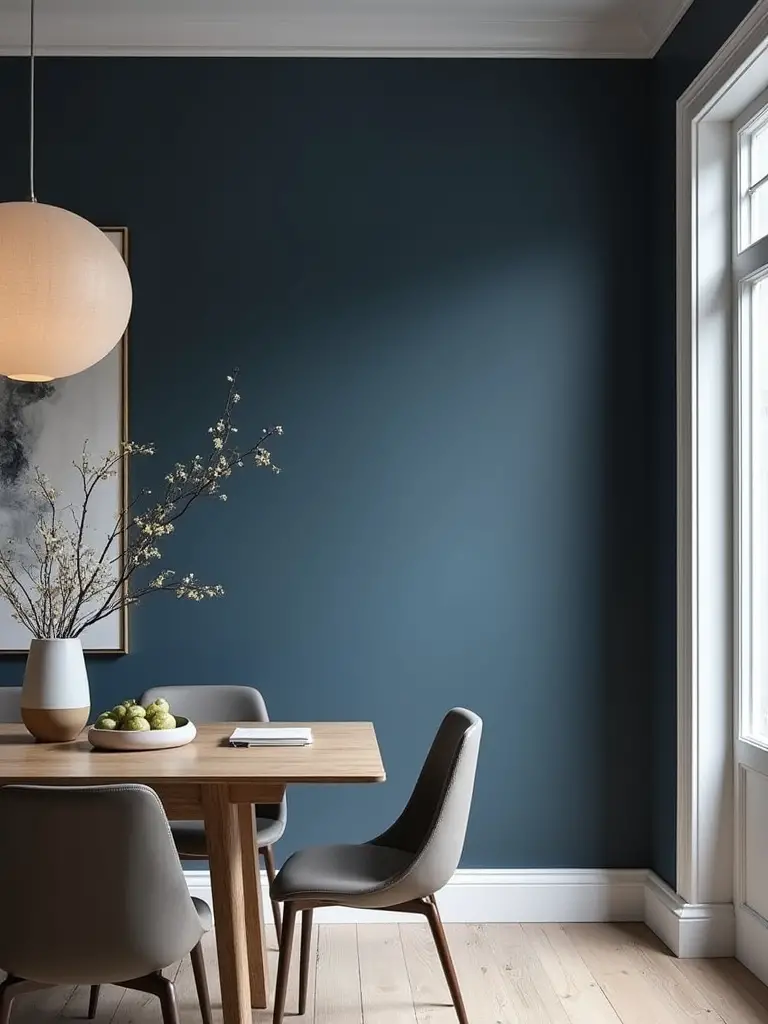
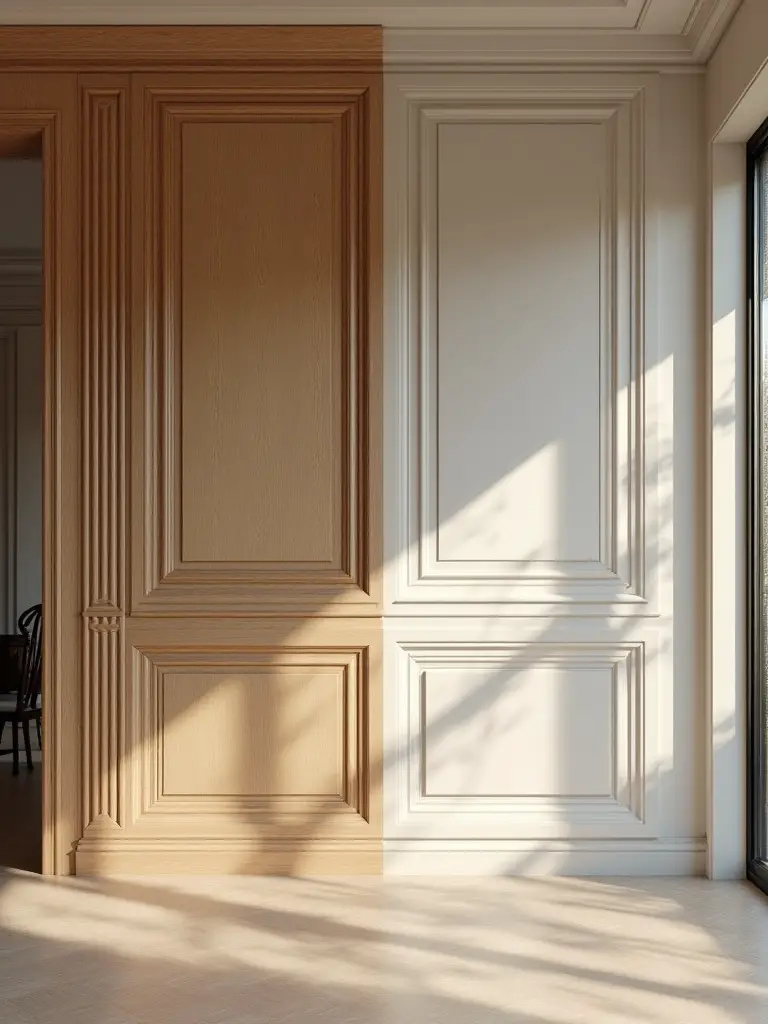
Can we talk about why so many people get light wrong? As a photographer, I can tell you light is everything. It can make a $100 gallon of paint look like a million bucks, or it can make it look muddy and cheap. Before you pick a wall, you have to watch how the light moves through your dining room for a full day. The wall that gets beautiful, soft morning light will look completely different in the harsh glare of the afternoon. A north-facing room gets cool, indirect light, which can make warm colors look dull and cool colors look sterile. A south-facing room gets bright, warm light all day, which can handle bolder, darker colors without feeling like a cave.
I learned this the hard way years ago. I painted an accent wall in my own home a deep, moody blue. I’d seen it in a magazine and loved it. But the room faced west. During the day it looked fine, but during dinner, when the setting sun hit it directly, the glare was so intense and the color so oversaturated it gave everyone a headache. I had to repaint it. Pick the wall that the light flatters, not fights. The best choice is often the first wall you see when you walk in, as long as it isn’t broken up by a bunch of windows or doors.
Now that you’ve analyzed the light and structure, it’s time to look at what’s already in the room. You’re not designing in a vacuum.
3. Analyze Existing Decor and Furniture Style for Cohesive Integration
Your accent wall needs to have a conversation with your dining table, chairs, rug, and light fixture. If they’re all speaking different languages, the room will feel chaotic. Everyone says to “match” your decor, but that’s bad advice. You don’t want it to be a perfect match; you want it to be a complement. It should feel like it belongs, but also like it has its own personality. Take a hard look at your furniture. Is it modern with clean lines? Traditional with ornate details? Industrial with raw materials?
Your accent wall should honor that style. If you have a rustic farmhouse table, a high-gloss, lacquered accent wall is going to feel completely out of place. Conversely, a Reclaimed wood wall might look strange with an ultra-modern glass table. Look for common threads. Maybe the grain in your wood table can be echoed in the texture of a grasscloth wallpaper. Maybe the metallic finish on your chandelier can be picked up in a wallpaper with subtle gold flecks. This is what creates that cohesive, designer look—subtle connections, not blatant matching.
Okay, let’s move beyond the obvious. Your options are so much broader than just picking a color from a paint swatch.
4. Explore Diverse Accent Wall Material Types Beyond Just Paint
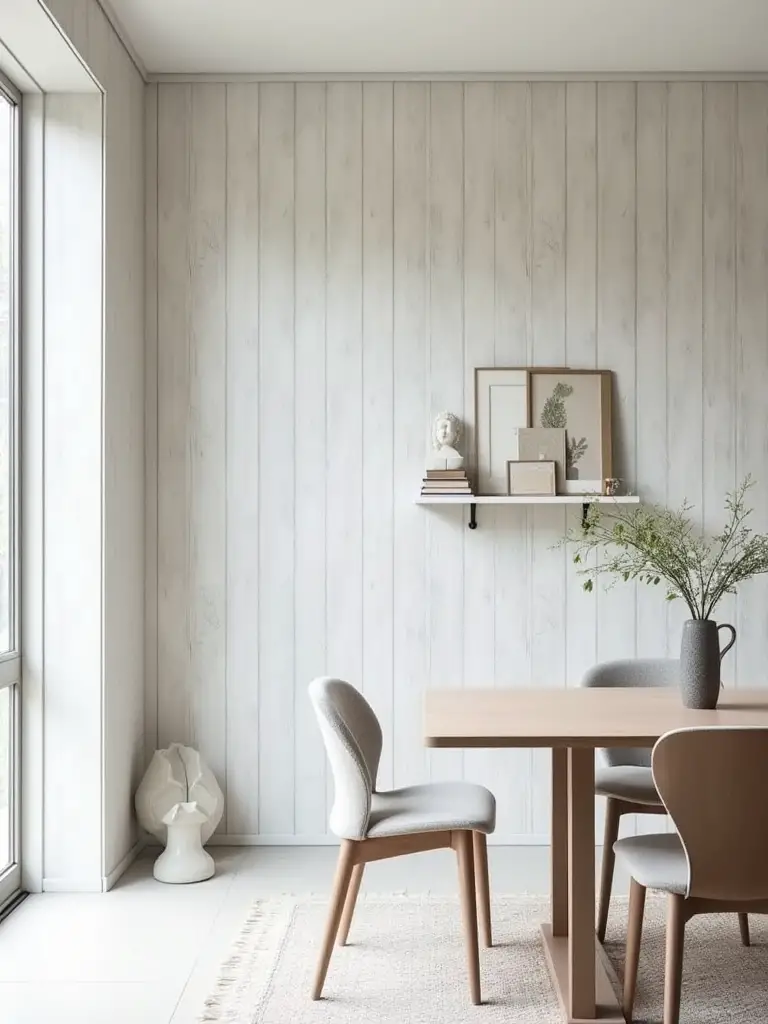
Paint is easy. It’s the default. But it’s also a two-dimensional solution to what could be a three-dimensional design opportunity. Moving beyond paint is where you can add serious character and depth. Think about texture. Imagine running your hand over a wall of horizontal shiplap painted a deep charcoal, or the subtle organic feel of a natural grasscloth wallpaper. These materials engage more than just your eyes; they add a tactile quality that makes a room feel richer and more custom.
Consider options like wood paneling, which adds architectural structure; stone or brick veneer for a raw, industrial vibe; or even large-format tiles for a sleek, dramatic statement. I once photographed a dining room where the owner had installed fluted wood panels from floor to ceiling and painted them a dark olive green. The way the light caught the ridges created these beautiful vertical shadows that changed throughout the day. It transformed a boring drywall box into something truly special. Don’t limit yourself to paint until you’ve at least considered the textural possibilities.
Strategic Planning & Concept Development for Your Dining Room Accent Wall (Part 2)
We’ve laid the strategic groundwork. Now it’s time to move from abstract ideas to a concrete plan. This is where you visualize the final product and figure out the logistics of making it happen without breaking the bank or losing your mind.
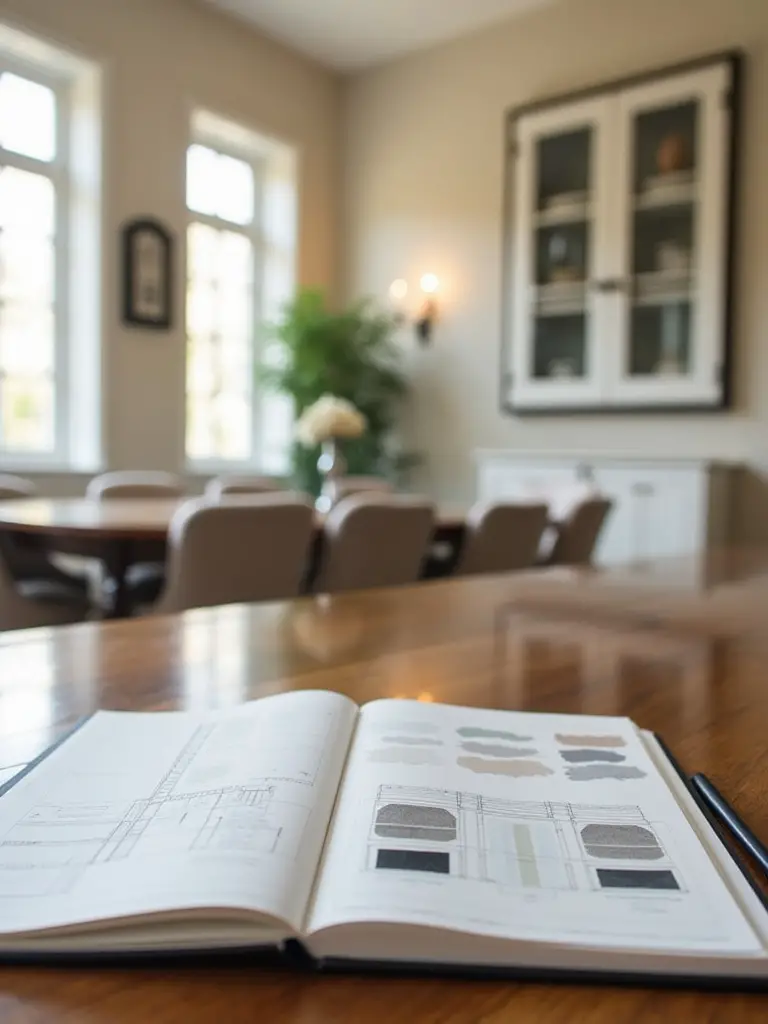
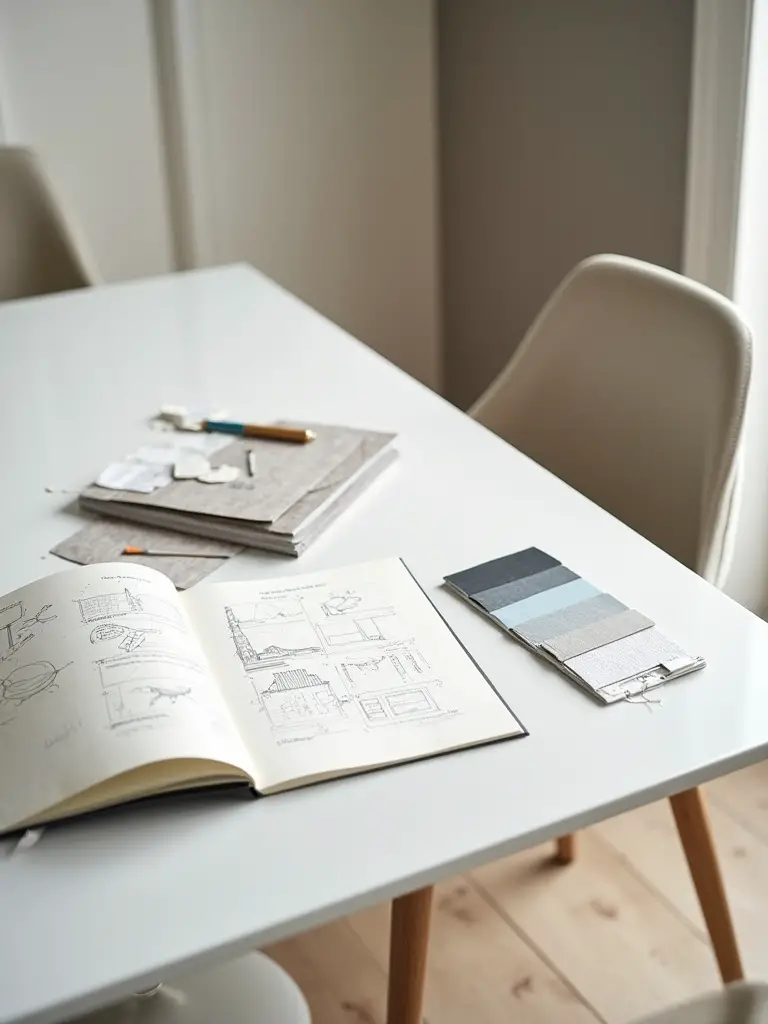
5. Create a Mood Board to Visualize Your Desired Aesthetic
I used to think mood boards were just for professional designers. Then I realized they’re just a visual checklist to keep your project from going off the rails. It’s your blueprint. A mood board isn’t just a collection of pretty pictures from Pinterest; it’s a curated set of images, colors, textures, and finishes that represent your final vision. Get physical with it. Go to the paint store and get actual swatches. Order samples of the wallpaper or wood finish you’re considering. Get fabric swatches that match your dining chairs.
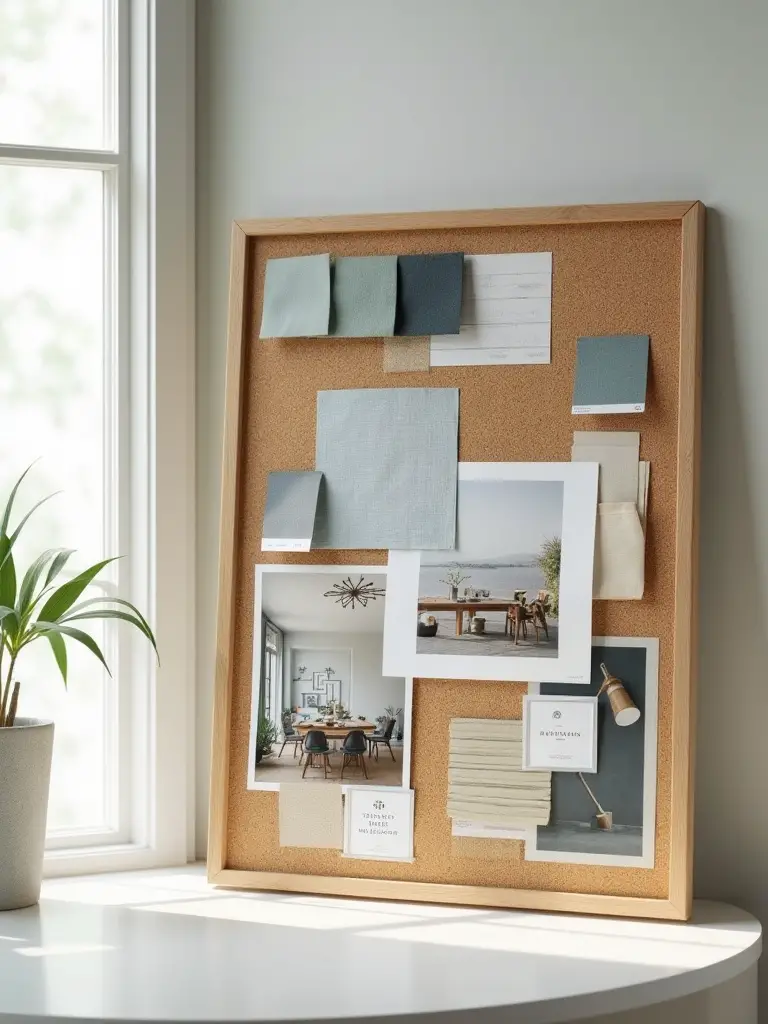
Pin them all up on a corkboard and put it in the dining room. Live with it for a few days. See how the colors and textures look in your room’s specific light. You might discover that the deep navy paint you loved online looks almost black in your space, or that the wallpaper pattern is too busy next to your rug. This is the single best shortcut to avoiding a costly mistake. It forces you to make decisions before you’ve invested hundreds of dollars and hours of your time.
Your visual plan is set. Now for the practical part: the budget. This is where most DIY projects either succeed or turn into a nightmare.
6. Set a Realistic Budget and Timeline for Your Project
Let’s get real about money. The BS everyone tells you is that a can of paint is cheap. And it is. But a project is never just a can of paint. You need primer, high-quality painter’s tape, rollers, brushes, drop cloths, and maybe spackle for repairs. If you’re doing paneling, you need the wood, adhesive, a nail gun, wood filler, and caulk. These “little things” can easily double the cost of your project if you don’t account for them.
Create a line-item spreadsheet for everything you need. Everything. Then, add a 15-20% contingency fund on top of that. This isn’t optional; it’s mandatory. Something will always go wrong. You’ll measure wrong and waste a piece of expensive trim, or you’ll need a second coat of primer. That contingency fund is what keeps a small hiccup from derailing your entire project. Same goes for the timeline. Account for drying times. Life happens. Build in an extra day or two. A rushed job is always a bad job.
Selecting Materials & Mastering Installation Techniques (Part 1)
Alright, the planning is done. Now for the fun part: choosing your materials and getting ready to bring this thing to life. The details here are what separate a good-looking wall from a stunning, professional-quality feature.
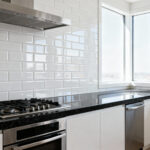
7. Choose the Perfect Paint Finish for Durability and Visual Impact
Can we talk about paint sheen? Everyone obsesses over color, but the finish you choose is just as important, especially in a dining room. This is a high-traffic area. Chairs get pushed back, drinks get spilled, and fingers touch walls. A flat or matte finish might look sophisticated and hide imperfections, but it scuffs if you so much as breathe on it and is nearly impossible to clean. Save it for the ceiling. A high-gloss finish is bulletproof and easy to clean, but it reflects light like a mirror and will highlight every single flaw in your drywall.
For a dining room accent wall, the sweet spot is almost always an eggshell or satin finish. They have just enough sheen to be durable and wipeable without creating a distracting glare. They offer a subtle, soft glow that makes colors look richer and more dimensional. Don’t let your desire for a trendy ultra-matte look override the practical needs of the space. There are some new scrubbable mattes on the market, but for my money, satin is the workhorse of dining room walls.
If you’re ready to graduate from paint, let’s discuss wallpaper. It’s not your grandmother’s fussy floral patterns anymore.
8. Select Wallpaper Patterns and Textures for Depth and Personality
Modern wallpaper is a complete game-changer. The textures, patterns, and quality are incredible. From subtle linen and grasscloth textures that add warmth to bold, large-scale graphic patterns that act as art, wallpaper offers a level of personality paint just can’t touch. But the key is scale. The biggest mistake I see is a tiny, busy pattern in a large room (it just looks like static from a distance) or a massive, overwhelming pattern in a tiny room (it will make the walls feel like they’re closing in).
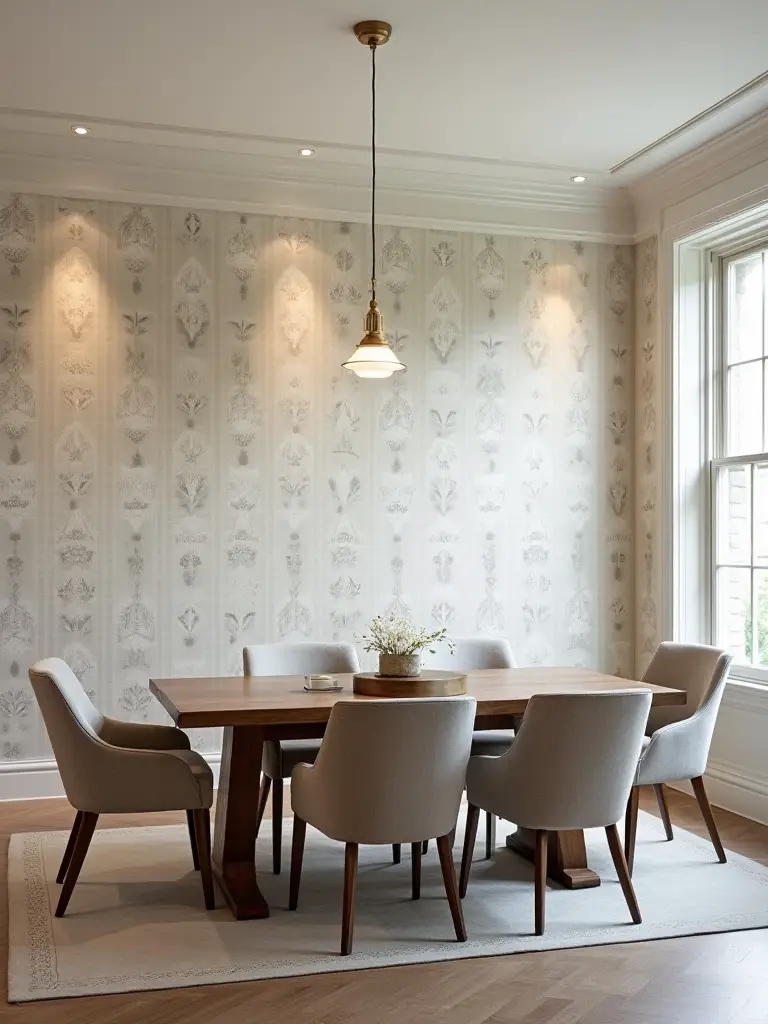
Always, and I mean always, order a large sample. Tape it to the wall. Look at it in the morning, afternoon, and evening. See how it plays with your light fixtures at night. A pattern that looks amazing online can feel completely different in your home. And here’s a shortcut: if you’re nervous about commitment or you’re a renter, high-quality peel-and-stick wallpaper is your best friend. It allows you to go bold without the lifelong commitment.
Want to add some architectural heft? Paneling is the way to go.
9. Consider Paneling Options like Wainscoting or Board and Batten for Architectural Interest
Paneling is how you add bones to a boring, boxy room. It creates dimension, shadow lines, and a sense of permanence. Wainscoting—which is typically paneling on the lower third of the wall—is a classic, traditional look that can make a dining room feel more formal and elegant. Board and batten, with its simple grid-like pattern of wood strips, can lean modern farmhouse or be adapted for a more contemporary look depending on the spacing and paint color.
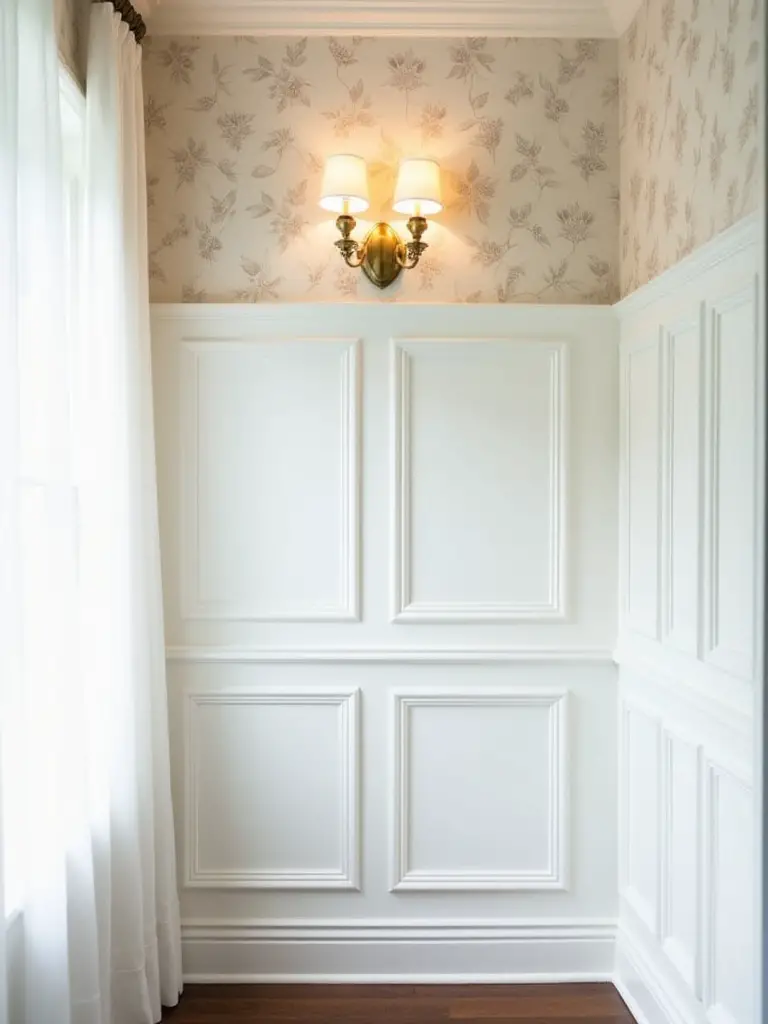
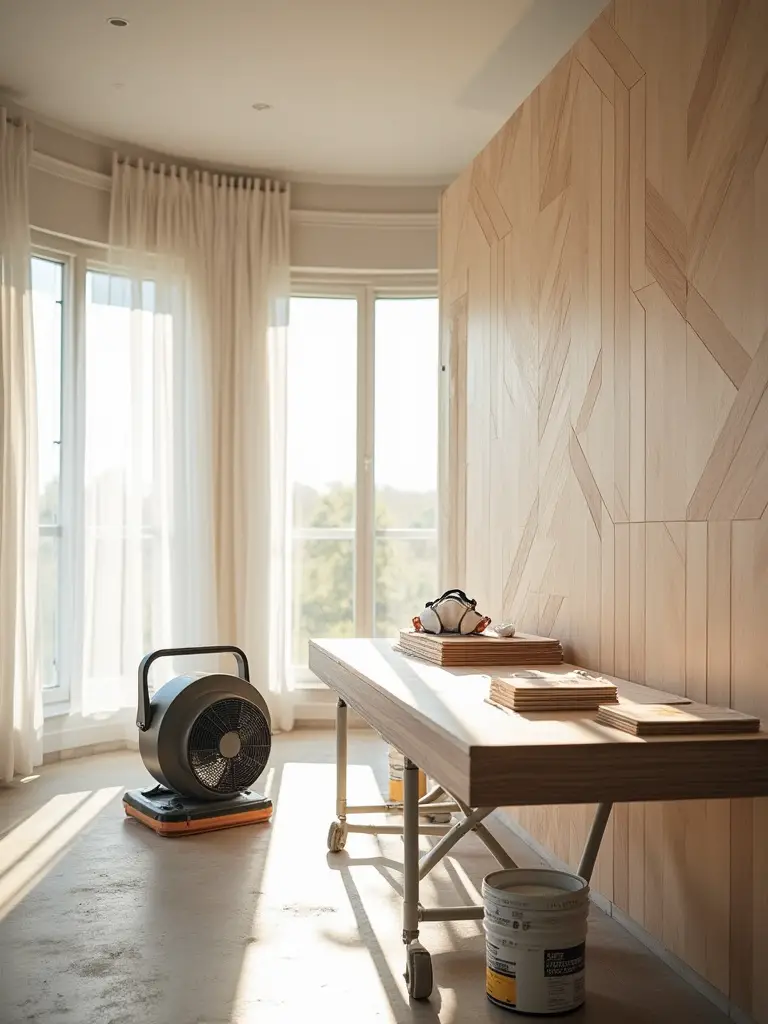
This is a project that looks intimidating but is very doable for a determined DIYer with the right tools (a miter saw and a nail gun are essential). The trick is in the prep and the math. Measure everything three times before you cut once. And don’t cheap out on the finishing. Caulk all your seams and fill every nail hole before you prime and paint. Those tiny details are what make the final product look like a high-end custom job instead of a weekend project.
For those who want to make a truly bold, textural statement, nothing beats tile or stone.
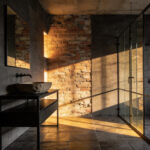
10. Explore Tiled Surfaces (e.g., Stone, Brick Veneer) for a Dramatic Statement
This is the showstopper. An accent wall of thin brick veneer, stacked stone, or even large-format porcelain tile adds a level of texture and gravitas that’s impossible to ignore. It brings an organic, substantial feeling to a room, grounding the space. A raw brick wall can lend a cool, urban loft vibe, while a slate or travertine wall can feel sophisticated and earthy.
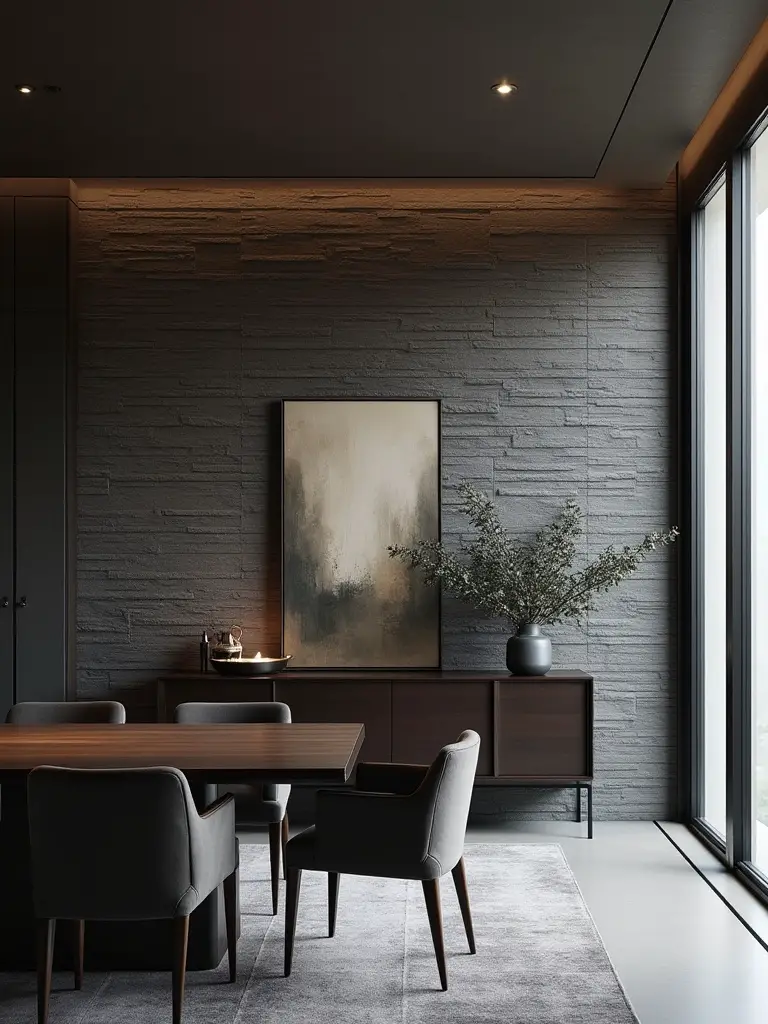
But this is not a beginner’s project. The most common screw-up is improper preparation. You cannot slap heavy stone or brick veneer directly onto drywall. The wall needs to be prepped, often with a cement backer board, to handle the weight. The layout also has to be meticulously planned so you don’t end up with tiny, awkward slivers of tile in the corners. This is one of those areas where hiring a professional is often the smartest move, unless you have serious tiling experience.
Selecting Materials & Mastering Installation Techniques (Part 2)
We’re in the home stretch of the planning phase. These final steps are all about execution—making the right calls on how to get the job done and ensuring you’re working safely and smartly.
11. Understand DIY vs. Professional Installation for Different Materials
Here’s the unfiltered truth: just because you can DIY something doesn’t mean you should. Be brutally honest with yourself about your skills, your tools, and your patience.
Paying a professional isn’t a failure; it’s an investment in a flawless finish. The money you save by DIY-ing a project you’re not equipped for will be quickly eaten up when you have to hire someone to fix your mistakes.
Craig’s DIY-vs-Pro Checklist:
Regardless of who does the work, this next step is non-negotiable.
12. Prepare the Wall Surface Meticulously for Flawless Application
I’m going to say this as plainly as possible: preparation is 90% of the job. It’s the boring, unglamorous work that nobody wants to do, and it’s the single most critical factor in achieving a professional result. Any paint, wallpaper, or paneling you put on a dirty, dusty, or damaged wall is destined to fail. It will peel, bubble, or look lumpy.

Your prep process must include these steps, in this order:
- Clean: Wash the wall with a TSP substitute to remove any grease, grime, or dust.
- Repair: Fill every single hole, crack, and dent with spackle. Sand it perfectly smooth.
- Clean Again: Wipe the entire wall down with a damp cloth to remove all the sanding dust.
- Prime: Apply a coat of high-quality primer. This seals the surface, ensures your final color is true, and gives your paint or adhesive something to grip onto.
Skipping any of these steps is like building a house on a shaky foundation. It might look okay for a week, but it will eventually fall apart.
Finally, let’s talk about staying safe. It’s easy to get excited and jump right in, but you only get one set of lungs and eyes.
13. Implement Proper Ventilation and Safety Measures During Installation
This isn’t just about paint fumes. Sanding drywall compound creates a massive amount of fine dust that you do not want to be breathing in. Cutting MDF for paneling releases particles and adhesives into the air. Adhesives and cleaners can have potent VOCs.
It’s simple: open the windows. Get a box fan and point it outwards to create negative pressure that pulls air out of the room. When you’re sanding or cutting, wear an N95 mask. When you’re painting or using chemicals, wear safety glasses. It takes ten extra seconds and can save you from a world of hurt. Keep your workspace clean and uncluttered to avoid tripping hazards. A safe project is a successful project.
Elevating Your Accent Wall Through Styling, Lighting & Maintenance (Part 1)
The wall is done. The paint is dry, the wallpaper is up. But the job isn’t over. Now you have to style it and light it correctly. This is how you integrate the wall into the room and make it truly sing.
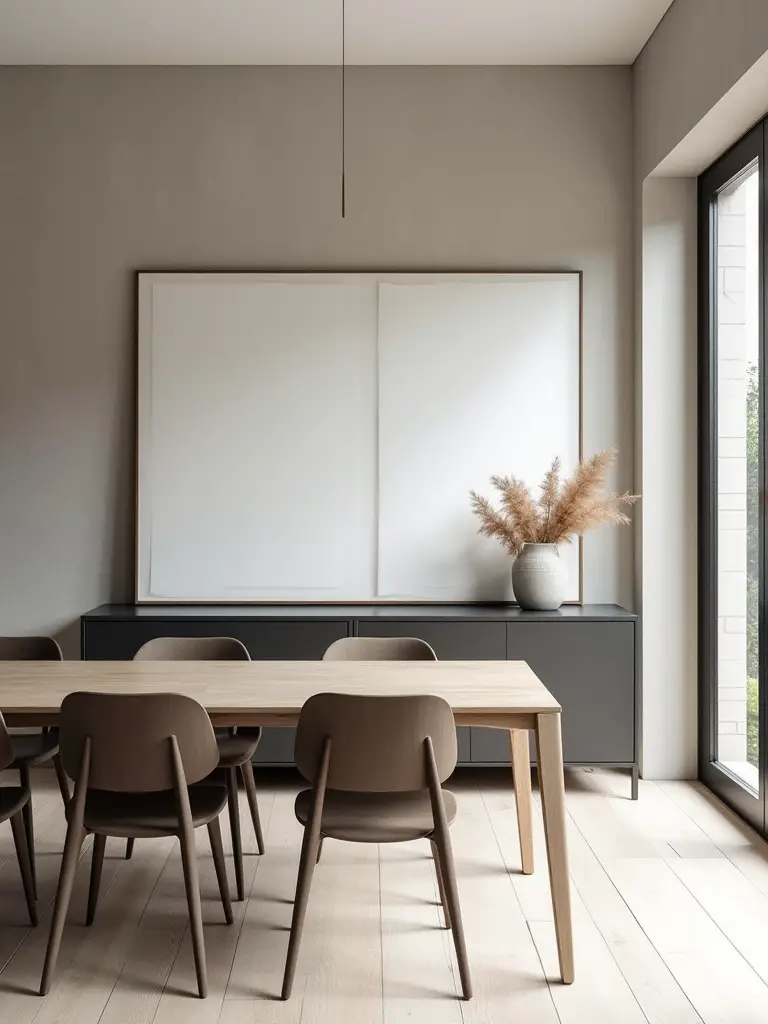
14. Incorporating Artwork or Mirrors to Complement the Accent Wall
A big, blank accent wall is a missed opportunity. But don’t just throw a bunch of tiny pictures on it. Think about scale and purpose. If your accent wall has a bold, busy pattern, a large, simple mirror with a thin frame is often the perfect choice. The mirror won’t compete with the pattern; it will add depth and bounce light around the room, making the space feel bigger and brighter.
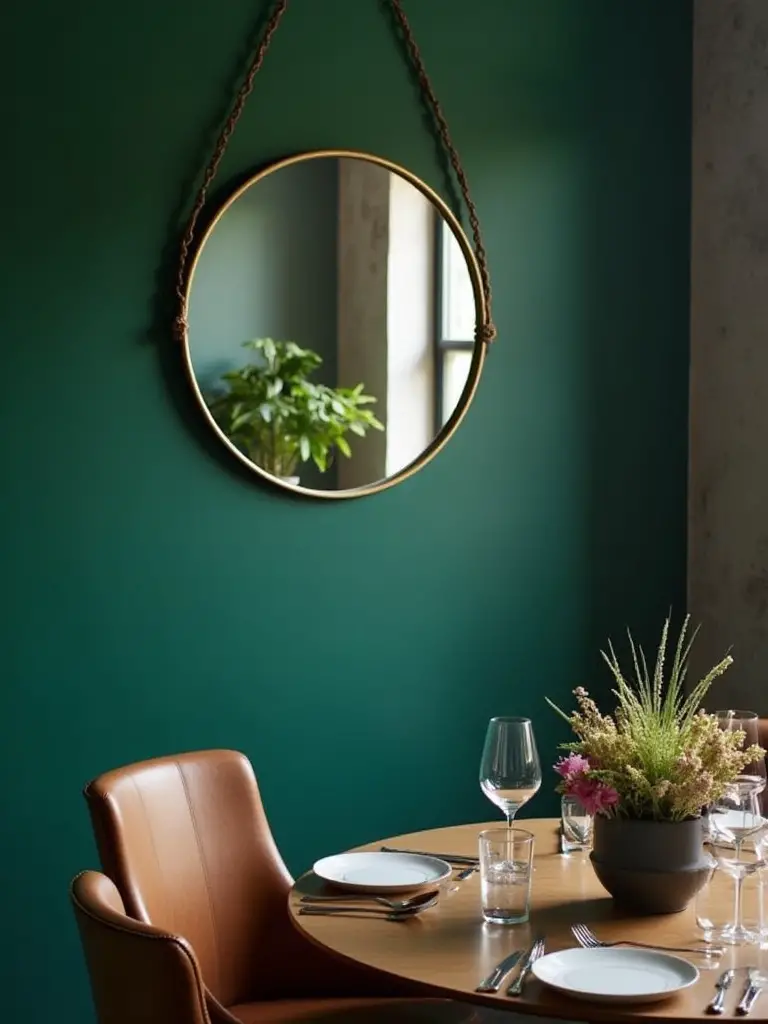
If your wall is a solid, dark color, it’s the perfect backdrop for artwork. My professional tip? Go bigger than you think you should. One large, impactful piece of art will look far more sophisticated than a clutter of small frames. Center it over your sideboard or in the middle of the wall, and hang it at eye level (the center of the piece should be about 57-60 inches from the floor). This creates a clear, confident focal point.
Your art or mirror is hung. Now, let’s put it in the spotlight.
15. Use Strategic Lighting to Highlight Texture and Color
Lighting is the secret weapon of all great design. You can take a perfectly good accent wall and make it look absolutely breathtaking with the right light. If you have a textured wall—like brick, stone, or fluted paneling—the technique you want to use is called “wall grazing.” This is where you place lights (like recessed ceiling lights or a track light) very close to the wall, aimed straight down or up. The light rakes across the surface at a steep angle, creating dramatic shadows that highlight every bit of texture.
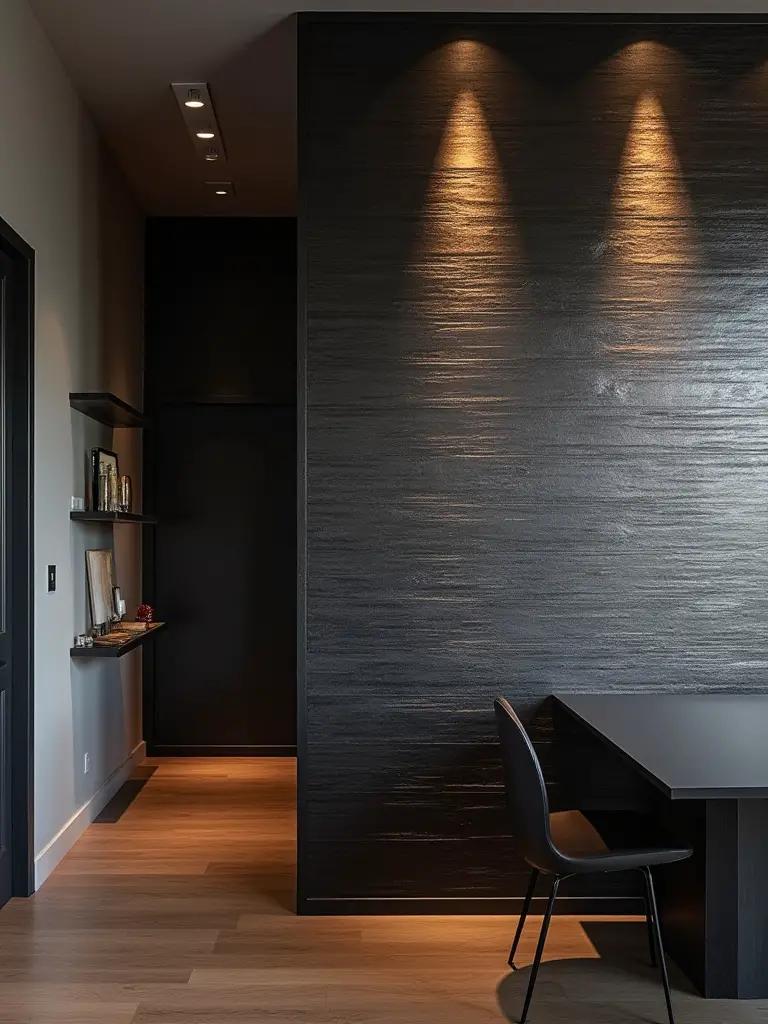
If your wall is all about a rich, saturated color, you’ll want to use a “wall wash” technique instead. Place the lights further from the wall so they cast a broad, even sheet of light that eliminates shadows and makes the color look pure and vibrant. In either case, install a dimmer switch. This is non-negotiable. The ability to control the intensity of the light allows you to change the entire mood of the room, from bright and festive to low and intimate.
The wall is lit, now let’s make sure you can actually see it.
16. Arrange Furniture to Optimize the Accent Wall as a Focal Point
You just put all this work into creating a stunning focal point. Don’t hide it behind a giant cabinet. Your furniture arrangement should frame and feature the accent wall. The dining table should be centered on it, creating a clear visual axis. A sideboard or buffet can be placed against the wall, but it should be lower than eye level and not so wide that it covers the whole thing up.
The goal is to create a composition where the wall is the hero. Step back and look at the room from the doorway. Does your eye go directly to the accent wall? Is the path to it clear? Does the furniture support it or compete with it? If your giant heirloom hutch is blocking the best part of the wall, you have to be willing to move it. Be ruthless. A great design requires making confident choices.
One last detail that makes a world of difference: the transitions.
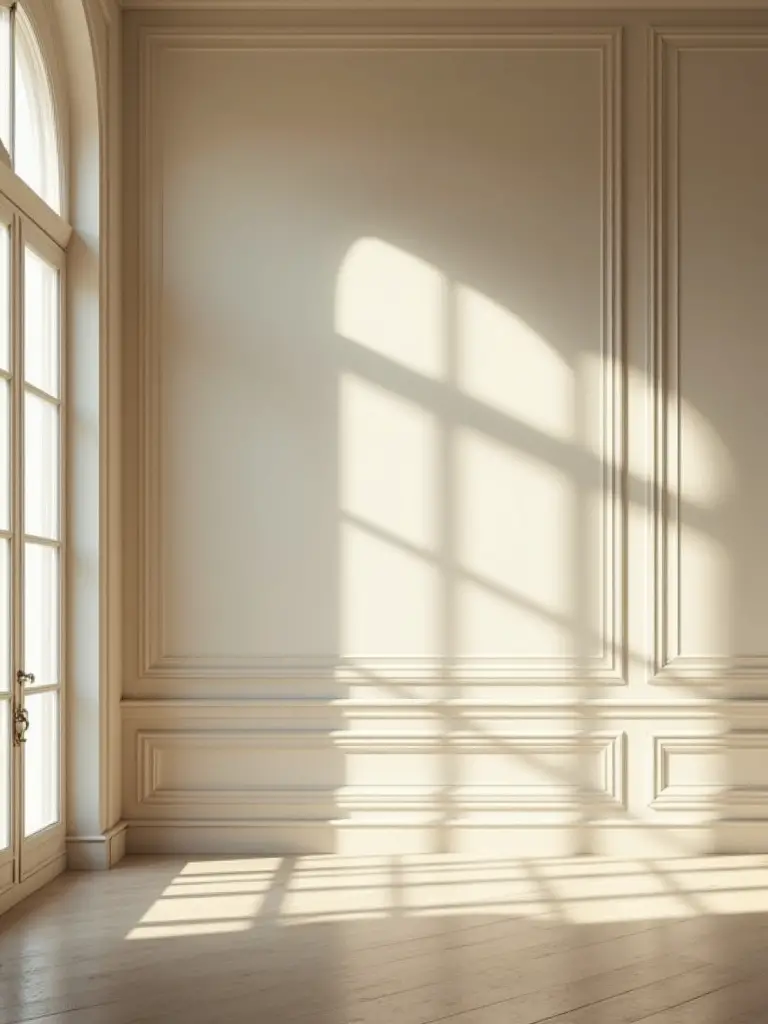
17. Blend with Adjoining Walls and Trim for a Polished Transition
How your accent wall meets the other walls, the trim, and the ceiling is a detail that screams “amateur” or “pro.” Abruptly stopping a dark color at a corner can look jarring. One of my favorite pro tricks is to “wrap” the corner. If you have a small corner or jog in the wall, continue the accent color onto that small return. It makes the color feel more intentional and architectural.
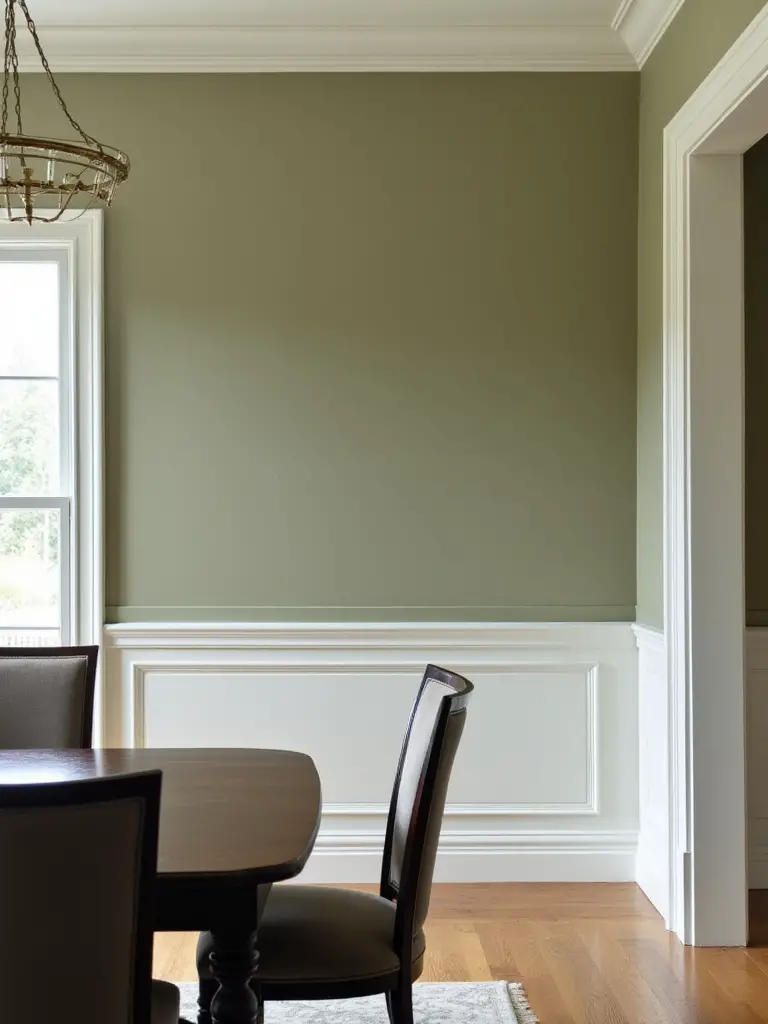
Another high-end technique is “color drenching.” This means you paint the wall, the baseboards, the crown molding, and even any window trim or doors on that wall all in the same accent color and finish. It creates a bold, monolithic look that feels incredibly modern and sophisticated. If you’re not that brave, at least make sure you have a super-crisp line between your accent color and your other walls, achieved with high-quality painter’s tape. It’s a small thing that has a massive impact.
Elevating Your Accent Wall Through Styling, Lighting & Maintenance (Part 2)
Your dining room looks incredible, but our work isn’t quite done. A truly great design considers the future. We need to plan for how the wall will evolve and how you’ll take care of it so it looks this good for years to come.
18. Plan for Future Color or Material Updates Without Major Renovation
Trends change. Your tastes will change. The biggest mistake is installing something so permanent and specific that you’re stuck with it for 30 years. Instead, think about “design agility.” If you love the idea of bold patterns but are worried you’ll tire of them, use high-quality peel-and-stick wallpaper. It looks fantastic and can be removed in a couple of hours with no wall damage when you’re ready for a change.
Another great strategy is to use a system of panels mounted on French cleats. You can wrap these panels in fabric, wallpaper, or even thin wood veneer. When you want a new look, you just lift the old panels off and hang up new ones. This allows you to completely transform your accent wall in an afternoon with minimal cost and disruption. Thinking about the exit strategy for your design from the very beginning is one of the smartest things you can do.
Finally, let’s make sure your beautiful new wall stays beautiful.
19. Maintain and Clean Your Accent Wall Material Appropriately
You don’t clean a wood-paneled wall the same way you clean a painted one. Using the wrong cleaner can cause irreversible damage. Before you clean anything, you need to know exactly what you’re working with. For most painted walls (with an eggshell or satin finish), a soft cloth with a tiny bit of mild dish soap and warm water is all you need. Always test any cleaner in an inconspicuous spot first.
For wallpaper, especially textured or natural fiber ones like grasscloth, water is often the enemy. These usually need to be gently vacuumed with a brush attachment. Spills must be blotted immediately. For wood, use a dedicated wood cleaner, not a generic all-purpose spray. Keep a cheat sheet of the manufacturer’s cleaning instructions for your specific material taped inside a kitchen cabinet. A little bit of a proper, consistent care will keep your investment looking brand new for years.
Conclusion
So there you have it. The full download, from initial strategy to long-term care. An accent wall is one of the most powerful tools you have to completely transform a room, but it requires more than just a whim and a can of paint. It demands intention. When you treat it like an architectural feature—when you consider its purpose, the light, the texture, and its relationship to everything else in the room—you move beyond just decorating and into the realm of true design. You’re creating a feeling, an experience.
Don’t be afraid to be bold. The best dining rooms are the ones with personality. Now you have the blueprint. You understand the “why” behind the “what.” So pick an idea that excites you, follow these steps, and go create a space that you’re proud of—a space that’s not just a place to eat, but a place that tells a story. Your story.