Hey there, fellow small-space dwellers! Jane here, coming at you from my cozy Portland apartment where I’ve mastered the art of making every square inch count. Today, we’re diving into a topic that’s close to my heart and probably yours too – maximizing space in tiny bathrooms. Trust me, I’ve been there, staring at my postage-stamp-sized bathroom, wondering how on earth to make it feel less like a closet and more like a sanctuary.
But fear not eco-warriors! I’ve got some flooring tricks up my sleeve that’ll transform your compact commode into a spacious oasis. We’re talking light and bright, large format tiles, continuous flow, pattern play, and reflective surfaces – all designed to give your bathroom a serious glow-up while keeping Mother Earth happy. So grab your favorite bamboo toothbrush and let’s embark on this sustainable small bathroom adventure together!
The Power of Light and Bright
As someone who’s all about creating spaces that feel as expansive as the great outdoors (even when we’re talking about a tiny bathroom), I’m excited to share how light-colored flooring can be a game-changer for your compact oasis.
Illuminating Your Space
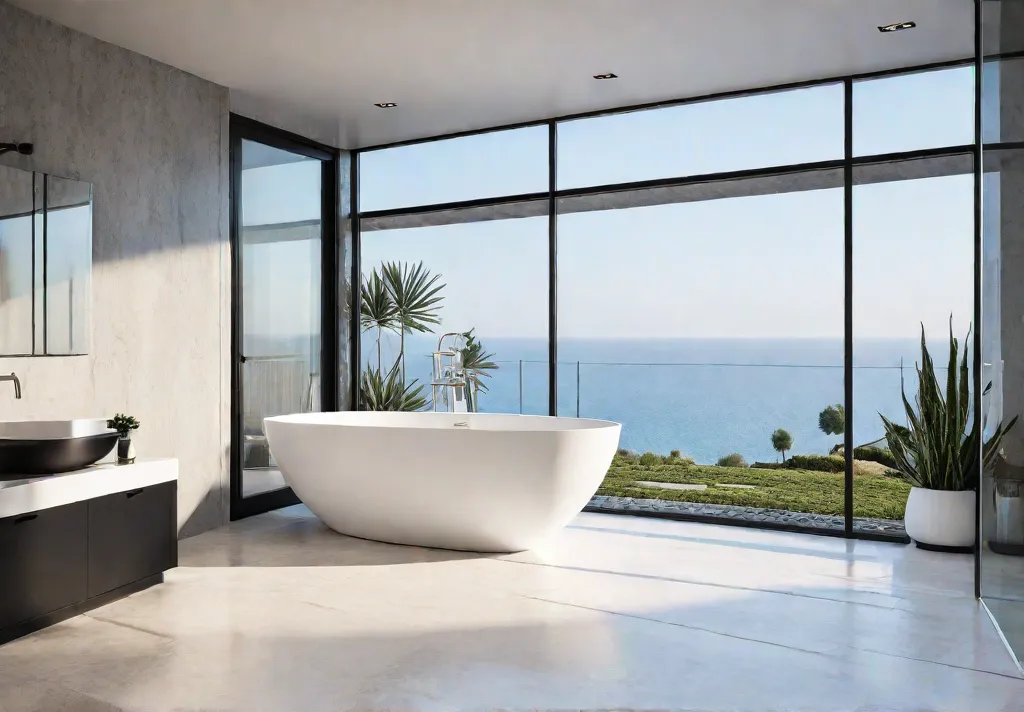
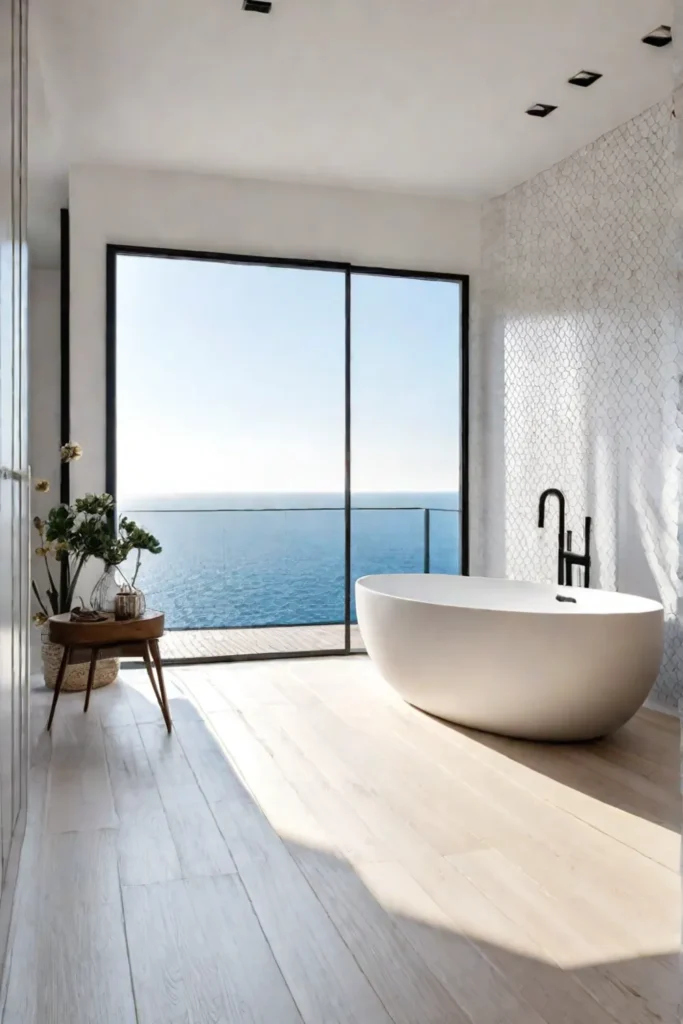
Living in Portland, where gray skies are as common as craft breweries, I’ve learned the importance of maximizing every bit of light we can get. The same principle applies to our bathrooms. Light-colored flooring is like nature’s magic trick – it reflects more light, instantly making your space feel larger and airier. It’s particularly effective in bathrooms with limited natural light, which, let’s face it, is most of them!
Choosing the Right Shade
When it comes to selecting the perfect light hue for your bathroom floor, think of it as choosing the right shade of recycled paper – subtle differences can have a big impact. A soft white or cream tile offers a classic look that’s as timeless as the Oregon coastline. For those craving a touch of warmth, light-toned wood-look tiles can create a spa-like ambiance that’ll make you feel like you’re at a sustainable retreat.
Different shades of white or cream can dramatically affect the overall feel of your bathroom. Warmer tones can create a cozy, inviting atmosphere, while cooler shades might give a more modern, crisp vibe. My advice? Grab some samples and see how they look in your space at different times of day – it’s like watching how sunlight changes the forest throughout the day.
Material Considerations
Now, let’s talk materials. In a moisture-prone area like a bathroom, you want flooring that’s as resilient as a Pacific Northwest pine. Here are some eco-friendly options that stand up well to humidity:
- Porcelain tiles: Durable and water-resistant, perfect for busy bathrooms.
- Natural stone: Think light-colored marble or travertine for a touch of luxury.
- Cork: A sustainable option that’s naturally mold and mildew-resistant.
- Bamboo: Another eco-friendly choice, but make sure it’s sealed properly.
Practical Tips for Maximum Impact
- Pair your light flooring with white or pastel wall colors to enhance the spacious effect.
- Consider using large format tiles to minimize grout lines and create a seamless look.
- Add a large mirror to amplify the light-reflecting properties of your new floor.
- Incorporate plants or natural elements to bring a touch of the outdoors in and complement your bright space.
Remember, choosing light-colored flooring isn’t just about aesthetics – it’s a simple yet effective way to visually expand your bathroom, making it feel as open and inviting as a sunlit meadow. Plus, if you’re thinking about selling your home in the future, a bright, spacious-feeling bathroom can be a major selling point!
As we move forward on our journey to create the perfect small bathroom, let’s explore another exciting flooring option. In the next section, we’ll dive into the world of “Large Format Tiles: Less Grout, More Space” – a technique that pairs beautifully with our light and bright approach. Get ready to say goodbye to grout lines and hello to an even more expansive feel!
Large Format Tiles: Less Grout, More Space
When it comes to maximizing space in a small bathroom, sometimes less is more. That’s especially true with large format tiles, which can create a sleek, expansive look that tricks the eye into seeing a larger space. As someone who’s always looking for sustainable and practical solutions, I’ve found that these tiles not only look great but can also be a more eco-friendly option in the long run.
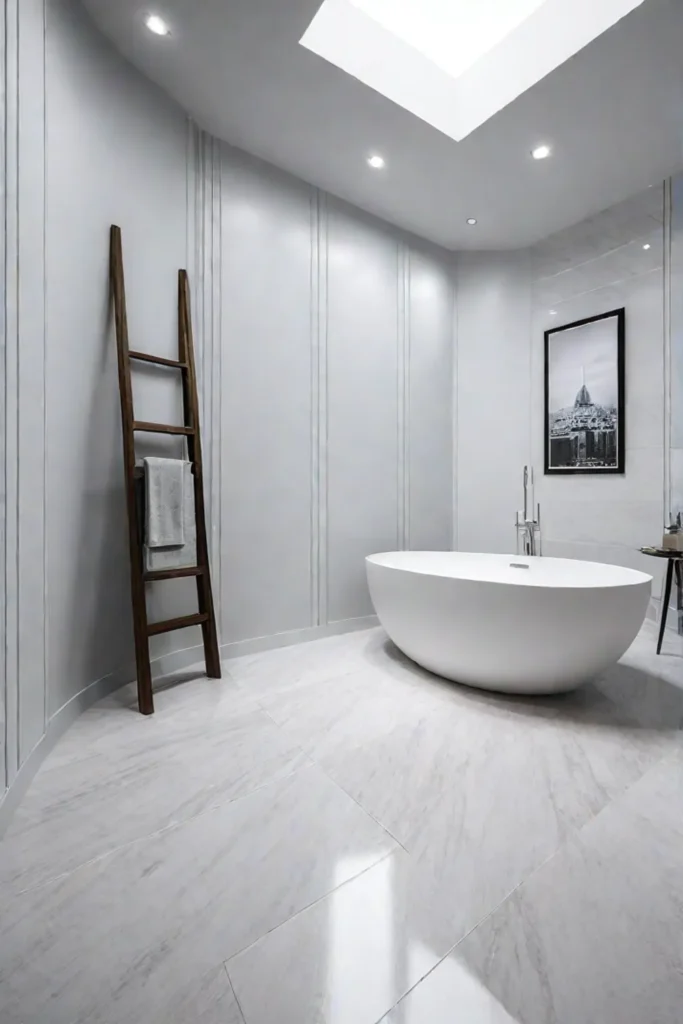
Ideal Tile Sizes for Small Bathrooms
In my experience renovating my own tiny Portland apartment bathroom, I’ve learned that size matters when it comes to tiles. For small bathrooms, I recommend opting for tiles that are at least 12×24 inches. These larger sizes minimize grout lines, creating a cleaner and more continuous surface. Here’s a pro tip: consider rectangular tiles installed in a horizontal pattern. This clever layout trick can visually widen your room, making it feel more spacious than it is.
Grout Color Considerations
Let’s talk about grout for a moment. It might seem like a small detail, but trust me, it can make or break the spacious illusion we’re going for. The key is to choose a grout color that closely matches your tile color. This blending effect further enhances the perception of a continuous, uninterrupted surface. Light-colored grout that seamlessly blends with the tiles is often the way to go, especially if you’re working with lighter tile shades.
The Pros and Cons of Large Format Tiles
Like any design choice, large format tiles come with their own set of advantages and challenges. Here’s what you need to know:
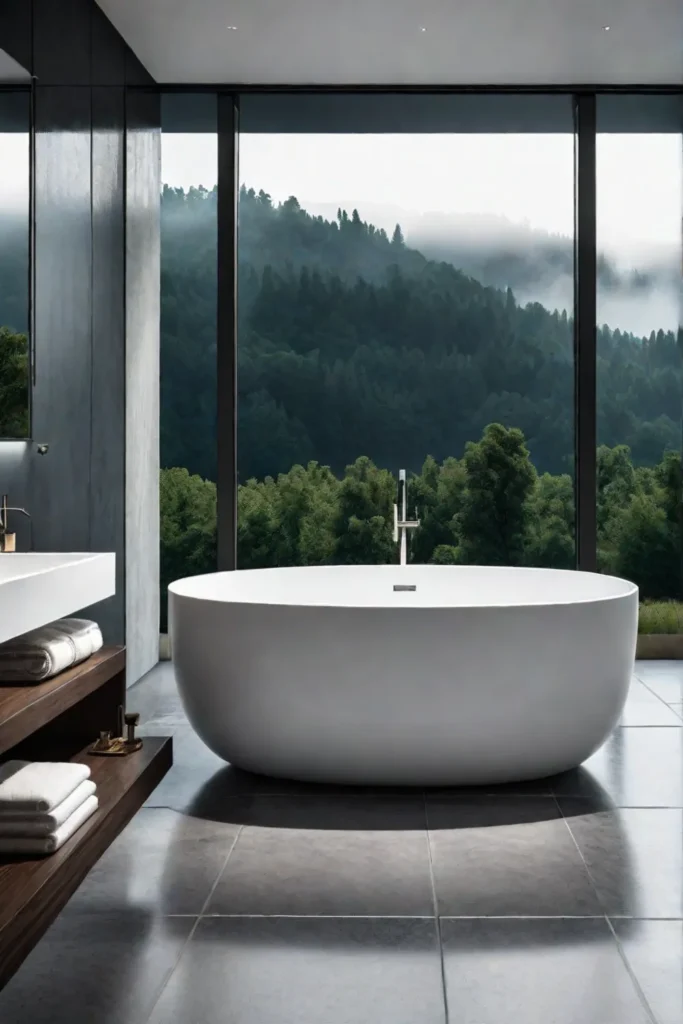
Pros:
- Creates a modern, minimalist aesthetic
- Easier to clean with fewer grout lines
- Can make a small space appear larger
Cons:
- May be more challenging to install due to size and weight
- Requires a very flat subfloor to prevent lippage
- Can be more expensive upfront than smaller tiles
Best Layouts for Small Bathrooms
When it comes to layout, keep it simple. In small bathrooms, a straightforward grid pattern often works best with large format tiles. However, if you’re feeling adventurous, a horizontal brick pattern can add interest while still maintaining the illusion of width. Just remember, the goal is to create flow and minimize visual interruptions.
Eco-Friendly Considerations
As an environmental advocate, I always look for sustainable options. Large-format tiles can be a more eco-friendly choice in the long run. With fewer grout lines, there’s less need for harsh cleaning chemicals over time. Plus, their durability means they’ll need to be replaced less often, reducing waste.
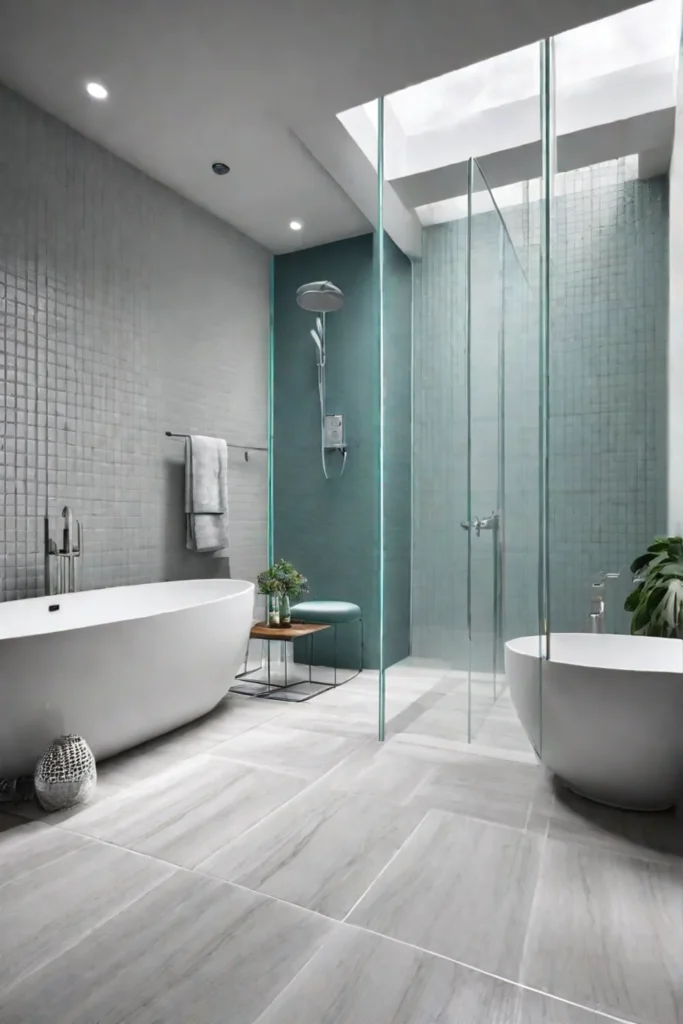
By choosing large format tiles for your small bathroom, you’re not just making a style statement – you’re creating an illusion of space that can transform your daily experience. Remember, in a small bathroom, every design choice matters. Large format tiles offer a big impact solution that can make your space feel more open, modern, and inviting.
As we look to expand our visual flow even further, let’s explore how continuous flooring can take the concept of spaciousness to the next level. In our next section, “Continuous Flooring: Expanding the Visual Flow,” we’ll dive into seamless options that can make your small bathroom feel like part of a larger, more cohesive space.
Continuous Flooring: Expanding the Visual Flow
Now let’s dive into one of my favorite small bathroom hacks: continuous flooring. As someone who’s always looking for ways to maximize space while minimizing environmental impact, this technique is a game-changer.
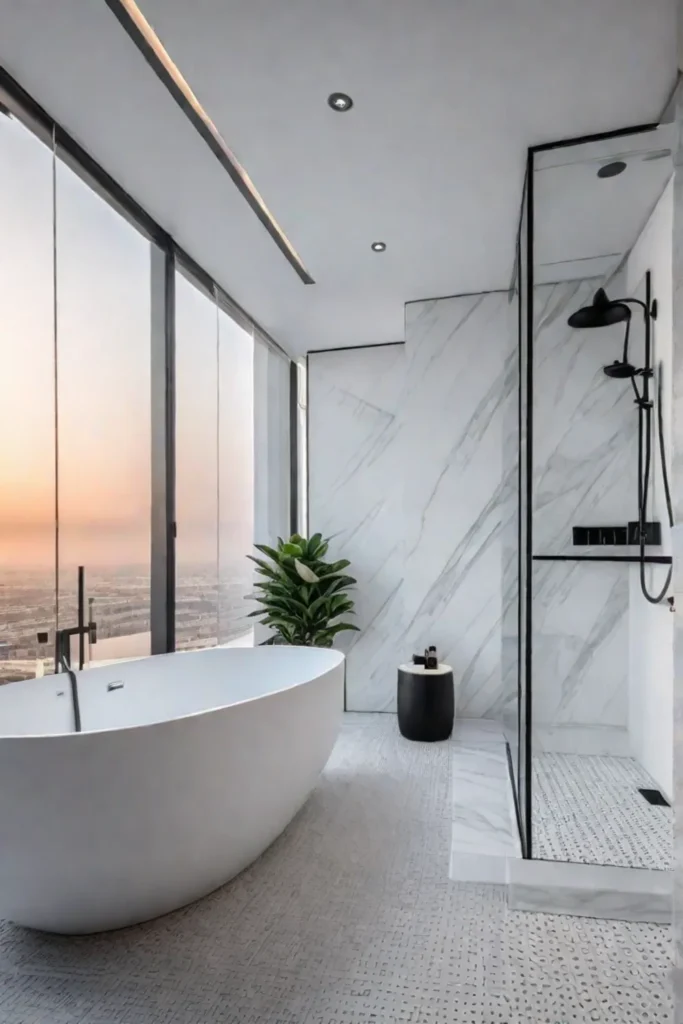
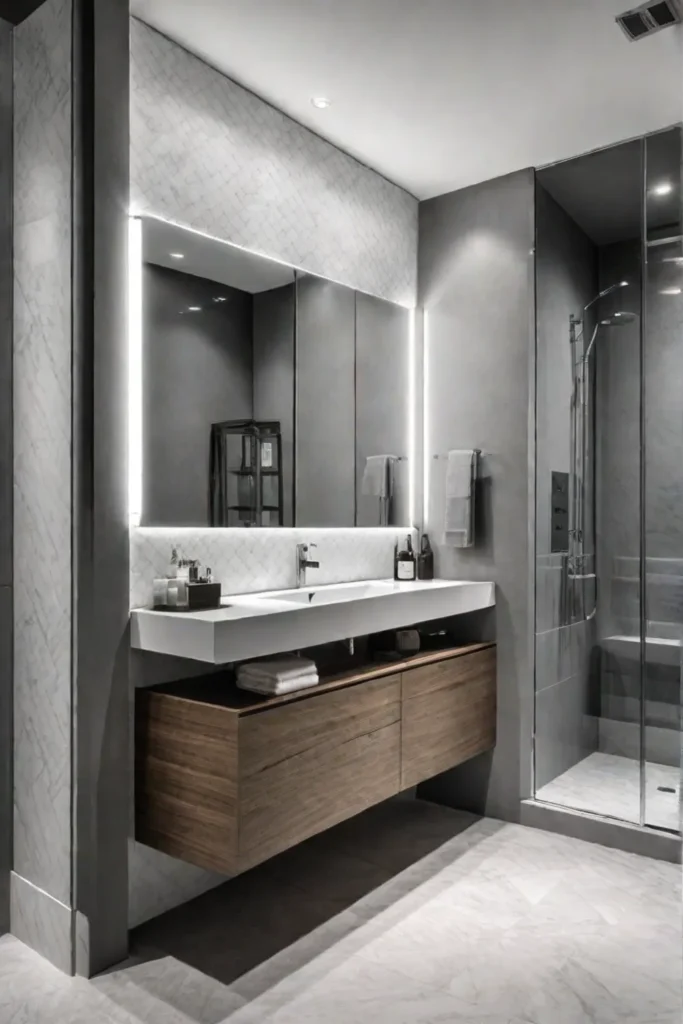
Continuous flooring is all about extending the same flooring material from your bathroom into the adjoining space. It’s like giving your tiny bathroom a VIP pass to the rest of your home! This simple trick can make your bathroom feel less cramped and more like a natural extension of the larger room. Plus, it’s a great way to create a cohesive look throughout your home without major renovations.
Suitable Flooring Materials for Continuous Use
When choosing a flooring material for this technique, durability and water resistance are key. Here are some eco-friendly options I love:
- Waterproof vinyl plank flooring: It mimics the look of wood but stands up to moisture. Look for brands that use recycled materials or have low VOC emissions.
- Porcelain tiles: These are incredibly durable and come in a variety of styles, including wood-look options. They’re also low-maintenance, which means fewer cleaning products down the drain!
- Cork flooring: A sustainable option that’s naturally water-resistant and provides a warm, unique look.
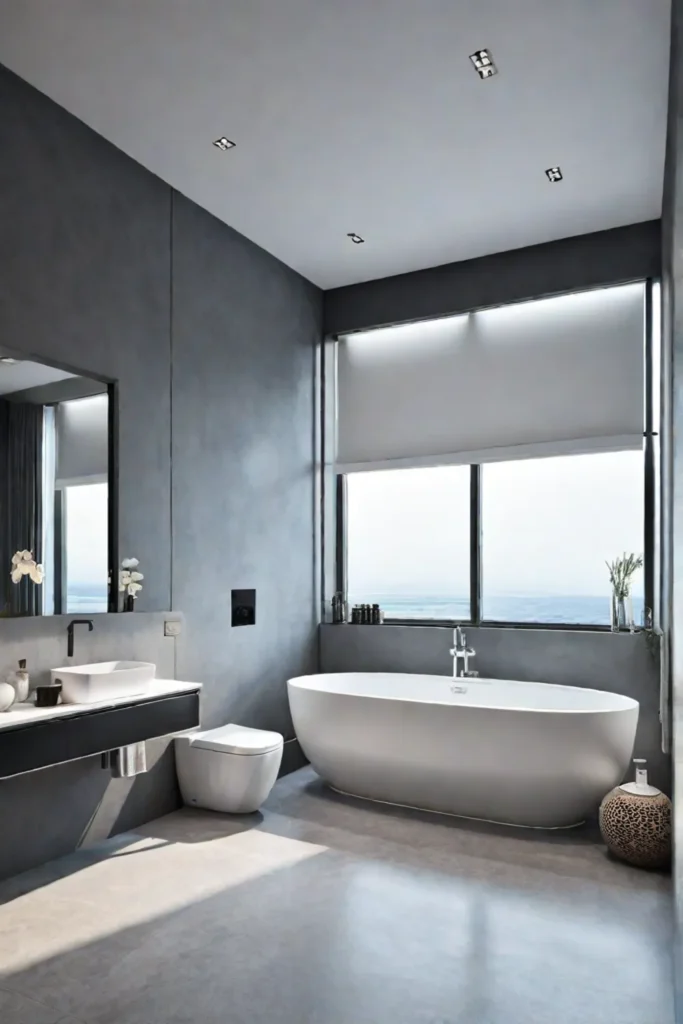
- Polished concrete: For a modern, industrial vibe, this option is long-lasting and can be sealed for water resistance.
Remember, whatever material you choose, opt for something that can withstand both bathroom moisture and the foot traffic of other areas in your home.
Transitioning Between Spaces
While the goal is to create a seamless look, sometimes you need to transition between different flooring materials. Here’s how to do it smoothly:
- Use a subtle transition strip: Choose a low-profile strip in a complementary color to define the spaces while maintaining visual flow.
- Align patterns: If using tiles or planks, align the patterns between rooms for a cohesive look.
- Consider thresholds: For slight height differences, a sloped threshold can create a smooth transition.
Practical Tips for Implementation
- Plan carefully: Measure your spaces and consider the layout of both rooms before purchasing materials.
- Think about maintenance: Choose flooring that’s easy to clean and maintain in both wet and dry areas.
- Consider underfloor heating: This can be a great addition, especially in colder climates, and works well with continuous flooring.
- Don’t forget about sustainability: Look for flooring options with eco-friendly certifications or made from recycled materials.
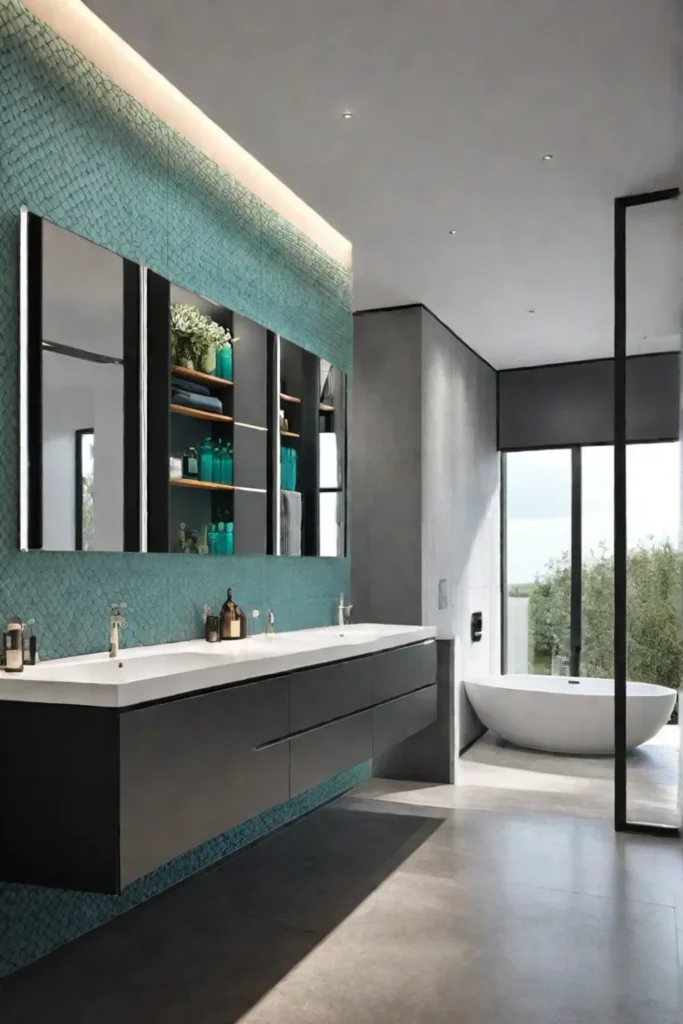
By extending your bathroom flooring into adjacent spaces, you’re not just making your bathroom feel bigger – you’re creating a more open, flowing home environment. It’s a win-win for both style and functionality!
As we move on to our next flooring idea, let’s shift gears from expanding space to adding depth and personality. Get ready to explore the exciting world of pattern play and how it can transform your small bathroom into a visual masterpiece!
Pattern Play: Adding Depth and Dimension
Who says small bathrooms can’t make a big statement? I’m always on the lookout for ways to maximize space while minimizing environmental impact. One of my favorite tricks for small bathrooms is using patterned flooring to create depth and dimension. Let’s dive into how you can use patterns to transform your tiny bathroom into a stylish oasis.
Choosing the Right Pattern
When it comes to patterns for small bathroom floors, less is often more. Here are some options that work well in compact spaces:
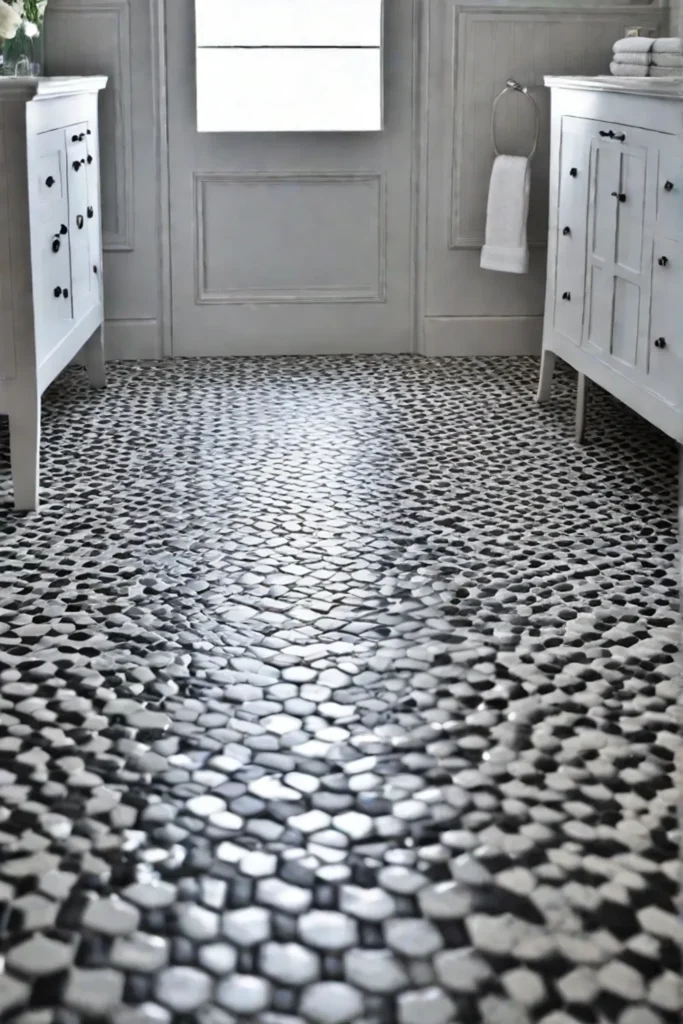
- Geometric patterns: Hexagons and chevrons are trending right now and can add a modern touch without overwhelming the space.
- Classic patterns: Timeless designs like herringbone or basketweave can create visual interest without dating your bathroom.
- Natural-inspired patterns: Organic shapes and patterns can bring a sense of calm and connection to nature.
Remember, the key is to choose a pattern that complements your bathroom’s style and doesn’t make the space feel cramped.
Scale Matters
The size of your pattern can make or break the illusion of space in your bathroom. Here’s a quick guide:
- Small bathrooms: Opt for larger patterns with fewer repeats. This can make the space feel more expansive.
- Larger bathrooms: You can get away with smaller, more intricate patterns.
Pro tip: If you’re unsure, try out a few sample tiles or stick-on decals before committing to a full floor installation.
Strategic Placement
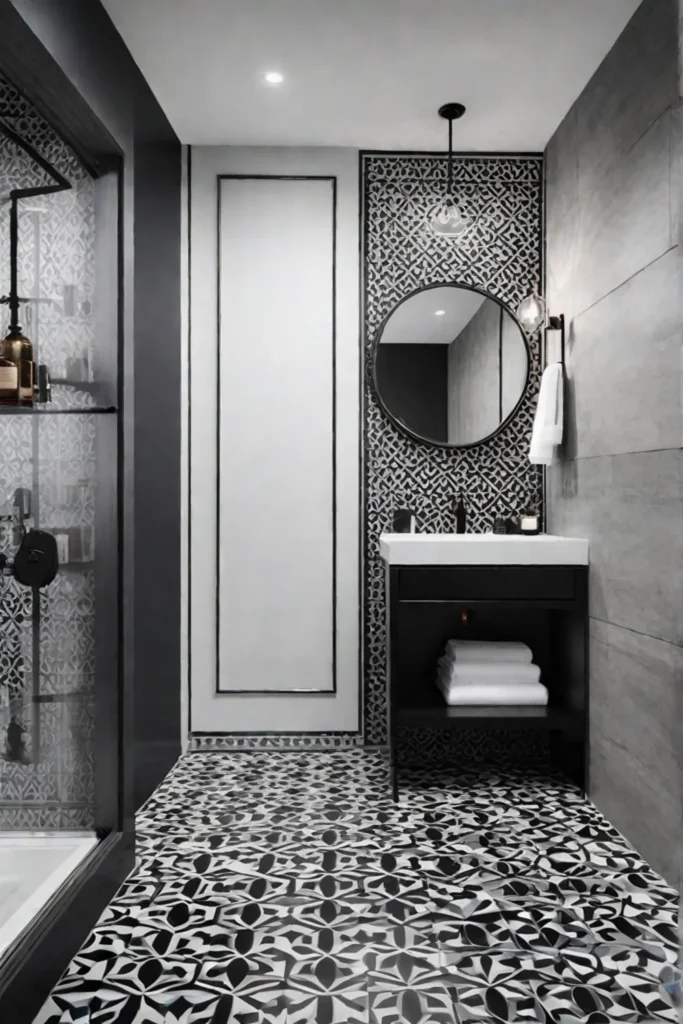
You don’t need to cover the entire floor with a pattern to make an impact. Consider these ideas:
- Create a “rug” effect: Use patterned tiles in the center of the room, surrounded by solid-colored tiles.
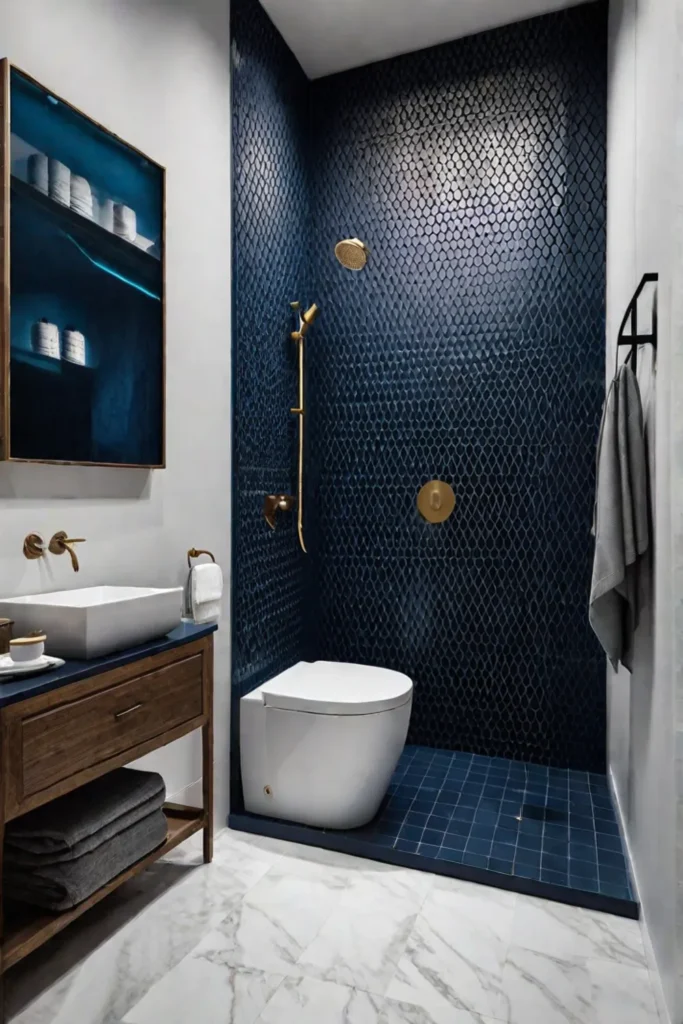
- Accent the shower: Apply a patterned tile to the shower floor for a pop of interest.
- Define zones: Use patterns to visually separate different areas of the bathroom.
Eco-Friendly Options
As someone passionate about sustainability, I always look for eco-friendly flooring options. Here are a few to consider:
- Recycled glass tiles: These come in a variety of patterns and colors.
- Reclaimed wood: For a rustic look, consider reclaimed wood tiles arranged in a pattern.
- Cork: Naturally water-resistant and available in various patterns and colors.
The Power of Color
When choosing a patterned floor, consider the color palette carefully. Light colors can make a space feel larger, while darker hues can add depth. Don’t be afraid to experiment with bold colors in small doses – they can add personality without overwhelming the space.
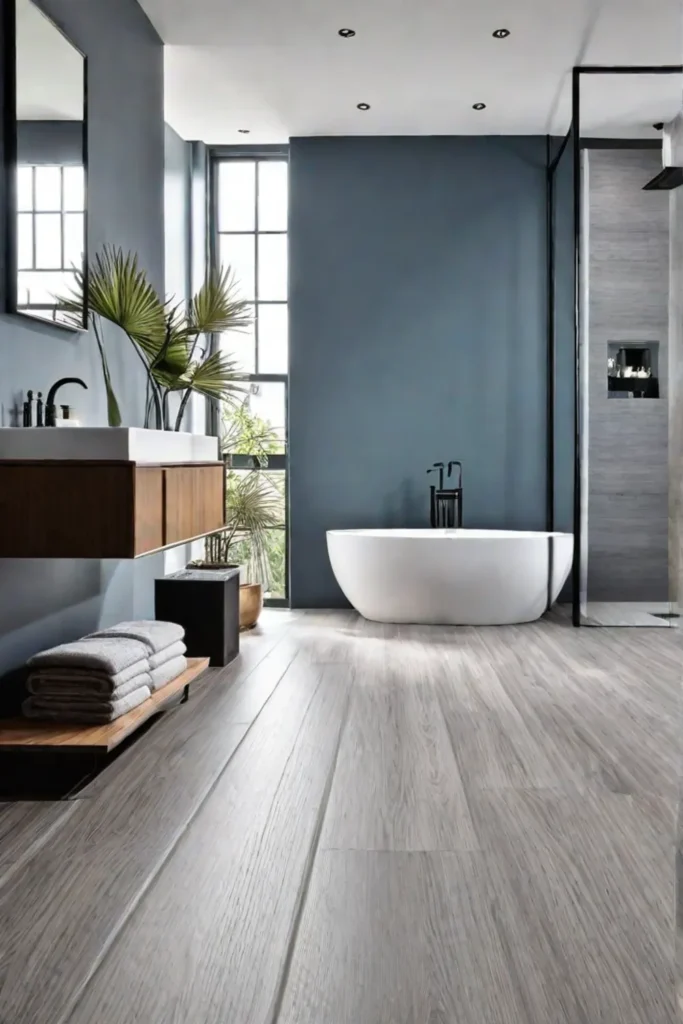
Remember, your bathroom floor is a canvas for self-expression. Whether you choose a subtle pattern or a bold statement piece, make sure it reflects your style and enhances your daily routine.
As we move from the ground up, let’s explore how we can use what’s above to create even more space. In our next section, “Reflective Surfaces: Maximizing Light and Illusion,” we’ll discover how mirrors and other shiny surfaces can work magic in making your small bathroom feel more spacious and bright.
Reflective Surfaces: Maximizing Light and Illusion
We have all seen our fair share of tiny, dimly-lit bathrooms, I can’t stress enough how transformative reflective flooring can be in a small space. It’s like giving your bathroom a magic wand that creates the illusion of more room and light. Let’s dive into how you can harness this eco-friendly trick to maximize your bathroom’s potential.
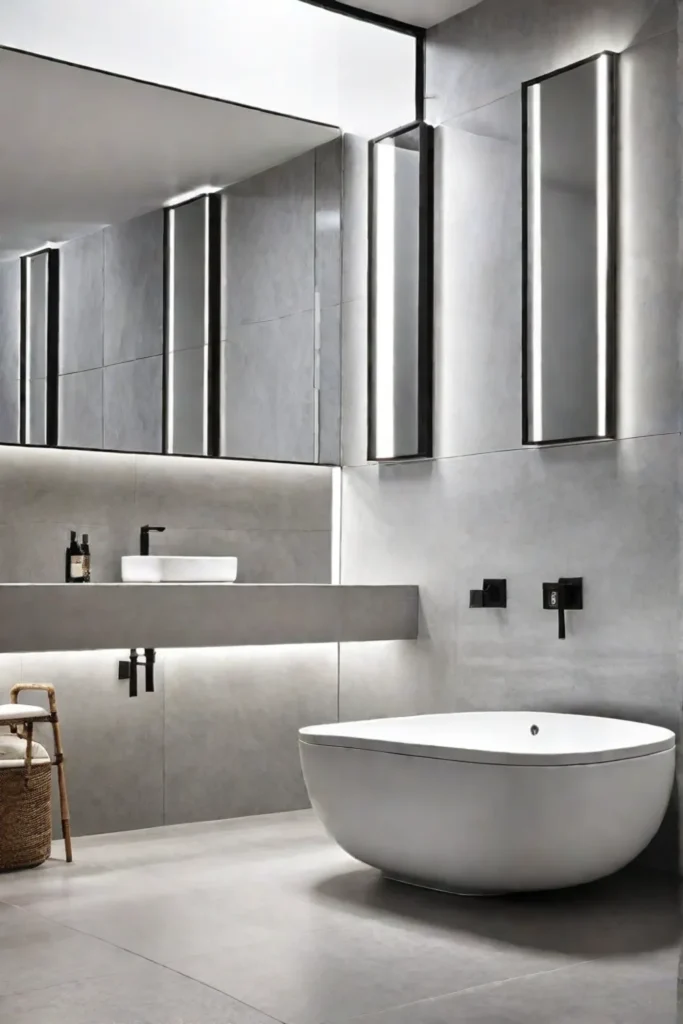
Shining a Light on Reflective Materials
When it comes to reflective flooring, you’ve got some fantastic options that won’t break the bank or the planet:
- Polished porcelain tiles: These beauties are my go-to for a classic, elegant look. They’re durable, water-resistant, and come in a variety of eco-friendly options.
- High-gloss vinyl: For my budget-conscious friends, this is a great alternative. Look for brands that use recycled materials and low-VOC adhesives.
- Glass tiles: While pricier, these can create stunning effects and are often made from recycled materials.
Remember, light colors will amplify the reflective effect. I’ve seen bathrooms transformed from cave-like to spa-like just by switching to a light, reflective floor!
Enhancing the Glow
To make your reflective floor shine (pun intended!), try these tips:
- Use light-colored grout with reflective tiles to create a seamless, expansive look.
- Incorporate mirrors strategically to bounce light around the room.
- Add metallic accents to your fixtures or decor to complement the reflective floor.
- Consider a glossy ceiling paint to extend the reflective effect upwards.
Balancing Act: Reflectivity and Design
Now, I know what you’re thinking – “Jane, won’t all this reflection make my bathroom look like a disco ball?” Fear not! The key is balance. Here’s how to create a cohesive look:
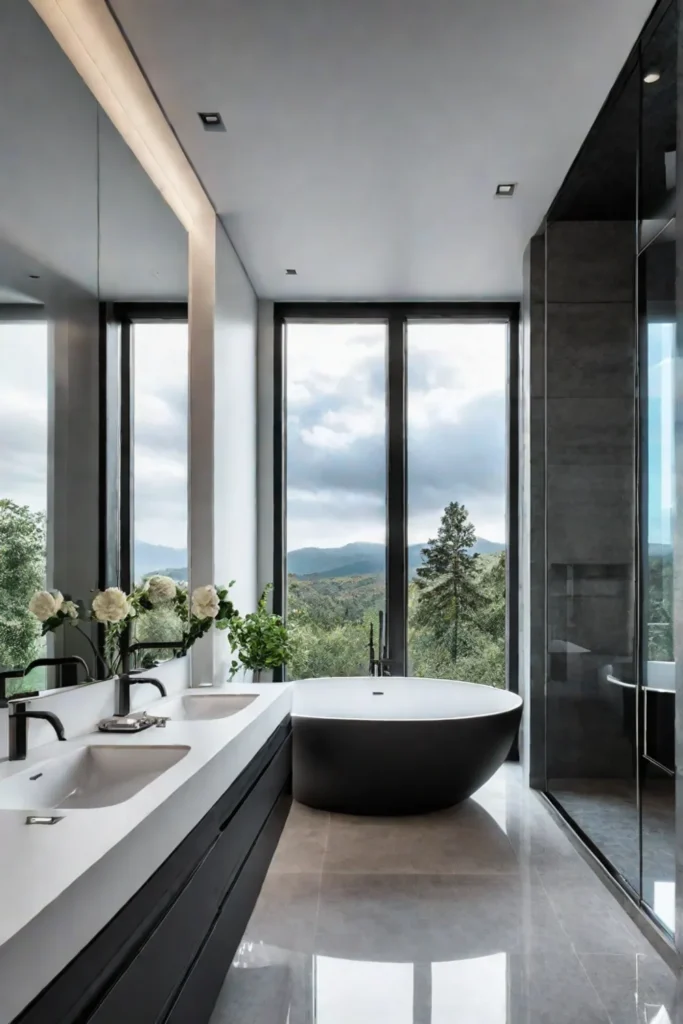
- Mix matte and glossy surfaces to create depth and interest.
- Use natural materials like wood or stone in your vanity or accessories to ground the space.
- Opt for soft, diffused lighting to prevent harsh glare.
The Nitty-Gritty: Pros and Cons
Let’s talk practicality. Reflective floors are gorgeous, but they do come with some considerations:
Pros:
- Creates an illusion of space
- Enhances brightness
- Adds a touch of luxury
Cons:
- Can be slippery when wet (look for slip-resistant options)
- Shows smudges and footprints more easily
- Requires regular cleaning to maintain shine
To keep your reflective floor looking its best, I recommend using eco-friendly, non-abrasive cleaners and a microfiber mop. A quick daily wipe-down will keep it sparkling!
Real-Life Reflections
I recently helped my friend Sarah revamp her tiny basement bathroom. We chose large-format, light gray polished porcelain tiles, and the transformation was incredible. The once-gloomy space now feels open, airy, and twice its size. Plus, the reflective surface means she rarely needs to turn on the lights during the day, saving energy and creating a natural, calming ambiance.
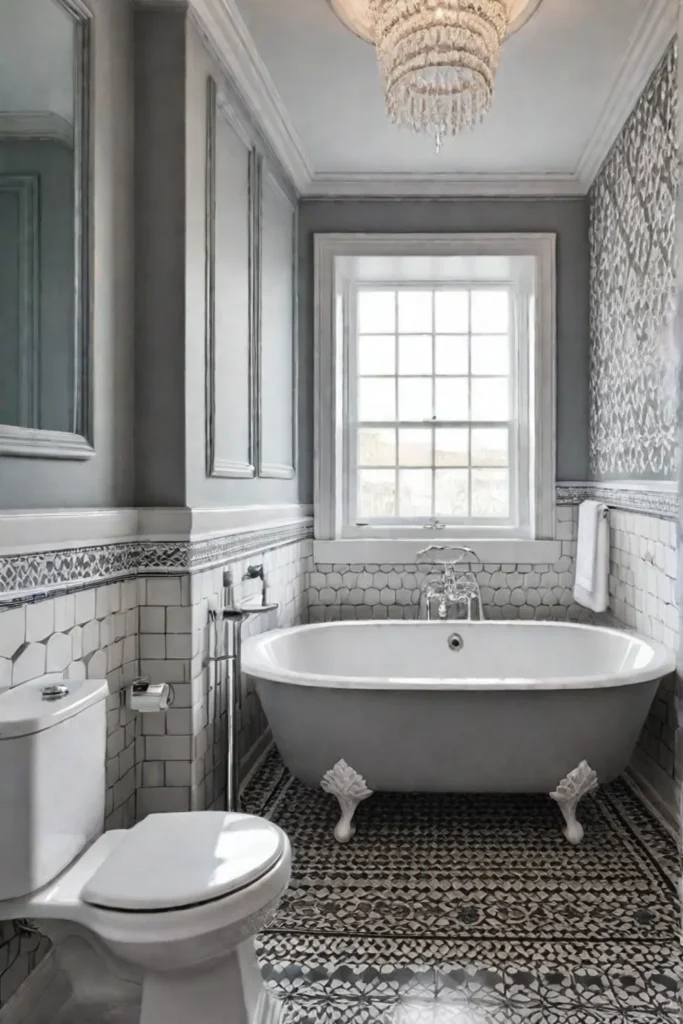
Reflective flooring is particularly effective in bathrooms with limited natural light. By bouncing what little light there is around the room, you’re making the most of every ray. It’s a simple yet powerful way to create a sense of openness and sophistication in even the smallest of spaces.
As we wrap up our journey through small bathroom flooring ideas, remember that the key to maximizing your space lies in thoughtful design choices. Whether you opt for the reflective glamour we’ve explored here or any of the other fantastic options we’ve discussed, the most important thing is creating a space that feels right for you and aligns with your eco-values. In our conclusion, we’ll tie together all these ideas and help you make the best choice for your small but mighty bathroom.
Conclusion
Whew! What a journey through the world of small bathroom flooring, right? From brightening up your space with light colors to creating optical illusions with large format tiles, we’ve covered a lot of ground (pun intended). Remember, friends, the key to a fantastic small bathroom isn’t just about making it look bigger – it’s about creating a space that feels like you, while still being kind to our planet.
As you mull over these ideas for your bathroom makeover, keep in mind that every small change can make a big difference – both in your daily life and in the environment. Whether you opt for the reflective glamour of polished porcelain or the eco-friendly charm of cork, the most important thing is that your bathroom becomes a space you love. So go ahead, get creative, and don’t be afraid to think outside the (tiny) box. Your small bathroom has big potential, and now you’ve got the tools to unlock it. Happy renovating, eco-warriors!
