Are you dreaming of a stunning kitchen floor that will leave your guests in awe without breaking the bank? Look no further! As a passionate home decorator and design enthusiast, I’ve scoured the market for the most budget-friendly yet eye-catching tile options to transform your kitchen into a showpiece.
From the timeless elegance of porcelain to the vibrant charm of ceramic, this guide will take you on a journey through a world of tile possibilities. We’ll explore not only the aesthetic appeal but also the practical considerations, ensuring that your new floor is both beautiful and built to last. Get ready to discover innovative materials, clever shopping strategies, and insider tips that will elevate your kitchen’s style while respecting your budget.
The Allure of Porcelain Tile: Durable Elegance
When it comes to kitchen flooring, porcelain tile is a true showstopper that combines durability with timeless style. As a designer who values both form and function, I can’t help but swoon over the versatility and resilience of this material.
Timeless Designs: From Wood-Look to Modern Marvels
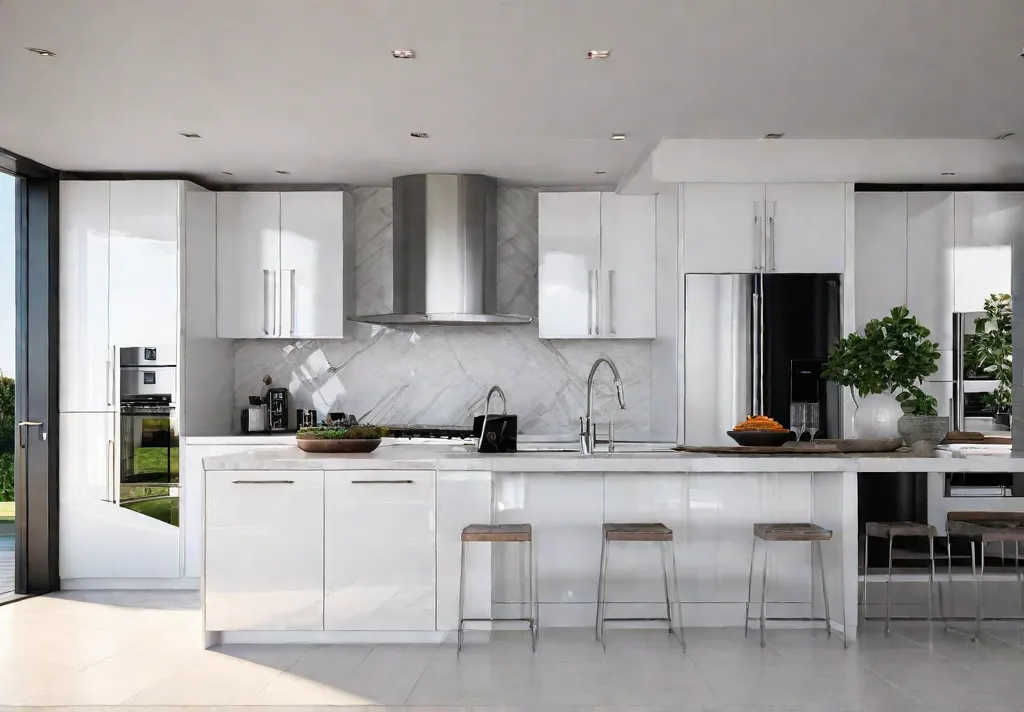
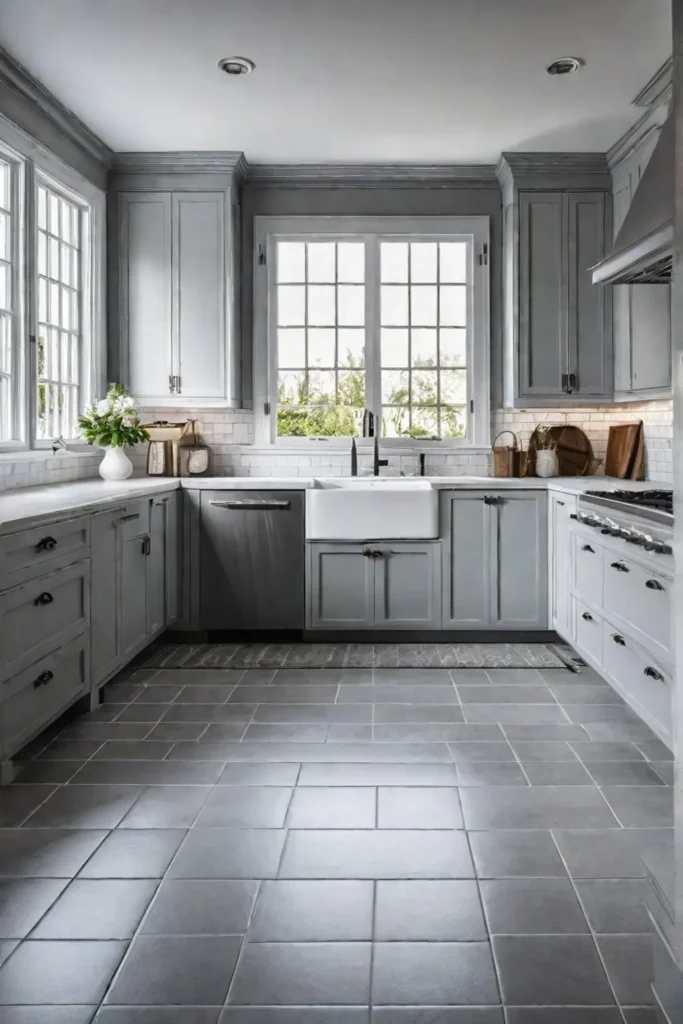
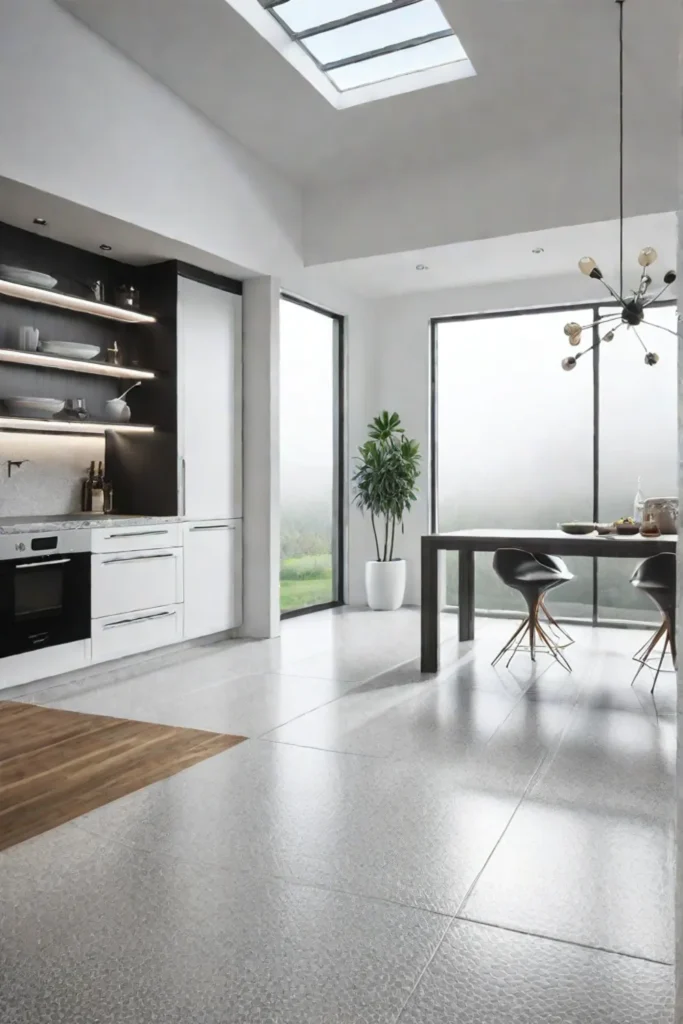
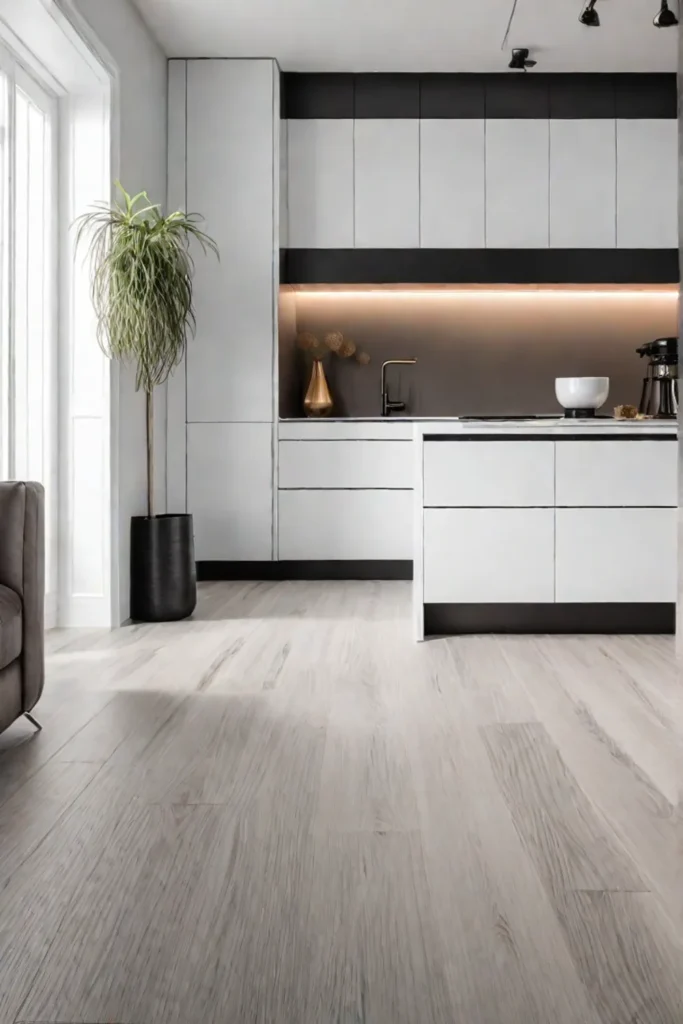
One of the things I love most about porcelain tile is its ability to mimic the natural beauty of materials like wood, stone, and even concrete. Thanks to advancements in printing technology, you can achieve the warm, rustic charm of hardwood or the sleek, contemporary vibe of marble – all with the added benefits of porcelain’s durability and water resistance.
Remember that kitchen renovation project I did for the Johnsons last year? We used wood-look porcelain tiles, and the result was simply stunning. The tiles added a cozy, cabin-inspired feel to their space while being incredibly easy to maintain and resistant to spills and stains.
Maintenance Made Easy: Porcelain’s Resistance to Stains and Scratches
Speaking of maintenance, porcelain tile is a dream come true for busy homeowners. Its non-porous surface makes it virtually impervious to stains, and its impressive hardness means it can withstand heavy foot traffic without scratching or chipping. No more worrying about red wine spills or the occasional dropped pan!
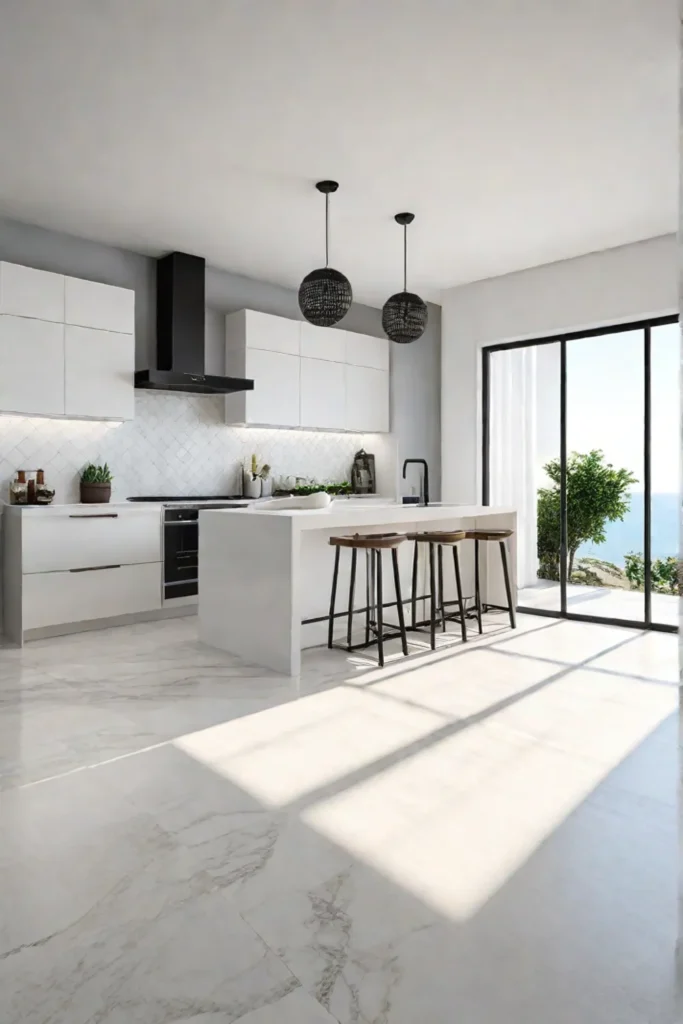
One of my favorite tips for creating a seamless, spacious look in a smaller kitchen is to use large-format porcelain tiles. The fewer grout lines, the better! And if you’re feeling a bit adventurous, consider incorporating decorative border tiles or a unique laying pattern – porcelain’s versatility allows for endless design possibilities.
When it comes to cost, porcelain tile is a budget-friendly alternative to natural stone, offering a similar aesthetic at a fraction of the price. On average, you can expect to pay between $3 and $10 per square foot for high-quality porcelain tiles, making it a more affordable option compared to materials like marble or granite.
Key Takeaways
At the end of the day, porcelain tile offers a winning combination of durability, style, and affordability – a trifecta that’s hard to beat in the world of kitchen flooring. With proper research and a bit of creative flair, you can find porcelain tile options that not only fit your budget but also complement your design aesthetic.
So, if you’re looking to wow your guests with a kitchen floor that’s both practical and visually stunning, consider porcelain tile. Trust me, your floors will thank you for it!
Ceramic Tile: A Budget-Friendly Classic
Ceramic tile has been a beloved flooring choice for centuries, and it’s easy to see why. With its affordability, durability, and endless design possibilities, it’s no wonder that ceramic tile remains a popular option for modern kitchens.
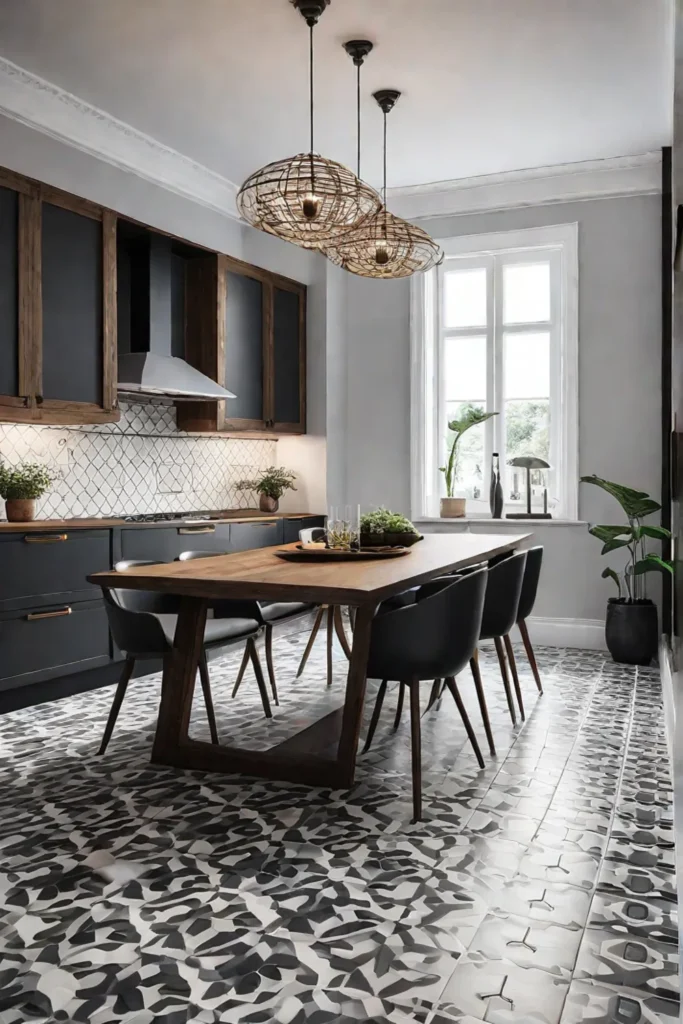
Exploring the Spectrum of Colors, Patterns, and Textures
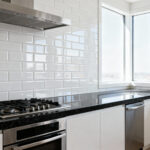
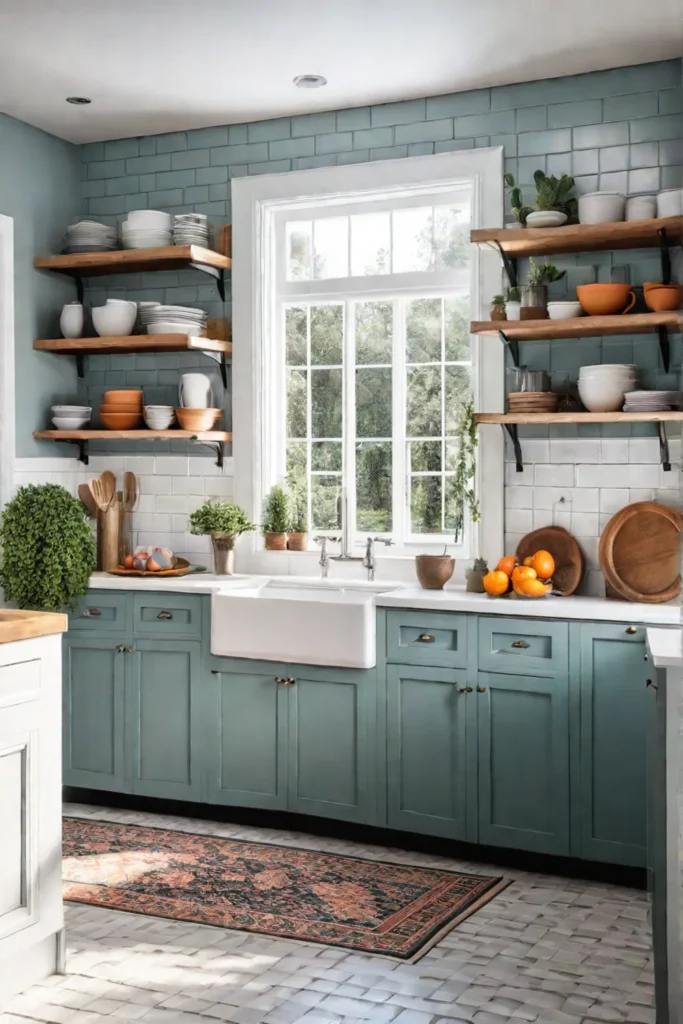
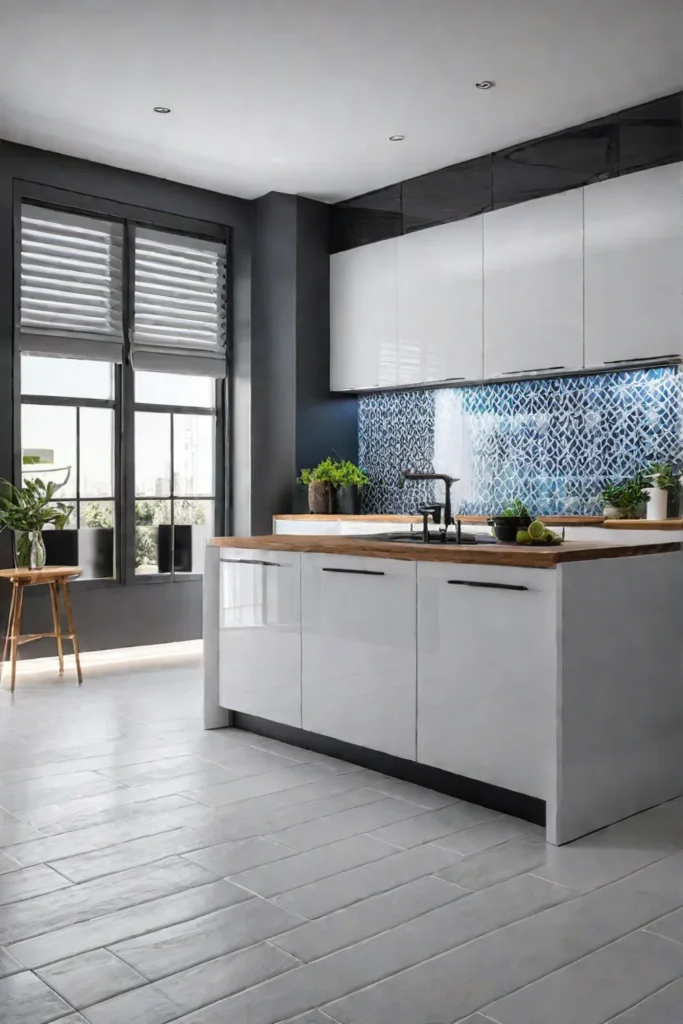
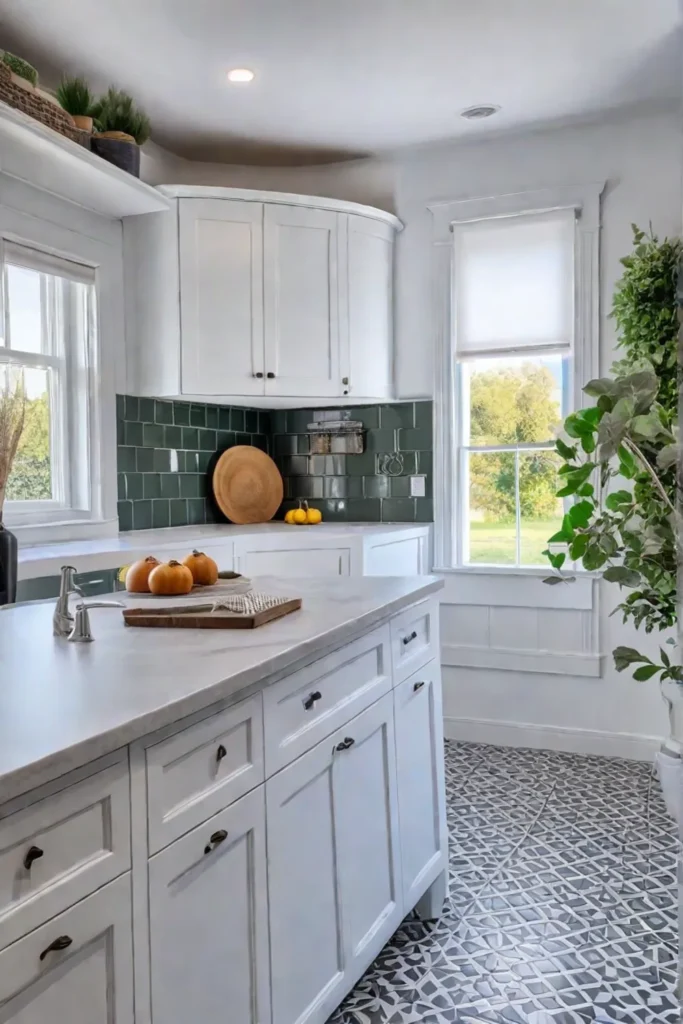
One of the most significant advantages of ceramic tile is its versatility. Thanks to the glazing process, ceramic tiles can be found in virtually any color, pattern, or texture imaginable. From classic white subway tiles to vibrant mosaic designs, the options are limitless.
If you’re looking to create a cheerful and inviting atmosphere in your kitchen, consider using brightly colored ceramic tiles. Alternatively, you could opt for a more subdued palette and let the intricate patterns or textures take center stage.
Installation Considerations and DIY Potential
While ceramic tile is less durable than porcelain, it’s still a suitable option for kitchen flooring with proper care and maintenance. One of the key factors influencing the price of ceramic tile is the quality and complexity of the design. Generally, the more intricate the pattern or texture, the higher the cost.
When it comes to installation, ceramic tile can be a DIY-friendly project for those with some experience. However, it’s important to ensure proper preparation and follow the manufacturer’s instructions carefully, especially in high-moisture areas like the kitchen.
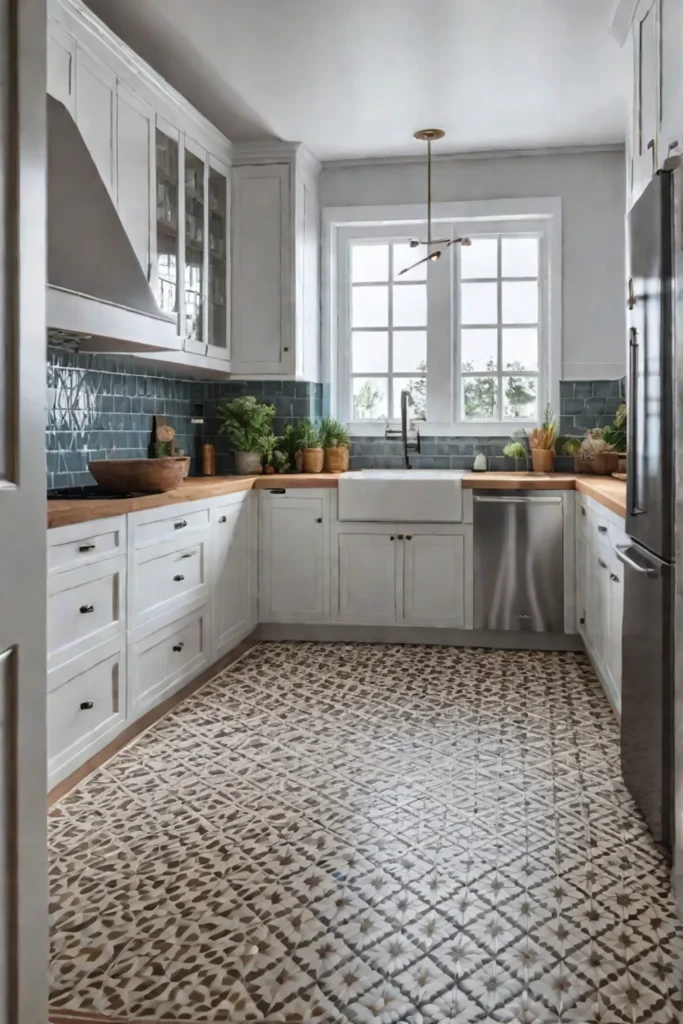
One practical tip for kitchen installations is to consider using smaller tiles in a mosaic pattern. Not only does this add visual interest, but it also helps prevent slips by creating more grout lines for traction.
While ceramic tile may require a bit more maintenance than some other flooring options, its affordability and timeless appeal make it a classic choice for budget-conscious homeowners seeking a touch of elegance in their kitchen.
Luxury Vinyl Tile (LVT): The Pinnacle of Practicality
As a homeowner with an eye for style and a practical mindset, you’ll love luxury vinyl tile (LVT) flooring. This innovative flooring option has taken the design world by storm, offering a perfect blend of beauty and functionality that’s hard to beat.
Unveiling the Benefits: Waterproof, Durable, and Easy to Clean
One of the biggest advantages of LVT is its water-resistant nature, making it an ideal choice for high-moisture areas like kitchens. No more worrying about spills or splashes ruining your floors! LVT is also incredibly durable, with a wear layer that protects against scratches, scuffs, and stains, ensuring your floors look fabulous for years to come.
And let’s not forget the ease of maintenance – a quick sweep and occasional damp mopping is all it takes to keep your LVT floors looking their best. Say goodbye to the backbreaking scrubbing and polishing that comes with other flooring types.
Navigating the World of LVT: From Click-and-Lock to Glue-Down Installations
LVT comes in a variety of installation options, from the convenient click-and-lock systems to the more traditional glue-down methods. The choice depends on your preference and the specific product you choose. Some LVT even comes with pre-attached underlayment, adding an extra layer of comfort and noise reduction – perfect for those with busy households.
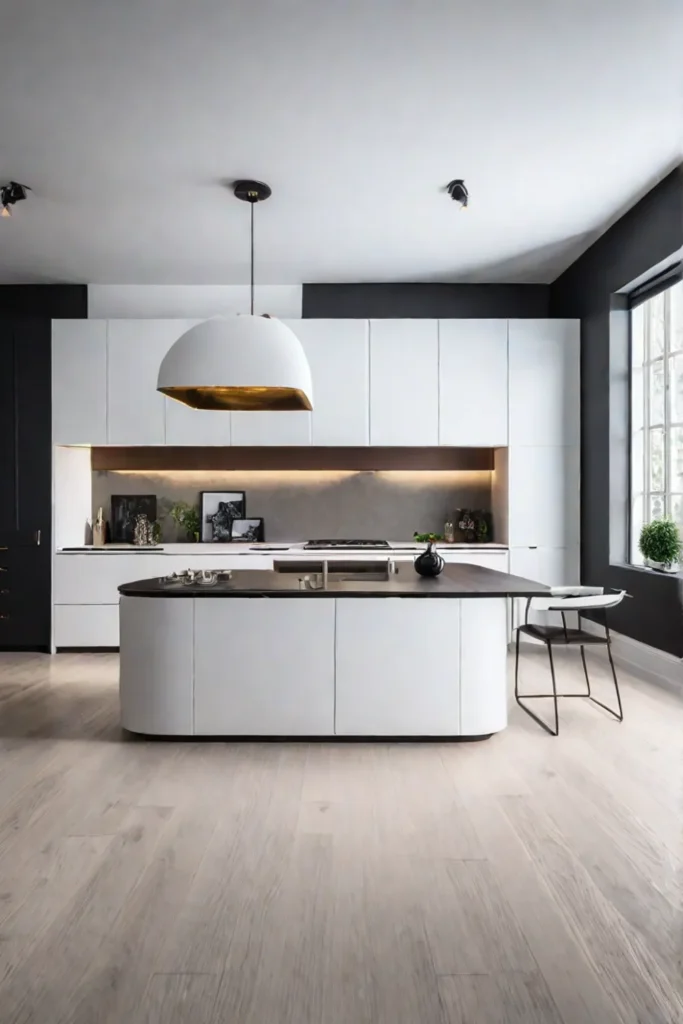
When it comes to durability, LVT is a true champion. With a typical lifespan of 10-20 years in a residential kitchen, you can rest assured that your investment will pay off in the long run. And let’s not forget the remarkable realism of LVT – it mimics the look of natural materials like hardwood and stone with such precision that even the most discerning eye will be fooled.
Practical Tips for LVT Success
- Opt for LVT with a textured surface to enhance slip resistance, especially in areas prone to moisture.
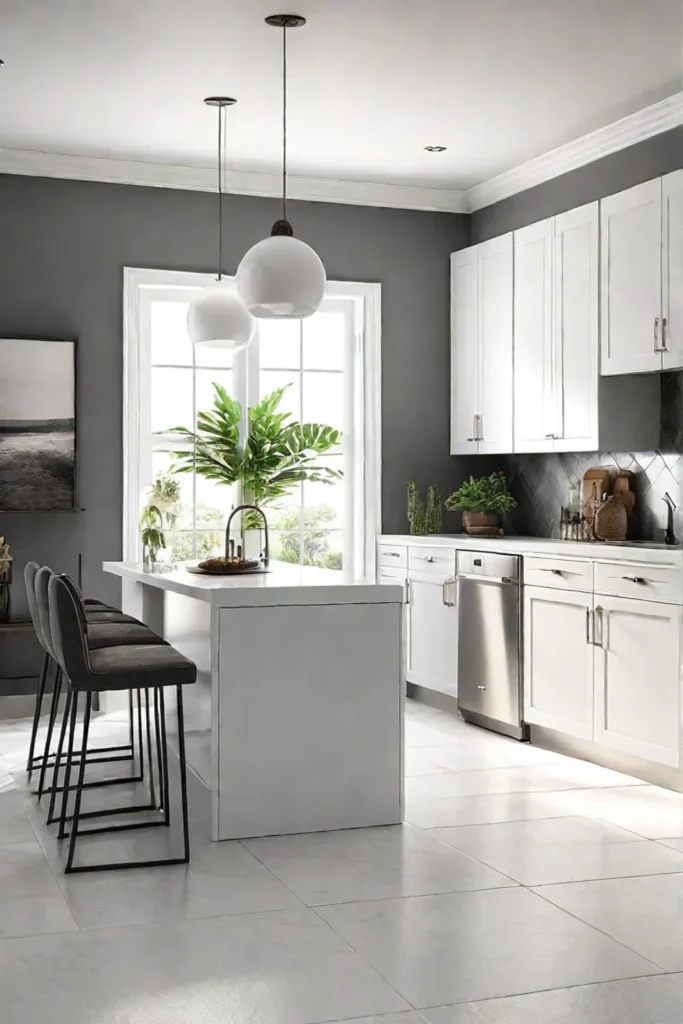
- Consider using LVT to create a cohesive look throughout the kitchen and adjoining living spaces, creating a seamless flow that adds visual interest and continuity.
- When shopping for LVT, don’t just focus on the price tag. Different brands and product lines offer varying levels of quality, thickness, and wear resistance, so do your research to find the best fit for your needs and budget.
Key Takeaways
LVT offers a compelling combination of practicality and style, making it an excellent choice for busy kitchens. With its water-resistant nature, durability, and easy maintenance, you can enjoy a beautiful floor without sacrificing functionality. Remember, as with any home improvement project, carefully consider your budget, lifestyle, and desired aesthetic when choosing LVT to ensure a perfect match for your space.
As you explore the world of LVT, keep an open mind and don’t be afraid to get creative. With so many options available, you’re sure to find a flooring solution that not only wows your guests but also stands the test of time.
When it comes to renovating your kitchen, every penny counts. In the next section, we’ll dive into some savvy shopping strategies to help you find the best deals on kitchen flooring without compromising on quality or style.
Secrets to Finding Deals: Shopping Smart for Kitchen Flooring
When it comes to kitchen flooring, there’s no need to break the bank. With a little research and savvy shopping, you can find high-quality materials that fit your budget and style.
The Art of the Deal: Clearance Sales, Overstock Discounts, and Seasonal Promotions
One of the best ways to score a bargain is to keep an eye out for clearance sales, overstock discounts, and seasonal promotions. Many flooring retailers offer significant markdowns on discontinued or overstocked items to make room for new inventory. Don’t be afraid to ask about these deals – they’re often not advertised, but the savings can be substantial.
Another tip? Consider purchasing your flooring materials during the off-season, such as late fall or winter. Flooring companies often run promotions during slower periods to boost sales, so you can snag some great deals.
Thinking Outside the Big Box: Exploring Local Flooring Stores and Suppliers
While big-box stores can be convenient, don’t overlook the potential savings and personalized service offered by local flooring stores and suppliers. These smaller businesses often have more flexibility in pricing and may be willing to negotiate, especially if you’re purchasing a larger quantity of materials.
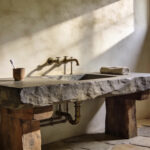
Local suppliers can also be a great source for unique or reclaimed flooring options, such as salvaged hardwood or vintage tiles, which can add character and charm to your kitchen at a fraction of the cost of new materials.
When shopping locally, don’t be afraid to ask about remnant pieces or slightly damaged items. These can often be purchased at a significant discount and can work perfectly for smaller spaces or accent areas.
One of the best online resources for finding affordable kitchen flooring is [reputable online retailer]. They offer a wide selection of materials at competitive prices, and their user-friendly website makes it easy to compare options and read customer reviews.
If you’re working with a flooring contractor or installer, don’t be afraid to negotiate their pricing. Many contractors are willing to work with you on costs, especially if you’re a repeat customer or have a larger project. It never hurts to ask about discounts or package deals.
Remember, finding the perfect kitchen flooring isn’t just about the upfront cost – it’s about finding a material that will stand the test of time and complement your overall design aesthetic. By shopping smart and exploring all your options, you can create a stunning kitchen floor that wows your guests without breaking the bank.
With a little creativity and persistence, you can find the perfect balance of style and affordability for your kitchen flooring project.
Installation Costs: DIY vs. Hiring a Pro
When it comes to installing kitchen floor tiles, the question of whether to DIY or hire a professional is a common one. Let’s explore the factors that can help you make the right decision for your project.
The DIY Route: Assessing Your Skills, Tools, and Time Commitment
For budget-conscious and hands-on homeowners, tackling a tile installation project yourself can be a tempting option. However, it’s crucial to honestly evaluate your DIY skills, the tools you’ll need, and the time commitment involved.
Installing tile flooring requires specialized tools like a tile cutter, trowels, and grout float, which can add to your upfront costs. You’ll also need to familiarize yourself with proper techniques for layout, cutting, and grouting to achieve a professional-looking finish.
One of the potential pitfalls of DIY tile installation is the risk of costly mistakes. Improper installation can lead to issues like cracked or loose tiles, uneven surfaces, and grout failures, which may require costly repairs or even a complete redo.
Calling in the Pros: Factors Influencing Professional Installation Costs
Hiring a licensed and insured tile contractor may be the wiser choice, especially for larger or more complex projects. Professional installation costs can vary based on factors like:
- Project size and complexity
- Type of tile (natural stone tiles tend to be more expensive to install)
- Labor rates in your area
- Additional services like floor preparation or custom work
While professional installation may seem pricey upfront, it often saves you time, effort, and potential headaches down the road. Reputable contractors have the experience and expertise to ensure a seamless installation, minimizing the risk of costly mistakes.
To find the best value, obtain multiple quotes from licensed and insured contractors in your area. Be sure to ask about their experience, warranties, and any additional services they provide.
The Right Choice for You
Ultimately, the decision to DIY or hire a pro comes down to your circumstances and priorities. If you have the necessary skills, tools, and time, a DIY project can be a rewarding and cost-effective option for smaller, less complex installations.
However, for larger or more intricate projects, or if you value the peace of mind that comes with professional expertise, hiring a reputable tile contractor may be the better investment in the long run.
No matter which route you choose, remember that proper planning, preparation, and attention to detail are key to achieving a beautiful and long-lasting kitchen floor.
When it comes to kitchen floor tiles, the installation is just the beginning. In the next section, we’ll explore the finishing touches that can take your tile project from ordinary to extraordinary, including grout selection, trim options, and those little details that make all the difference.
Beyond the Tile: Grout, Trim, and Finishing Touches
While selecting the perfect tiles for your kitchen floor is crucial, the finishing touches can truly elevate the overall look and feel of the space. As a design enthusiast, I can’t stress enough the importance of paying attention to the details that often get overlooked.
The Grout Effect: Choosing Colors, Types, and Application Techniques
Grout might seem like a minor detail, but its impact on the final result is significant. The color you choose can either complement or clash with your tile design, so it’s essential to make an informed decision. For a bold, eye-catching look, consider using a contrasting grout color to highlight the pattern or shape of your tiles. Alternatively, a grout color that blends seamlessly with the tiles can create a more subtle and cohesive appearance.
When it comes to grout types, sanded grout is generally recommended for tile joints wider than 1/8 inch, as it provides better strength and resistance to cracking. Unsanded grout, on the other hand, is ideal for narrower joints and can create a smoother finish. For high-traffic areas like the kitchen, I often recommend epoxy grout for its superior stain resistance and durability.
Proper grout application is also crucial for a professional-looking finish. Take the time to ensure that the grout lines are consistent and free of gaps or pinholes. A well-grouted floor not only looks better but also helps prevent moisture and dirt from seeping into the cracks, making maintenance easier in the long run.
Trim and Transitions: Completing the Look with Style and Functionality
Trim and transition pieces might seem like an afterthought, but they can truly elevate the overall aesthetic of your kitchen flooring. These elements not only provide a polished, finished look but also serve practical purposes, such as protecting edges from damage and creating a seamless flow between different flooring materials.
When it comes to trim options, there’s no shortage of choices. From sleek metal to rustic wood, you can find styles that complement your kitchen’s design and add a touch of personality. Don’t be afraid to mix and match materials or even incorporate decorative accents like mosaic tiles or geometric patterns.
Transition strips are also essential for creating a smooth transition between different flooring surfaces, such as tile and hardwood or carpet. Not only do they provide a visually appealing transition, but they also help prevent tripping hazards and protect the edges of your flooring from wear and tear.
Finding stylish and affordable trim and transition options can be a challenge, but with a little creativity and resourcefulness, you can discover hidden gems. Check out local home improvement stores, online retailers, or even salvage yards for unique and budget-friendly options.
Remember, paying attention to these often-overlooked details can truly elevate the overall look and feel of your kitchen flooring project. By carefully considering grout colors, types, and application techniques, as well as selecting the perfect trim and transition pieces, you can create a cohesive and visually stunning space that will impress your guests and make you proud.
While selecting the perfect tiles and finishing touches is crucial, maintaining the beauty and longevity of your kitchen flooring is equally important. In the next section, we’ll dive into practical tips and tricks for keeping your tile floors sparkling and looking their best for years to come.
Maintenance Matters: Keeping Your Kitchen Floor Sparkling
As beautiful as your new kitchen floor tiles may look, their longevity and shine depend on proper maintenance. With a few simple steps, you can keep your floors looking their best for years to come.
Cleaning Made Easy: Tips for Tackling Spills, Stains, and Everyday Grime
One of the easiest ways to maintain your kitchen floor is to stay on top of regular cleaning. Here are some tips to make the task a breeze:
- Wipe up spills immediately to prevent staining, especially on porous surfaces like grout. A pH-neutral cleaner is a safe bet for most tile types.
- For a budget-friendly and eco-friendly cleaning solution, mix equal parts warm water and white vinegar in a spray bottle. This concoction works wonders on tile and grout, cutting through grime without harsh chemicals.
- Invest in a good-quality mop with a removable, washable pad. Microfiber mops are highly effective at picking up dirt and grime without leaving streaks or residue.
- Don’t forget to clean the grout lines regularly. A stiff-bristled brush and a grout cleaner can help tackle stubborn stains and keep your grout looking fresh.
Preventative Measures: Protecting Your Floor from Scratches, Dents, and Wear
While regular cleaning is essential, taking preventative measures can save you from unnecessary wear and tear on your kitchen floors. Here are some tips to keep in mind:
- Place mats or rugs in high-traffic areas to minimize scratches and scuffs from foot traffic.
- Use felt pads under furniture legs to prevent scratches and dents when moving chairs or appliances.
- Consider applying a sealer to your grout lines every 6-12 months to prevent staining and discoloration. This simple step can significantly extend the life of your grout.
- Avoid dragging heavy appliances or furniture across the floor, as this can cause scratches or chips on the tile surface.
By incorporating these maintenance tips into your routine, you’ll not only preserve the beauty of your kitchen floor but also ensure a long-lasting investment that will continue to wow your guests for years to come.
With a little care and attention, your stunning kitchen floor tiles will remain a showpiece in your home, reflecting your impeccable taste and dedication to maintaining a beautiful living space.
Final Thoughts
As you embark on your kitchen flooring journey, remember that true beauty lies in the details. From selecting the perfect tiles to choosing the right grout and trim, each decision contributes to the overall aesthetic harmony of your space. And let’s not forget the importance of proper maintenance – with a little care and attention, your stunning kitchen floor will continue to wow your guests for years to come.
So, embrace your inner designer, trust your instincts, and let your creativity shine. Whether you opt for the timeless charm of ceramic tiles, the durability of porcelain, or the practicality of luxury vinyl, the key is to find a flooring solution that not only fits your budget but also reflects your unique style and personality.
At the end of the day, your kitchen is more than just a functional space – it’s a canvas for you to express your artistic flair and create a warm, inviting atmosphere that will make every meal and gathering a memorable experience. So, go ahead, unleash your inner decorator, and let your kitchen floor be the showstopper it deserves to be.