Can we talk about the biggest myth in gardening? It’s this idea that you either have a “green thumb” or you don’t, like it’s some kind of magic you’re born with. I hear it all the time. People look at a lush patio and say, “Oh, I could never do that. I kill everything.” Honestly, that’s just not true. As an old art teacher, I can tell you that creating a beautiful garden is a lot more like learning to draw than it is like having superpowers. It’s not about magic; it’s about understanding a few simple rules of composition, light, and care.
I used to think it was complicated, too. Then I realized that plants are actually pretty simple communicators—if you know what to look for. They’ll tell you when they’re thirsty, hungry, or getting too much sun. Your job is just to learn their language. So, let’s throw out that whole “green thumb” idea and talk about what actually works. Here are the 21 things I wish I’d known when I started, broken down into manageable steps that will turn your little patch of concrete into a green escape.
Planning Your Perfect Patio Oasis
The most successful gardens happen in your head and on paper long before you ever buy a single plant. A little bit of thoughtful planning now saves you so much headache (and money!) later. This is the fun part where you get to be the designer and dreamer.
1. Determine Optimal Sun Exposure: Maximize Plant Health & Growth
You know what people always ask me? “What can I grow on my balcony?” My first question back is always, “Okay, tell me about your sun.” This is, without a doubt, the number one thing people get wrong, and it’s the reason most patio gardens fail. You can’t just guess. You have to become a sun detective for a day. Notice where the sun hits and for how long. Is it scorching, direct-hit-for-eight-hours sun, or is it gentle, dappled-through-the-trees-for-a-few-hours-in-the-afternoon sun? These are two completely different worlds for a plant.
Don’t just estimate. Actually time it. Full sun means 6+ hours of direct light. Part sun is 4-6 hours. Anything less is shade. A tomato plant in a shady spot will give you maybe three sad, tiny tomatoes and a whole lot of disappointment. Put that same plant in a sunny spot, and you’ll be giving tomatoes away to your neighbors. If you want a great shortcut, there are sun-tracker apps for your phone (like Sun Seeker) that will literally show you the sun’s path across your patio on any given day of the year. It feels a little nerdy, but it’s a game-changer for getting this right.
Once you know your sun map, you can choose plants that will actually love living there, which brings us to their home.
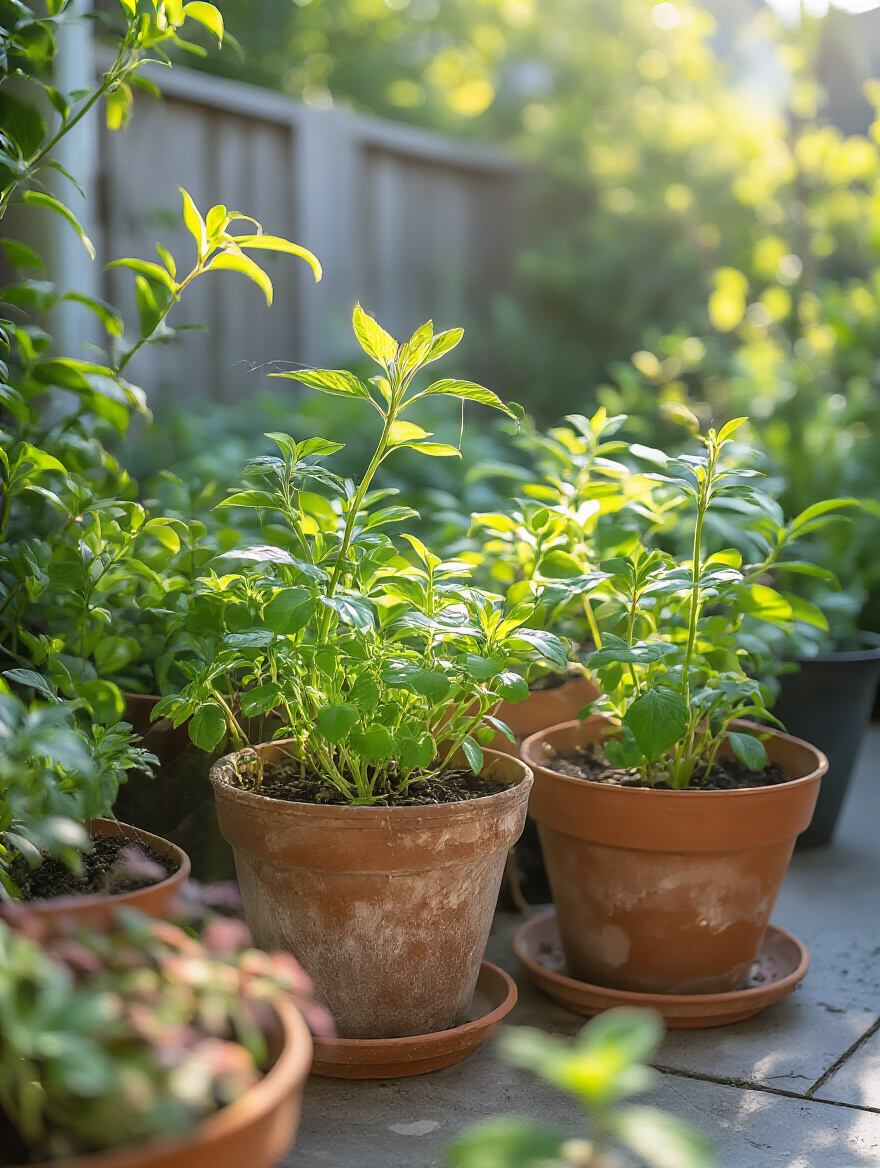
2. Select Correct Container Sizes: Match Plants for Optimal Root Development
I once tried to grow a big, beautiful ‘Brandywine’ tomato plant in a pot that was way too small. I babied that thing, I watered it constantly, and I got… exactly four tomatoes. The plant looked stressed all season. It was my “aha!” moment: a pot isn’t just a container; it’s a plant’s entire universe. If the roots don’t have room to spread out and find water and nutrients, the plant above the soil will never, ever reach its potential. It’s like trying to live your whole life in a closet.
So, the golden rule is: go one size bigger than you think you need. A tiny pot is a death sentence for most plants because it dries out in a flash and chokes the roots. For herbs like basil or chives, a 1-2 gallon pot is fine. But for hungry, thirsty plants like tomatoes, peppers, or cucumbers, you need a minimum of a 5-gallon container, and honestly, a 10 or 15-gallon pot (like a big fabric grow bag or a half whiskey barrel) is even better. It means happier roots, a much bigger harvest, and you won’t have to water three times a day in July.
After you’ve picked the right size pot, what you fill it with is just as important.
3. Choose Premium Potting Mix: Ensure Superior Drainage & Nutrient Retention
Okay, confession time. My first-ever container garden was a total disaster because I thought I could save a few bucks by using dirt from my backyard. Big mistake. Huge. Within a few weeks, it had compacted into a solid brick of mud that drowned my plant’s roots. Garden soil is for the garden. It has worms and microbes and a whole ecosystem that keeps it loose. In a pot, it just turns to concrete.
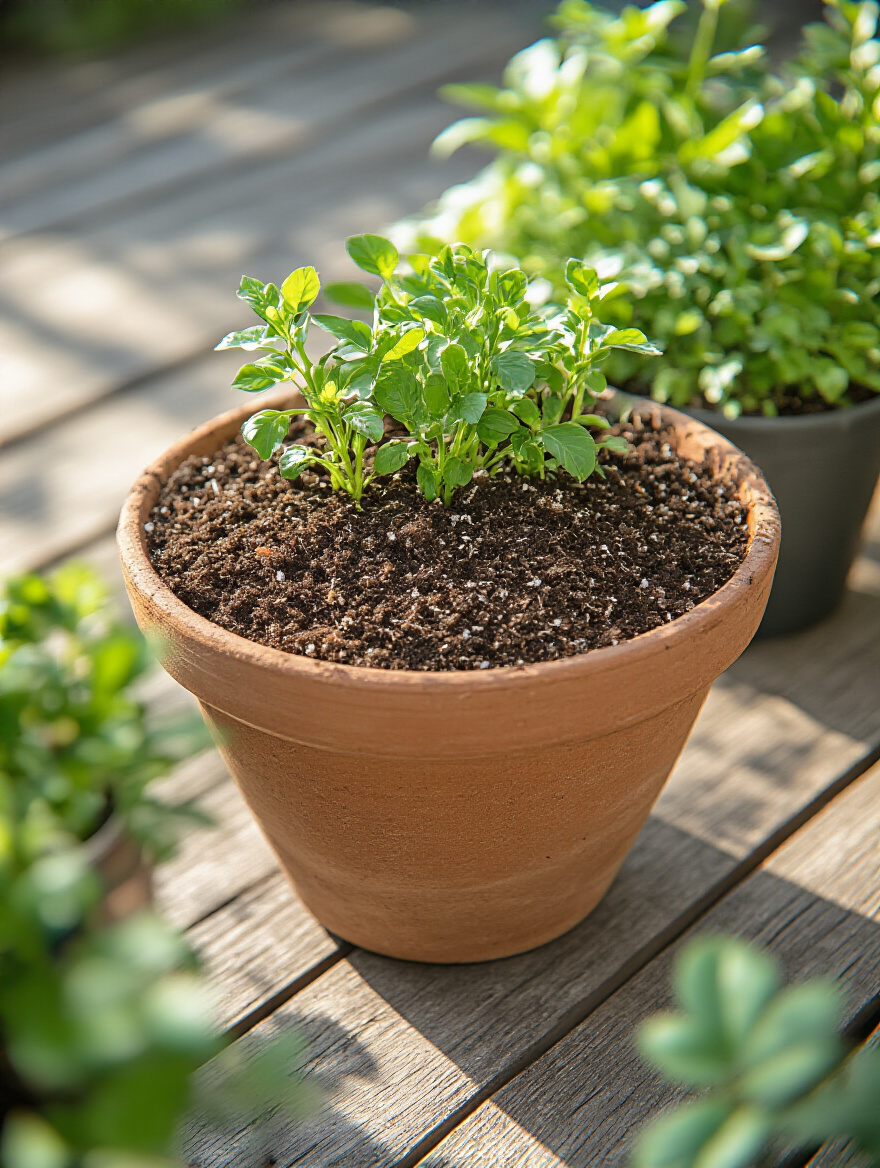
You absolutely need to use a “potting mix.” But not all bags are created equal. Look at the ingredients. You want to see things like peat moss or coco coir (for holding moisture), and perlite or pumice (the little white specks that look like styrofoam) for drainage and aeration. I know the good stuff can feel pricey, but it’s the foundation of your entire garden. A great bag of potting mix is the single best investment you can make. A shortcut? You can often buy a less expensive mix and improve it by adding an extra bag of perlite to lighten it up.
Now that we have the perfect home, it’s time to choose who’s going to live there.
4. Identify Ideal Plant Varieties: Thrive in Limited Patio Space & Climate
This is where the art teacher in me gets excited. Just like you choose the right paint for your canvas, you have to choose the right plants for your patio. Don’t try to fight your space. If you have a shady balcony, embrace shade-loving plants like ferns, hostas, and mint instead of trying to force a sun-worshipping lavender plant to survive there. Read the plant tags! They are your cheat sheets. They’ll tell you if a plant needs sun or shade and how big it will get.
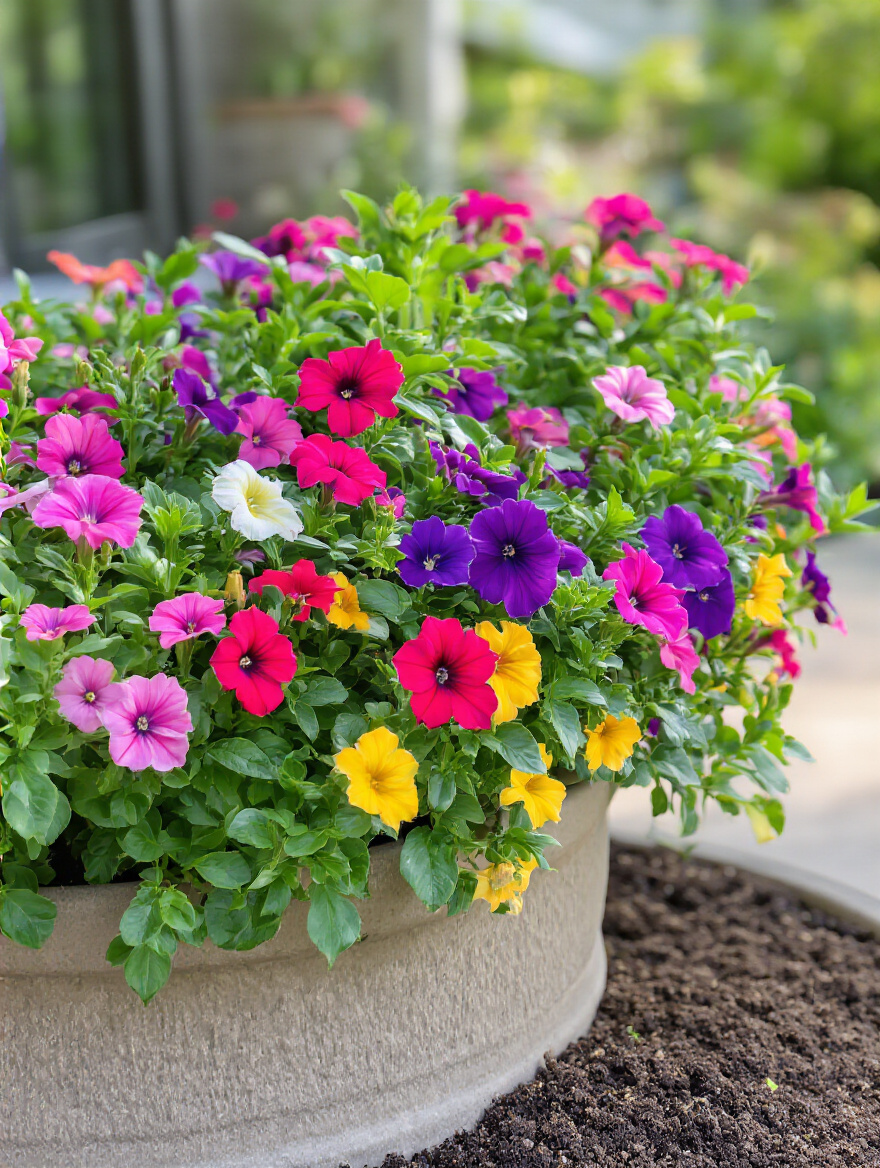
And for small spaces, look for magic words like ‘Dwarf,’ ‘Patio,’ ‘Bush,’ or ‘Container’ in the plant’s name. These are varieties that have been specially bred not to take over your whole space. Think ‘Patio Princess’ tomatoes instead of a sprawling 8-foot vine. A brilliant trick for making any container look professionally designed is the ‘Thriller, Filler, Spiller’ method. The ‘thriller’ is a tall, dramatic plant in the center (like a spike of dracaena). The ‘filler’ is something mounded and bushy around it (like petunias). And the ‘spiller’ is something that trails over the edge (like sweet potato vine or creeping jenny). It’s a no-fail recipe for a beautiful pot.
With plants picked out, let’s think about how to arrange them all.
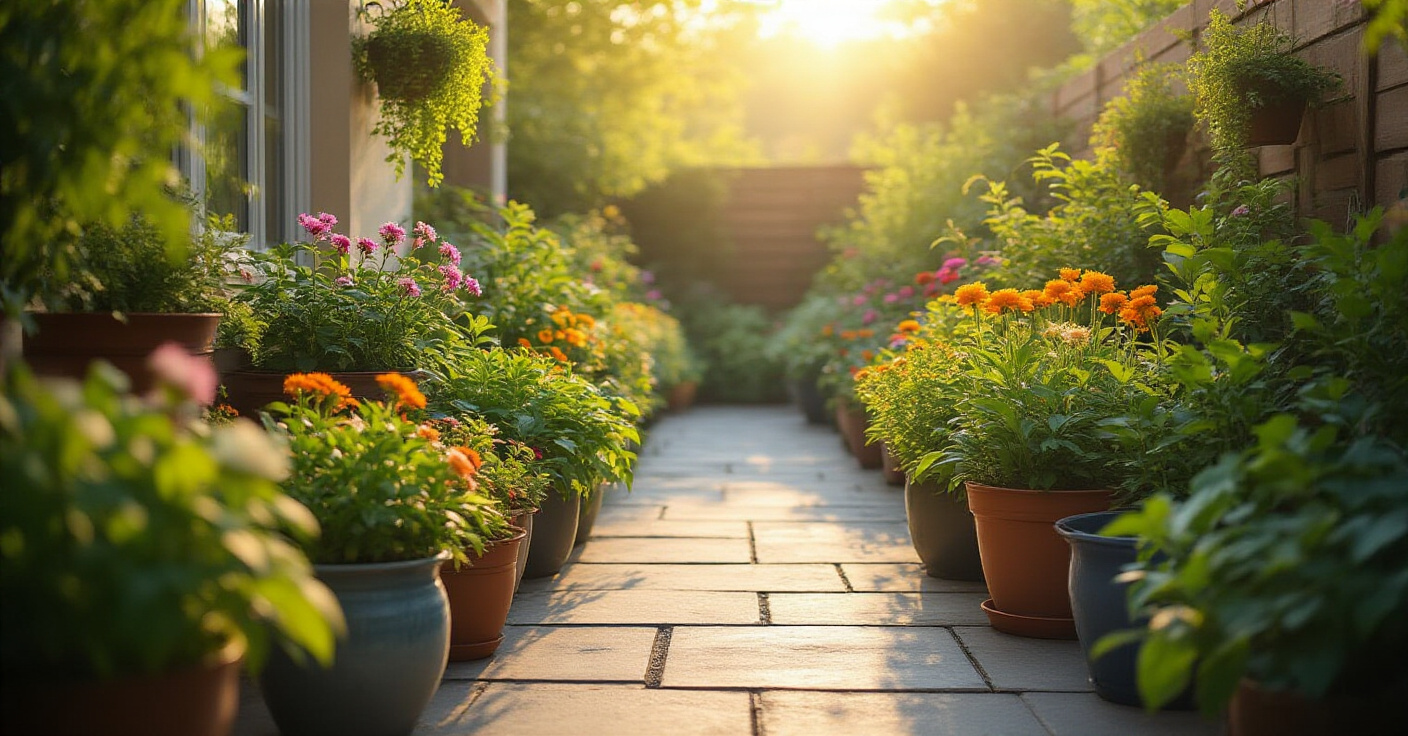
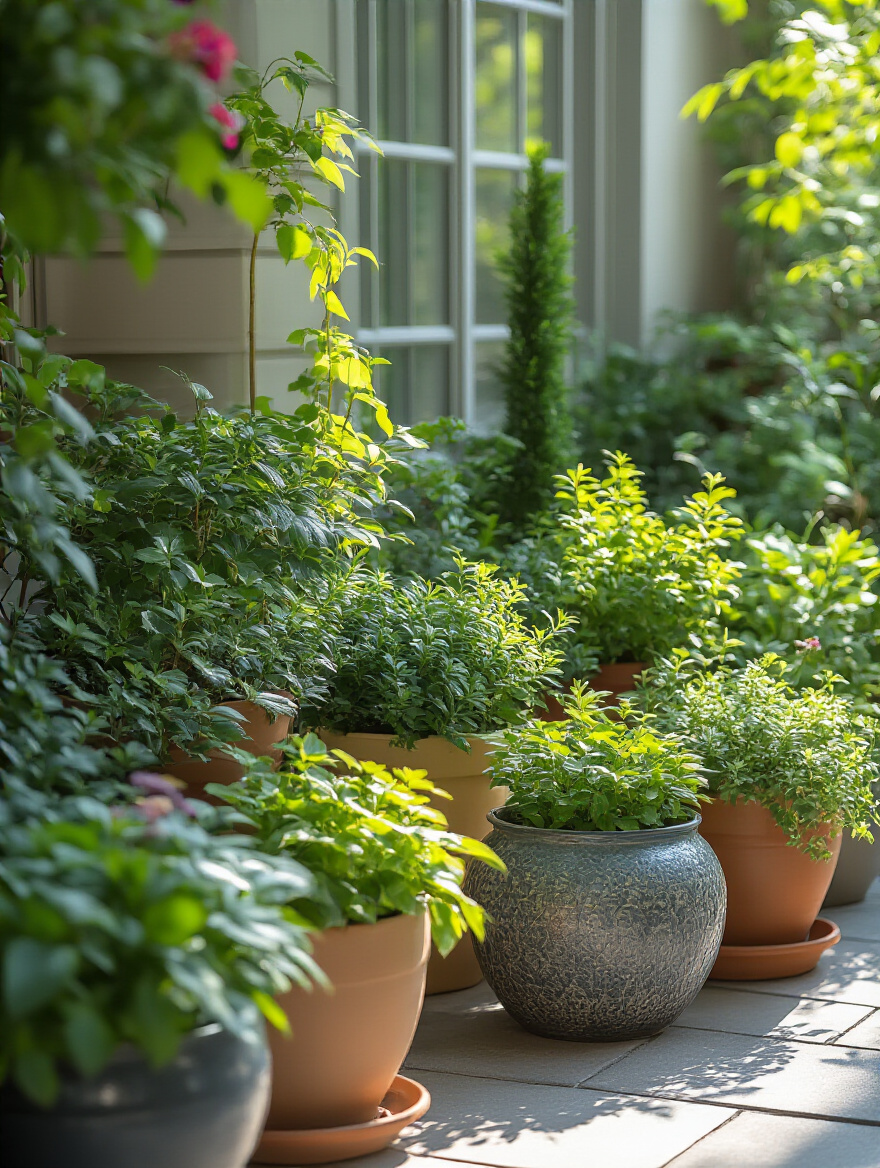
5. Strategically Design Your Layout: Optimize Space & Enhance Visual Appeal
Before you start hauling heavy pots around, grab a piece of paper and sketch out your patio. Think about it like you’re arranging furniture in a room. Where do you walk? Where do you want to sit with your morning coffee? You need to create clear pathways. Then, arrange your pots to create “zones”—a cozy seating nook here, a vertical herb garden there. This makes the space feel bigger and more intentional, not just like a cluttered collection of pots.

The absolute best trick for small spaces is to think vertically. Go up! Use railing planters, Wall-mounted planters, hanging baskets, and tall, narrow shelves. This draws the eye upward and can literally triple your growing space without taking up any more of your precious floor. Another artist’s trick is to use the ‘Rule of Three.’ Grouping plants or pots in odd numbers—threes, fives—is almost always more visually interesting and natural-looking than lining everything up in pairs.
Smart Setup & Efficient Planting Techniques
Alright, the planning is done! Now it’s time to get our hands dirty. Setting things up the right way from the start gives your plants a huge advantage and makes your life easier all season long.
6. Ensure Optimal Container Drainage: Prevent Root Rot & Waterlogging
If you remember one thing about containers, let it be this: pots must have holes in the bottom. No exceptions. A pot without drainage is a bathtub, and your plant’s roots will drown in it. This is the fastest way to get root rot, which is a mushy, stinky, irreversible mess. If you fall in love with a decorative pot that doesn’t have a hole, you have two options: either get out a drill and make one (it’s easier than you think!), or use it as a “cachepot” and slip a plain plastic nursery pot with drainage holes inside.
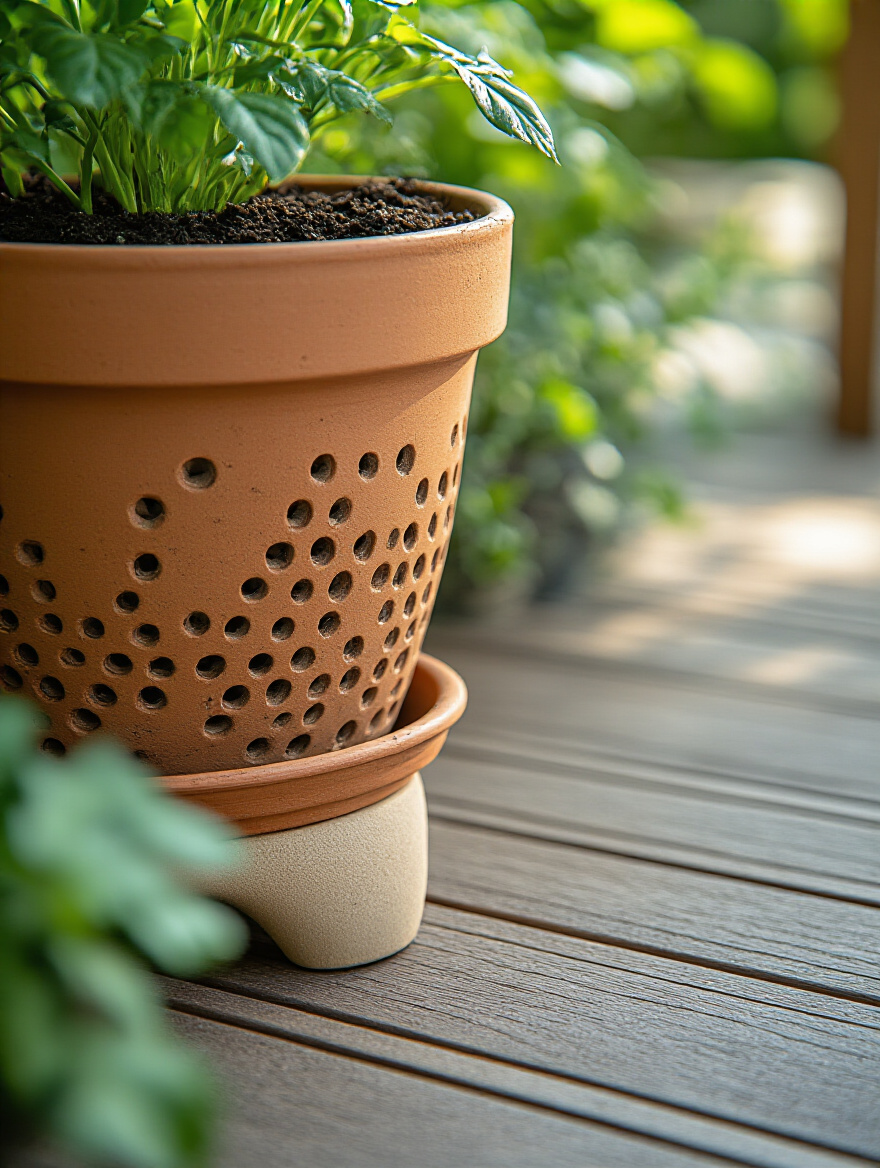
Now for the BS I need you to forget. Your well-meaning grandma might have told you to put a layer of gravel or broken pot shards at the bottom for drainage. For the love of all that is green, do not do this. Science has proven this actually makes drainage worse. It creates a swampy layer of water at the bottom of the pot, right where the roots are, by creating something called a “perched water table.” Just use a good, uniform potting mix from top to bottom, maybe with a small piece of screen over the hole to keep the soil from falling out. That’s it.
Next, let’s level up what’s happening inside the pot.
7. Layer Potting Media: Boost Nutrient Delivery & Water Efficiency
This sounds way fancier than it is. Think of it like making a lasagna for your plants. While using a single high-quality potting mix is perfectly fine, you can give your plants an extra boost by creating a few simple layers. For very large pots, you can fill the bottom third with less precious material like shredded leaves or small twigs. This saves you money on potting mix and improves aeration.
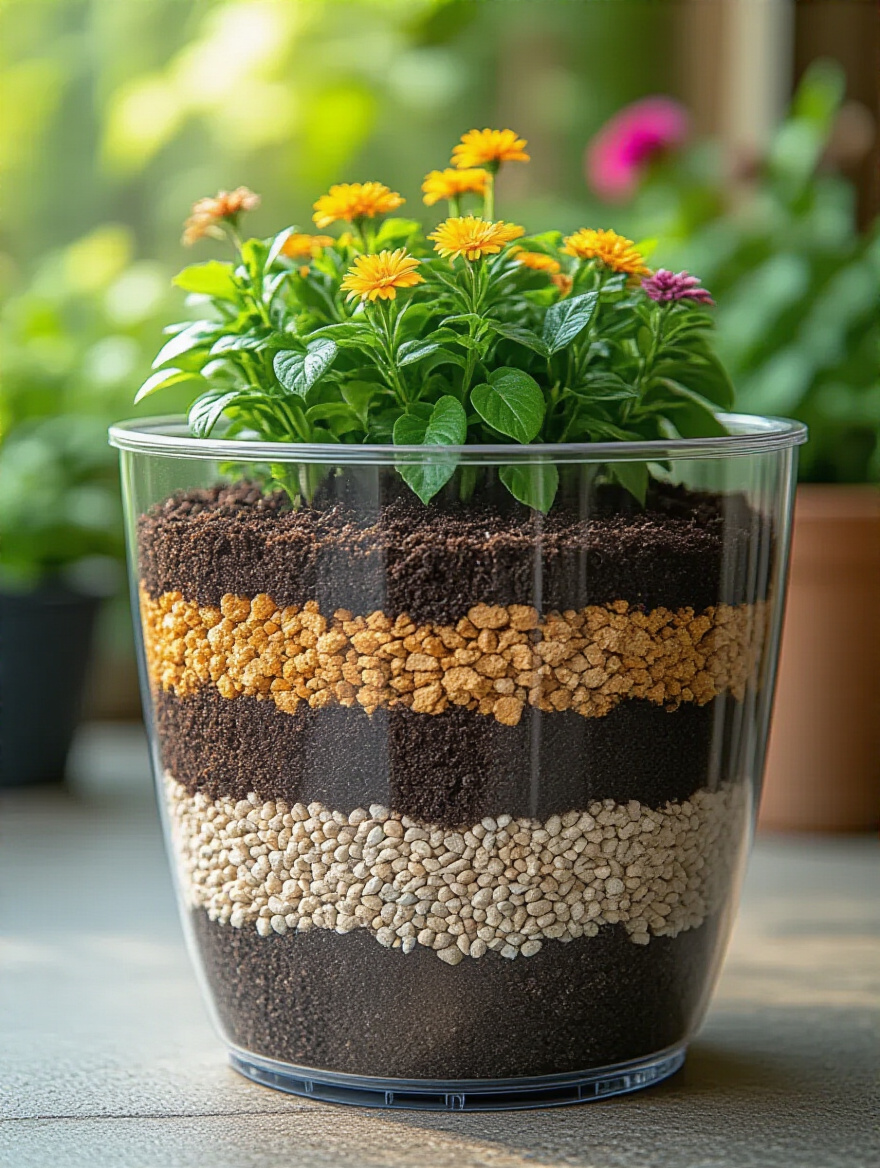
The most useful “layering” is what you do at the top. After filling your pot with your main mix, mix a handful of organic, slow-release granular fertilizer and a scoop of rich compost into the top few inches of soil. This creates a nutrient-rich zone right where the plant will be seeking food. Then, top it all off with a layer of mulch, which we’ll get to in a bit. This little bit of effort up front means you’ll have to do less liquid feeding later in the season.
With the pot ready, we have to decide how many plants to put in it.
8. Follow Smart Planting Density: Maximize Yield & Prevent Overcrowding
It’s so tempting to stuff a bunch of seedlings into one pot, hoping for a lush, full look right away. I get it! But this backfires, every time. Overcrowded plants have to fight each other for sunlight, water, and food. The result is a bunch of skinny, weak, and unproductive plants. You’ll actually get a bigger harvest from one or two properly spaced plants than you will from five that are choking each other out.
Check the plant tag or seed packet for spacing recommendations and trust them. It might look a little sparse at first, but have faith! They will fill in. Good air circulation between plants is also your best defense against common fungal diseases like powdery mildew, which loves to show up in humid, crowded conditions. The shortcut here is to use trellises and stakes. You can plant vining things like cucumbers or pole beans closer together if you give them somewhere to climb up, freeing up the soil space below.
Speaking of climbing, let’s fully embrace going vertical.
9. Integrate Vertical Planters: Expand Your Growing Area Upwards
For anyone with a small balcony or patio, Vertical gardening isn’t a trend; it’s a lifeline. It’s the single best way to maximize a tiny footprint. Think about all that unused space on your walls and railings! This is prime real estate. You can use hanging pockets for herbs and lettuces, stackable planters for strawberries, or build a simple trellis against a wall for peas and beans to climb.
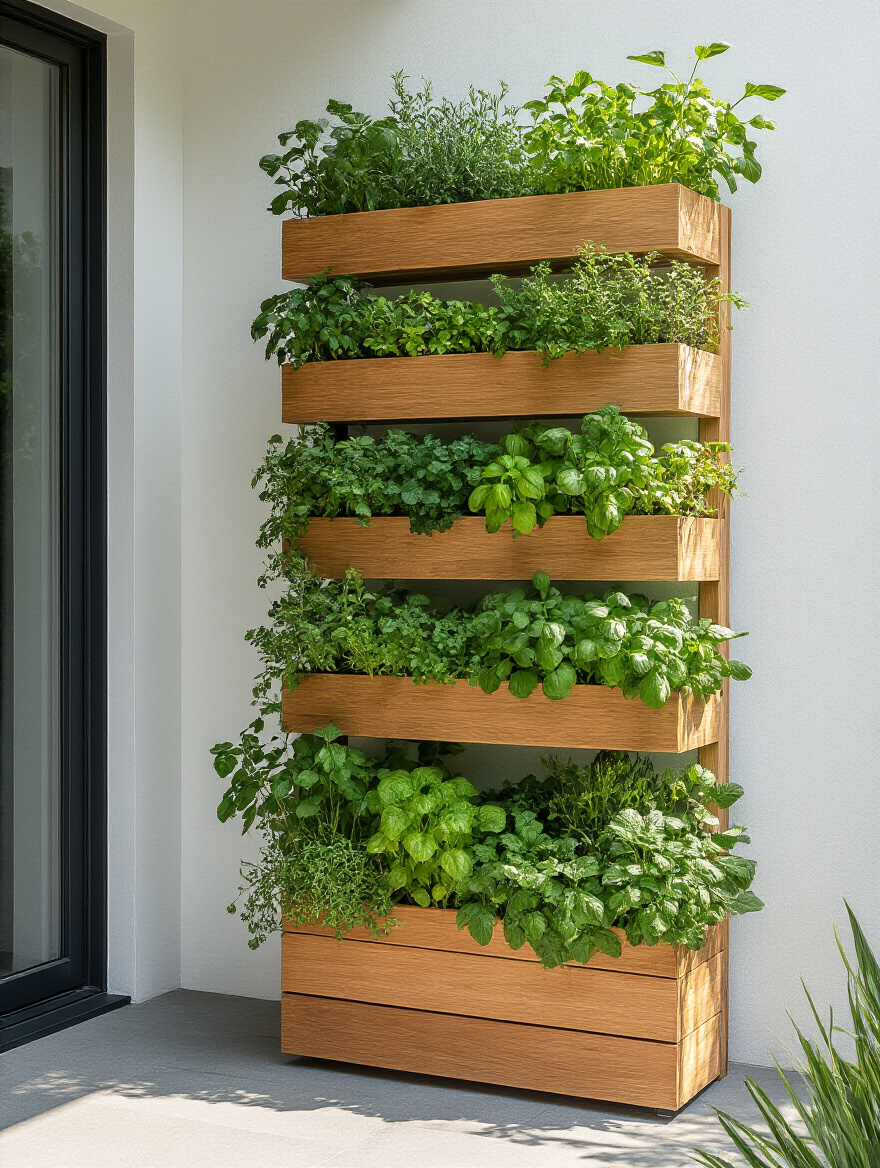
This approach turns a blank, boring wall into a living, productive piece of art. The key is to choose the right plants. You want shallow-rooted things like most herbs, leafy greens, and some flowers. Don’t try to grow a giant pumpkin in a wall pocket. A great starting point is a tiered strawberry pot; you can tuck different herbs into each opening and have a whole culinary garden in one square foot of space.
Now let’s automate one of the biggest chores in patio gardening.
10. Automate Watering with Drip Systems: Save Time & Conserve Water
At first, daily watering feels therapeutic. By August, it can feel like a relentless chore, especially if you want to go away for a weekend. A drip irrigation system is the single best gift you can give your future self. It might sound intimidating and expensive, but it’s gotten so simple and affordable. You can buy a starter kit online or at a hardware store for under $50. It’s basically a series of small tubes that you run from pot to pot, with little emitters that drip water slowly and directly onto the soil.
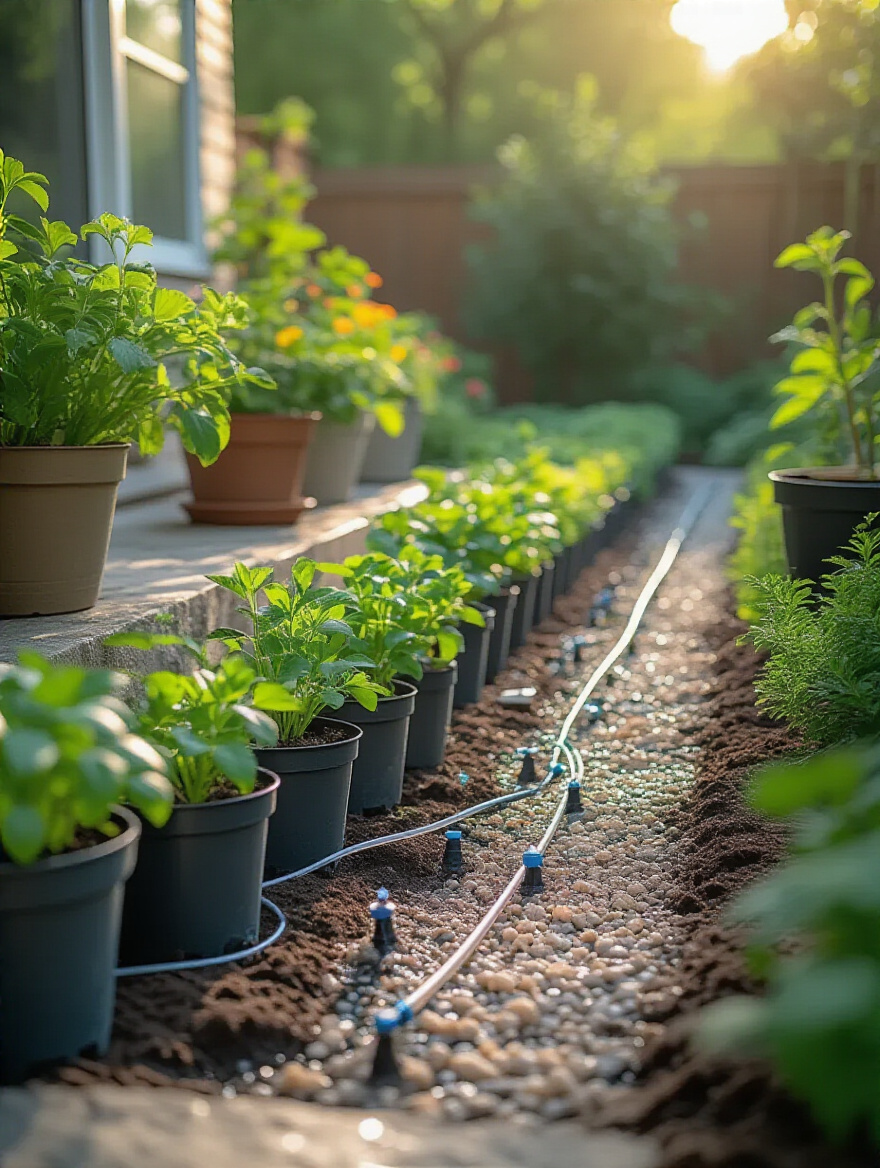
You hook it up to a simple battery-powered timer on your outdoor faucet, and poof—your watering is done for you. No more forgetting. No more worrying. And it’s incredibly efficient, saving up to 70% of the water you’d use with a hose or watering can because none of it is lost to evaporation. If you’re not ready to invest, no worries. A good old-fashioned watering can with a long spout that lets you water the soil (not the leaves) is your next best friend.
To make any watering method more effective, you need this next tip.
11. Apply Container Mulch: Regulate Soil Temperature & Retain Moisture
Mulch is the unsung hero of the container garden. It’s just a 1-to-2-inch layer of something—like shredded bark, coco coir, or even straw—spread on top of the soil in your pots. It doesn’t look like much, but it’s working magic. First, it acts like a lid, dramatically reducing how much water evaporates from the soil. This means you water less, and your plants stay more consistently hydrated. In the summer heat, I find a good layer of mulch can cut my watering needs almost in half.
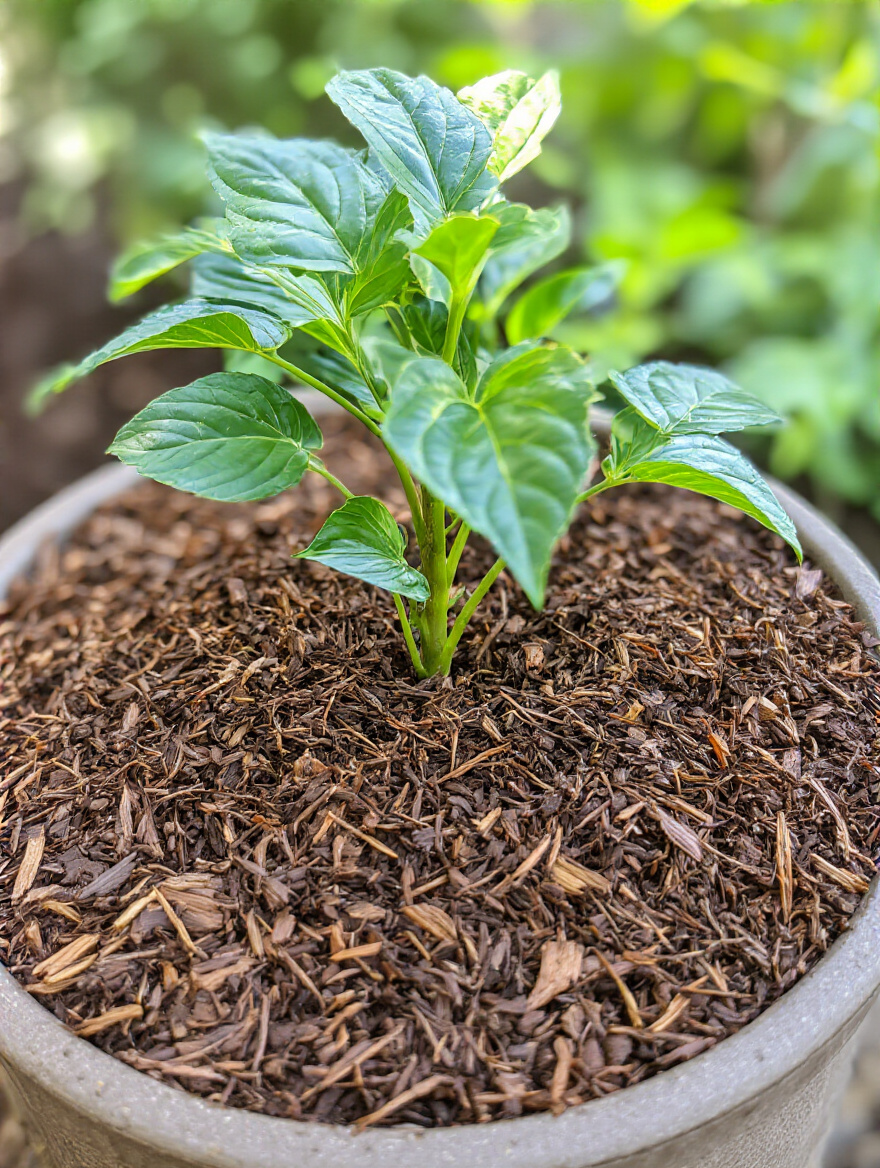
Second, it insulates the soil. On a scorching hot day, the black plastic of a nursery pot can get hot enough to cook the roots. Mulch keeps the soil temperature stable and cool, protecting those delicate roots from stress. It also helps suppress weeds. Just be sure to leave a little half-inch gap right around the stem of your plant so the mulch isn’t touching it, which can cause rot. Pre-moistened, shredded hardwood bark is my go-to. It looks neat and breaks down slowly, adding a little organic matter to the soil over time.
Nurturing Your Greens for Consistent Growth
Your garden is planted! High five! Now comes the ongoing part of the relationship. Tending to your plants is a simple rhythm of observing and responding. This is where you really get to know them and help them thrive.
12. Master Container Watering Techniques: Prevent Under/Over Hydration & Boost Health
More container plants are killed by kindness (overwatering) than by neglect. People see a slightly wilty leaf and they panic and drench it, but wilting can also be a sign of waterlogged, drowning roots. So, how do you know when to water? Your finger is the best, cheapest, and most reliable moisture meter you will ever own.
Here’s the trick: stick your finger into the soil up to your second knuckle. If it feels dry at the tip of your finger, it’s time to water. If it feels damp, wait a day and check again. When you do water, water deeply. Pour water on slowly until you see it running out of the drainage holes at the bottom. This ensures the entire root ball gets a drink, not just the top layer. Then, and this is important, let it drain completely. Don’t let your pot sit in a saucer full of water for hours.
Once watering is mastered, it’s time to think about food.
13. Apply Targeted Fertilization: Fuel Vibrant Growth & Abundant Blooms
Plants in pots are like teenagers with a mini-fridge. They eat up everything in their small container very quickly and then they’re hungry again. The nutrients in fresh potting mix only last for a few weeks to a month. After that, it’s up to you to provide the food. Every time you water, some nutrients wash out of the bottom of the pot, so you have to replenish them regularly.
There are two easy ways to do this. The first is to mix a slow-release granular fertilizer (look for ones made for containers) into your soil when you plant. It’s like a vitamin that slowly dissolves over several months. This is the “easy button” for busy people. The second way is to use a liquid fertilizer, like fish emulsion or a balanced synthetic, diluted in your watering can every 2-4 weeks during the growing season. This gives the plants an immediate boost. I do both—the granules for a baseline and the liquid feed when my tomatoes or peppers start making fruit and look extra hungry.
While you’re feeding them, you should also be looking for uninvited guests.
14. Implement Daily Pest Monitoring: Detect Issues Early for Quick Action
The best way to handle pests is to spot them before they become a full-blown invasion. Make it a habit to take a little 5-minute “garden walk” every day, maybe while you’re drinking your coffee. You’re not just admiring your work; you’re being a detective. Turn over a few leaves. Look closely at the new, tender growth. Are there tiny white specks? Sticky stuff? Fine little webs?
Most pest problems (like aphids or spider mites) are easy to solve if you catch them when there are only a few. Often, a strong spray of water from a hose is enough to knock them off. If that doesn’t work, a simple insecticidal soap or neem oil solution can take care of it without harming the good guys. I keep a little magnifying glass with my garden tools. It helps you see what’s really going on and feels very official and Sherlock-Holmes-y.
Besides looking for bugs, you should also have your pruners handy.
15. Perform Strategic Pruning: Promote Bushier Plants & Higher Yields
Pruning sounds scary, but it’s actually how you talk to your plants and encourage them to grow the way you want them to. It’s like giving a haircut to encourage healthy growth. For herbs like basil, the more you pinch them back, the bushier and more productive they’ll get. Every time you pinch off the top set of leaves to use in your pesto, you’re sending a signal to the plant to send out two new side shoots from that spot. It’s magic!
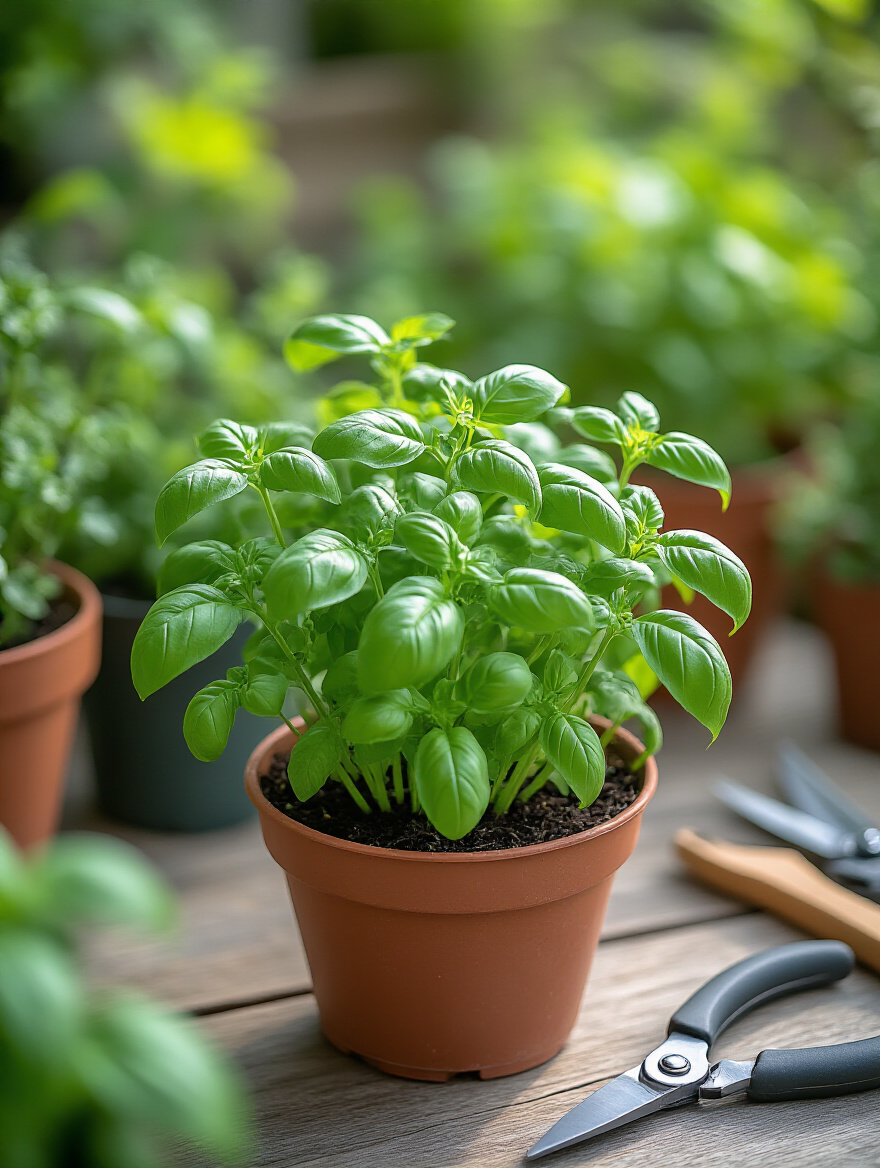
The mantra is: “Pinch early, pinch often.” Don’t wait until the plant is a tall, leggy mess. For flowering plants like petunias, pinching off the dead, spent blooms (called “deadheading”) tells the plant to stop making seeds and put its energy back into making more beautiful flowers for you. All you need is a clean pair of snips or even just your thumb and forefinger. It’s one of the most satisfying garden jobs there is.
As your plants get bushier, they’ll need some help standing up.
16. Provide Effective Plant Support: Prevent Damage & Enhance Growth
One summer, I was so proud of my huge, rambling tomato plant… until a thunderstorm rolled through and snapped its main stem in half. I lost half my harvest in five minutes. Lesson learned: don’t wait until your plants are falling over to give them support. Put stakes, cages, or small trellises in your pots when the plants are still young. This avoids damaging the roots later and gives the plant something to grow onto from the very beginning.
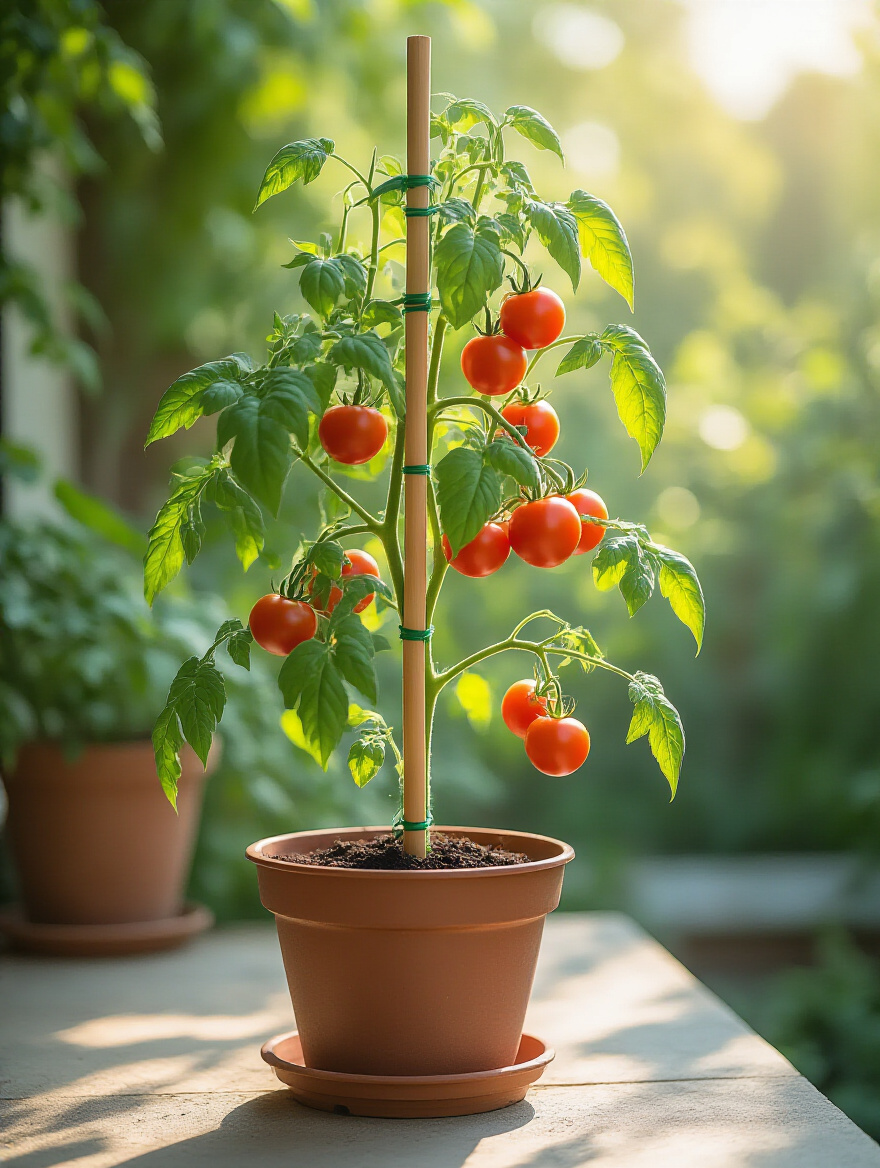
A simple bamboo stake is fine for a single-stem pepper plant. A classic cone-shaped tomato cage is perfect for bushier plants. For anything that vines, like cucumbers or peas, a small trellis they can grab onto is ideal. Use soft ties, like strips of old t-shirts or velcro plant ties, to loosely guide the stems to the support. This keeps them off the ground, improves air circulation, and ensures your heavy, beautiful produce doesn’t break the plant that made it.
Advanced Tips & Troubleshooting for Thriving Harvests
Okay, you’ve mastered the basics! Your garden is growing and you’re feeling confident. Now let’s level up. These are the tricks that take your patio from a nice little collection of plants to a truly productive and resilient oasis.
17. Practice Container Crop Rotation: Maintain Soil Health & Deter Diseases
This sounds like something for a giant farm, but it’s just as important in your little collection of pots. If you grow the same thing (especially tomatoes or peppers) in the same pot year after year, you’re creating a perfect breeding ground for soil-borne diseases that love that specific plant. Eventually, your harvests will decline, and you won’t know why. Rotating your “crops” breaks that cycle.
The easiest way to do this is to keep a simple little “garden diary” or a note on your phone. If you grew tomatoes in the big blue pot this year, plant beans or herbs in it next year. Then, the year after, you can go back to tomatoes. After harvesting at the end of a season, it’s also a great practice to dump out at least half of the old soil and amend it with fresh potting mix and compost before you plant something new.
While you’re planning your rotations, think about inviting some friends to the garden.
18. Attract Pollinators Naturally: Boost Fruit Set & Increase Harvests
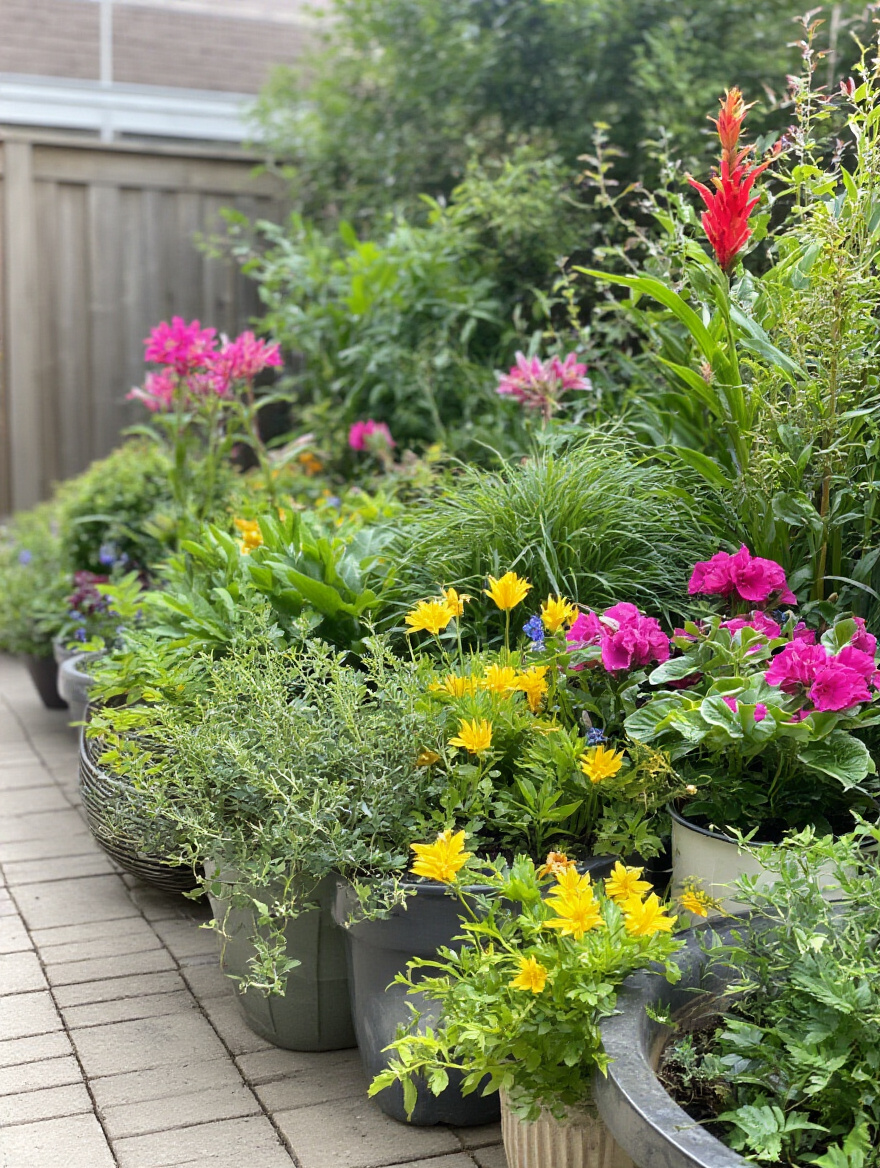
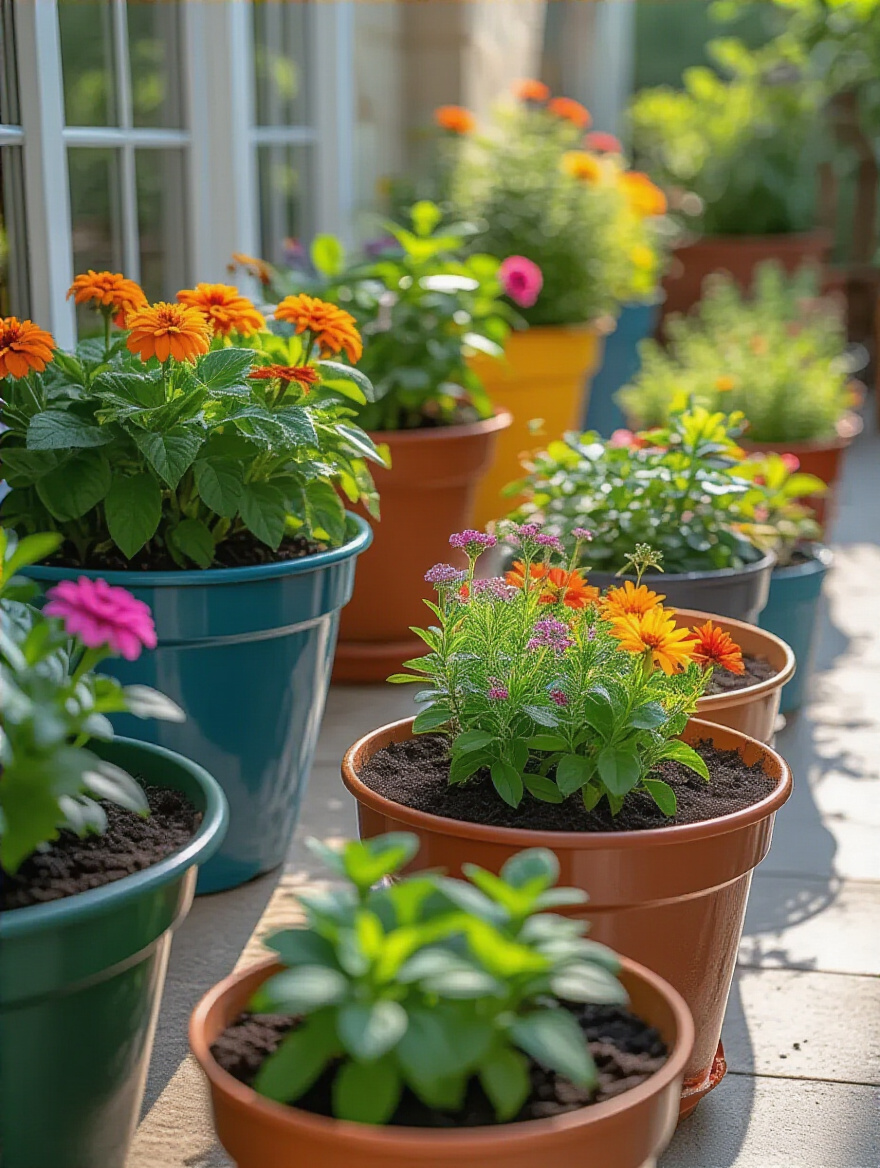
If you’re growing anything that makes a fruit—like squash, cucumbers, strawberries, or tomatoes—you need pollinators. Bees, butterflies, and other helpful insects are the ones who do the hard work of turning your flowers into food. So, you need to invite them to the party! The best way to do this is to plant things they love right in amongst your veggies.
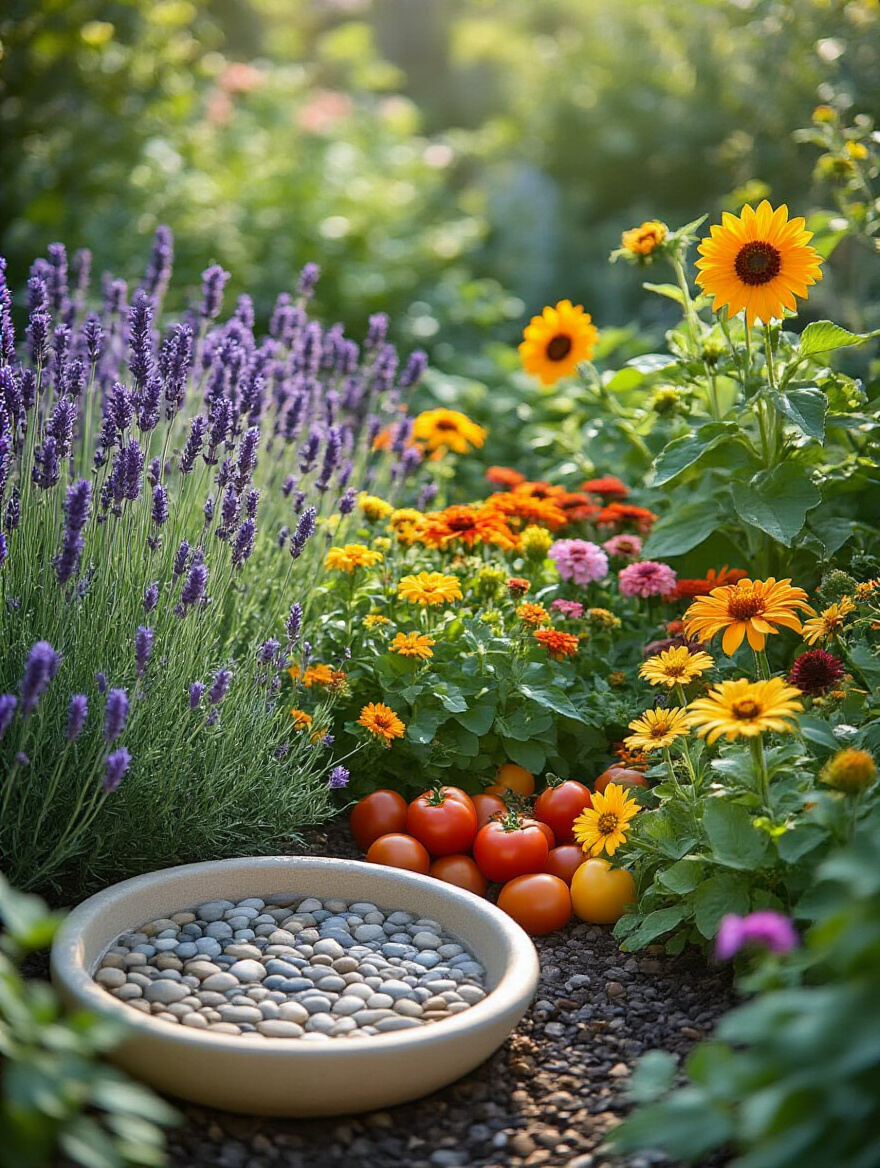
Tuck some flowers like lavender, borage, cosmos, or zinnias into a few of your pots. Pollinators will come for the flower nectar and then stick around to visit your tomato and pepper blossoms. It’s a win-win: your patio looks prettier, and your vegetable yields will go up significantly. One simple rule: avoid using chemical pesticides whenever possible. They can harm the very bees you’re trying to attract.
As the main season winds down, you don’t have to let the party end.
19. Properly Winterize Patio Plants: Protect Them from Cold & Ensure Return
Let’s talk about tucking your plant babies in for the winter. For perennial or woody plants (like that rosemary bush or small fig tree you love), leaving them out on an exposed patio can be a death sentence. The roots in a pot get much, much colder than they would in the ground. But with a little effort, you can save them and not have to buy new ones next spring.
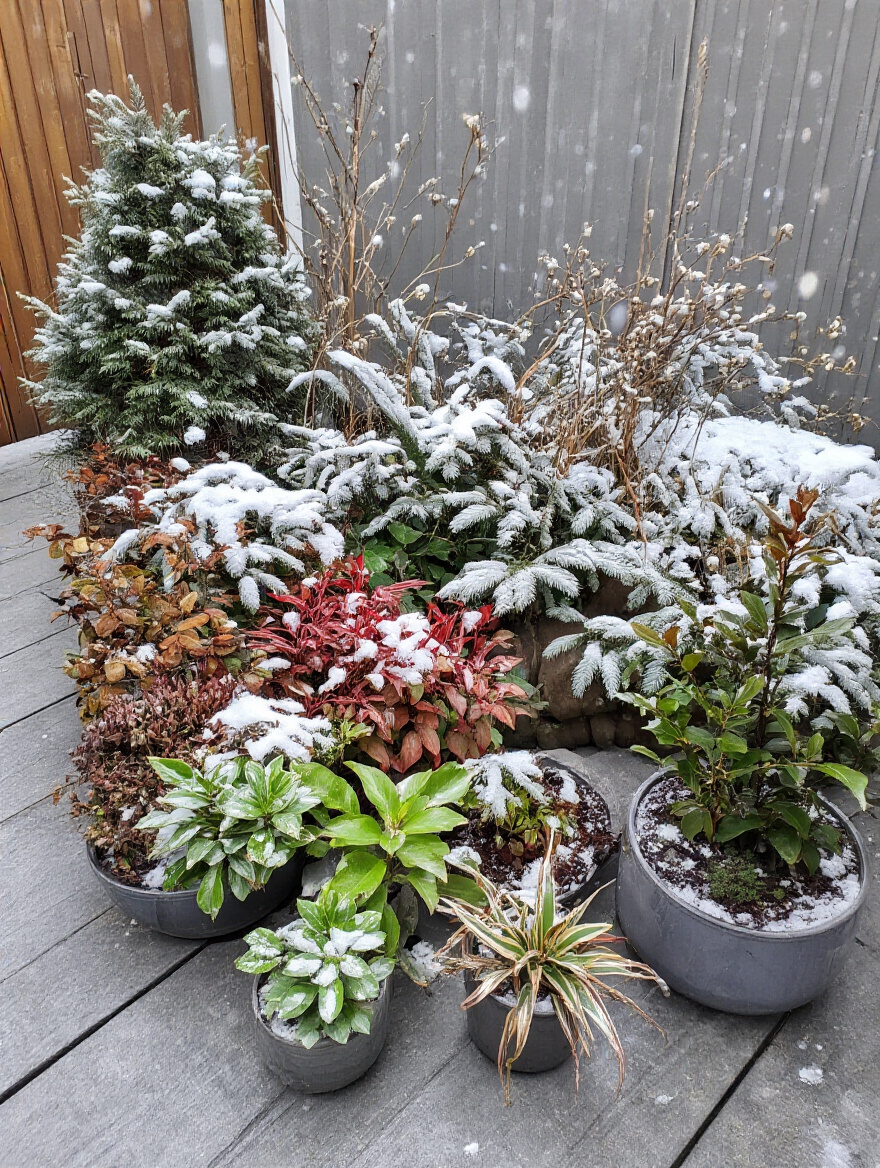
For hardy plants, you can group them together against a protected wall of the house, wrap the pots in burlap or bubble wrap for insulation, and mulch the tops heavily. For more tender things like citrus or hibiscus, you’ll need to bring them indoors. Before you do, give them a good spray-down in the shower to wash off any hitchhiking pests that might cause an infestation inside. Then find them the sunniest, coolest spot in your house (away from dry heat vents) and reduce watering until spring.
Even with the best care, sometimes things go wrong.
20. Diagnose Common Plant Problems: Identify & Resolve Stressors Quickly
Don’t panic when you see a yellow leaf! A yellow leaf is just your plant trying to tell you something. Your job is to be a good detective. Instead of guessing, run through a mental checklist. First: watering. Did you check the soil with your finger? Most problems start here. Second: sunlight. Is it getting too much or too little? Third: food. When was the last time you fertilized it?
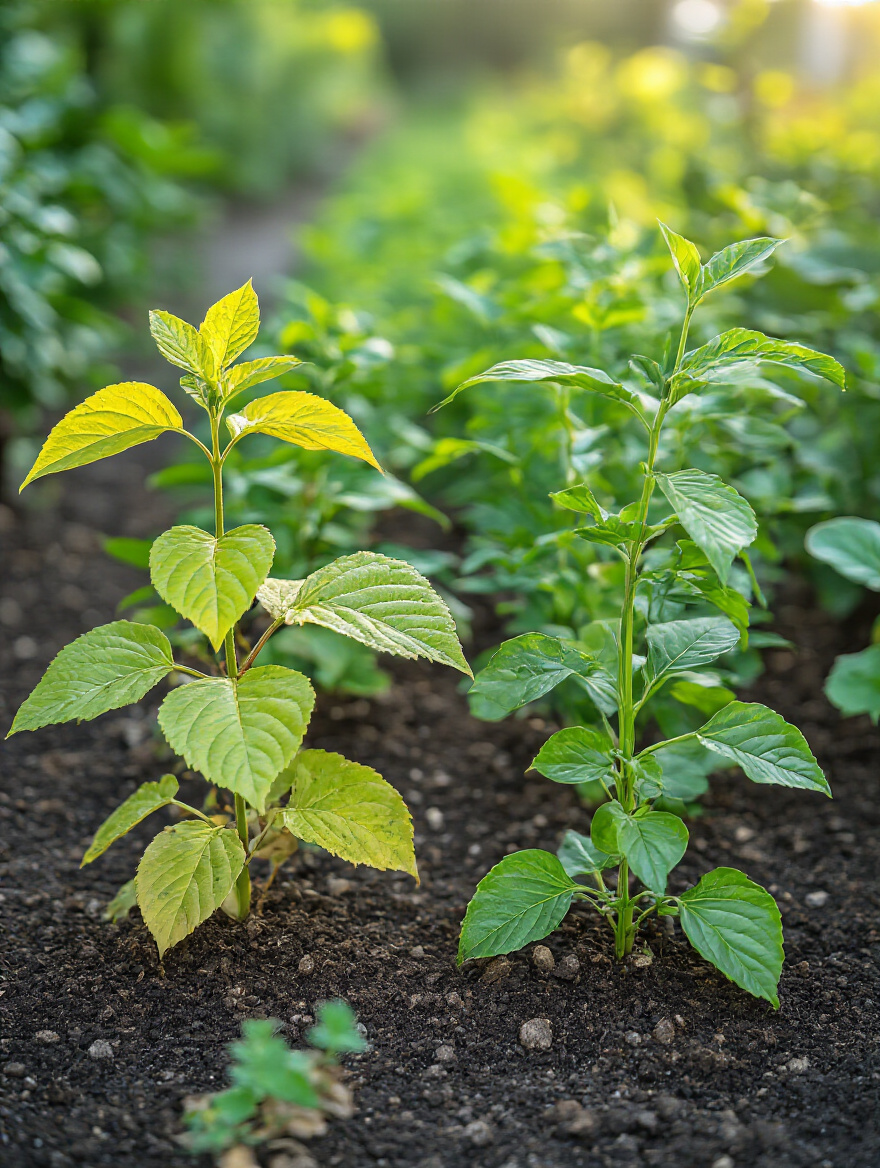
Nine times out of ten, the problem is one of those three things, not some rare, exotic disease. Yellowing leaves with green veins? It might be an iron deficiency. Brown, crispy edges on the leaves? It could be inconsistent watering or dry air. Keeping that little garden journal I mentioned earlier is a huge help here. You can look back and see patterns: “Ah, every time it gets really hot, my basil starts to look sad. Maybe it needs more water on those days.”
Finally, let’s talk about cheating the calendar.
21. Extend Harvests with Season Extension: Maximize Your Patio’s Productivity
Just because there’s a frost warning doesn’t mean your gardening season has to be over. You can easily extend your harvest by another month or more on both ends of the season with a few simple tricks. For fall, you can throw a light blanket or a “floating row cover” over your kale or lettuce pots on cold nights to protect them from a light frost.
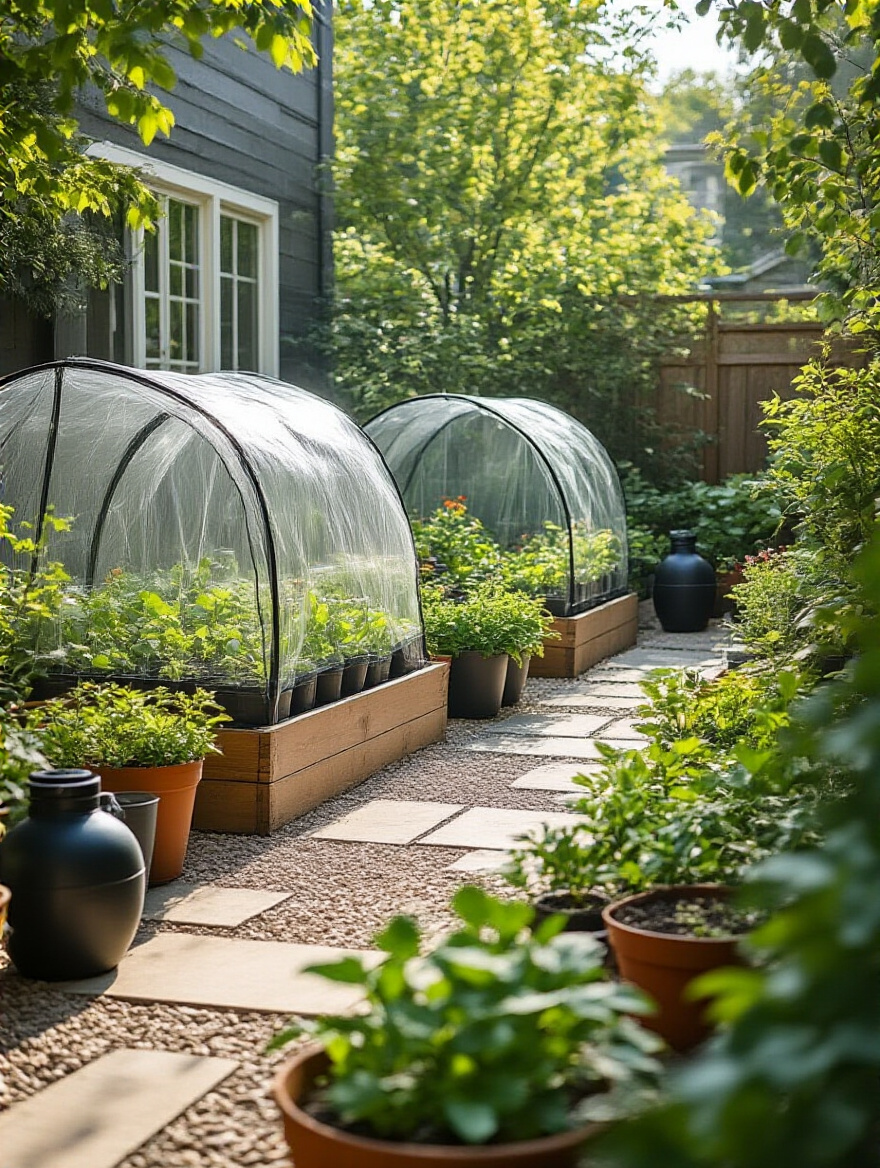
An even easier hack is to make a mini-greenhouse, or “cloche,” out of a clear plastic storage bin or an empty milk jug with the bottom cut off. Pop this over your plants when the temperature drops, and it creates a cozy little microclimate. For hot summers, you can do the reverse, using a “shade cloth” to protect cool-weather crops like lettuce from bolting (going to seed) in the intense sun. This is how you get to feel like a super-savvy gardener, enjoying fresh salads from your patio in November.
Your Patio Oasis Awaits
See? No magic “green thumb” required. It’s just about being an observer, a detective, and a caring friend to your plants. The real beauty of patio gardening is that you can start small. You don’t need to do all 21 of these things at once. Pick one or two to try this season. Maybe this is the year you finally give your tomatoes a big enough pot, or the year you start a little garden diary.
Creating a living, breathing green space on your patio, no matter how small, is one of the most rewarding things you can do. It connects you to the seasons, gives you the most delicious food you’ll ever taste, and provides a little pocket of peace in a busy world. So get out there, get your hands a little dirty, and start creating. You’ve totally got this.