
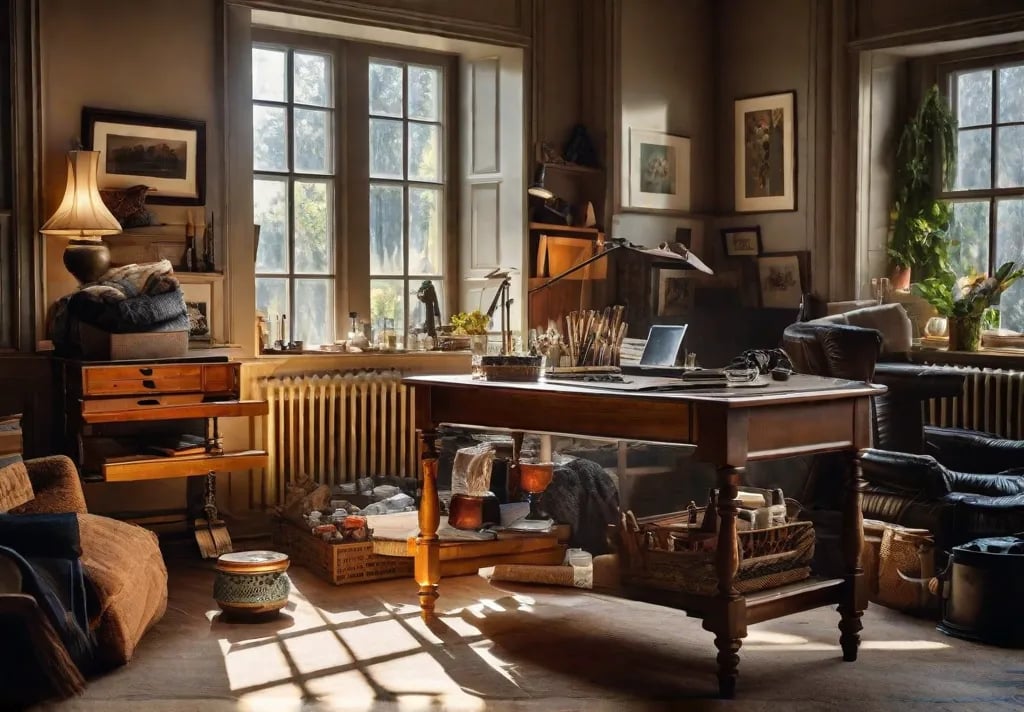
I’m filled with a profound sense of accomplishment as I stand in my living room, paintbrush in hand, gazing at the freshly painted accent wall before me. What was once a bland, personality-less space has become a warm, inviting oasis that reflects my style and values.
Getting to this point was a significant feat, though. Like many homeowners embarking on a DIY painting project, I had my fair share of challenges – wonky tape lines, paint splatters on my thrifted rug (oops!), and choosing that perfect green shade to complement my plants and make the room feel brighter.
Through trial and error (okay, mostly error), I learned a few helpful hacks that saved me time, money, and frustration. Whether a painting pro or a novice, these living room painting tips will ensure your project goes as smoothly as possible. Grab your paintbrush, and let’s get to work!
Careful Planning Prevents Poor Performance
Regarding DIY painting, there’s no such thing as overplanning. Making a detailed plan of attack might seem tedious, but believe me, it will save you tons of time, money, and stress down the road!
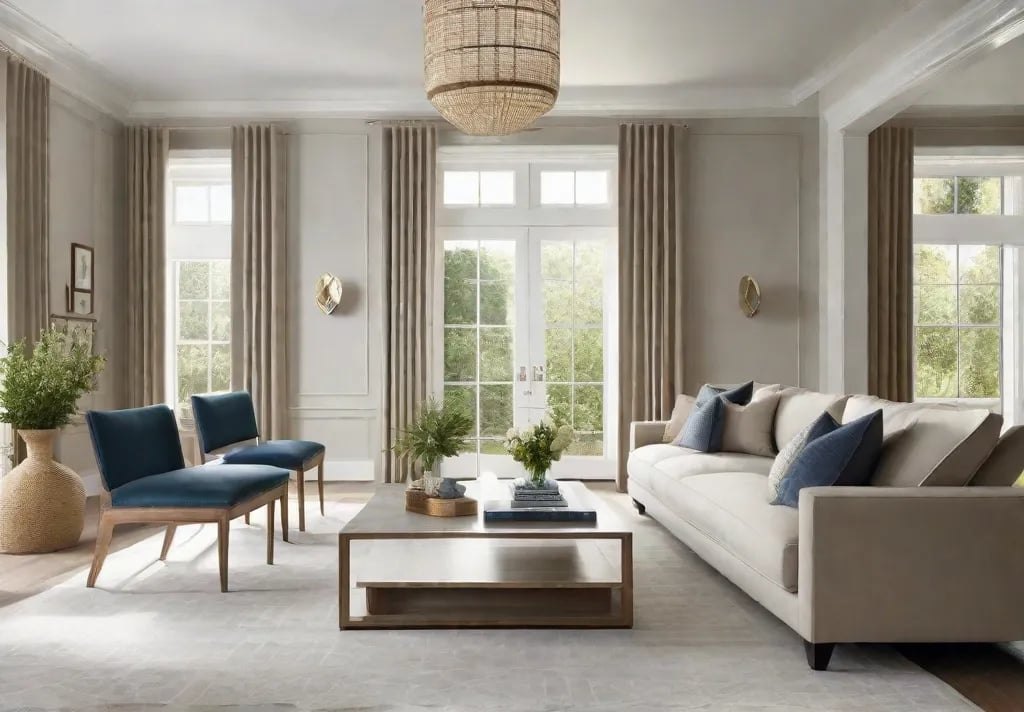
Choose paint colors wisely. Don’t randomly pick colors. Instead, choose complementary hues that enhance your existing furniture and decor. I painted my living room in shades of green that brighten up my indoor plants and vintage rug.
Calculate how much paint you need. Measure your walls and use an online paint calculator to determine your required gallons. It’s better to have too much than run out halfway with a half-finished accent wall!
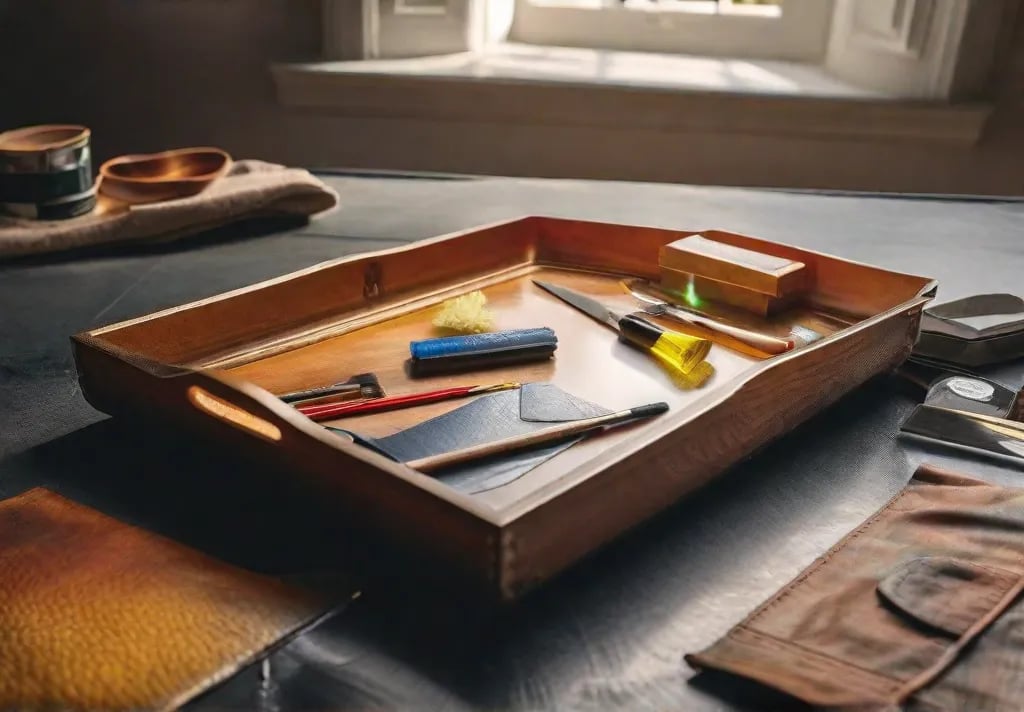
Gather all painting supplies beforehand. This includes paint trays, rollers, painter’s tape, tarps, and anything else you need. Nothing slows down a project more than having to stop for missing supplies.

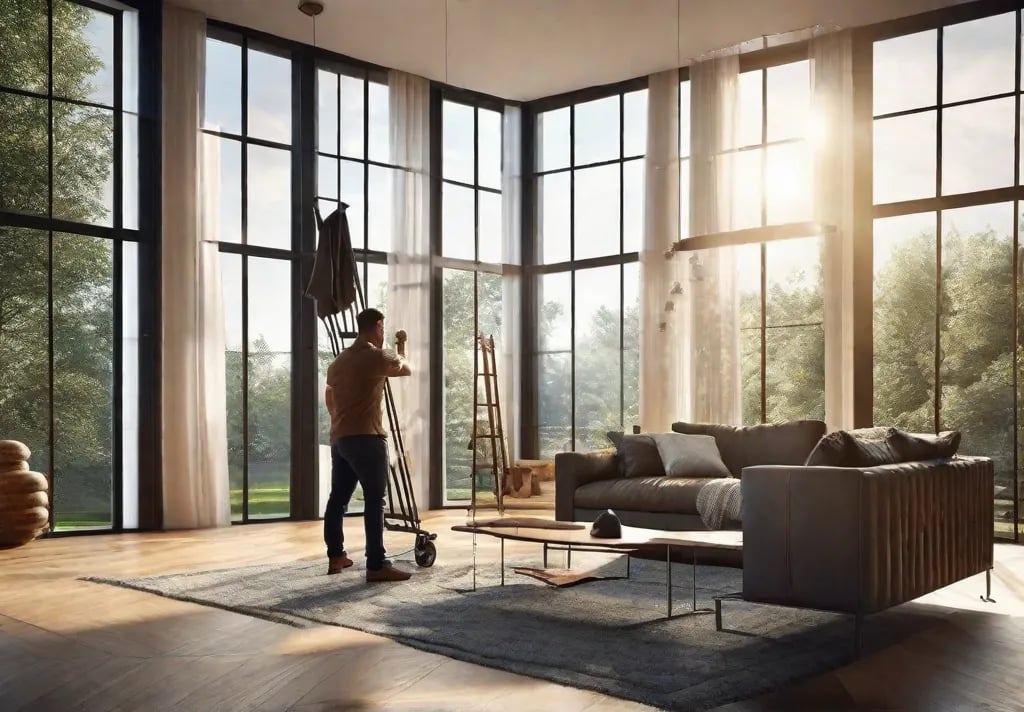
Clear furniture to the center of the room and cover it with plastic tarps and painter’s tape to prevent damage. Removing furniture entirely is ideal but not always realistic.
With detailed planning and preparation, you pave the way for painting success!
Budget-Friendly Painting Tools That Deliver Quality Results
Painting supplies can seriously drain your wallet, but you don’t have to break the bank to get professional-looking results! You can piece together quality painting tools creatively and resourcefully without spending big bucks.
Use alternative painting tools. Foam rollers work just as well as expensive ones and cost a fraction of the price. An old gift card or expired credit card also serves nicely as a paint scraper!
Repurpose household items. Cut up an old t-shirt to make reusable drop cloths. Grab a Mason jar, fill it with water, and voila – you have a DIY cup to rinse paintbrushes.
Check second-hand stores and online listings. I scored a hardly used paint roller set at Goodwill for only $3! You never know what painting treasures you’ll uncover.
Getting creative with materials you already have amplifies savings and minimizes waste – that’s a double win in my book!
Conquer Paint Prep Like a Seasoned Pro
If I’ve learned one thing from my past painting faux pas, it’s that meticulous prep work makes all the difference! By setting up correctly, you’ll breeze through the painting process and be thrilled with flawless results.
Repair imperfections on walls. Fill any cracks, holes, or uneven textures with spackle compound. Once dry, sand smooth. This provides an ultra-smooth surface for the paint to adhere correctly.
Use painter’s tape. Carefully apply tape along trims, baseboards, door frames, and anywhere you don’t want paint to bleed. Slowly remove the tape 1-2 days after painting before the paint fully dries and chips.
Spread drop cloths everywhere—secure plastic sheets over floors and furniture. Accidents happen, so it’s better to be safe than stuck scraping paint off surfaces later.
Wash walls before painting. Giving walls a thorough wash removes existing dirt and grease that prevents proper paint adhesion.
With punctilious prep in place, you’ve built a sturdy foundation for painting excellence.
Clever Painting Techniques That Create Flawless Finishes
Forget repetitive back-and-forth brushstrokes. Skillful painting is all about working smarter, not harder! Implement these ingenious techniques to cut painting time significantly while achieving seamless finishes.
Use a paint grid. Divide walls into squares and paint one square entirely before moving to adjacent ones. This guarantees thorough coverage without missing spots.
Apply paint in a “W” shape. Work in sections, making continuous W shapes from top to bottom. The zig-zag motion neatly blends both horizontal and vertical brush marks.
Aim desk lamps at walls. The focused beams spotlight imperfections like missed patches or uneven coats. It’s like having built-in painting inspectors!
Use painter’s tape to create patterns. Before painting over it, add tape in chevron stripes, squares, or other shapes. Carefully remove the tape afterward, revealing a trendy geometric design.

With the right strategies, painting is fun, fast, and frustration-free. Take it from me – these techniques are game-changing!
Elevate Your Paint Game With Specialty Decorative Finishes
Want to transform your painted living room from simple to spectacular? Unlike traditional painted walls, decorative finishes add an artistic, bespoke flair. Though initially intimidating, these effects are achievable for novices with patience and practice.
Textured Finishes
- Trowel Effect: Add dimension with thick, decorative swirls of plaster using a trowel or drywall knife.
- Sponge Effect: Dab paints erratically with a large sponge for mottled textures with depth and character.
Premium Finishes
- Metallic Finish: Actual metal particles in the paint create an ultra-luxe shimmering sheen.
- Pearlescent Finish: Mix an iridescent mica powder into the paint for a stylish, multifaceted opalescent glow.
Artistic Finishes
- Sponge Painting: Cut shapes from a sponge, dip them into paint, and stamp them onto walls for artsy motifs.
- Rag Rolling: Soak cloth rags in paint, then roll them across walls in uneven stripes or patterns.
With some courage to experiment paired with these fail-proof tips, you can give your living room an utterly original, Pinterest-worthy makeover that reflects your unique personality and style.
Choose Eco-Friendly Paint Options
Breathing easy is a priority in my home. Conventional paints release icky fumes and unhealthy VOCs that interfere with indoor air quality. That’s why I always opt for eco-friendly paint options that do the job without nasty chemicals.
Milk-Based Paint
Derived from an unlikely ingredient – milk protein – this innovative formula is ultra-low VOC, has a low odor, and cleans up easily with soap and water instead of solvents.
Natural Paints
These pliable paints expand and contract with your home’s natural movements. They are manufactured using food-grade ingredients like clay, chalk, citrus oils, and organic pigments.
Plant-Based Paints
Sourced from renewable botanical ingredients like soybeans and corn, these resilient finishes are biodegradable and contain minimal VOCs.
Recycled Paint
Many local paint stores now accept leftover paint for recycling and reblending into unique “upcycled” colors. One person’s trash is another’s brand-new shade!
Eco-paints offer peace of mind and unparalleled quality and durability. Our lungs and the planet will thank us later!
Final Touches That Complete Your Design Vision
You’ve painted the walls, cleaned the floors, and restored the furniture (while getting a splash or two of color on yourself, too, most likely!). As you stand back admiring your brilliant brushwork, don’t neglect those vital finishing details that elevate the room from great to extraordinary.
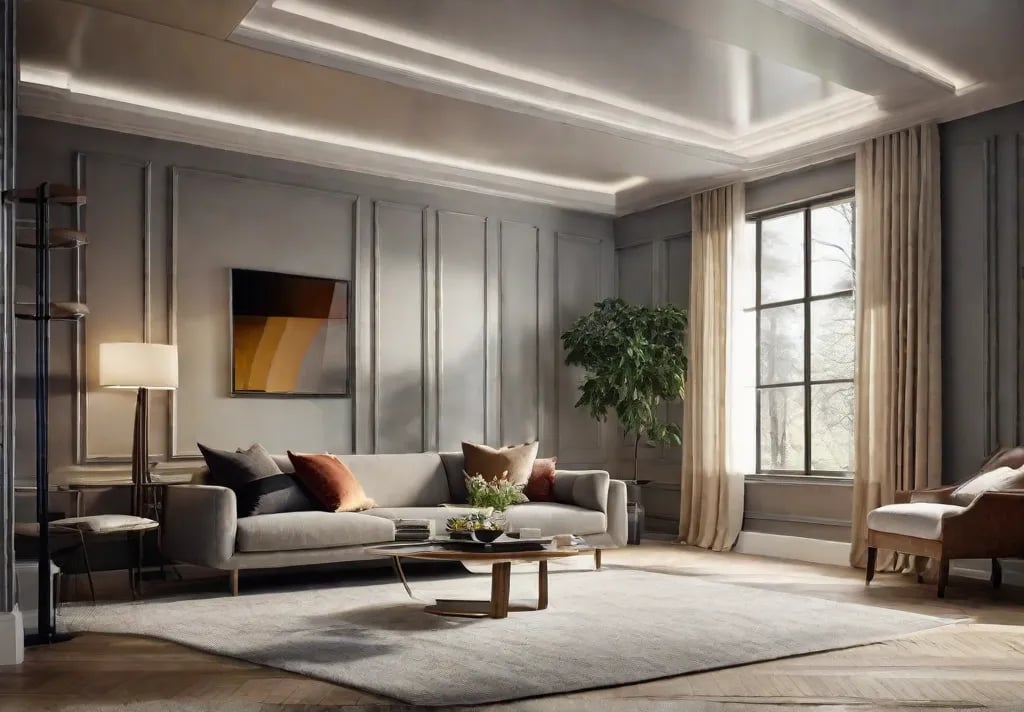
Showcase your style with eye-catching floating shelves, vibrant artwork, or an unexpected painted accent wall. I livened up my neutral living room with punchy forest green shelves showcasing my beloved houseplant collection.
Incorporate natural elements through woven baskets, dried botanical wreaths, stone vases, or a textured jute rug. These touches infuse rustic warmth while complementing any color scheme.
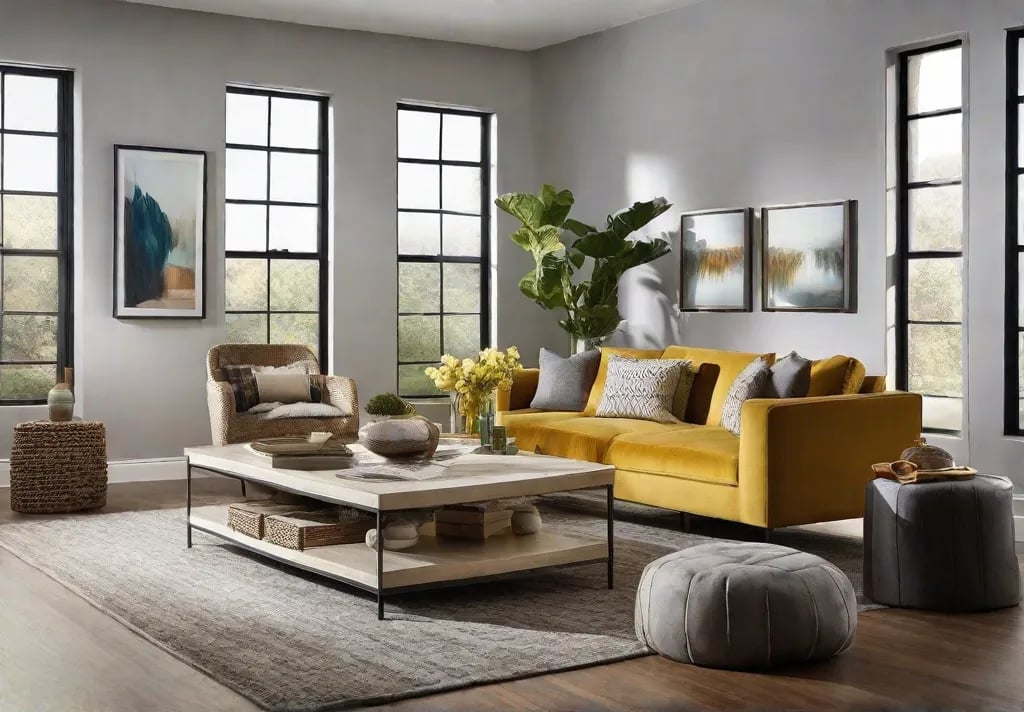
Layer lighting for added dimension and drama. Try pairing mounted sconces or track lighting overhead with table and floor lamps placed strategically throughout the space. The result? A gorgeously glowing, gallery-esque living room.
With thoughtful finishing embellishments, your newly painted paradise transitions from purely functional to an enthralling extension of your personality that wows guests and delights all who enter.
Parting Words of Wisdom
And there you have it, friends – my best DIY painting tips and fixes to save you time, money, and meltdowns. Painting no longer must strike terror and dread into homeowners’ hearts! Arm yourself with these hacks and embrace the thrilling process of customizing your space to the last brushstroke.
Here’s to many joy-filled hours spent pouring your creativity and vision into every square foot, giggling with friends old and new made along the way with paint-splattered hair and dots of color on your glasses (and walls, despite the drop cloths). After all, what better way to spend a weekend?
Now grab that paint roller, crank up the motivating tunes, and paint our masterpieces! Our living rooms won’t transform themselves.