Are you tired of struggling to see while cooking in your dimly lit kitchen? Do you feel your kitchen lacks the warm, inviting ambiance you crave? If so, upgrading your kitchen lighting with a new light fixture might be time.
As a lifestyle writer and urban trends analyst based in New York City, I’ve seen firsthand how a well-chosen and properly installed light fixture can completely transform the look and feel of a kitchen. A kitchen bathed in the right kind of light can make meal preparation a breeze and create a cozy, welcoming atmosphere for family and friends.
In this article, I’ll walk you through the step-by-step process of installing a new kitchen light fixture, from selecting the right one to finalizing the installation. Whether you’re a seasoned DIYer or a first-time homeowner, you’ll find the guidance you need to tackle this project confidently.
Selecting the Right Kitchen Light Fixture
The first step in your kitchen lighting transformation is choosing the right light fixture. This is a crucial decision that will impact your space’s functionality and aesthetic.
There are several types of kitchen light fixtures to consider, each with its unique benefits:
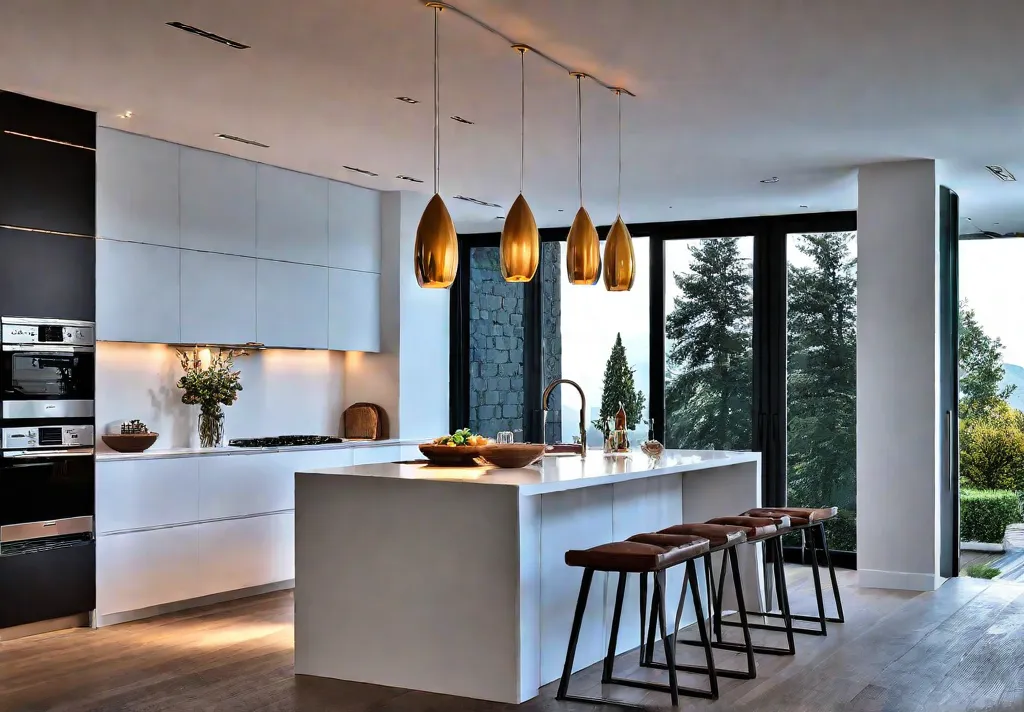
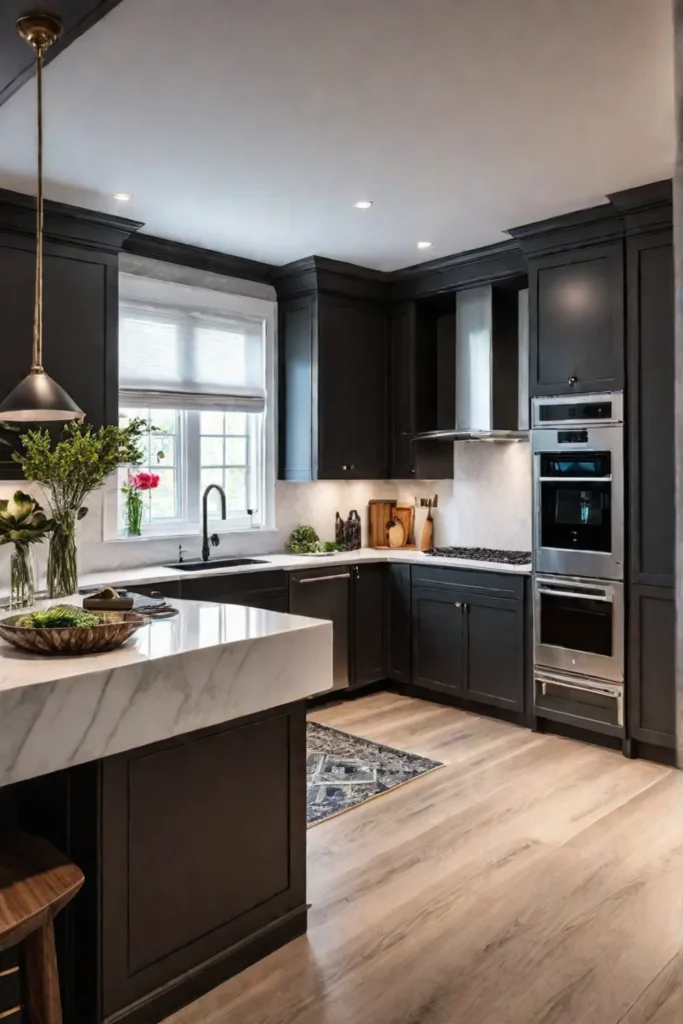
Pendant Lights: These suspended fixtures are a popular choice for kitchens, as they can provide a warm, ambient glow over your countertops or island. Pendant lights come in various styles, from sleek and modern to rustic and vintage-inspired.
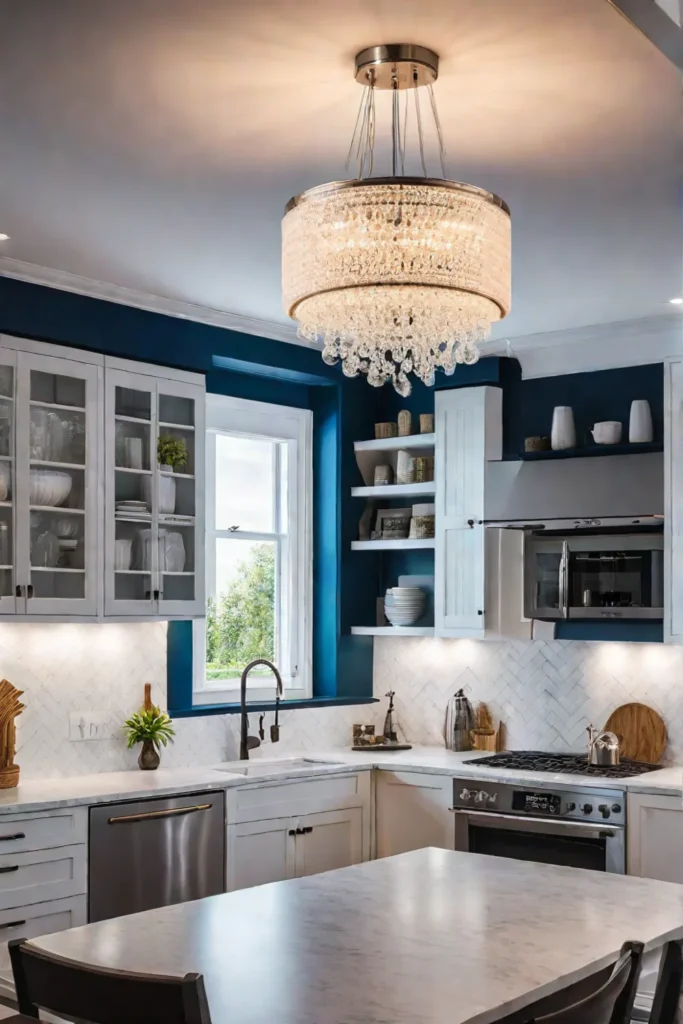
Recessed Lights: Recessed lights are a great option for small kitchens or those with limited ceiling height. They offer a clean, flush look and, when combined with other fixtures, can create a layered lighting effect.
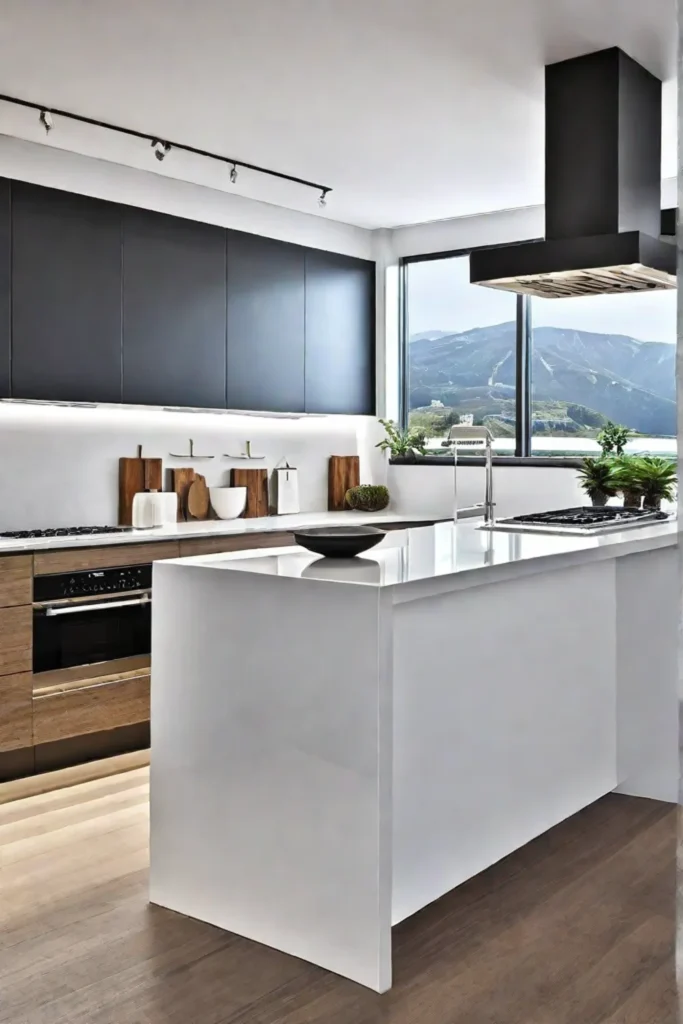
Track Lighting: Track lighting might be the way to go if you need to highlight specific areas, such as your cooking zone or a display shelf. These adjustable spotlights allow you to direct the light exactly where you need it.
Under-Cabinet Lighting: Consider installing under-cabinet lights for task lighting that illuminates your countertops. These fixtures can make food preparation and cleanup a breeze.
When selecting a light fixture, consider the size and scale of your kitchen. A pendant that’s too large can overwhelm the space, while a fixture that’s too small may not provide adequate lighting. Generally, a pendant light should hang about 30-36 inches above your countertop.

It’s also important to choose a fixture that complements your kitchen’s overall style and color scheme. A sleek, minimalist pendant might work well in a modern kitchen, while a more ornate, vintage-inspired fixture could be the perfect fit for a traditional space.
Preparing the Installation Site
Once you’ve chosen your new kitchen light fixture, it’s time to prepare for installation. This step is crucial for ensuring a smooth and safe process.
First, you’ll need to identify where to install the new fixture. Consider factors like task lighting, ambient lighting, and any architectural features you want to highlight. Proper placement can help reduce shadows and create a balanced lighting scheme.
Next, you’ll want to ensure the electrical wiring is accessible and in good condition. This may involve removing the existing light fixture, if there is one. Make sure to turn off the power to the circuit at the breaker box before you begin.
Gather the necessary tools and materials for the installation, including a screwdriver, wire stripper, and electrical tape. Having everything on hand will help the process go more smoothly.
Installing the Kitchen Light Fixture
With the preparation work done, it’s time to tackle the installation. Follow these steps carefully to ensure a secure and safe connection:
Attach the mounting bracket to the junction box in the ceiling using screws and a screwdriver.
Connect the electrical wires: the hot wire to the brass screw terminal, the neutral wire to the silver screw terminal, and the ground wire to the green grounding screw.
Tighten all connections with a screwdriver, making sure they are secure.
Align the light fixture with the mounting bracket and attach it using the provided screws.
Remember, proper wire connections are crucial for the safety and functionality of your new light fixture. If you’re ever unsure or uncomfortable with the process, don’t hesitate to consult a professional electrician.
Adjusting and Finalizing the Installation
With the light fixture in place, it’s time to make necessary adjustments and finalize the installation.
First, use a level to ensure the fixture is properly aligned and leveled. Adjust the mounting plate or the fixture itself until it’s perfectly horizontal. Proper leveling can make a big difference in your kitchen’s overall appearance and lighting distribution.
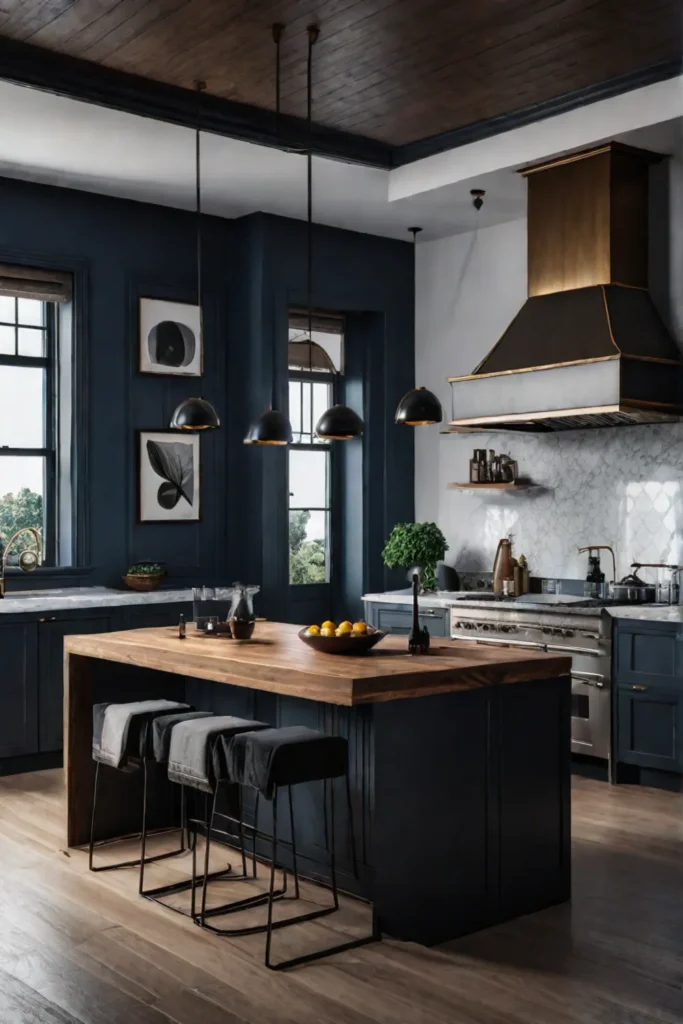
Next, test the light fixture to make sure it’s functioning correctly. If the fixture offers adjustable features, such as swivel or tilt capabilities, use them to optimize the lighting coverage. Experiment with different directions and intensities to create the perfect ambiance for your kitchen.
Enjoying the Transformed Kitchen
Congratulations! You’ve successfully installed your new kitchen light fixture, bathing your space in beautiful, functional lighting. Take a step back and admire your hard work—the difference is sure to be striking.
The improved lighting quality and ambiance can make a difference in your kitchen. Not only will you enjoy better visibility for tasks like cooking and cleaning, but the warm, inviting atmosphere can make the space more enjoyable for entertaining guests or simply spending time with your family.
Let’s not forget the practical benefits. Energy-efficient light fixtures, like the LED bulbs that are becoming increasingly popular, can lead to significant long-term cost savings on electricity bills. It’s a win-win for both your wallet and the environment.
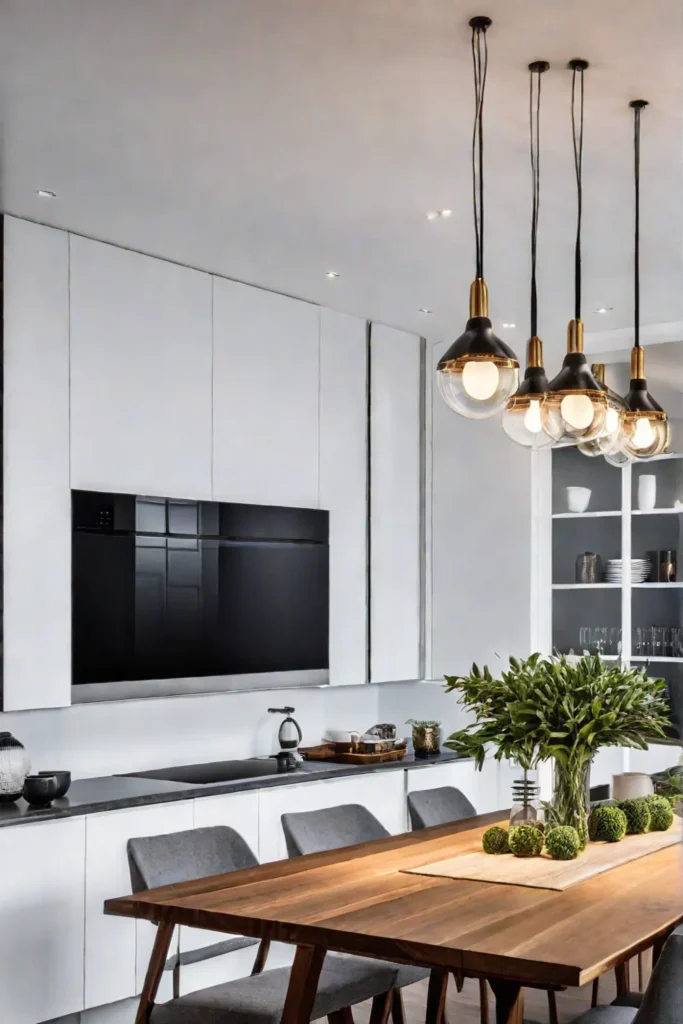
Remember to dust regularly and replace any burnt-out bulbs with new light fixtures that look and function at their best. Remember, little maintenance and your kitchen transformation will last for years.
So, what are you waiting for? Embrace the power of proper lighting and transform your kitchen into the warm, welcoming space you’ve always dreamed of. Happy installing!
