Can we talk about why so many people get “traditional” kitchens wrong? It’s one of my biggest pet peeves. I walk into a new renovation, and it’s a mishmash of things that just feel old. A farmhouse sink here, some ornate molding there, a vaguely “colonial” light fixture… it’s a design soup, and it feels confused. They think “traditional” just means not-modern, but it’s so much more than that. True traditional design is a discipline. It’s about history, proportion, and a deep understanding of materials.
The noise is all the fast-fashion trends you see on social media—the color of the year, the “must-have” backsplash tile that will look dated in eighteen months. What actually matters is the bone structure of the room. It’s about creating a space with such enduring quality and cohesive style that it will look just as elegant in twenty years as it does the day it’s finished. I once had to tell a client that their beautiful, expensive new kitchen felt… chaotic. They’d cherry-picked their favorite elements from three different eras. It cost them a small fortune in cabinetry adjustments and new hardware to create the harmony it lacked from the start. That’s the hard way to learn this lesson. So let me give you the shortcuts I wish someone had given them.
Laying the Groundwork: Essential Planning for a Timeless Kitchen (Part 1)
Alright, before you even think about picking out a faucet, we have to talk about the unglamorous part. This is the blueprinting phase, and getting it right is the difference between a kitchen that functions beautifully and one that quietly drives you insane. Getting these first four steps right saves you from the most expensive mistakes.
1. Defining Your Preferred Traditional Style: Farmhouse, Victorian, or Colonial?
People always ask me, “Can’t I just mix them a little?” And the answer is a firm, “Not if you want it to look truly high-end.” This isn’t about being a design historian, but you absolutely have to pick a lane. Are you leaning into the warm, rustic simplicity of a Farmhouse kitchen? The ornate, detailed elegance of Victorian? Or the stately, refined grace of Colonial? Each style has its own language—its own rules for cabinetry, hardware, and molding. Trying to speak all three at once just creates noise.
The shortcut here is to find the style that resonates with the actual architecture of your home. A Victorian kitchen in a sleek, modern ranch house will always feel a little costumey. Once you commit, create a mood board with about ten specific, non-negotiable details that define your chosen style. Is it the Shaker cabinet door? The apron-front sink? The unlacquered brass hardware? This becomes your compass for every single decision that follows, and it prevents you from getting distracted by a pretty faucet that belongs in a different story.
Think of it as the foundational DNA of your kitchen. With a clear vision, every subsequent choice becomes simpler and more intentional. We’re moving on to the floor plan now, which is where that DNA really starts to take shape.
2. Assessing Optimal Kitchen Layout Options for Classic Efficiency and Workflow
Let’s be honest: a stunning kitchen that’s a nightmare to cook in is a complete failure. Everyone obsesses over countertops and cabinet colors, but the layout—the pure, unsexy geometry of the space—is what you will love or hate every single day. The “kitchen triangle” (the path between your sink, stove, and fridge) is a classic for a reason, but in a modern, multi-person household, it’s more about creating efficient zones for prep, cooking, and cleanup.
I learned this the hard way on one of my first big projects. The kitchen was beautiful, but the dishwasher was placed so that when it was open, you couldn’t access the main dish drawers. It was a small oversight that created a major daily annoyance. The shortcut is to physically walk through your daily tasks in the proposed layout. Pretend you’re unloading groceries, making coffee, or cooking a big meal. Where are the bottlenecks? Where do you need landing space for hot pans? Don’t just look at a 2D floor plan; feel the flow.
And don’t forget the social aspect. A good layout allows for conversation without making your guests feel like they’re in the way of a busy chef. This strategic thinking sets the stage for our next crucial element: the color palette.
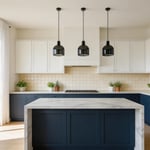
3. Mastering the Color Palette: Embracing Warm Neutrals and Earthy Tones for Cohesion
The BS everyone seems to believe right now is that stark white or cool gray kitchens are “timeless.” They’re not. They’re a product of the last decade, and in a traditional setting, they can feel clinical and cold. True timelessness comes from a palette rooted in nature: warm, creamy whites, soft greiges, earthy greens, and the tones found in natural wood and stone. These colors feel established and create a serene backdrop that lets the quality of your materials shine.
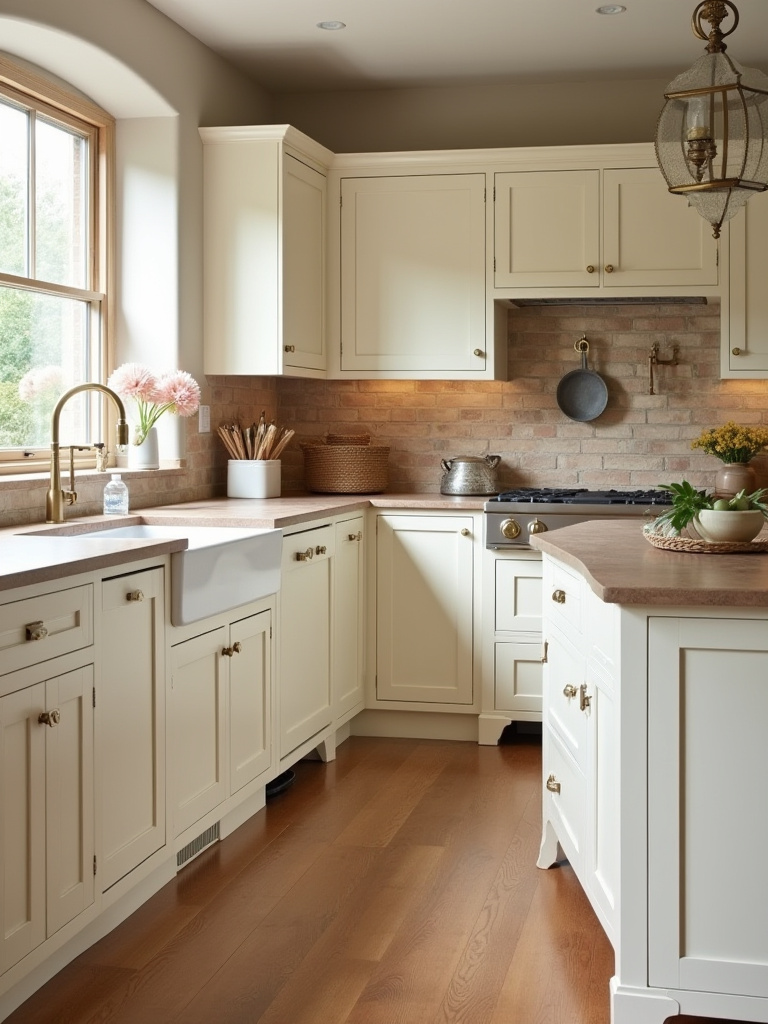
Think of your main color—likely on your cabinets—as the perfect cashmere sweater. It’s elegant, it feels good, and it goes with everything. I had a client who was terrified of anything beige, associating it with bland 90s decor. I showed her a palette of rich, layered neutrals—a creamy off-white on the walls, a soft mushroom for the cabinets, and a deep soapstone for the counters. The result was incredibly sophisticated and warm, a world away from boring. The key is to introduce depth through texture and natural materials, not just shocking color.
This serene foundation is the perfect canvas for the quality materials we’re about to discuss, starting with how you allocate your budget to prioritize them.
4. Budgeting for Enduring Quality: Prioritizing Investment in Key Foundational Pieces
Here is the single most important piece of financial advice I can give you for a kitchen renovation: spend your money on the things that are hardest to replace. Everyone gets distracted by fancy appliances with a million features or trendy light fixtures. That’s just noise. Your real investment, the one that pays dividends for decades, is in two things: cabinetry and countertops. These are the backbone of your kitchen.
I watched a client lose thousands because they opted for cheaper, particle-board cabinets to afford a sub-zero refrigerator they saw in a magazine. Within five years, the cabinet doors were sagging, the finish was chipping, and the whole kitchen looked tired. The fancy fridge was still humming along, but it was sitting in a crumbling foundation. They had to replace all the cabinets—a far more disruptive and expensive job than upgrading an appliance. Prioritize solid wood construction and quality Countertop materials. If you have to save money, do it on things that are easy to swap out later, like faucets, hardware, or even the backsplash.
Laying the Groundwork: Essential Planning for a Timeless Kitchen (Part 2)
We’ve covered the big-picture planning. Now we need to drill down into the details that truly elevate a kitchen from “nice” to “unforgettable.” This is about the architectural soul of the space.
5. Incorporating Period-Appropriate Architectural Details and Decorative Molding
This is what separates a custom, high-end kitchen from a builder-grade box. Molding, wainscoting, and proper trim are the finishing touches that give a room weight, character, and a sense of permanence. But here’s the catch: you can’t just slap on any old crown molding and call it a day. The scale and style must be appropriate for your home’s architecture and ceiling height. Ornate Victorian molding in a simple farmhouse will look ridiculous.
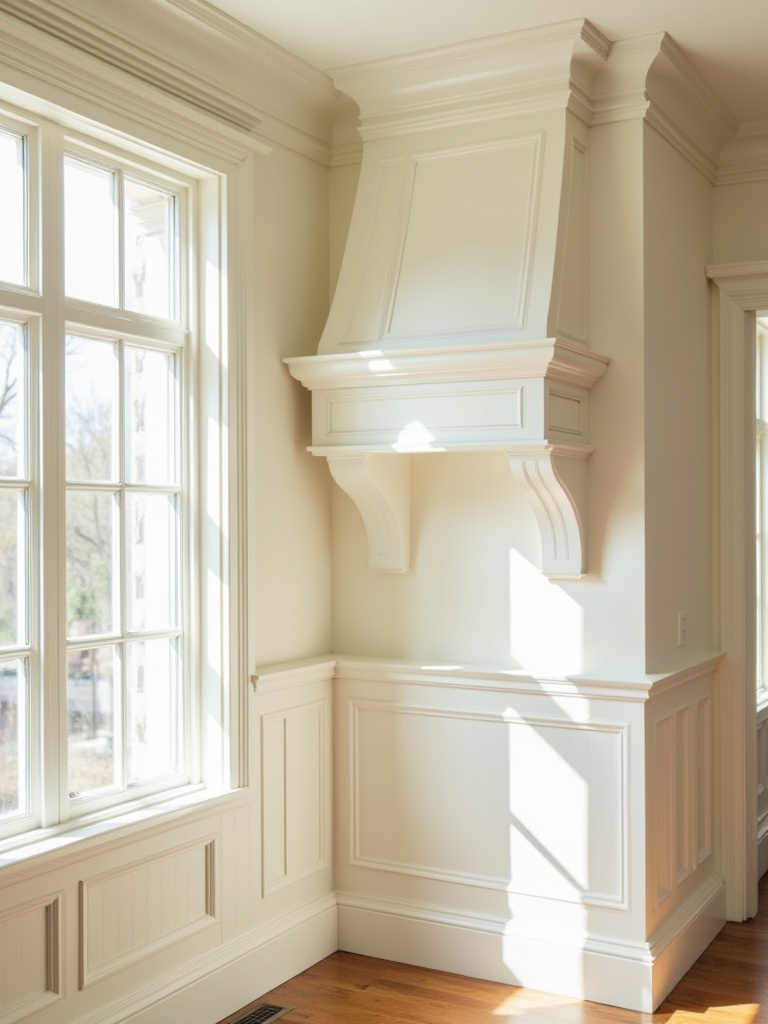
A shortcut I love is to study old houses from the period you’re emulating. Notice how the trim around the windows relates to the baseboards, which relates to the crown. It’s a family of details, not a collection of strangers. I once transformed a bland, new-build kitchen by adding a substantial, multi-piece crown molding and a simple beadboard backsplash. It didn’t cost a fortune, but it instantly made the room feel custom-built and thoughtfully designed. These details signal quality from the moment you walk in.
Just as these details must respect the home’s history, any structural changes must respect the law. That’s why navigating local codes is our next non-negotiable step.
6. Navigating Local Building Codes and Historic Preservation Guidelines for Authentic Renovations
This is the least glamorous part of the entire process, but ignoring it can bring your project to a screeching, expensive halt. If you live in a historic district, you don’t have a choice—you must work with your local preservation commission. People think they can just gut an old kitchen and do what they want. They are dead wrong. I’ve seen projects stopped cold, forcing homeowners to rip out brand-new windows because they didn’t match the original style.
Even if your home isn’t historically designated, building codes for plumbing and electrical are not suggestions. They are laws designed for your safety. My advice is simple: hire professionals who know your local regulations inside and out. An architect or contractor who has a good relationship with the local building department is worth their weight in gold. They know the rules and can get your plans approved efficiently, saving you from nightmarish delays and costly fines. Think of it as insurance against bureaucratic headaches.
Crafting Authenticity: Selecting Materials and Core Features (Part 1)
Now for the fun part. We’re choosing the physical elements that you will see and touch every day. This is where your investment in quality truly becomes tangible.
7. Choosing Bespoke Cabinetry Styles: Differentiating Shaker, Inset, and Raised-Panel Door Options
Your cabinets are the single largest visual element in your kitchen. Get them right, and everything else falls into place. Let’s break down the big three traditional styles in simple terms:
- Shaker: The little black dress of cabinets. Clean lines, incredibly versatile. It works for Farmhouse, Transitional, and simpler Colonial styles. It’s the safest and often most cost-effective choice.
- Inset: The pinnacle of luxury. The doors and drawers sit perfectly flush with the cabinet frame, like fine furniture. It requires incredible precision to build, which is why it’s the most expensive option. It’s a quiet statement of quality.
- Raised-Panel: More formal and traditional. The center panel of the door is raised, creating depth and shadow lines. This is what you’ll often see in stately Georgian or Victorian kitchens.
The shortcut? If your budget is tight, consider using Shaker cabinets along the perimeter and splurging on inset or a more detailed style for a focal point, like the island. This gives you a high-end, custom look without the cost of doing the entire room in the most expensive style. It’s a trick designers use all the time.
Those cabinets need a work surface, which brings us to the glorious world of natural stone.
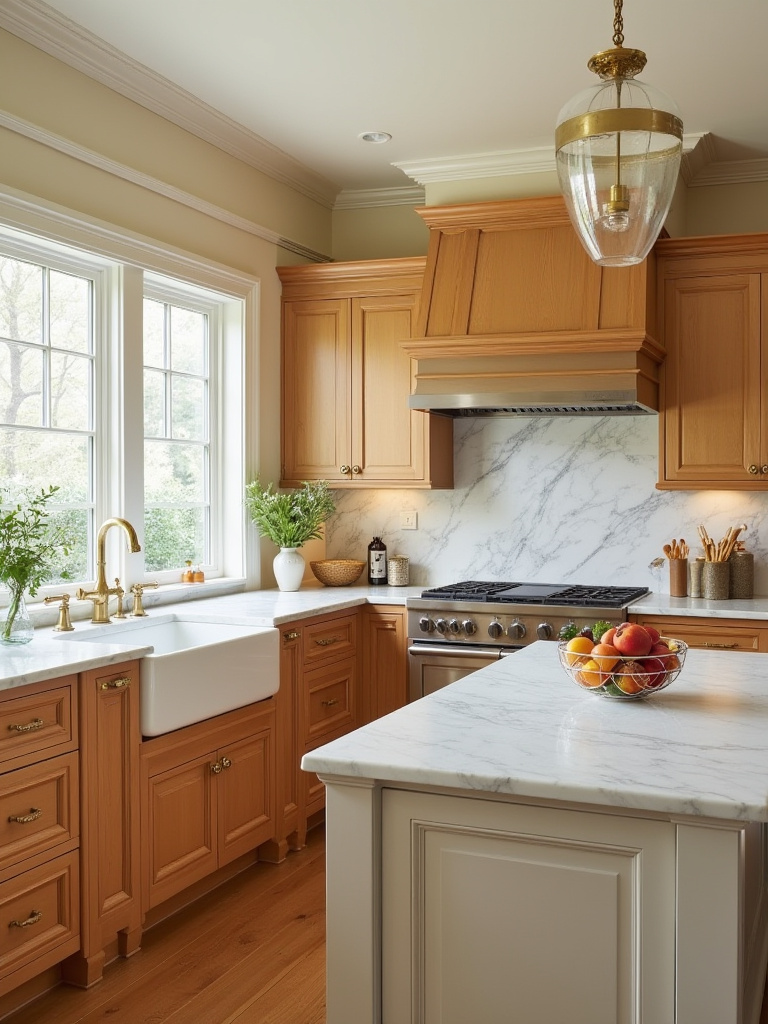
8. Selecting Natural Stone Countertops: Understanding Marble, Granite, and Soapstone Applications
Everyone says that marble is too high-maintenance. That’s BS. It’s not high-maintenance; it just has character. It will etch and develop a patina. If you’re the kind of person who needs perfection, then yes, it will make you crazy. But if you appreciate the beauty of something that ages gracefully, like a leather handbag or a copper pot, then marble is pure poetry.
Here’s the real story:
- Marble: The artist. Unbeatable beauty and classic veining. Great for bakers because it stays naturally cool. It will etch if you spill lemon juice on it. You can seal it to prevent staining, but not etching. Embrace the patina.
- Granite: The workhorse. Extremely durable, heat-resistant, and scratch-resistant. Patterns can sometimes look a bit dated (’90s speckle), but if you choose a slab with subtle, sweeping movement, it can be absolutely timeless.
- Soapstone: The soulful one. It has a soft, moody look and feel. It’s non-porous (so it doesn’t stain) and heat-proof. It does scratch, but the scratches can be easily oiled or sanded out. It darkens over time to a beautiful charcoal gray.
Go to the stone yard. Look at full slabs, not tiny samples. A stone’s personality can change dramatically over a 10-foot span. Fall in love with a specific slab, and make sure your fabricator uses it for your kitchen.
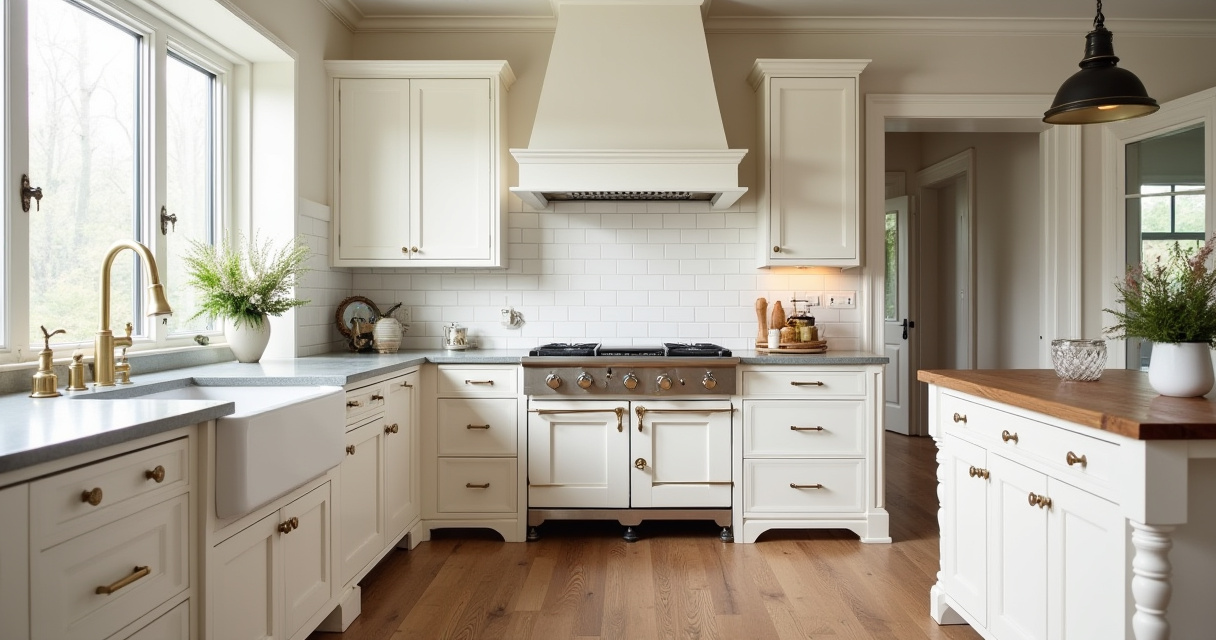
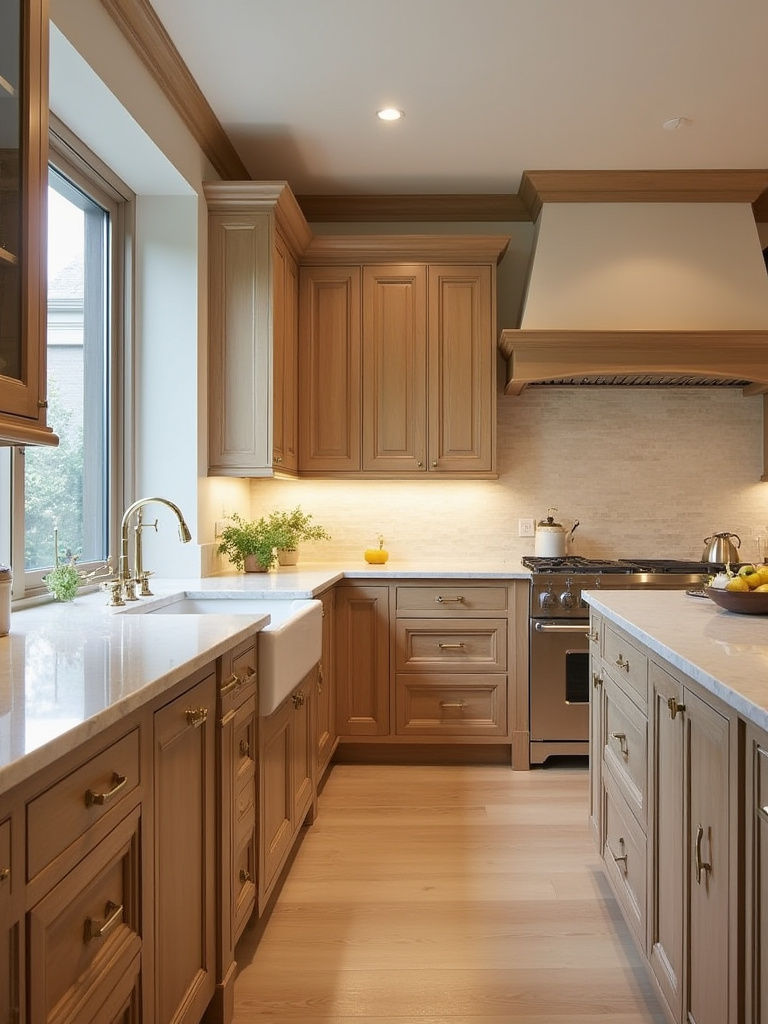
9. Integrating Traditional Sink Styles: From Farmhouse Apron to Undermount Basin Considerations
The kitchen sink is a workhorse, but in a traditional design, it’s also a major style statement. The most iconic choice is the farmhouse or apron-front sink. It has a classic, welcoming feel and is incredibly practical for washing large pots. But here’s the crucial shortcut you need to know: you must order the sink before your cabinets are built. A farmhouse sink requires a special base cabinet to support its weight and accommodate its depth. It’s not something you can just drop in later.
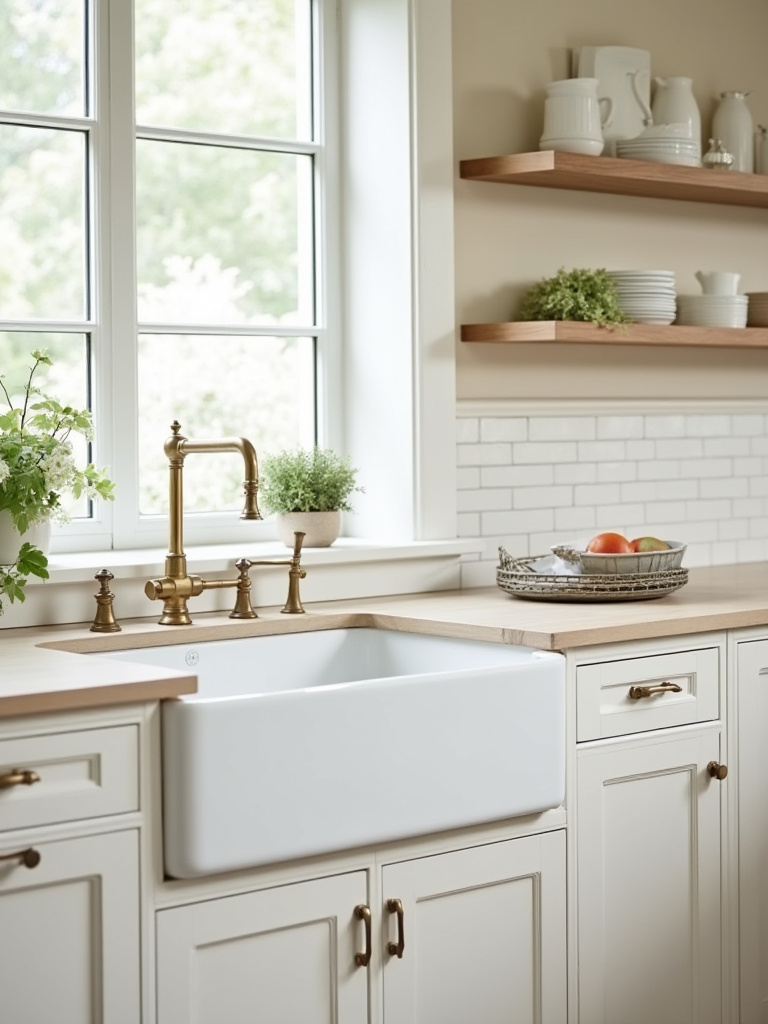
If the farmhouse look isn’t for you, a simple, high-quality undermount sink is flawlessly timeless. Made from cast iron, stainless steel, or composite, it creates a clean, uninterrupted line across your countertop, which makes cleanup a breeze. I had a client with a more formal Colonial kitchen who opted for a white cast-iron undermount. It had the classic feel and durability without the rustic connotations of a farmhouse sink. It was the perfect, understated choice.
The sink, of course, needs a beautiful faucet to complete the picture. This brings us to the jewelry of the kitchen.
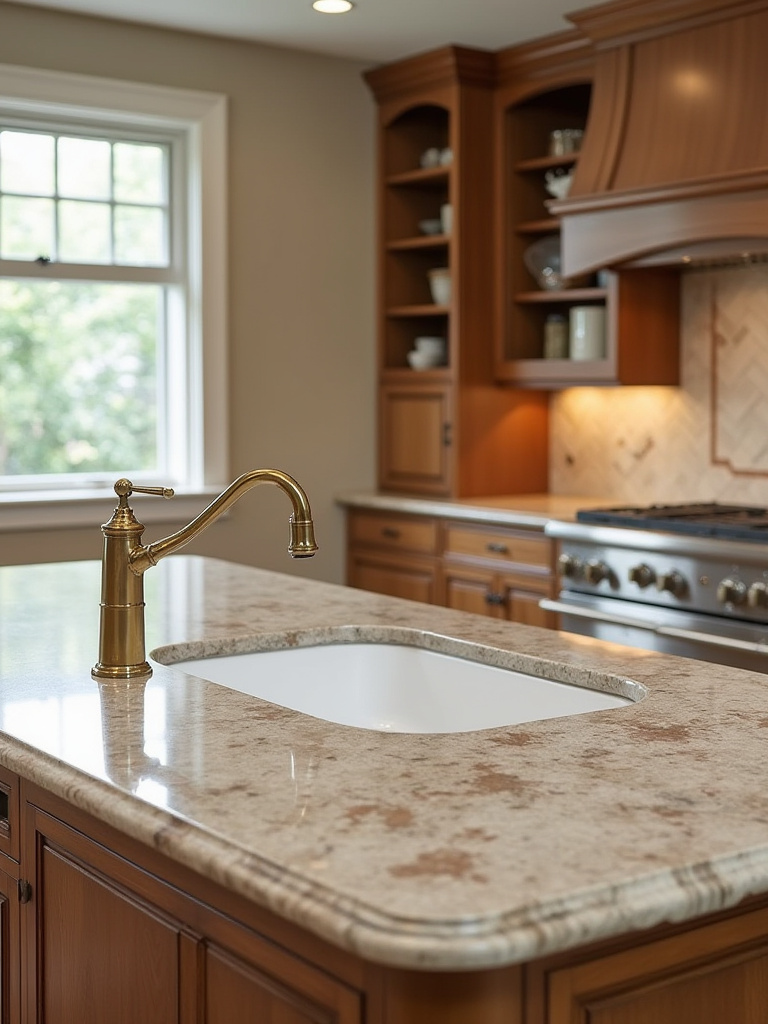
10. Specifying Period-Authentic Faucets and Hardware Finishes for Cohesive Detailing
Can I tell you a secret? Hardware and faucets are where you can make a kitchen look twice as expensive as it is. Conversely, cheaping out here can make a very expensive kitchen look… well, cheap. This is the jewelry of the room. It’s what you touch every day, and it should feel solid and substantial in your hand. My number one recommendation for a truly timeless, evolving look is unlacquered brass.
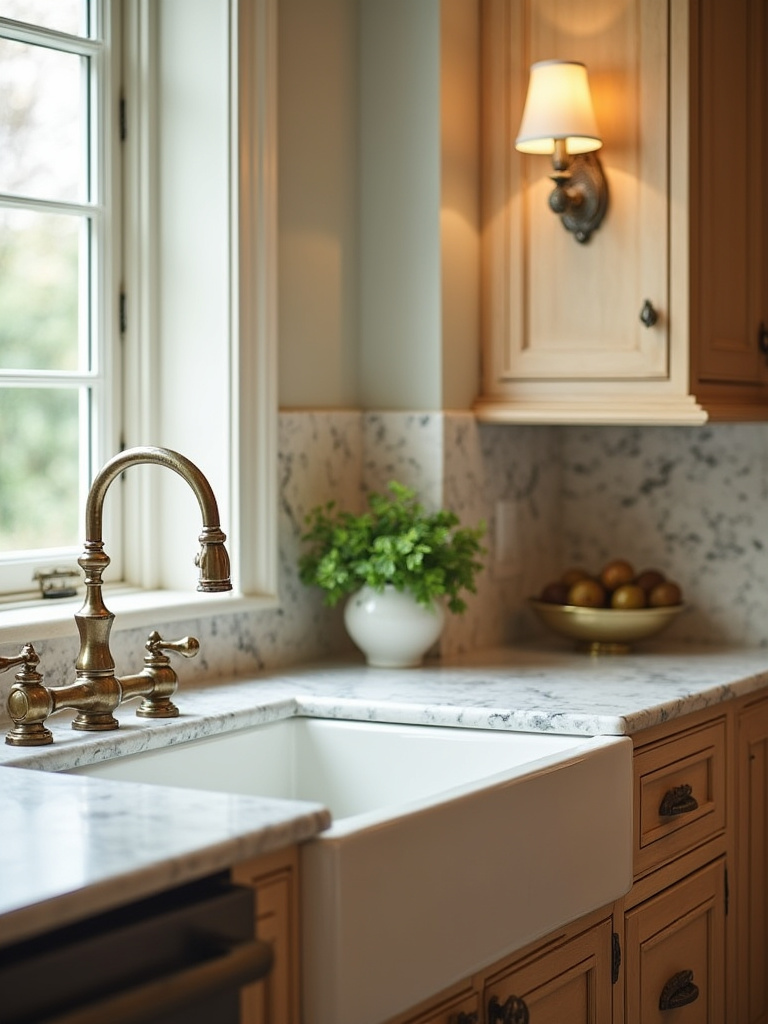
Everyone is scared of it because it tarnishes. That’s the whole point! It develops a rich, warm patina over time that is impossible to replicate with a factory finish. It tells the story of your life in the kitchen. If you absolutely can’t stand the patina, finishes like polished nickel or oil-rubbed bronze have a classic, enduring appeal. The BS to ignore is the idea that every single metal in the room has to match. It doesn’t. Your light fixtures can be different from your cabinet pulls, as long as they are in the same family of warmth and style. It looks more collected and authentic that way.
Crafting Authenticity: Selecting Materials and Core Features (Part 2)
We’ve covered the core elements you see at eye-level. Now, let’s look at what’s underfoot, what sits in the middle of the room, and what’s hiding behind those beautiful cabinet doors.
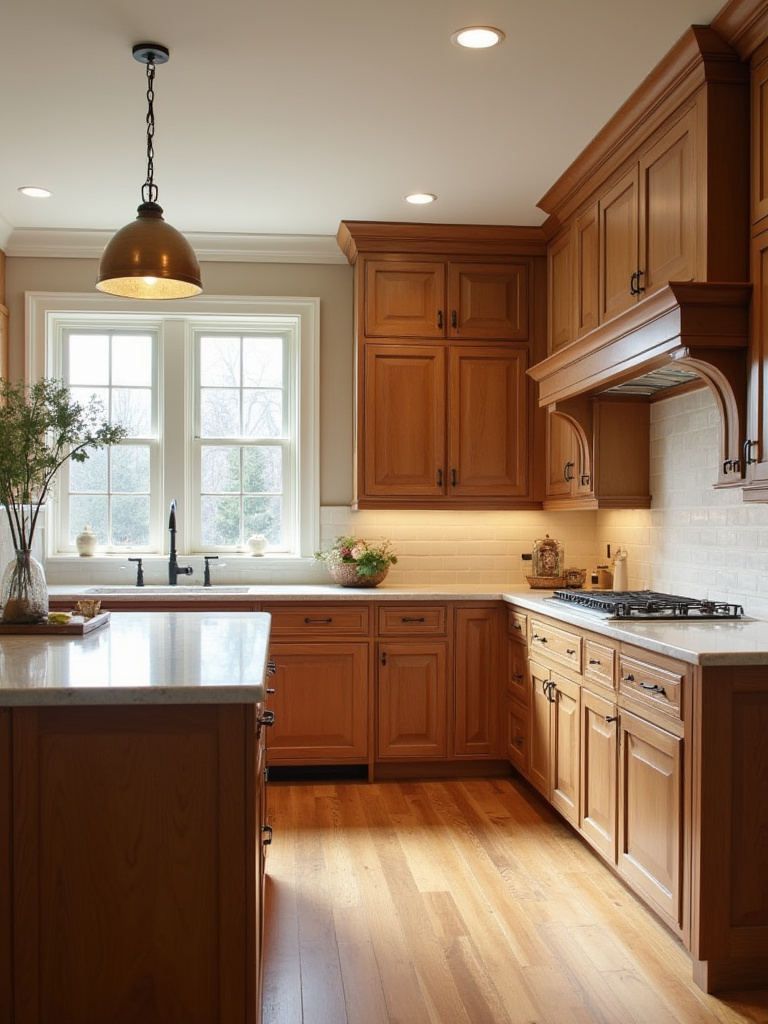
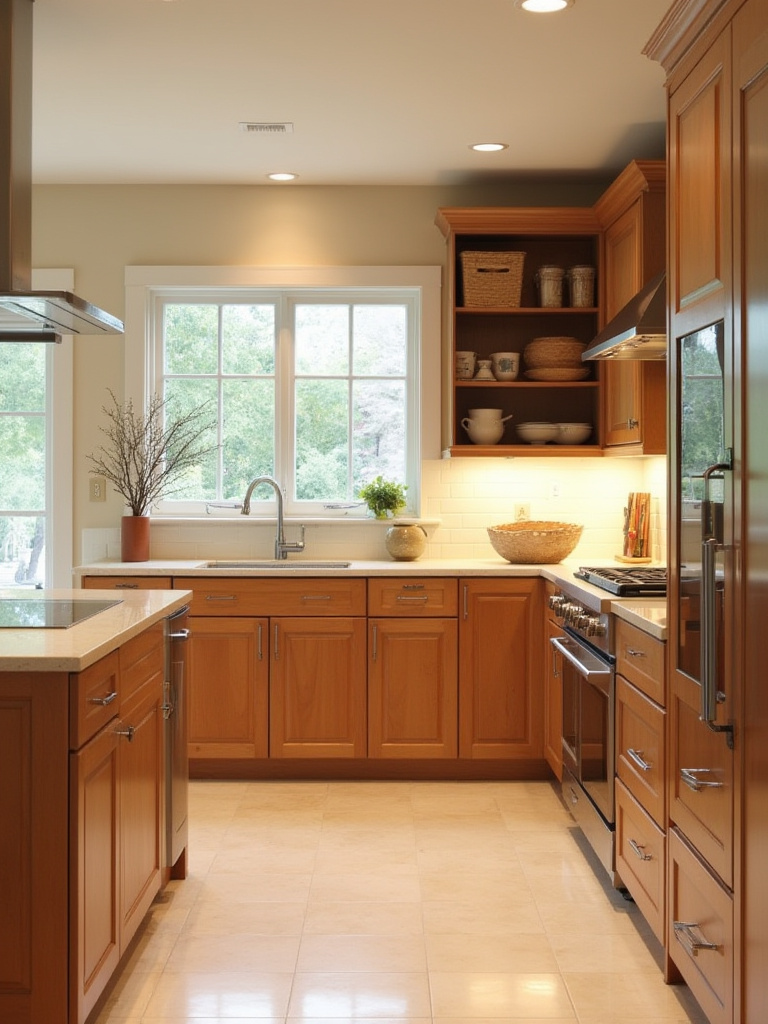
11. Understanding Hardwood Flooring Options and Finishes for Classic Kitchen Environments
Hardwood floors in a kitchen bring a warmth and continuity that nothing else can. People worry about water damage, and that’s a valid concern, but it’s entirely manageable. I have hardwood in my own kitchen, and the key is not the wood itself, but the finish. A high-quality, modern polyurethane finish is incredibly durable and water-resistant. The key is to wipe up spills promptly, just as you would on any surface.
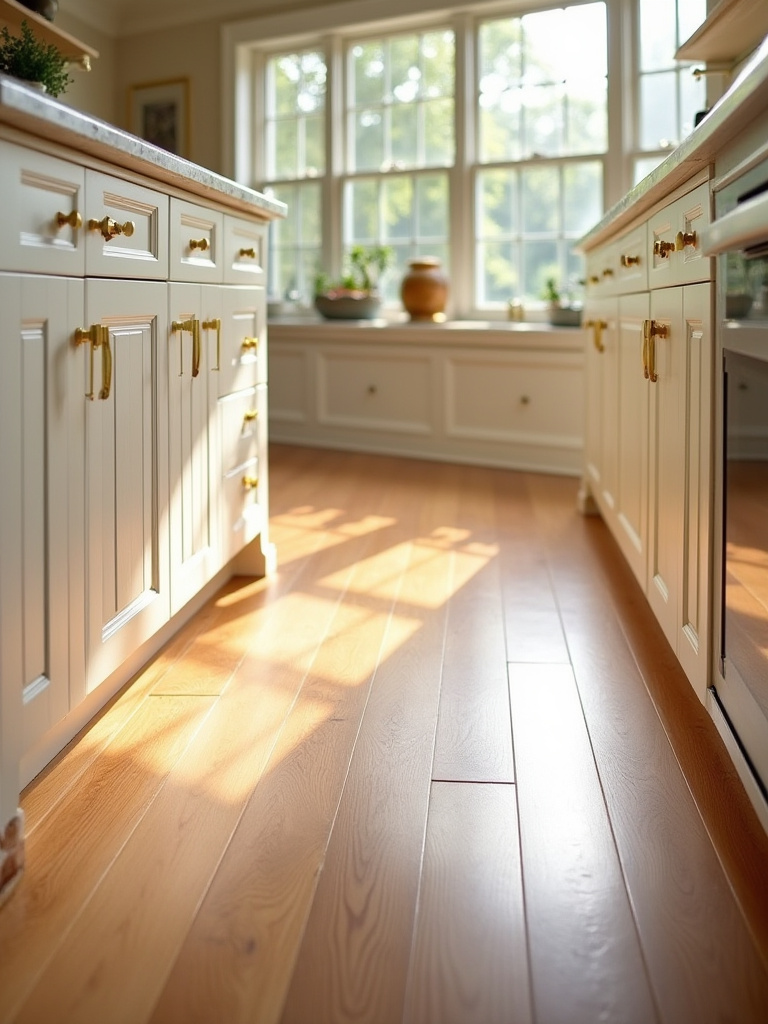
My advice is to stick with classic wood species like oak or maple. Avoid anything too exotic or trendy, like tigerwood or super-wide planks, which can look dated quickly. I had a client who restored the original 100-year-old pine floors in their kitchen. We had them sanded down and sealed with a matte, commercial-grade finish. They are gorgeous, full of character, and have stood up to two kids and a dog beautifully. The floors feel like they’ve always been there, which is the ultimate goal.
In the center of that beautiful floor often sits the kitchen’s modern-day hearth: the island.
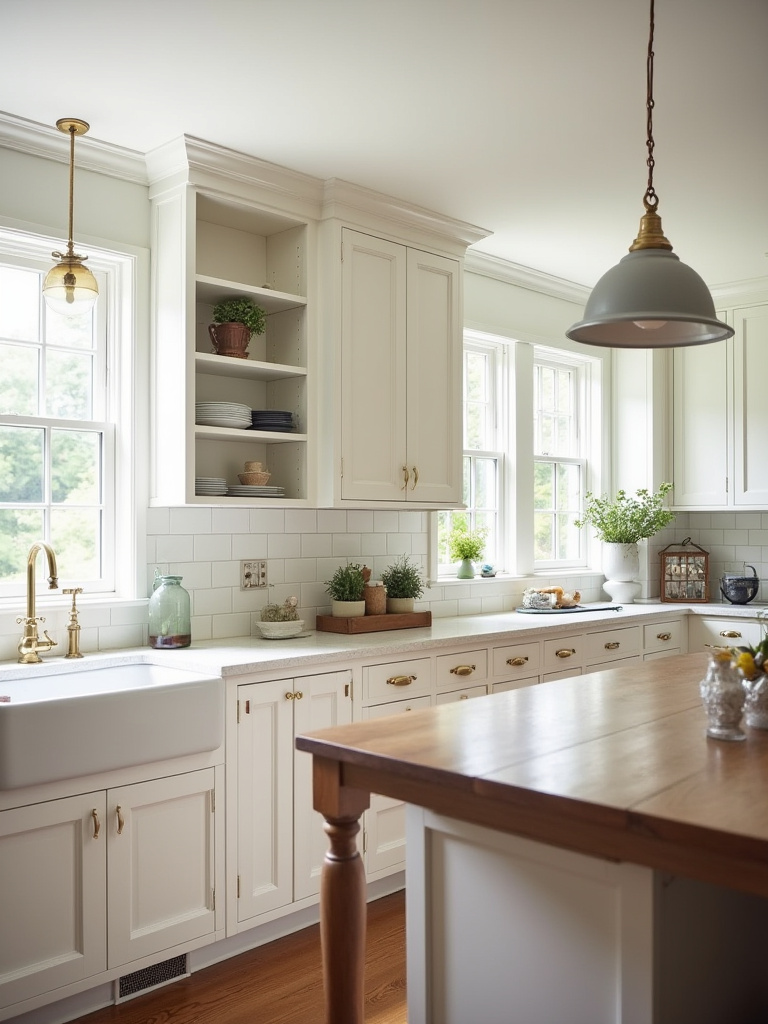
12. Designing Functional Island Concepts with Traditional Charm and Ample Storage
An island can’t just be a pretty face. It needs to work for a living. Before you settle on a design, ask yourself what you need it to do. Is it your primary prep space? Do you need a second sink there? Is it a place for the kids to do homework? Is it a Casual Dining spot? The answers will dictate its design, from storage solutions to countertop material.
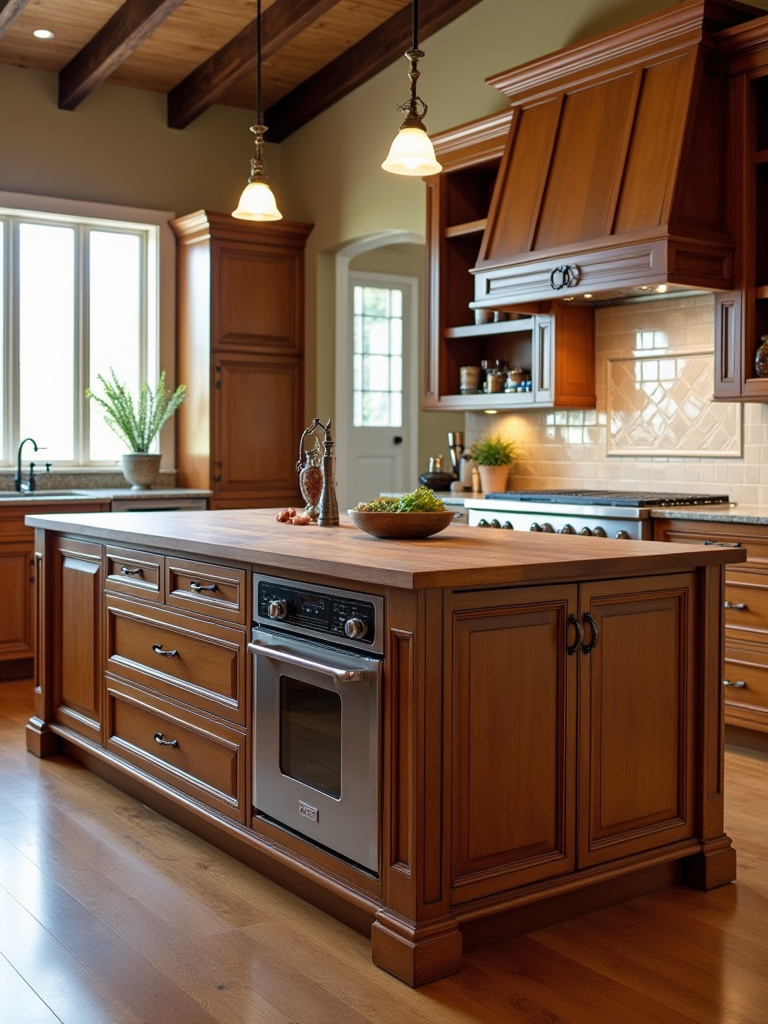
The biggest mistake I see is islands that are too big for the room, creating awkward traffic jams. You need a minimum of 42 inches of clearance on all sides for it to feel comfortable, and 48 inches is even better. A fantastic shortcut for adding character is to design the island to look like a freestanding piece of furniture. Use a different cabinet color or countertop material, add furniture-style legs or feet, and it immediately feels more special and less like a monolithic block. And for the love of god, plan for outlets. More than you think you need.
And inside that island? Or along the walls? That’s where we’ll hide the modern workhorses of the kitchen.
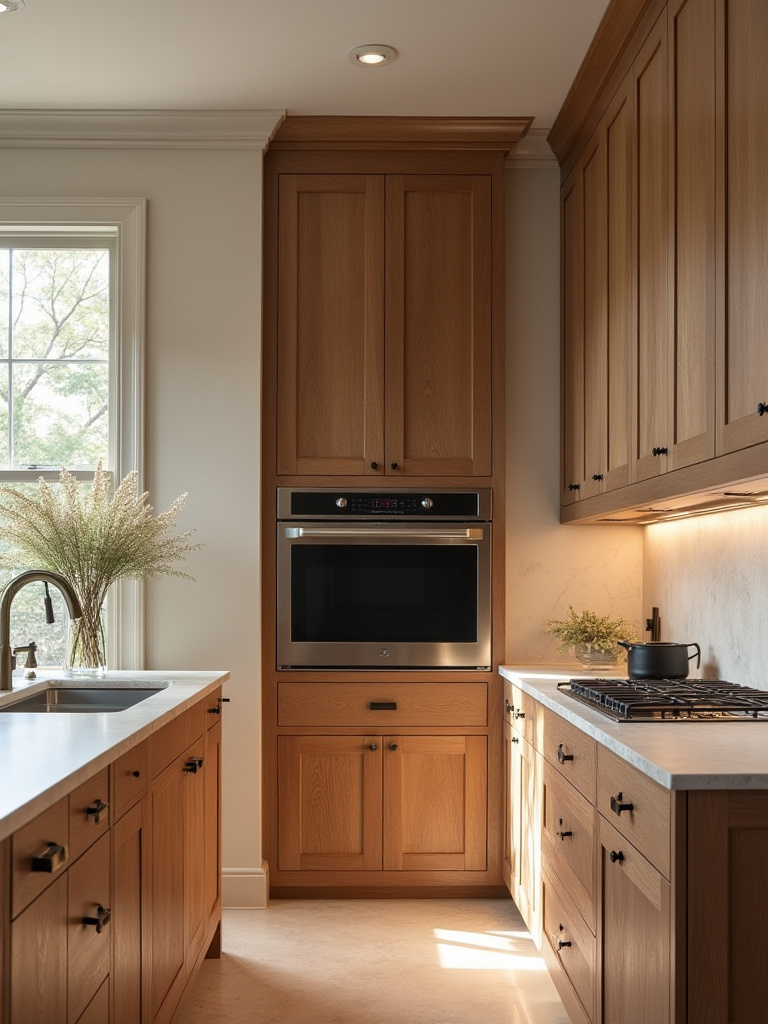
13. Incorporating Integrated Appliances to Maintain a Seamless and Uncluttered Aesthetic
Here’s a bold statement: Nothing ruins the seamless look of a traditional kitchen faster than a giant, gleaming stainless steel refrigerator. It’s a visual record scratch. The ultimate luxury, and the key to a truly timeless look, is integrated appliances. This means ordering “panel-ready” versions of your fridge and dishwasher that allow your cabinetmaker to create custom fronts that match the rest of your cabinetry.
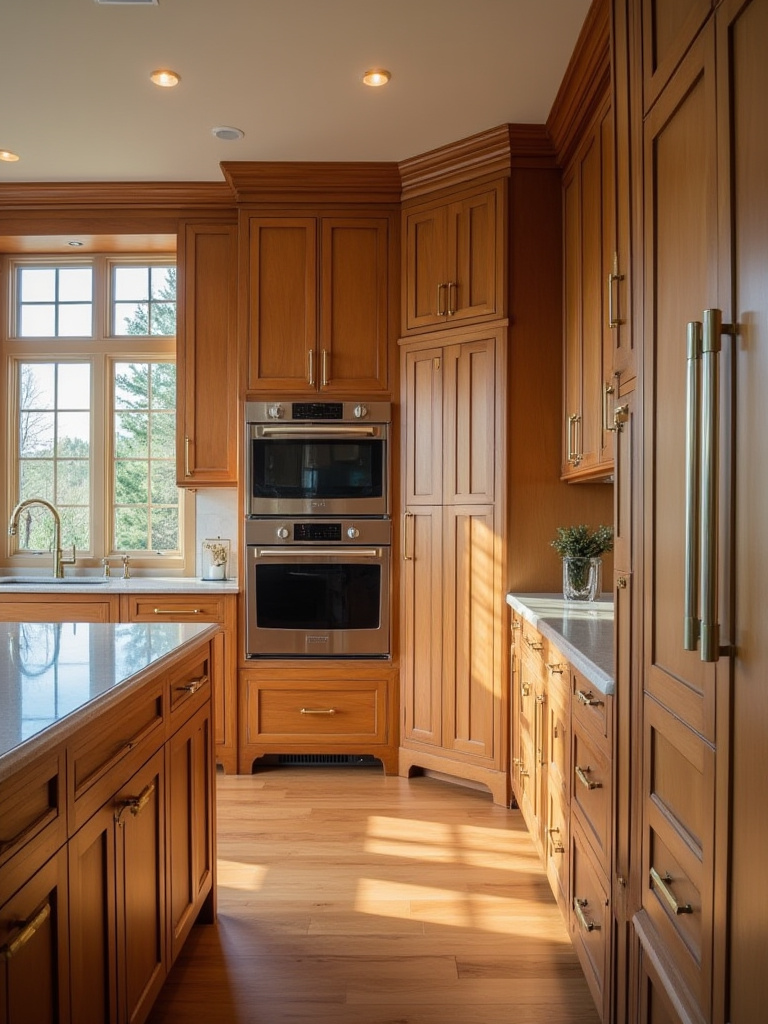
When done correctly, your appliances simply disappear, creating an uninterrupted wall of beautiful millwork. It’s a significant investment, but it makes an enormous impact on the overall aesthetic. I once designed a kitchen for a client in a historic Georgian home. We concealed two full-size refrigerator columns and four freezer drawers behind gorgeous, raised-panel cabinetry. You would never know they were there. The kitchen felt like a refined living space, not just a utilitarian room, and that was entirely the point.
Refining and Maintaining: Elevating and Preserving Your Traditional Kitchen (Part 1)
Your kitchen is designed and built. Now comes the art of bringing it to life and making it work perfectly for you. It’s about light, personality, and order.
14. Mastering Layered Lighting: Combining Ambient, Task, and Accent Fixtures Effectively
Lighting is the most powerful tool a designer has, and it’s the one most homeowners overlook. You cannot light a kitchen with a single fixture in the middle of the ceiling. It creates harsh shadows and a sterile environment. You need layers:
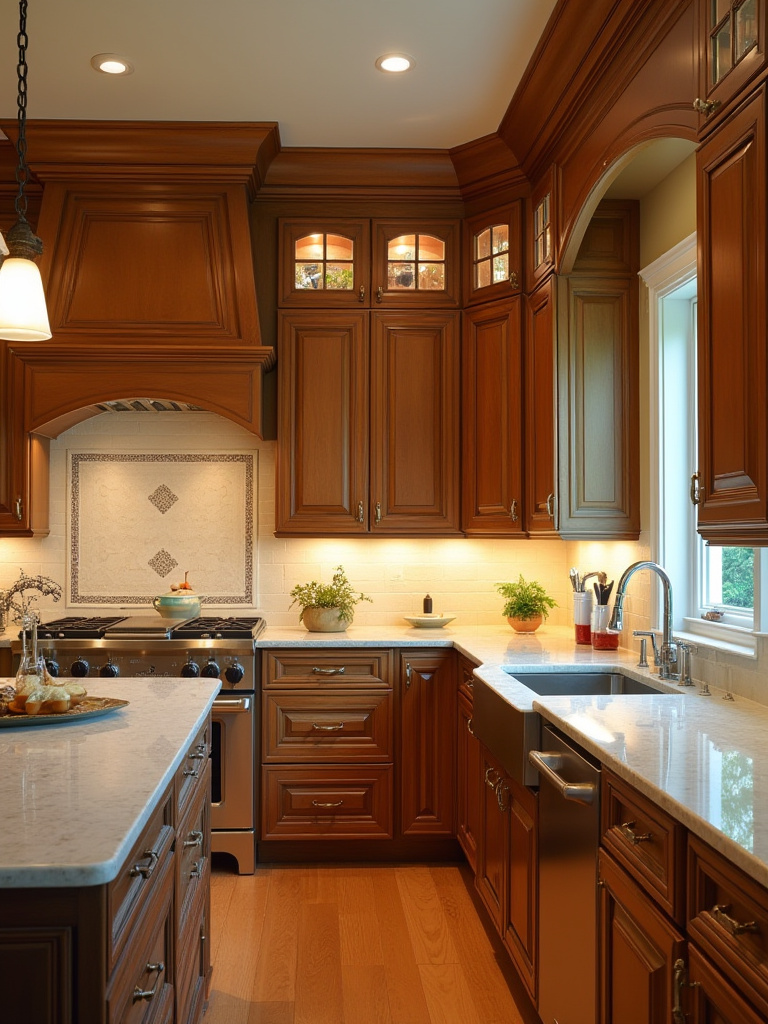
- Ambient: This is your overall illumination, from recessed lights or a beautiful chandelier.
- Task: This is the critical light you need for working. Under-cabinet lighting is non-negotiable. Pendants over an island are perfect.
- Accent: This is the sparkle. Small lights inside a glass-front cabinet or a picture light over a piece of art. It adds depth and mood.
The secret weapon? Put everything on a dimmer. Everything. This allows you to transform the room from a bright, functional workspace to a soft, intimate dining space with the touch of a button. I was in a client’s newly finished kitchen, and it felt flat, even with all the beautiful finishes. We spent an afternoon adjusting the lighting plan, adding under-cabinet strips and dimmers. It was like the whole room took a deep breath and came to life.
That life also comes from the personal objects you choose to display.
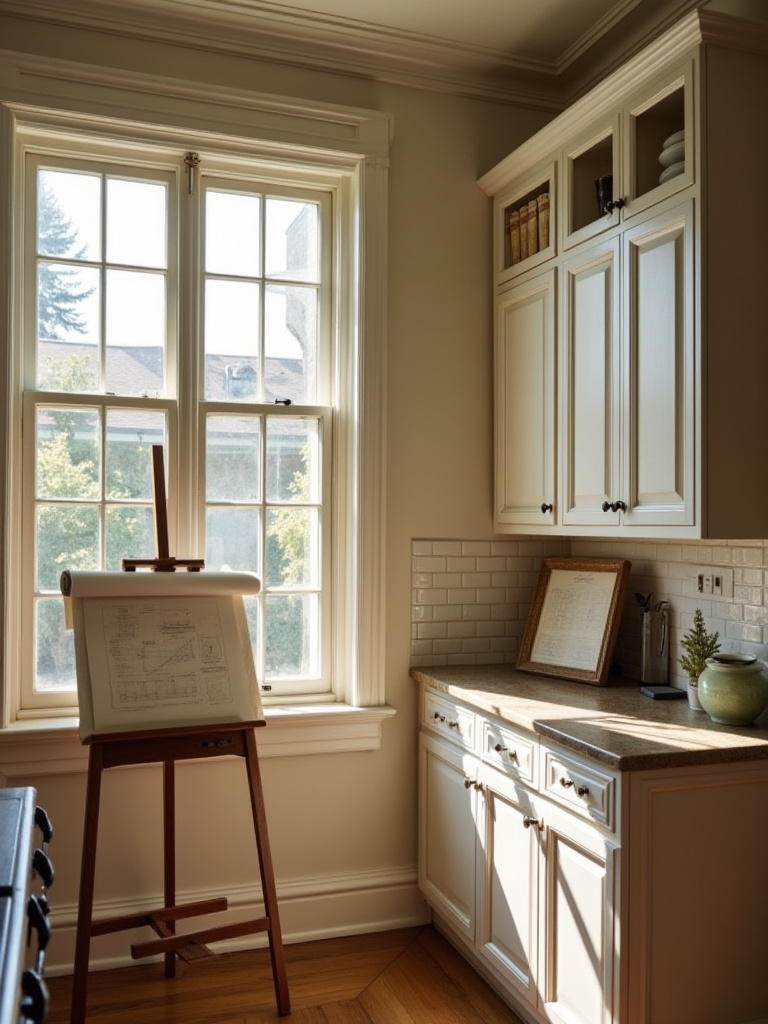
15. Accessorizing with Vintage and Heirloom-Inspired Decor Elements and Artwork
This is how you keep your traditional kitchen from looking like a showroom catalog. It needs your story. A stack of old cookbooks, a piece of art you love, your grandmother’s collection of pottery, a vintage oil painting found at a flea market—these are the things that give a room soul. Don’t be afraid to mix high and low, new and old.
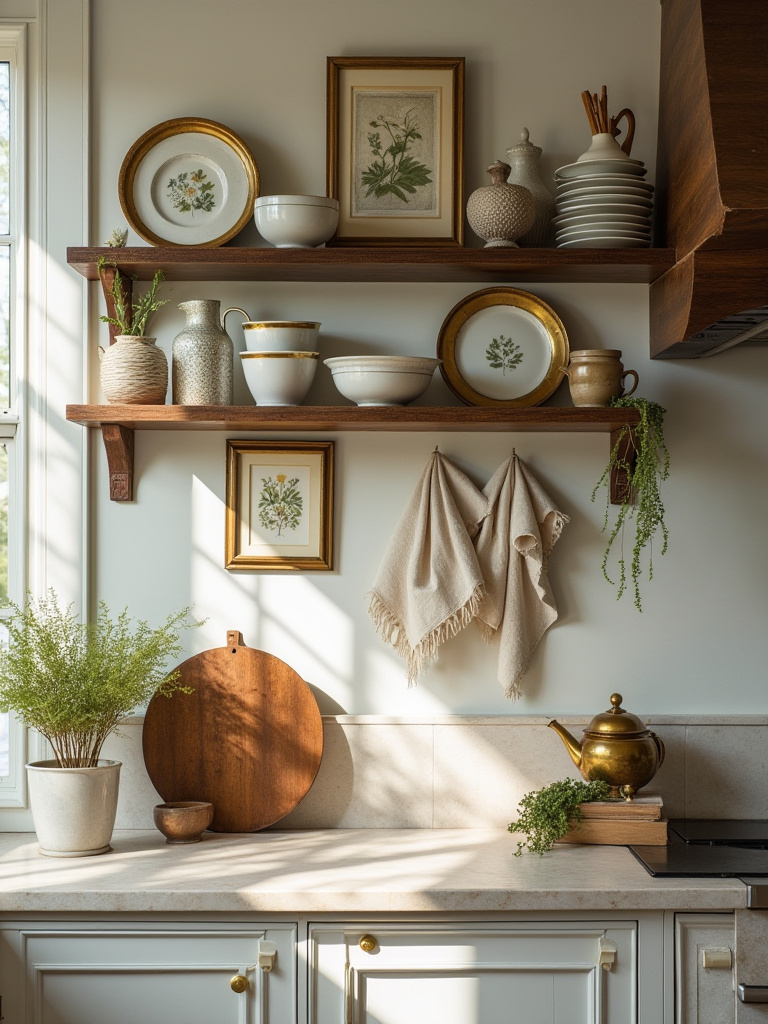
The trick is curation. You don’t want clutter. I advise clients to use open shelving for beautiful, functional items—a stack of white ironstone plates, wooden bowls, a row of glass jars filled with pasta and grains. Then, find a moment for something purely beautiful. I had a client hang a small, moody landscape painting right on the backsplash behind their range. It was unexpected and so chic. It instantly personalized the entire space and made it feel collected over time.
Of course, to have space for these beautiful things, you need a smart plan for the everyday clutter.
16. Maximizing Storage with Classic Pantry and Open Display Solutions for Functionality
The dream of a traditional kitchen is a beautifully organized pantry. Whether it’s a full walk-in room or a tall, pull-out cabinet, a dedicated pantry is the secret to keeping your countertops clear. This is where you hide the cereal boxes, the canned goods, and all the other visual clutter of modern life. It allows the rest of your kitchen to breathe.
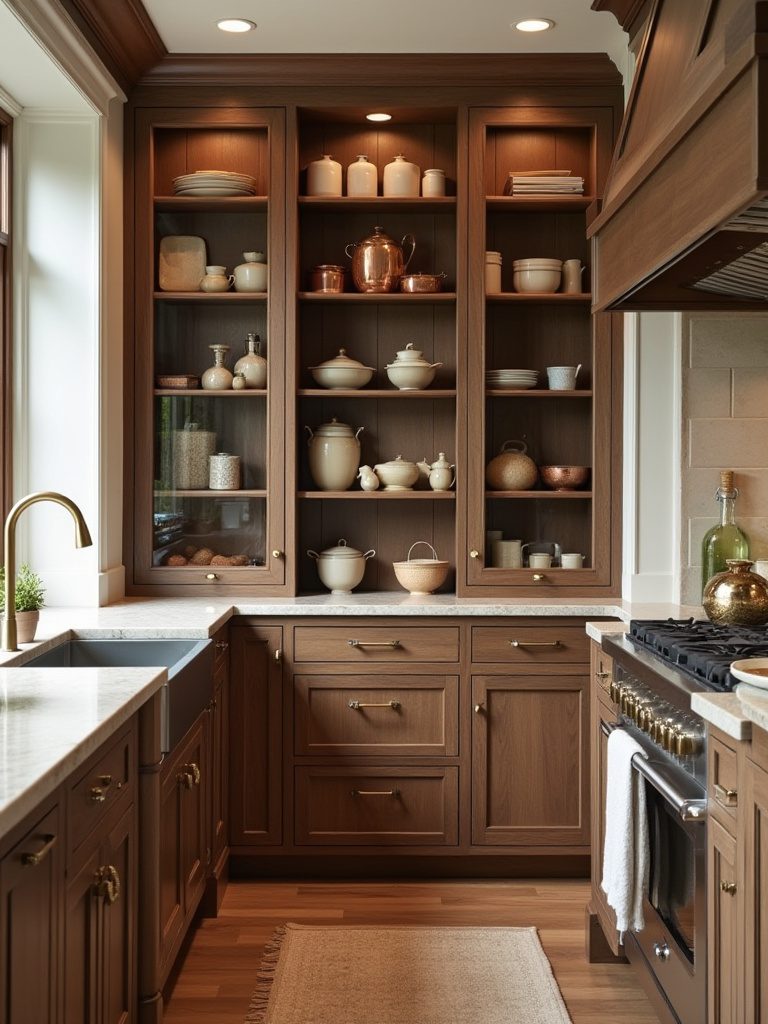
I love designing pantries with a mix of storage solutions: deep shelves for bulk items, shallow shelves for spices so nothing gets lost, and drawers or baskets for produce. One of the best shortcuts for modern functionality is to include a counter and outlets inside a walk-in pantry. It becomes a perfect spot for your coffee maker, toaster, or stand mixer—keeping them out of sight but still easily accessible. It preserves the classic aesthetic of the main kitchen while giving you the convenience you need.
And the key to that clutter-free look is an intelligent system.
17. Implementing Intelligent Organization Strategies to Preserve Aesthetic Order and Reduce Clutter
A beautiful kitchen with chaotic drawers and cupboards is an illusion that shatters the moment you try to cook. True luxury is effortless function. That means thinking about organization from the very beginning. Deep drawers for pots and pans are far more accessible than deep lower cabinets. Custom Drawer dividers for cutlery, utensils, and spices are a small expense that brings immense daily satisfaction.
My favorite trick is to use zone-based organization. Keep all your baking supplies (flour, sugar, mixing bowls) in one area. Store pots, pans, and cooking utensils right next to the stove. Put dishes and glasses near the dishwasher to make unloading a one-step process. I had a client who was constantly frustrated with their kitchen, and we spent a single Saturday completely reorganizing it based on this principle. We didn’t buy a single new thing, but she felt like she had a brand-new kitchen. It’s about creating a system that anticipates your next move.
Refining and Maintaining: Elevating and Preserving Your Traditional Kitchen (Part 2)
Your kitchen is a living part of your home, and it requires care. But it also has to keep up with the times. This is about protecting your investment for the long haul while allowing it to adapt to modern life.
18. Regular Care Protocols for Natural Surfaces: Extending the Life of Countertops, Wood, and Metal Finishes
This is simpler than you think. You don’t need a thousand different chemical cleaners. For most natural surfaces, the rule is gentle and consistent. For your marble or granite, use a pH-neutral cleaner—no vinegar, no harsh abrasives. Seal it once a year; it’s a 30-minute job that will protect it from staining. For wood, wipe spills immediately and use a gentle soap. For unlacquered brass, just let it be. Let it tell its story.
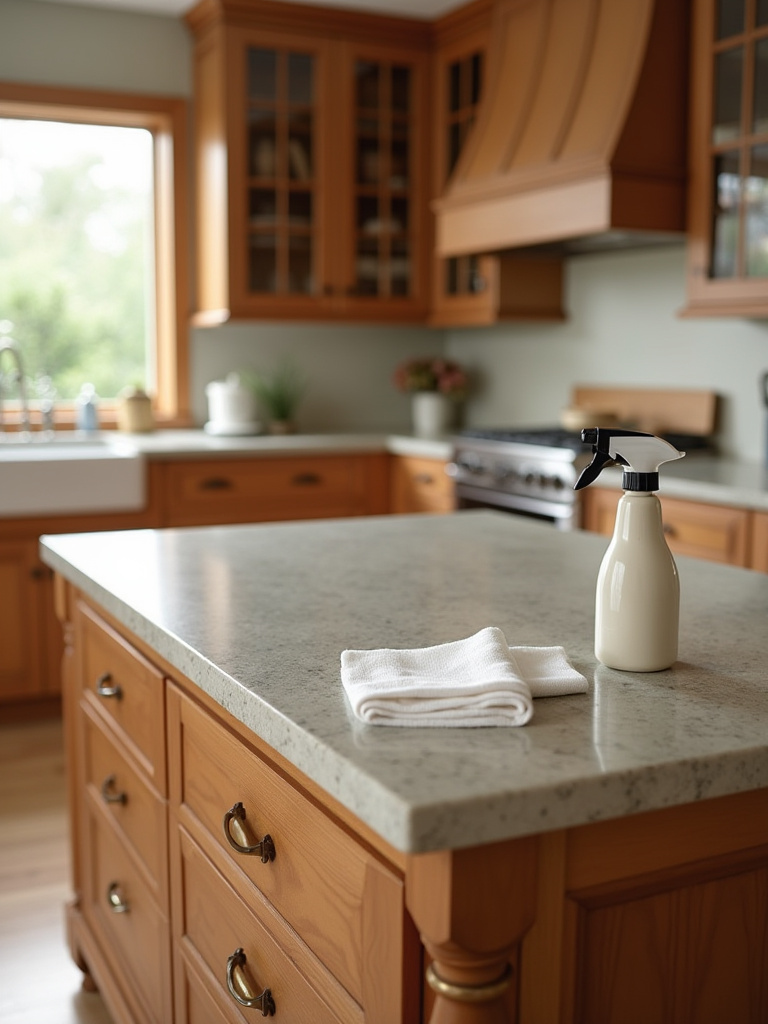
The biggest mistake people make is using the wrong product out of convenience—a spray of all-purpose cleaner here, a scrub with an abrasive sponge there. These small aggressions build up over time and dull the beautiful finish you invested in. My shortcut is to keep a small, curated kit of the right cleaners under the sink: one for stone, one for wood, and a stack of soft microfiber cloths. That’s it. It’s about having the right tools so that the right way is also the easy way.
And finally, let’s talk about blending the old with the new in the most seamless way possible.
19. Updating Technology Smartly Without Sacrificing Traditional Charm or Visual Integrity
You can and should have modern conveniences in your traditional kitchen. The trick is to make the technology invisible. We want the functionality without the visual disruption. This means no giant smart screens on the fridge, no tangle of charging cables on the counter, and no futuristic gadgets clashing with your classic design.
The solutions are elegant and clever. Install a charging drawer with built-in USB ports and outlets to hide your phones and tablets. Use pop-up outlets on your island that disappear flush with the countertop when not in use. Opt for smart home systems with discreet controls that mimic traditional light switches. I designed an appliance garage with a pocket door for a client. When open, it revealed their high-end coffee maker and toaster; when closed, it looked like just another beautiful cabinet panel. The goal is to have technology serve you quietly, in the background, without ever stealing the spotlight from the timeless design you’ve worked so hard to create.
Conclusion
At the end of the day, creating a timeless traditional kitchen isn’t about following a rigid set of rules from a history book. It’s about a philosophy. It’s about choosing quality over trends, investing in craftsmanship that lasts, and creating a space that feels deeply personal and wonderfully permanent. By focusing on these 19 elements—from the architectural bones to the final, soulful touches—you are building more than just a room to cook in. You’re crafting the true heart of your home, a place that will host decades of memories and only grow more beautiful with age.
This isn’t just an aesthetic choice; it’s an investment in a way of life that values comfort, character, and enduring elegance. The result of this thoughtful process is a kitchen that feels not just designed, but earned. It’s a sanctuary that will welcome you home every day, a space ready for family gatherings, quiet morning coffees, and every moment in between. So take these ideas, trust your instincts, and begin the journey of creating a kitchen that is authentically, beautifully, and timelessly yours.