Picture this: You’re standing in the most beautiful, Pinterest-perfect kitchen. The countertops are gleaming soapstone, the cabinets are a deep, gorgeous forest green, and the brass hardware is just right. But you can’t see a single thing you’re chopping because your own head is casting a giant shadow over the cutting board. All that beauty, completely undone by bad lighting. That’s not just a design failure; it’s a functionality and safety nightmare. And frankly, it’s a huge waste of resources to build a beautiful space you can’t even use properly.
You know what people always ask me? “How do I make my kitchen feel bright and inviting without it feeling like a surgical suite?” They see their kitchen as the heart of their home, and they’re right. But they often think the solution is just one big, bright light in the middle of the ceiling. That’s the biggest misconception out there. Great Kitchen lighting isn’t about one fixture; it’s about building layers of light that work for you, for the planet, and for every single moment—from frantic Tuesday night meal prep to a relaxed Saturday morning coffee. Let’s break down how to get it right.
Strategic Planning: Laying the Foundation for Optimal Kitchen Lighting (Part 1)
Before you even think about looking at a single shiny brass pendant, we have to talk strategy. This is the part everyone wants to skip, and it’s the single most important step. A little bit of planning here saves you from costly mistakes, reduces energy waste, and creates a space that actually supports your life instead of fighting against it.
1. Conduct a Thorough Kitchen Lighting Needs Assessment
Okay, don’t let the fancy name scare you. This is simple. Before you do anything else, you need to understand how you actually live in your kitchen. Forget the glossy magazine photos for a minute and think about your real life. Where do you chop veggies? Where do the kids do their homework while you cook? Where do you dump the mail? These are your “activity zones,” and if you just throw a grid of lights on the ceiling, I guarantee you’ll still be chopping in the dark.
I once worked with a client who hated his new kitchen. Hated it. He had one beautiful (and expensive) light fixture and couldn’t figure out why the room felt so gloomy and inefficient. We simply walked through his evening routine, and the problem was obvious: the light was behind him for every single task. We fixed it with some targeted, low-energy LED Under-cabinet lighting, and it completely changed his relationship with the space. Do this first: map your routine. It costs nothing and will save you everything.
2. Define Key Activity Zones for Targeted Illumination
Now that you know how you use your kitchen, let’s get specific. Think of your kitchen not as one big room, but as a collection of mini-workstations. Your main prep counter, the sink, the stove, the island where everyone gathers—each one needs its own dedicated light source. The goal is to light the task, not the whole room. This is a core principle of sustainable design: use energy precisely where you need it, and nowhere else.
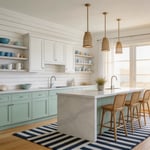
This isn’t about making your kitchen look like a factory. It’s about efficiency and comfort. By giving each zone its own light, controlled by its own switch (or dimmer!), you’re not blasting the entire kitchen with high-wattage light just to read a recipe. You can have bright, focused light for chopping and a soft, ambient glow everywhere else. This layered approach is what makes a kitchen feel both incredibly functional and wonderfully inviting.
3. Master the Art of Layered Lighting for Versatility
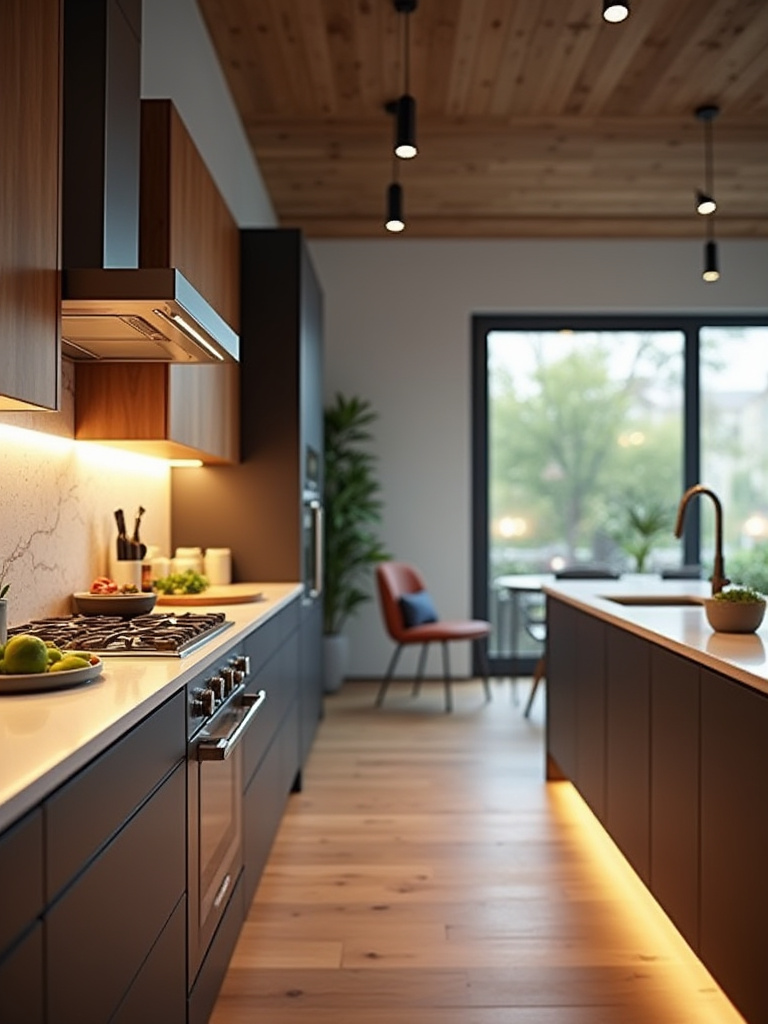
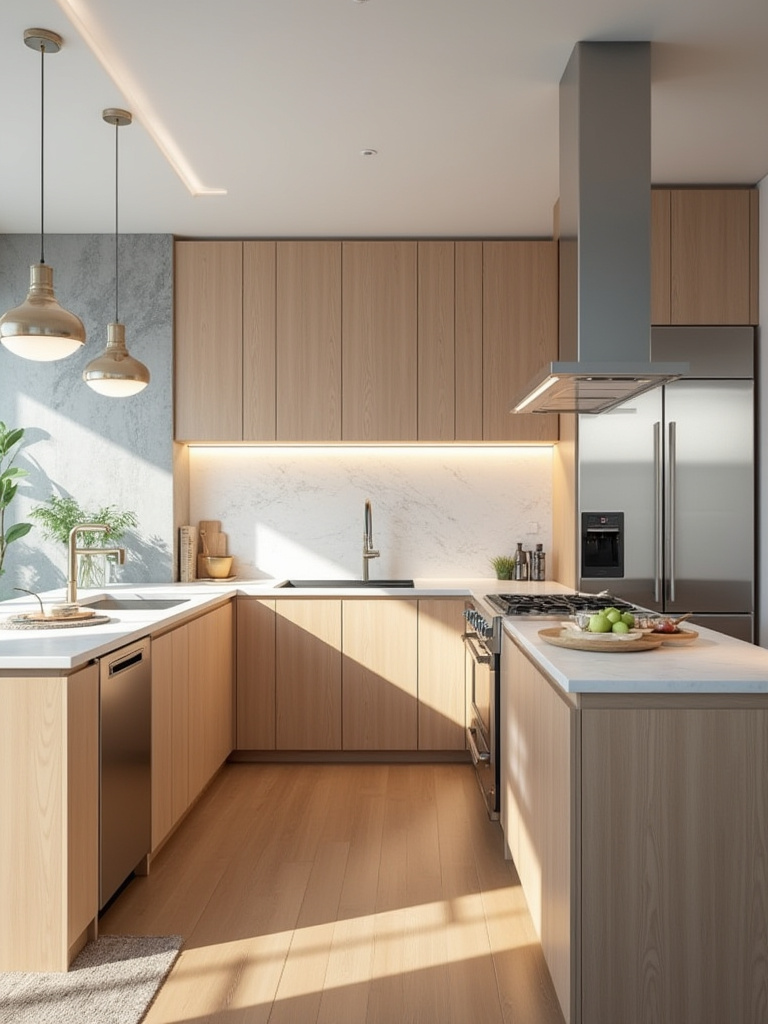
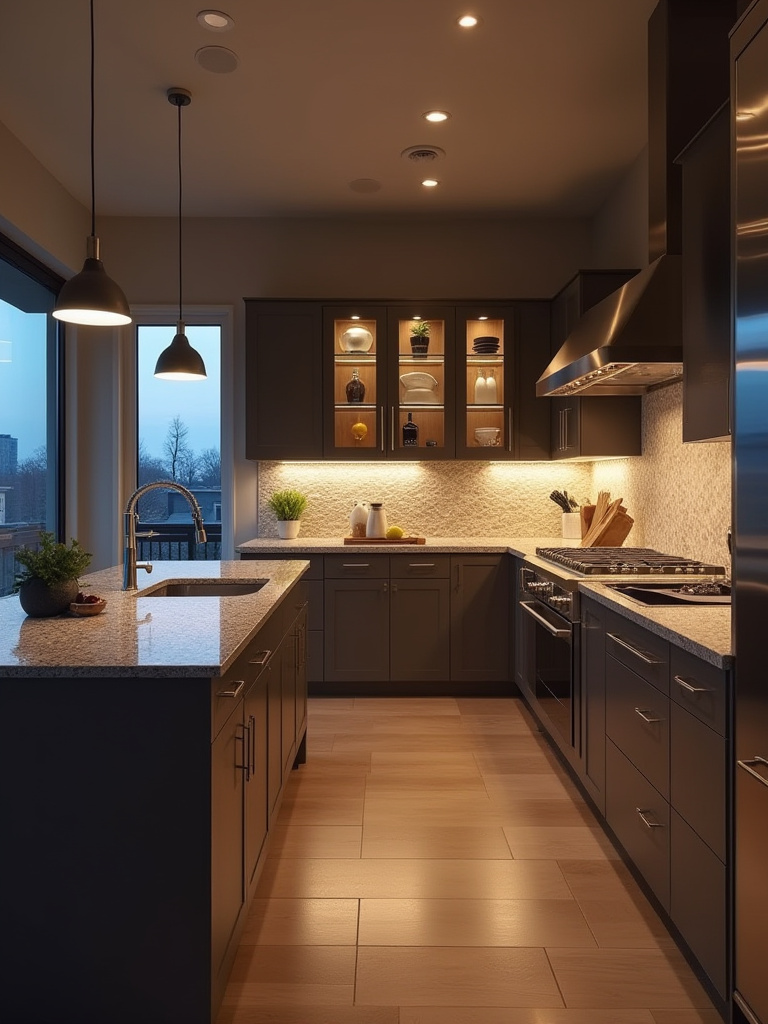
Can we talk about why everyone gets this wrong? They think one type of light will do the job. It won’t. You need three layers, and it’s non-negotiable. First is Ambient Light, the overall glow that lets you walk into the room without tripping. This is your foundation—think recessed lights or a simple flush mount. Second, and most important, is Task Light. This is the hero light, the one aimed directly at your work surfaces like countertops and sinks. It’s your under-cabinet strips and your island pendants.
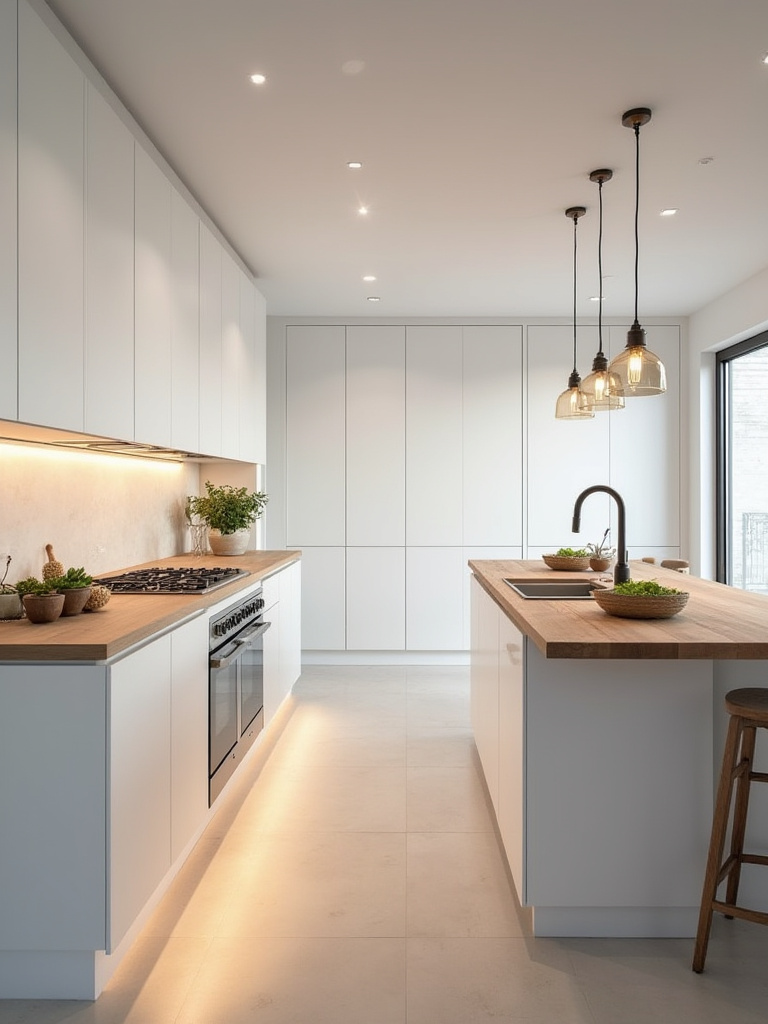
Finally, you have Accent Light. This is the fun part—the “jewelry” of your kitchen. It’s the small light inside a glass-front cabinet that makes your glassware sparkle or the sconce that highlights a piece of art. When you put these three layers together and—critically—put each on a separate dimmer switch, you gain total control. You can create bright, energetic light for cooking or a low, moody glow for dinner. This isn’t just a design trick; it’s the secret to making a single room serve a dozen different purposes, all while being incredibly energy-efficient.
4. Select Appropriate Color Temperatures (CCT) for Desired Ambiance
I know, “Correlated Color Temperature” sounds like something out of a science textbook. But stick with me, because this is huge. All you need to know is that light has a color, from a warm, candle-like glow to a cool, bluish daylight. It’s measured in Kelvin (K). A lower number (like 2700K) is warm and cozy, perfect for creating that inviting, restaurant vibe in a dining nook. A higher number (around 4000K) is a crisp, neutral-to-cool white that’s amazing for task areas because it renders colors accurately and helps you focus.
The big mistake is picking one color temperature for the entire kitchen, which can leave it feeling either too sterile or too dim and yellow. The pro move—and the sustainable one—is to layer them or, even better, use “tunable white” LED technology. These are bulbs and fixtures that let you change the color temperature with an app or a switch. You can have bright, cool light for meal prep and then dial it down to a warm, relaxing 2700K for winding down in the evening. It’s like having multiple lighting setups in one, perfectly matching the natural rhythm of the day.
Strategic Planning: Laying the Foundation for Optimal Kitchen Lighting (Part 2)
We’ve covered the “what” and “why” of light, but now we need to talk about the “how”—specifically, how it’s all powered and controlled. This part is about the guts of the system. Thinking about this now saves you from seeing ugly extension cords snaking across your brand-new countertops later.
5. Plan Electrical Outlets and Switch Placement Strategically
You know my biggest pet peeve? It’s a gorgeous, newly renovated kitchen with a beautiful tile backsplash… completely ruined by an awkwardly placed light switch or a desperate power strip sitting on the counter. Planning your electrical layout isn’t just for electricians; it’s a design fundamental. Think about where your coffee maker, toaster, and stand mixer will live. They need outlets right there, preferably tucked away neatly. This keeps your counters clear and avoids the safety hazard of dangling cords.
The same goes for light switches. Your main overhead lights should have a switch at every entrance to the kitchen. And each of your lighting layers should have its own control. The last thing you want is one switch that turns everything on at once. By zoning your controls, you empower yourself to use only the light you need, which is a massive energy saver over time. A little forethought here makes your kitchen safer, more functional, and far more beautiful.
Fixture Selection and Smart Placement: Illuminating Core Kitchen Areas (Part 1)
Alright, now for the fun stuff: picking the actual hardware. But this isn’t just about what looks pretty. It’s about choosing the right tool for the right job to create that beautiful, functional, and layered lighting scheme we’ve been talking about.
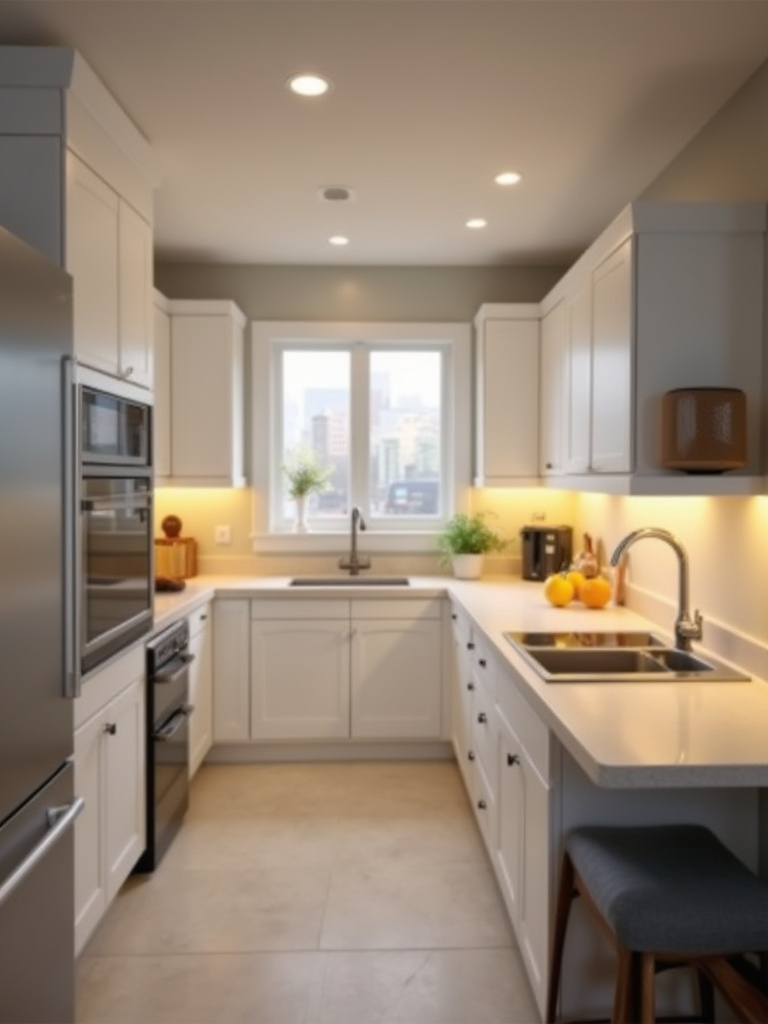
6. Integrate Powerful Recessed Lighting for General Illumination
Recessed lights, or can lights, get a bad rap because people often use way too many, creating a “Swiss cheese” ceiling that feels like a casino. But when used correctly, they are the quiet, unassuming workhorse for your ambient (or general) lighting layer. A simple, clean grid of recessed lights provides a smooth, even wash of light across the entire kitchen, eliminating those dark, spooky corners and making the whole space feel bigger and brighter.
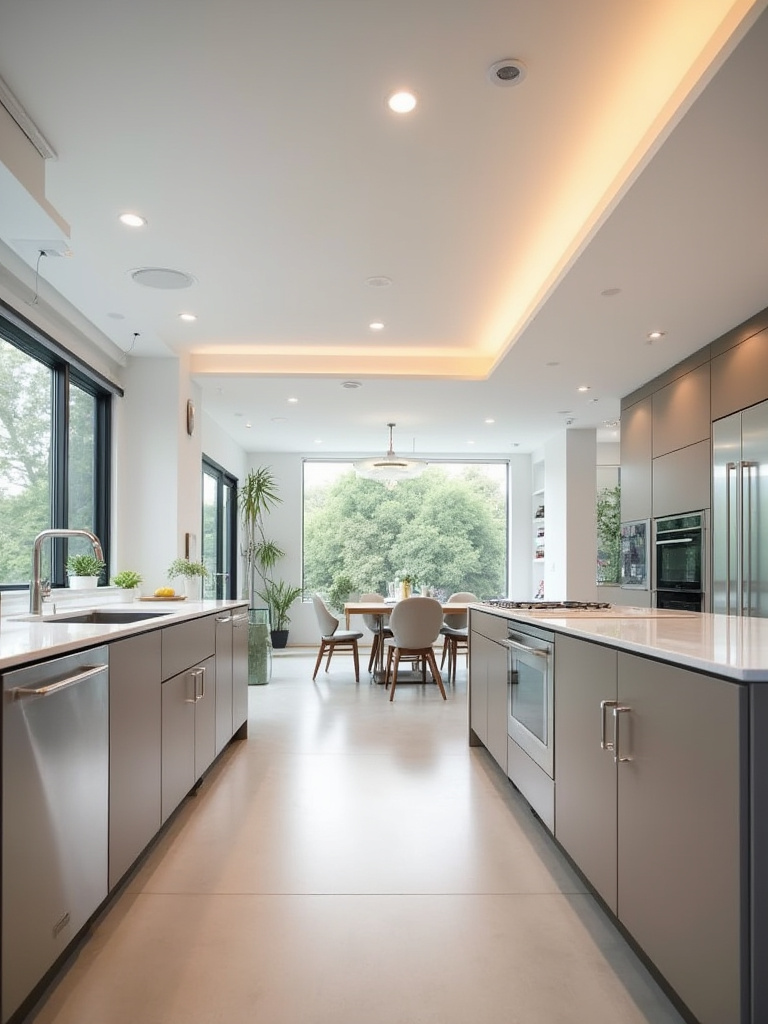
The key is proper placement and choosing the right fixture. You want LED cans with a high CRI (Color Rendering Index) of 90+, which means colors—especially food!—will look true and vibrant, not washed out. And please, for the love of all that is good, put them on a dimmer. This allows your foundational light to go from 100% for cleaning day to a gentle 10% glow during a dinner party. They should be the backdrop, not the main event.
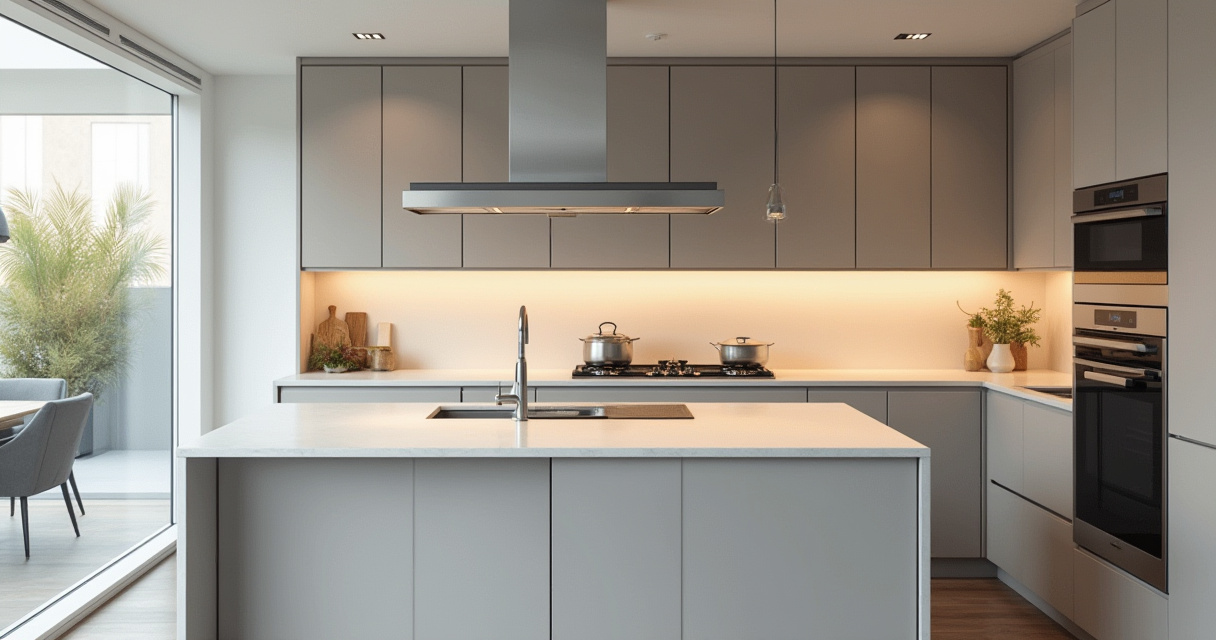
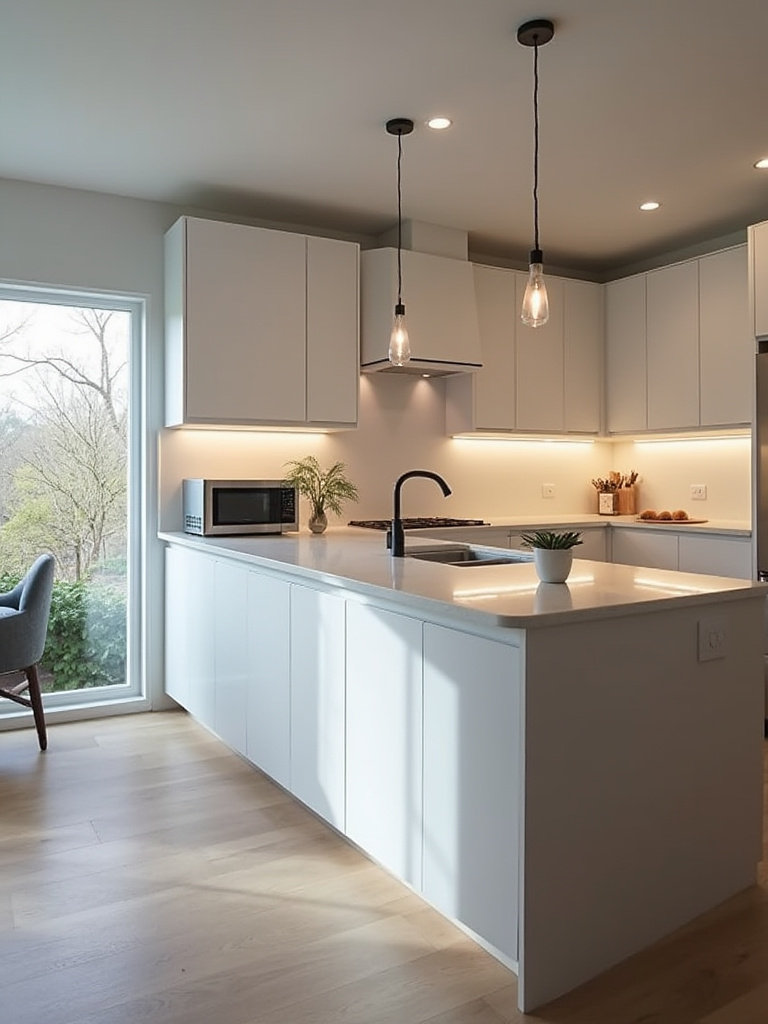
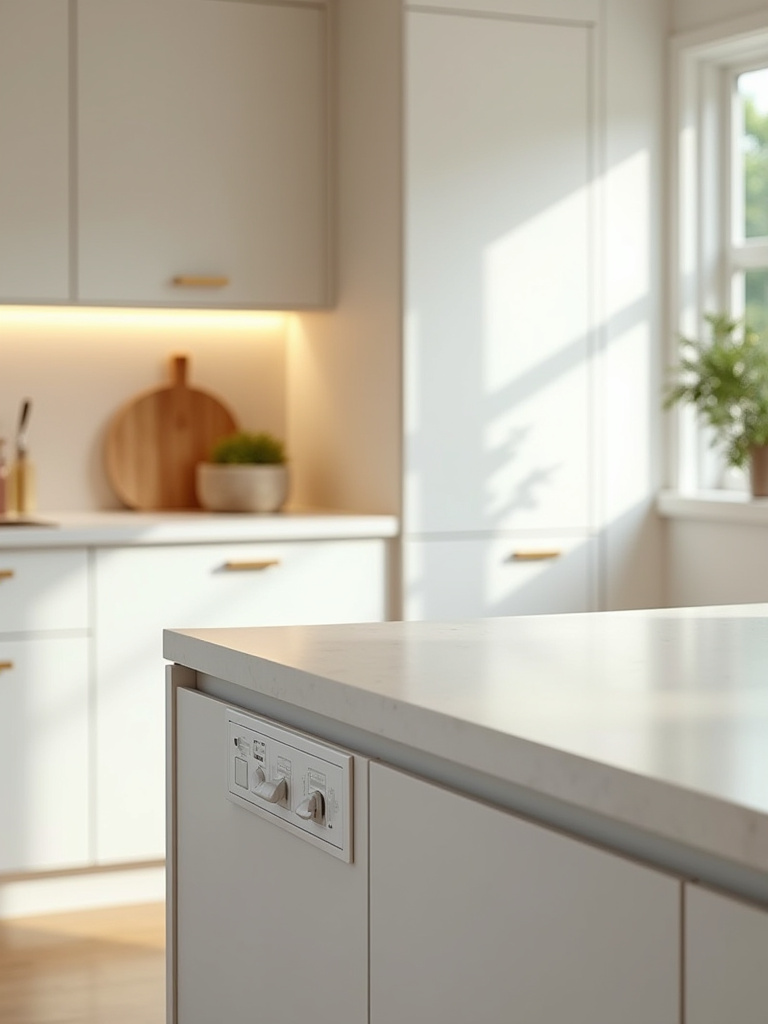
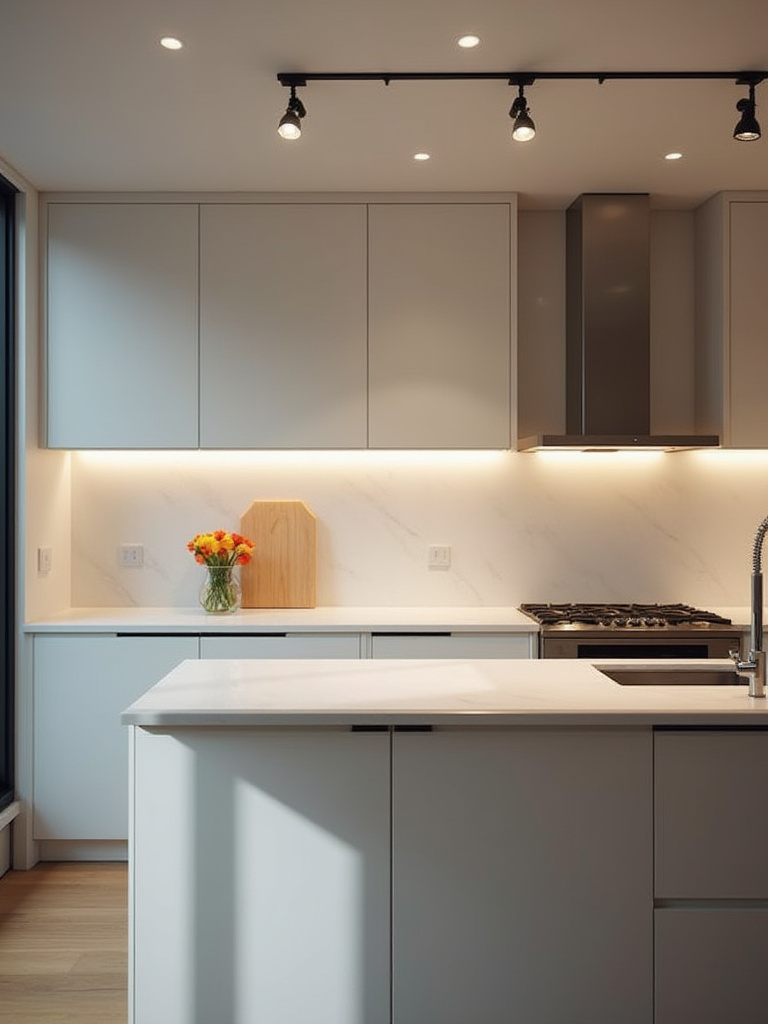
7. Install Bright Under-Cabinet Lights to Banish Workspace Shadows
If you only do one thing on this entire list, make it this. Under-cabinet lighting is the single most important element of functional kitchen lighting. Period. Without it, your overhead lights will always be behind you when you’re working at the counter, casting your own shadow directly onto your workspace. It’s frustrating, inefficient, and frankly, unsafe when you’re handling sharp knives.
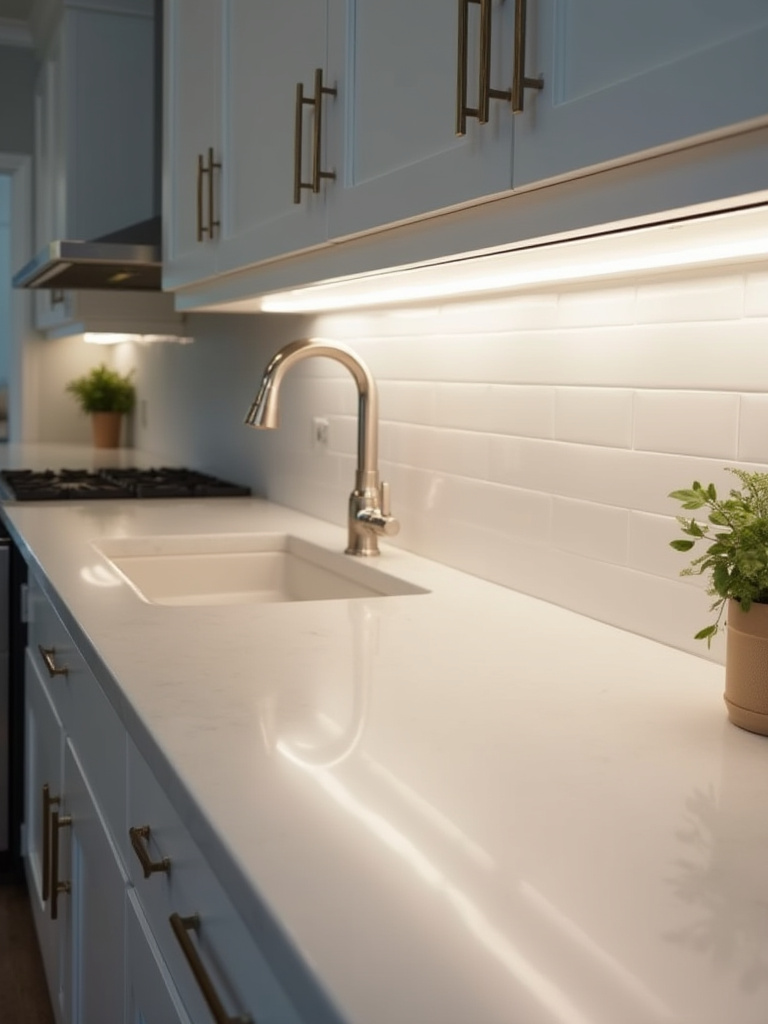
Modern LED tape lighting is a game-changer here. It’s slim, easy to install, and provides a continuous, even line of bright light right where you need it. It’s also incredibly energy-efficient. You can run under-cabinet lighting for hours for just pennies, providing perfect task illumination without having to light up the whole room. I consider this a non-negotiable part of any kitchen design, both for its unparalleled functionality and its massive impact on energy conservation.
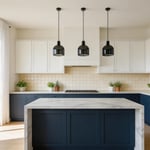
8. Choose Task-Oriented Pendant Lights for Island and Peninsular Focus
Pendants over an island are the classic “jewelry” of the kitchen. They are a fantastic opportunity to bring in style, color, and personality. But they are not just for looks. Their primary job is to be your task lighting for the island. This means you need to choose fixtures that actually direct light downward onto the countertop, not just glow in all directions like a lantern. Open-bottomed shades or focused downlights are perfect for this.
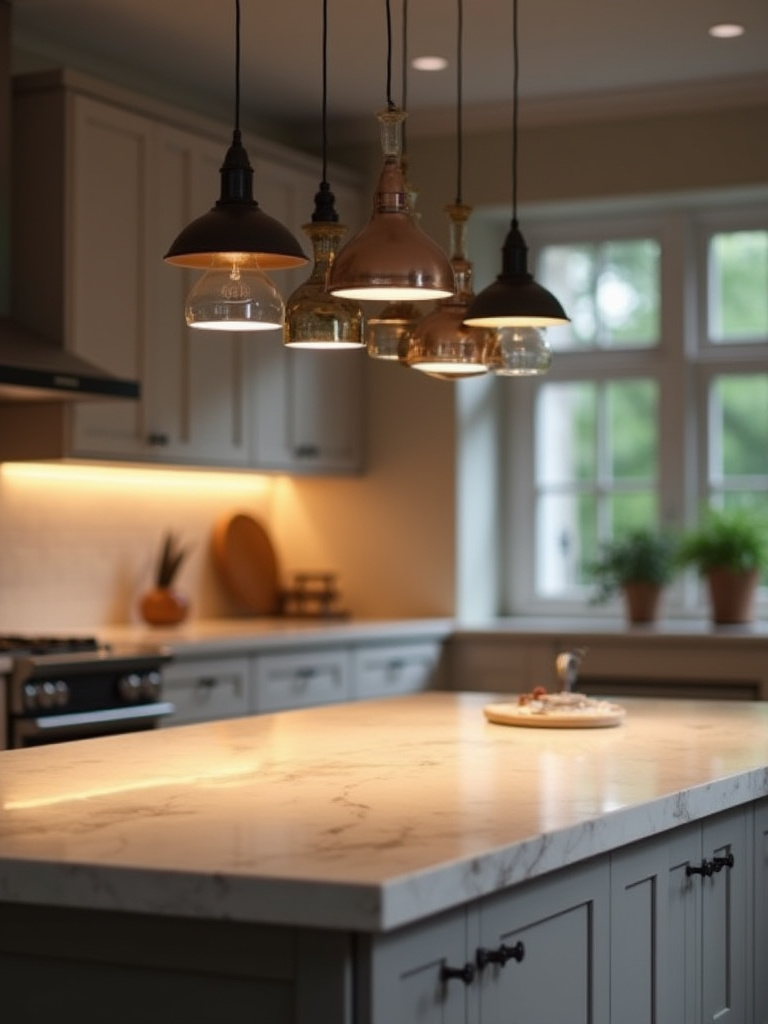
And let’s talk size and placement, because everyone stresses about this. A good rule of thumb is to hang them about 30-36 inches above the countertop—high enough so you’re not staring into a bulb, but low enough to light the surface effectively. As for how many, two or three pendants usually work for most islands, but a single, larger linear fixture can also make a beautiful, modern statement. And yes, you guessed it: put them on a dimmer.
9. Utilize Discreet In-Cabinet Lighting for Accessibility and Display
This is a detail that feels luxurious but has a surprisingly practical—and sustainable—purpose. Putting low-voltage LED strips inside your cabinets, especially pantries or deep corner cabinets, makes everything instantly visible. No more digging around in the dark for that one can of tomatoes you know you have somewhere. When you can see everything you own, you’re far less likely to buy duplicates or let things expire. It’s a small change that can genuinely help reduce food waste.
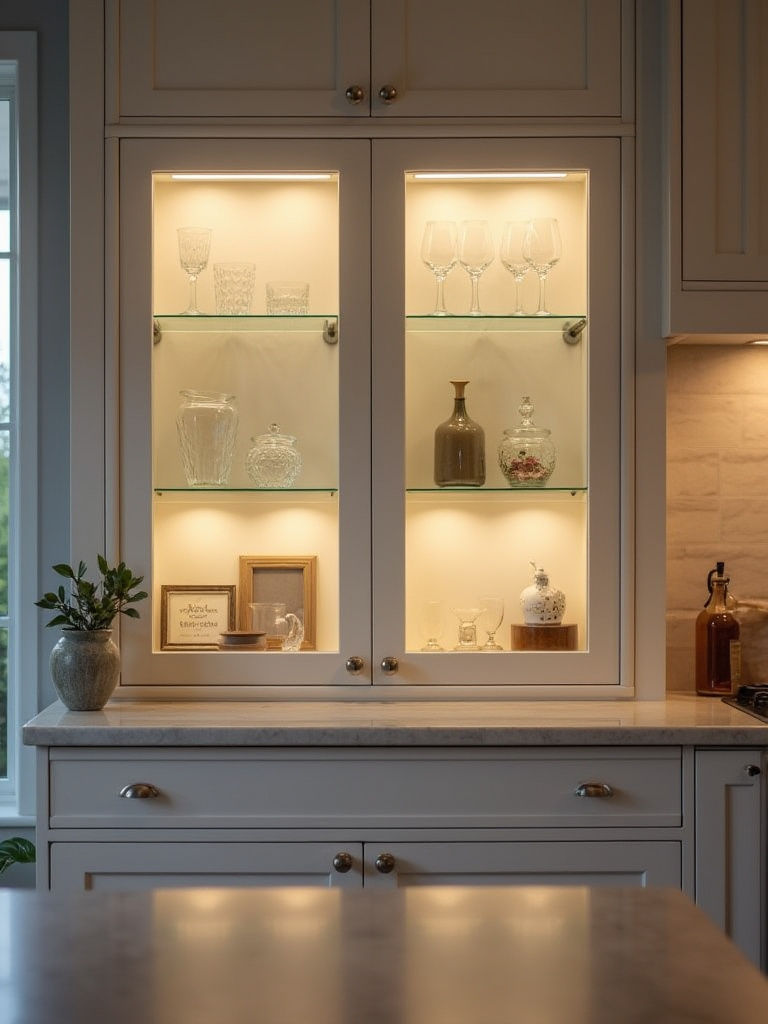
Beyond the pantry, in-cabinet lighting is also a beautiful way to create accent light. Placed inside glass-front cabinets, it turns your everyday glassware into a sparkling display. It adds depth and a soft, ambient glow to the kitchen in the evenings, creating a high-end feel with very little energy consumption. Motion-activated switches are fantastic here, so the light is only on when the door is open.
Fixture Selection and Smart Placement: Illuminating Core Kitchen Areas (Part 2)
We’ve covered the core workhorses. Now let’s look at some other fixture types that can add another layer of flexibility and style, solving common problems and adding that final polish to your design.
10. Explore Track Lighting Systems for Flexible Spot and Accent Lighting
I used to think track lighting was dated, a relic of the 80s. I was wrong. Modern track lighting is sleek, minimalist, and incredibly versatile. It’s an amazing problem-solver, especially in rental apartments, historic homes with tricky ceilings, or any space where you can’t run new wiring for a dozen recessed lights. It allows you to power multiple, individually aimable light sources from a single electrical box.
This is sustainability in action: maximum impact with minimal intervention. You can aim one head at the sink, another at the stove, and a third to wash a wall with light, all from one track. This adaptability means that as your kitchen layout evolves, your lighting can evolve with it. You’re not locked into a fixed grid. Just be sure to choose high-quality LED heads to keep it energy-efficient.
11. Add Subtle Toe-Kick Lighting for Nighttime Safety and Style
Here’s another one that delivers way more than you’d expect. Toe-kick lighting is simply running a low-output LED strip under the lip of your base cabinets. The result is a soft, beautiful glow at floor level that makes your cabinets look like they’re floating. It’s a gorgeous architectural detail that adds a layer of sophistication.
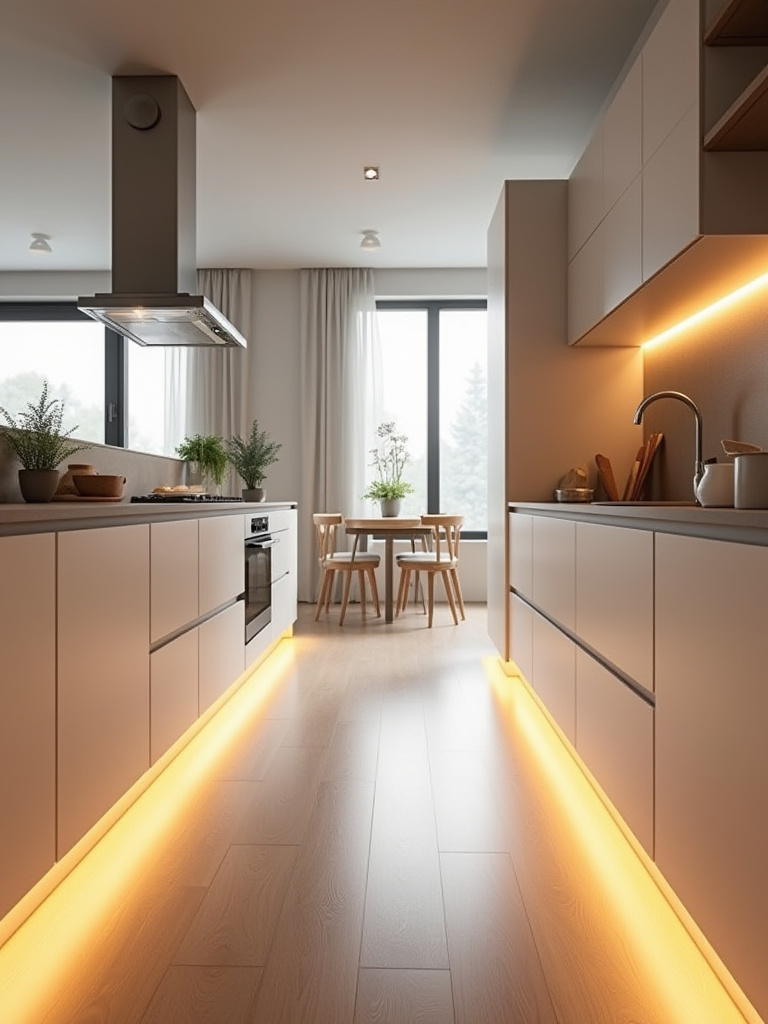
But the real magic happens at 2 AM when you wander into the kitchen for a glass of water. The toe-kick light acts as the perfect, low-energy nightlight. It provides just enough illumination to navigate the space safely without having to turn on a blinding overhead light that shocks your system awake. Hook it up to a motion sensor, and you’ve got an automated pathway light that is as efficient as it is elegant.
Aesthetic Enhancements and Smart Controls: Elevating Your Kitchen’s Glow (Part 1)
Now that we have the right fixtures in the right places, let’s talk about control. This is where you elevate your lighting from just “on” and “off” to something that truly enhances your life and your home’s efficiency.
12. Integrate Decorative Wall Sconces for Ambient Wall-Washing Light
We often forget about the walls in a kitchen, but they’re a huge opportunity. Instead of relying only on downlighting from the ceiling, which can create a cave-like effect, adding wall sconces brings light in at human height. This feels much more natural and inviting. Sconces that wash light up or down the wall are perfect for creating soft, ambient light without any glare.
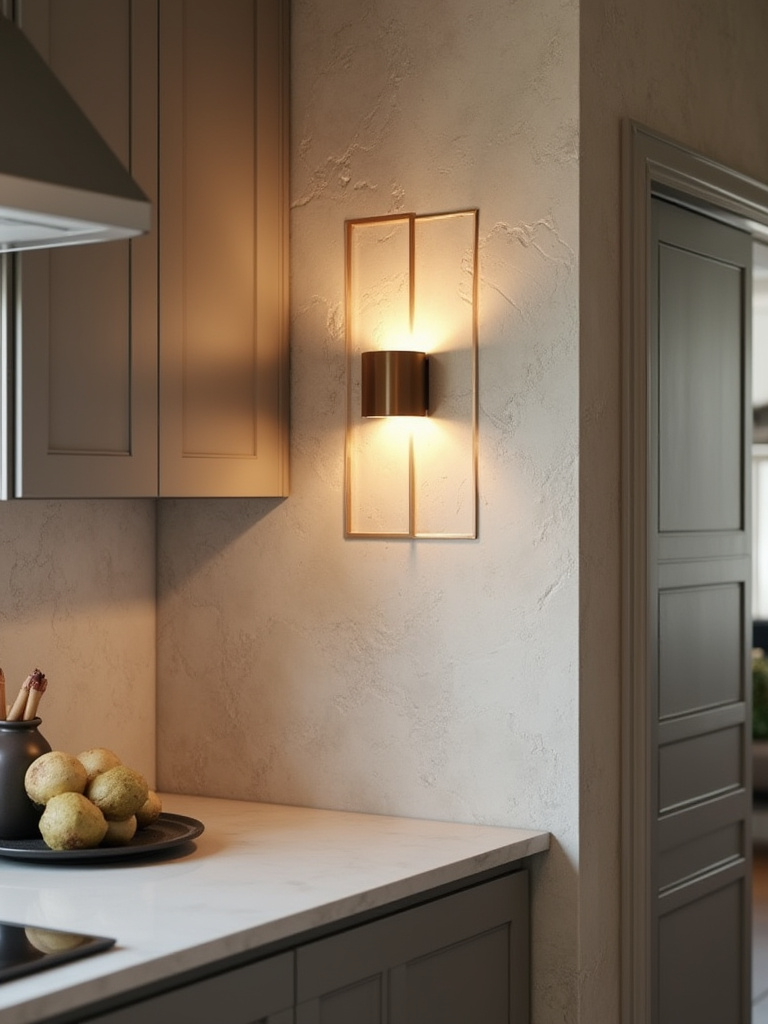
This is a wonderful way to add a layer of warmth and character. Placed between two windows or on a narrow wall at the end of a counter run, a beautiful sconce acts as a piece of art that also happens to provide a lovely, gentle glow. It’s an element that says “this is a living space, not just a utility room,” all while adding to your layered lighting scheme.
13. Implement Dimmers on All Lighting Zones for Ultimate Mood Control
I’m going to say this again because it’s that important: every single light circuit in your kitchen should be on a dimmer. If there’s one shortcut I wish everyone knew, this is it. It’s the single most effective and affordable way to completely transform the mood and functionality of your space. Dimmers allow you to take your bright, full-power task lighting down to a warm, 20% glow for entertaining.
This isn’t just about mood; it’s a massive energy-saver. You’re using precisely the amount of light you need for a given moment, and nothing more. Dimming your lights even a little bit significantly reduces electricity consumption and can dramatically extend the life of your LED bulbs. Longer-lasting bulbs mean less manufacturing, less shipping, and less waste in our landfills. It’s a win for your wallet, a win for the ambiance, and a huge win for the planet.
14. Incorporate Smart Lighting Systems for Remote and Voice Command
Smart lighting used to be a tech-geek luxury, but now it’s one of the most powerful tools for sustainable living. A smart system gives you ultimate control over your energy usage. You can program scenes like “Cooking,” which brings your task lights to full brightness, and “Dinner,” which dims everything down to a warm glow with a single voice command. This level of granular control is incredible for efficiency.
Even better are features like scheduling and geofencing. Your lights can automatically turn off when the last person leaves the house, so you never waste energy lighting an empty room. You can also automate your lights to match circadian rhythms, shifting from cool to warm light throughout the day to support your well-being. Smart lighting isn’t a gimmick; it’s about making energy conservation effortless and intuitive.
15. Leverage Strip Lighting for Creative Coving and Shelf Backlighting
We’ve talked about LED strips for under-cabinet lighting, but their flexibility allows for so much more. This is your secret weapon for creating that high-end, custom look. Tucked into a ceiling cove, they can provide a beautiful, indirect ambient glow that makes the ceiling feel higher. Placed behind floating shelves, they can backlight your dishes, turning them into a decorative feature.
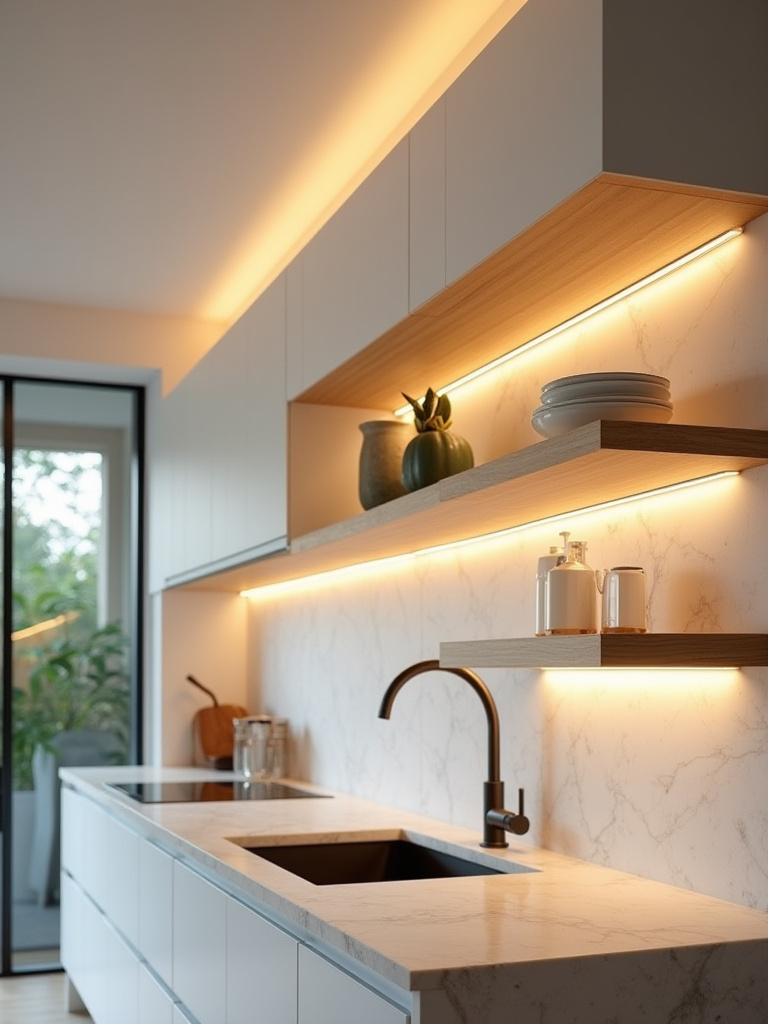
This is a perfect example of accent lighting. It’s not meant to be the main source of light but rather to add depth, dimension, and interest to your kitchen. Because LED strips use so little energy, you can add these sophisticated architectural details without feeling guilty about your electricity bill. It’s a low-impact way to get a very high-impact design result.
Aesthetic Enhancements and Smart Controls: Elevating Your Kitchen’s Glow (Part 2)
We’re in the home stretch. These final touches are about making deliberate choices that amplify both the style and the sustainability of your kitchen’s lighting plan.
16. Select Eye-Catching Statement Fixtures as Design Focal Points
Your kitchen absolutely deserves a showstopper. A beautiful chandelier over your dining table or a sculptural pendant over your island can act as the focal point of the entire room, pulling the whole design together. This is your chance to express your personal style and invest in a piece that brings you joy every single day.
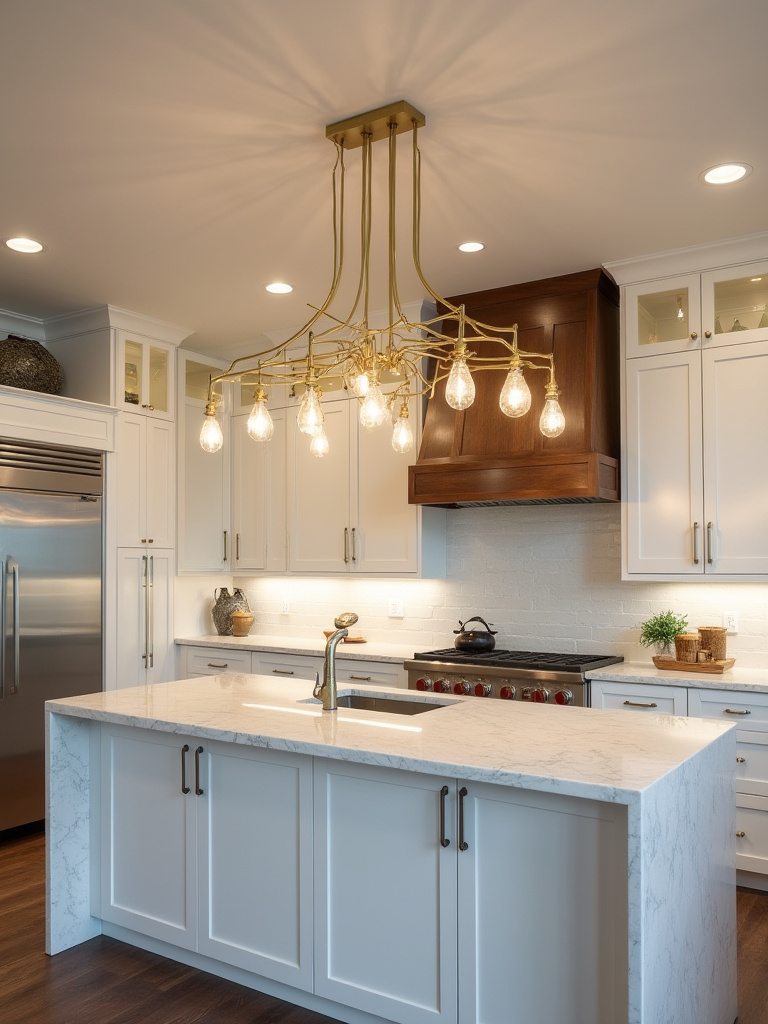
From an eco-conscious perspective, I encourage people to think about where these fixtures come from. Can you find a stunning vintage piece on a site like 1stDibs or Chairish? Restoring a beautiful old fixture is the ultimate act of recycling. Or look for fixtures made by local artisans or from sustainable materials like reclaimed wood, recycled glass, or fast-growing bamboo. A statement piece can tell a story, and a sustainable one tells the best story of all.
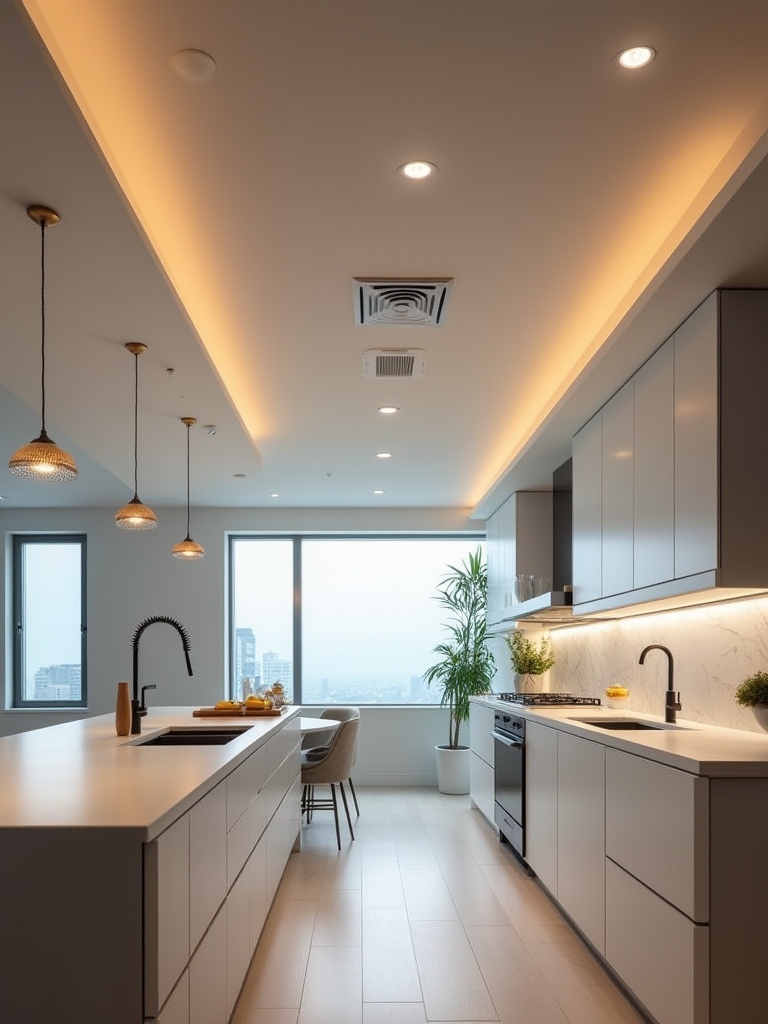
17. Maximize Natural Light with Thoughtful Window Treatments
The best light in your kitchen is the free, beautiful, and perfectly sustainable light that comes from the sun. Before you add a single artificial light, your first goal should be to maximize natural light. This means keeping window treatments simple and functional. Avoid heavy, dark curtains that block light even when they’re open.

Instead, opt for light-filtering shades that cut glare while still letting a soft, diffuse light fill the room. Cellular shades are fantastic insulators, helping to regulate temperature, while simple roller shades can disappear almost completely when raised. The more you can rely on the sun during the day, the less you’ll rely on your light switches, saving energy and connecting your indoor space to the natural world outside.
Efficiency, Maintenance, and Future-Proofing: Sustaining Your Kitchen’s Luminosity (Part 1)
Your lighting plan isn’t finished once the fixtures are installed. Thinking about the long-term health of your system ensures your investment lasts, reduces waste, and keeps your kitchen shining bright for years.
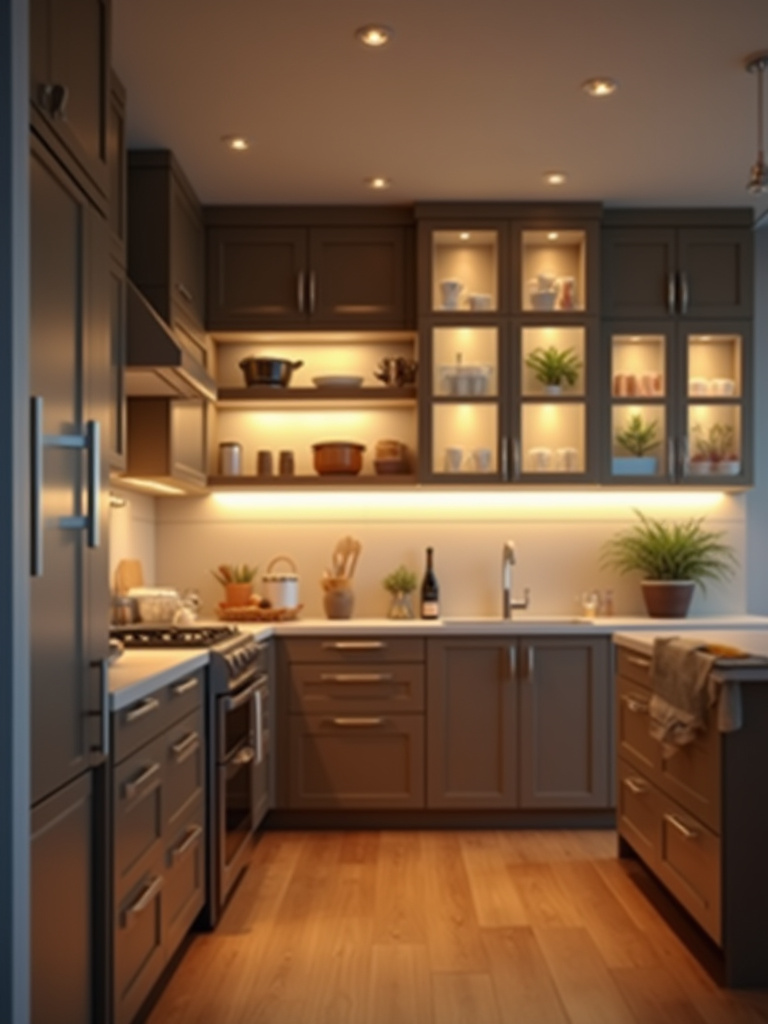
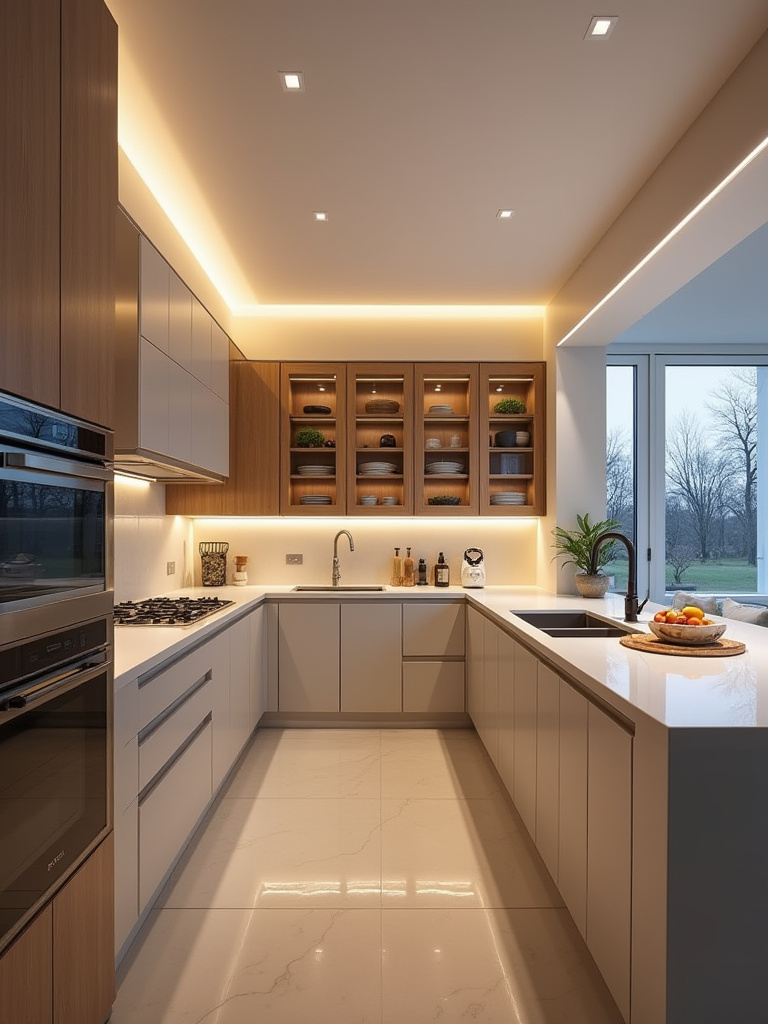
18. Upgrade to Energy-Efficient LED Bulbs Across All Fixtures
This one should be a given by now, but it bears repeating. If you still have any incandescent or halogen bulbs in your kitchen, swapping them out for LEDs is the single biggest energy-saving move you can make. LEDs use up to 90% less energy and can last up to 25 times longer than their old-fashioned counterparts.
Think about that. Twenty-five times longer. That’s two decades of not having to buy, ship, or throw away a light bulb. The reduction in waste is staggering. While the upfront cost is a bit higher, the payback in energy savings and replacement costs is swift and substantial. Make sure to choose high-quality, Energy Star-rated bulbs for the best performance and lifespan.
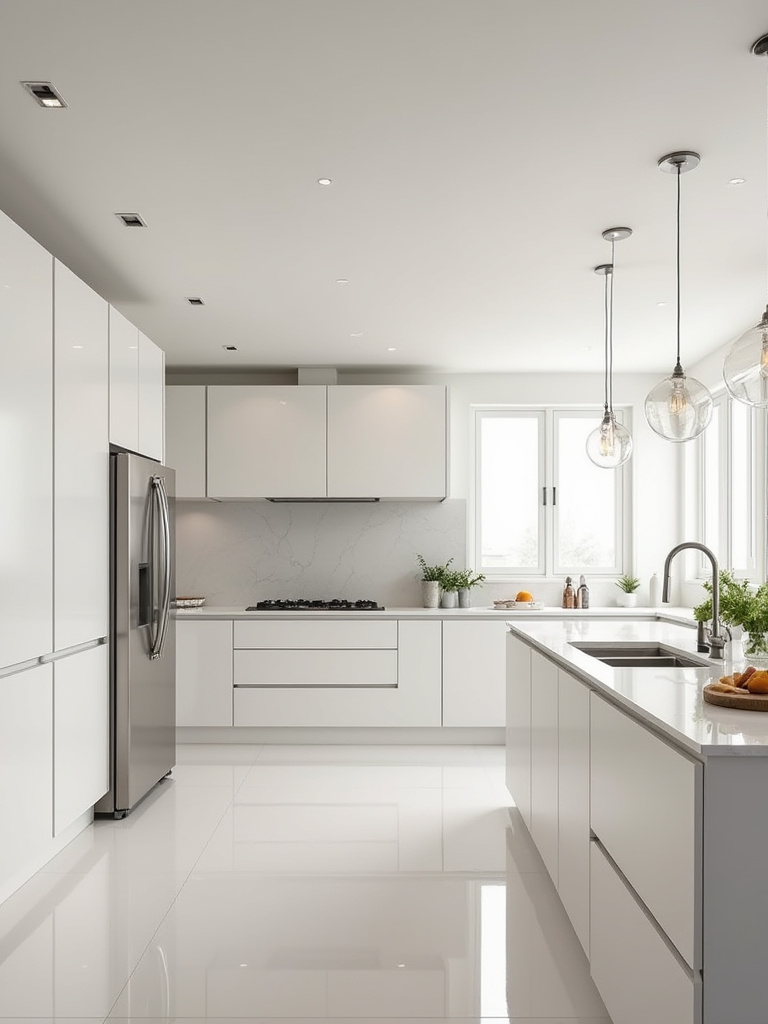
Portrait of a modern kitchen lit with energy-efficient LED bulb
19. Understand Beam Angles for Optimal Targeted Illumination Effects
This gets a little nerdy, but it’s an important detail. The “beam angle” just refers to how wide or narrow the cone of light from a bulb is. A narrow beam (like a spotlight) is great for pinpointing light on a specific task area from a high ceiling. A wide beam (a floodlight) is better for washing a wall or providing broader ambient light.
You don’t need to get out a protractor, but just be aware of this when choosing bulbs for recessed lights or track lighting. Using the wrong beam angle is why some kitchens have weird, scalloped light patterns on the walls or bright hotspots on the floor instead of an even, useful wash of light. Paying attention to this detail ensures you’re directing light—and energy—exactly where you intend it to go.
20. Ensure Proper Ventilation and Heat Dissipation for Fixture Longevity
Here’s something most people don’t know: heat is the enemy of LEDs. While they don’t get hot to the touch like old incandescent bulbs, their internal electronics generate heat, and if that heat can’t escape, it will drastically shorten the fixture’s life. This is why good quality fixtures have built-in heat sinks (those little metal fins).
To protect your investment and reduce waste, make sure your fixtures have room to breathe. This is especially important for recessed lights in an insulated ceiling—always use fixtures that are “IC-rated,” meaning they are safe for direct contact with insulation. For other fixtures, just ensure there’s airflow around them. A fixture that stays cool is a fixture that will last for years, keeping it out of a landfill.
21. Implement a Regular Cleaning Schedule for Fixtures and Diffusers
I know, I know—who wants another cleaning task? But in a kitchen, a thin, greasy film inevitably builds up on every surface, including your light fixtures. You’d be absolutely shocked at how much light that grimy layer can block. I’ve seen clients who thought their lights were failing, but a simple cleaning restored their brightness by 20-30%.
A quick wipe-down of your fixtures, bulbs, and shades every few months prevents that buildup, ensuring you get 100% of the light you’re paying for. It means you don’t have to turn the dimmers up as high, which saves energy. It’s a simple, free way to maintain the efficiency and beauty of your lighting and is a core part of sustainable homeownership: taking care of what you have.
Efficiency, Maintenance, and Future-Proofing: Sustaining Your Kitchen’s Luminosity (Part 2)
We’re at the finish line. The final piece of the puzzle is knowing when to bring in the pros to ensure your well-laid plans come to life perfectly and sustainably.
22. Consult a Professional Lighting Designer for Complex Installations
If you’re doing a simple fixture swap, you can absolutely handle this yourself. But if you’re undertaking a major renovation, building new, or dealing with a really tricky space (like vaulted ceilings or a historic home), I wholeheartedly recommend consulting with a professional lighting designer. It might seem like an extra cost, but they will save you from incredibly expensive mistakes.
A good designer understands all the technical nuances we’ve talked about—beam angles, color temperature, lumen calculations—and can create a cohesive plan that is perfectly tailored to your space and lifestyle. They know how to maximize both beauty and efficiency, ensuring not a single watt of energy is wasted. Investing in a professional plan at the beginning is one of the most sustainable things you can do, as it guarantees the project is done right the first time.
Conclusion
So, there you have it. Lighting your kitchen is so much more than screwing in a bright bulb. It’s about crafting an experience. It’s about building flexible, functional, and beautiful layers that serve your life while respecting our planet. By planning your zones, layering your light, choosing efficient LED fixtures, and giving yourself total control with dimmers and smart systems, you can create a kitchen that is truly the heart of your home.
Don’t be overwhelmed. Start small. The next time you’re in your kitchen at night, just notice where the shadows fall. What’s the one task you wish you had more light for? Maybe the answer is a simple, plug-in LED light bar you can stick under a cabinet this weekend. Every small, thoughtful change is a step toward a brighter, more efficient, and more joyful space. You’re not just installing lights; you’re illuminating a better way to live in your home.