I remember my first apartment balcony. It was a tiny concrete slab, and my grand gardening experiment consisted of two basil plants in a pot that were, frankly, looking pretty sad. I’d walk past storefronts with lush, overflowing planters and think that kind of magic was for people with actual yards and some secret gardening gene I’d missed. We’ve all been there, right? Staring at a small space and feeling the dream of a real, homegrown tomato slip away.
That moment of frustration—when you see what you have versus what you want—is exactly what separates accidental decorating from intentional design. It’s when you stop seeing limitations and start seeing a canvas. It’s the shift from thinking “I can’t” to asking “How can I?” that turns a few struggling herbs into a thriving setup for container gardening vegetables. Let’s break down that wall and get our hands dirty, shall we? I promise, you have everything you need to create an incredible edible garden, right where you are.
Getting Started with Productive Container Gardening Vegetables (Part 1)
This is the fun part—gathering your supplies and setting the stage for success. Think of this as prepping your canvas. Getting these foundational pieces right makes everything that comes after so much easier and more rewarding. Let’s build a great base for your little garden to flourish.
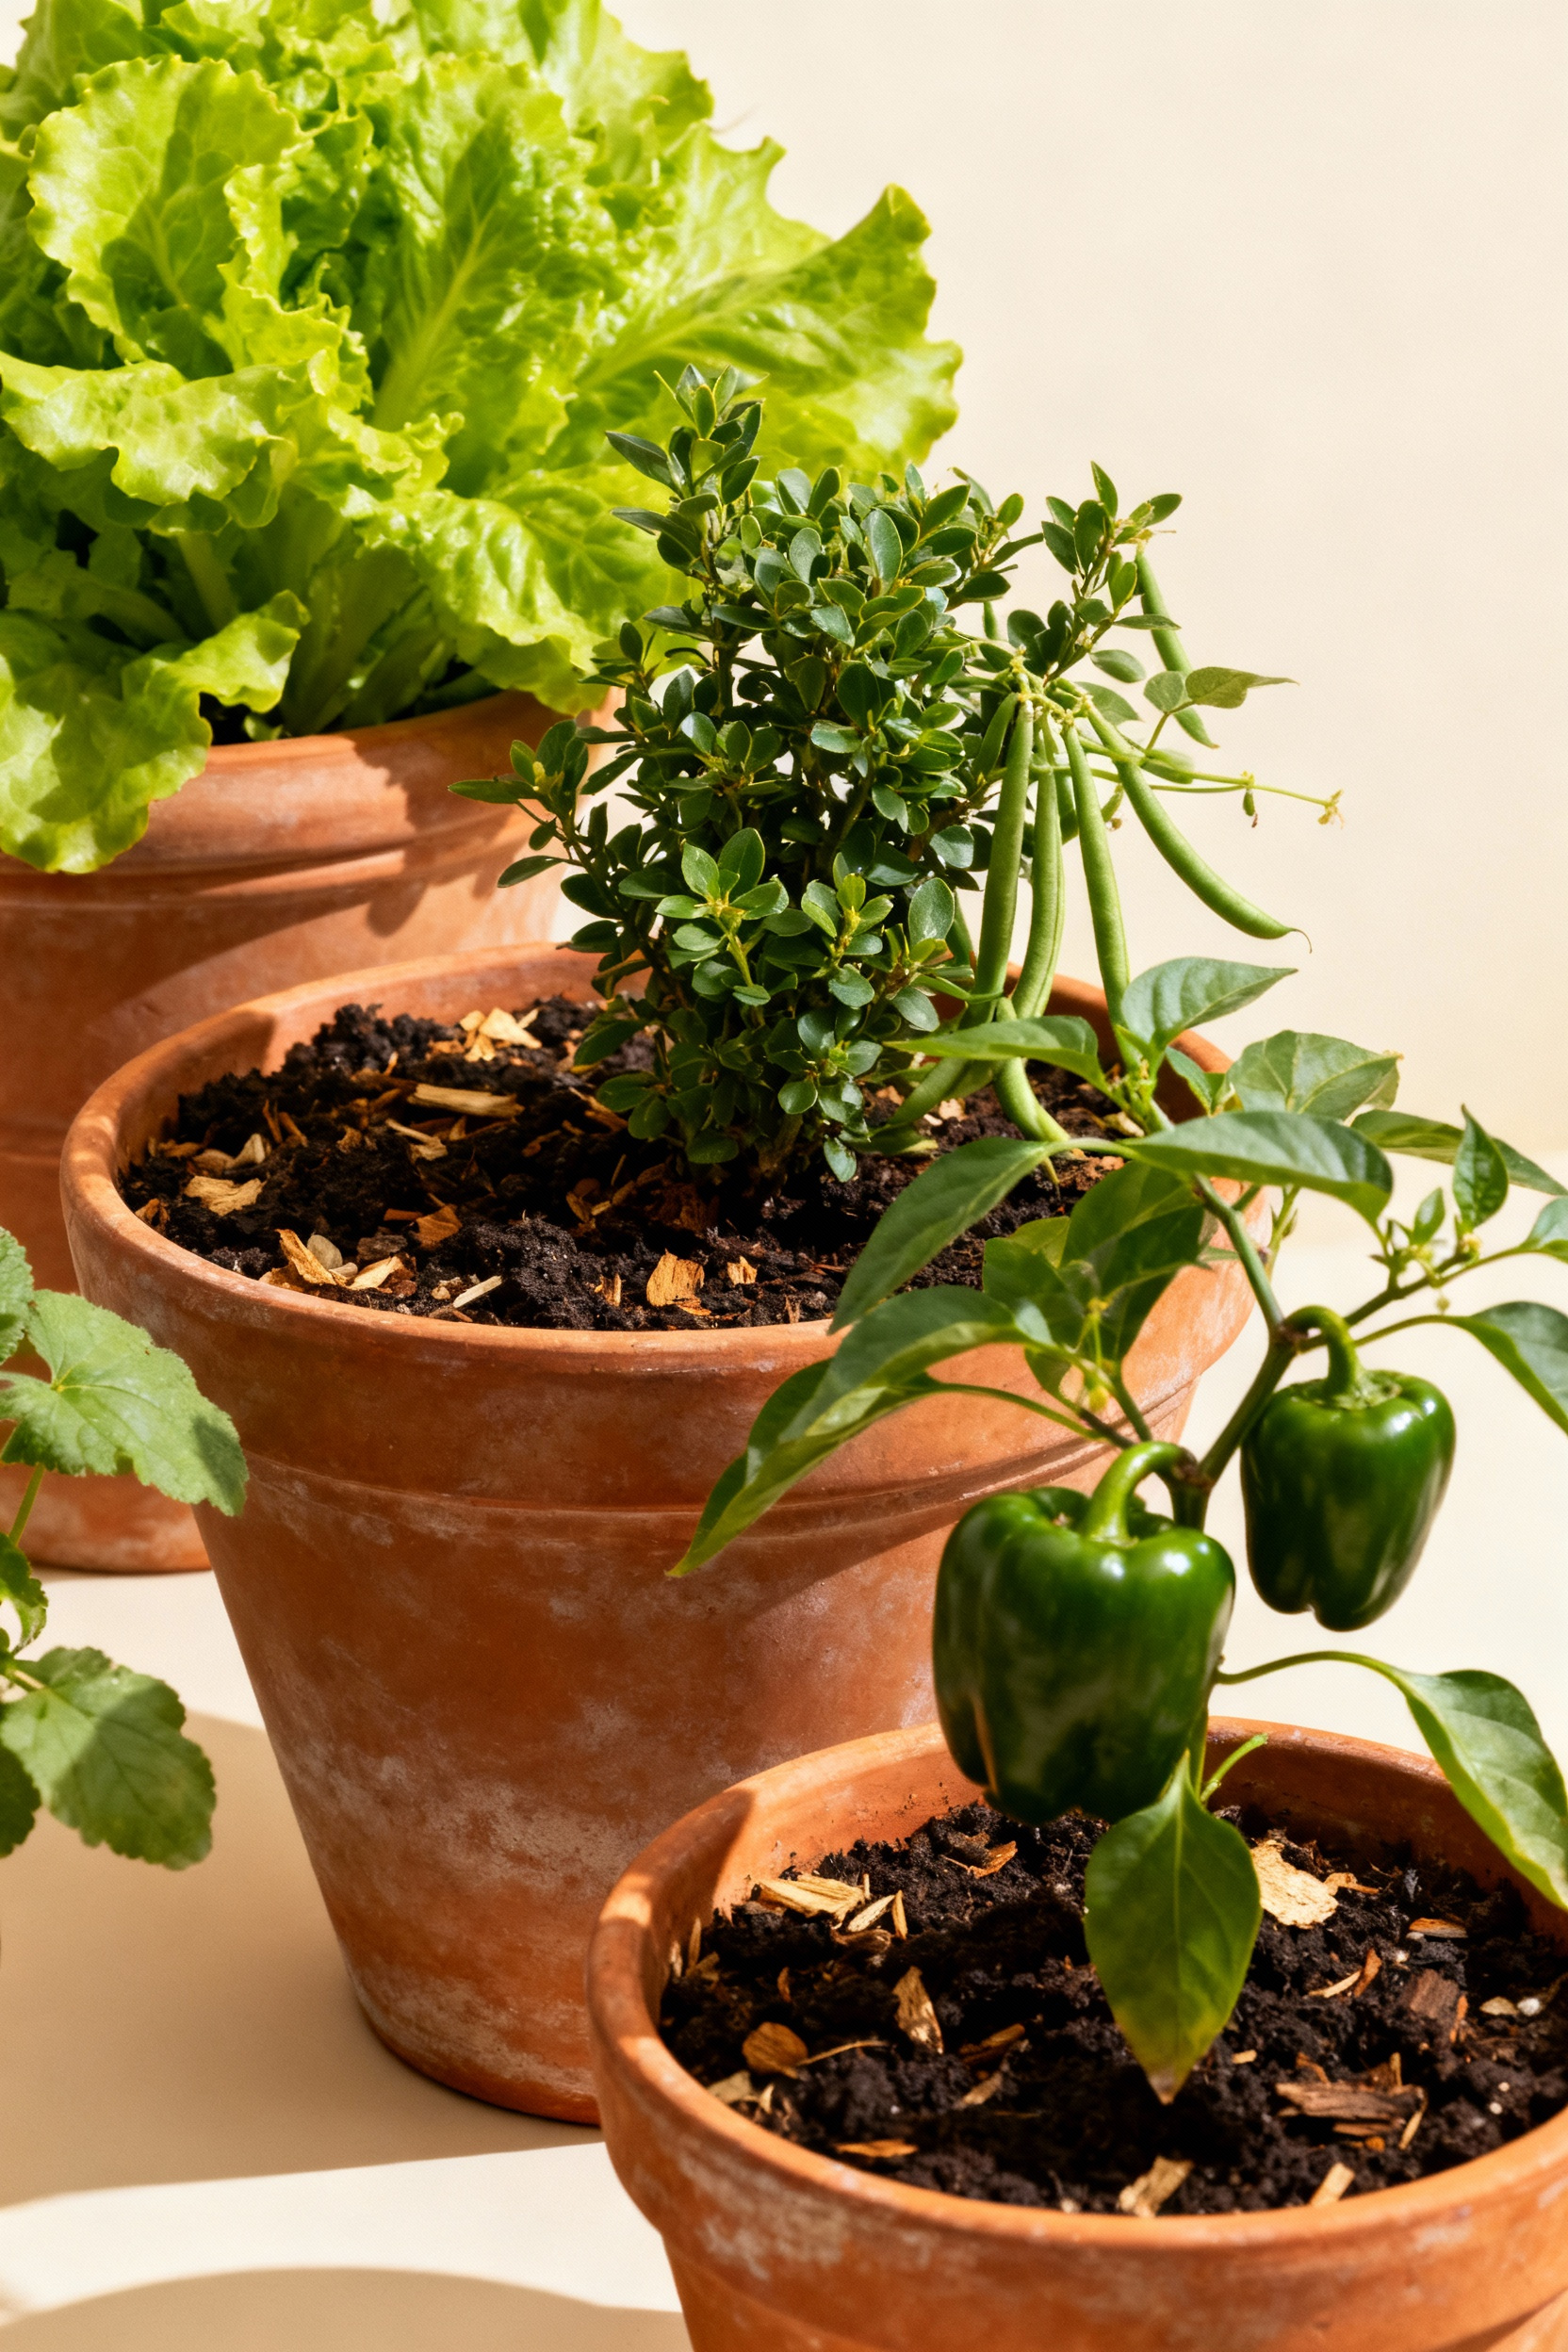
1. Select Right-Sized Smart Pots for Optimal Root Growth
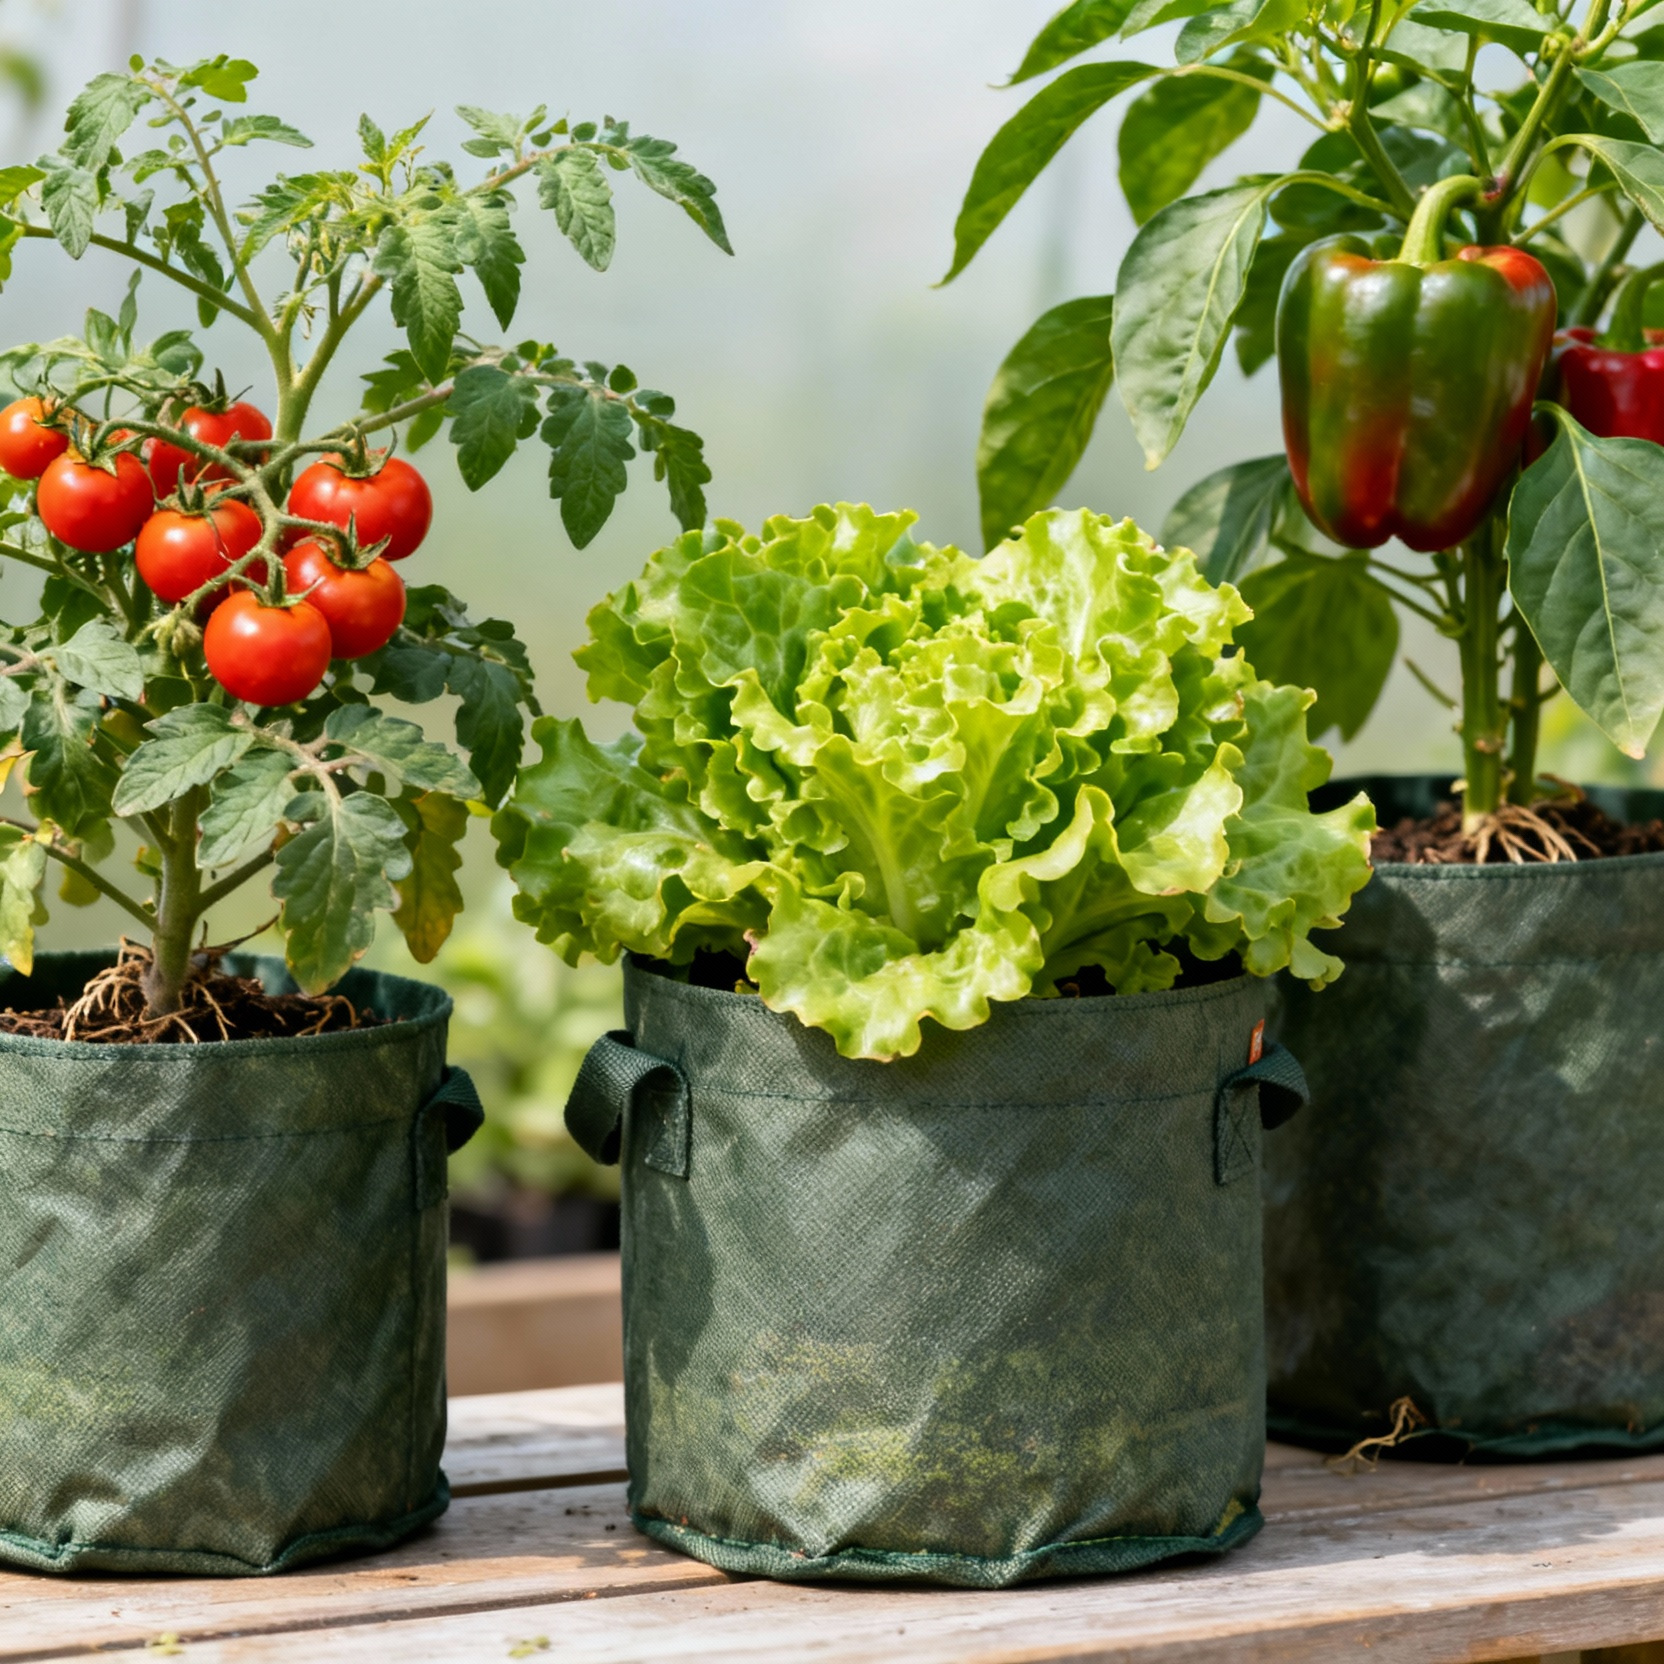
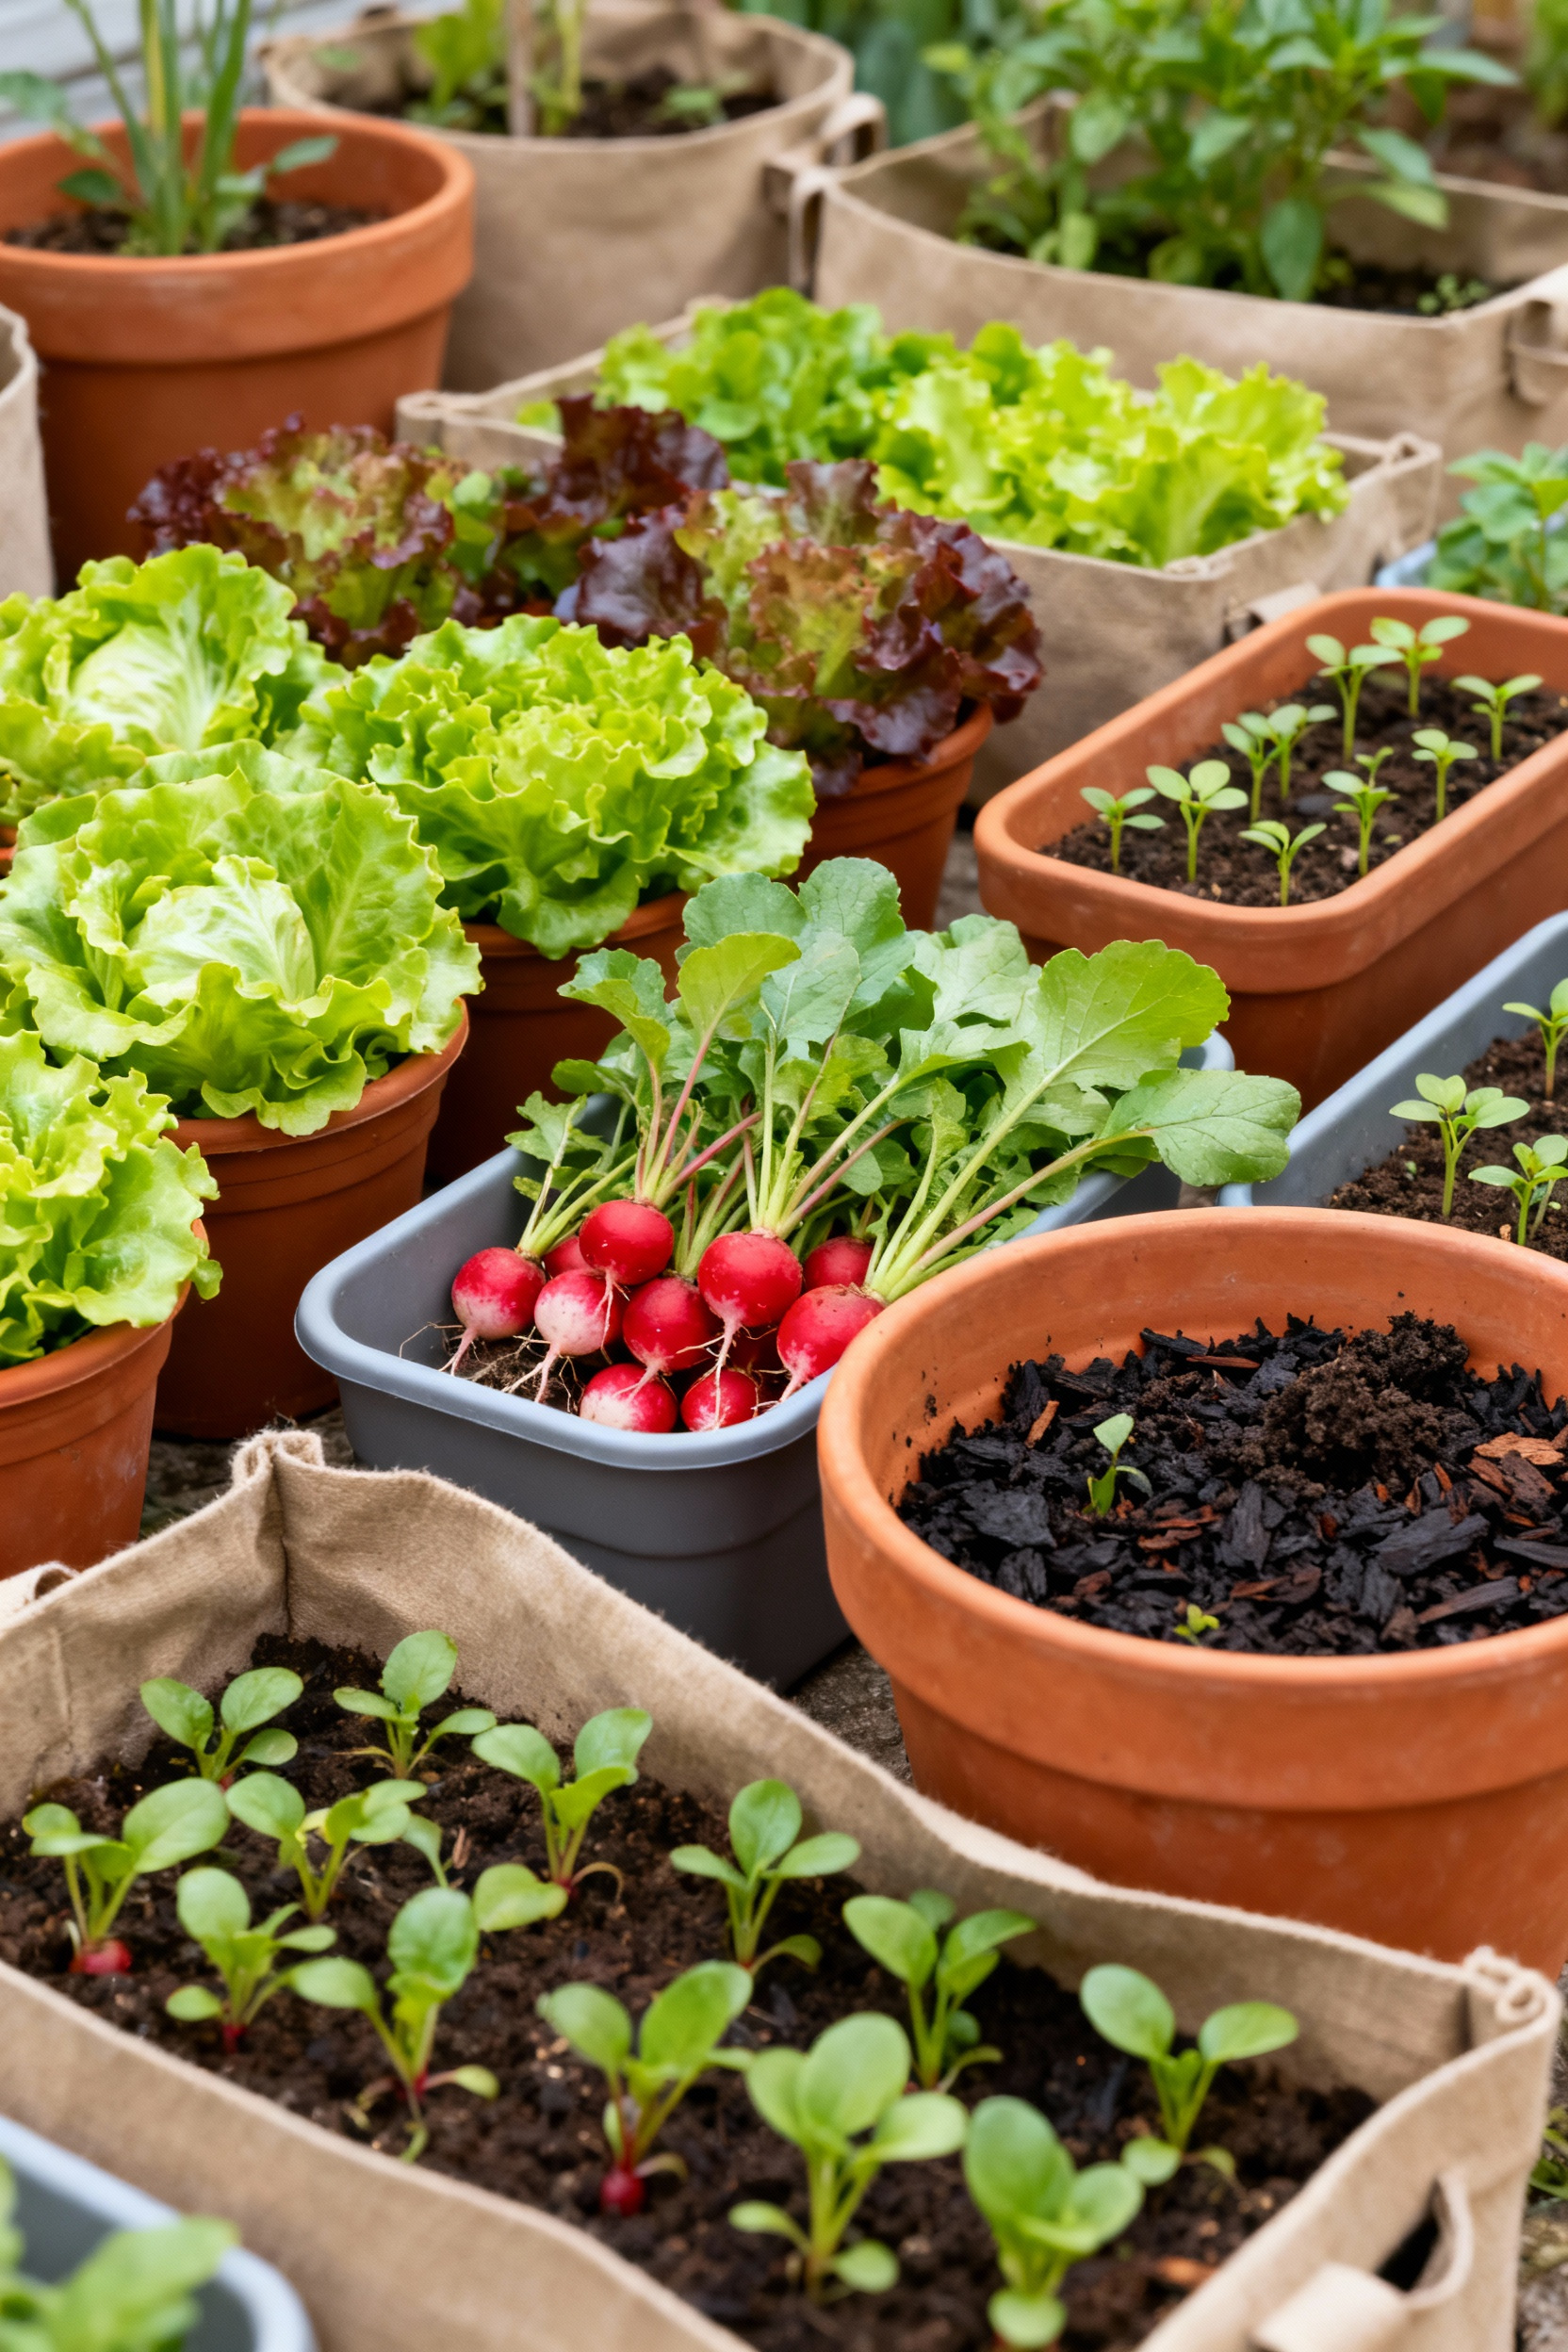
Let’s be honest, the classic terracotta pot looks lovely, but for vegetables, we can do better. One of the biggest game-changers for me was switching to fabric grow bags, often called Smart Pots. They’re not just containers; they’re an amazing tool. Unlike hard-sided pots where roots hit the wall and circle endlessly (a condition called root-binding), fabric pots allow the roots to breathe. When a root reaches the air-filled fabric, its tip naturally stops and sends out a network of smaller, fibrous roots. More roots mean a healthier, thirstier plant that can suck up more nutrients.
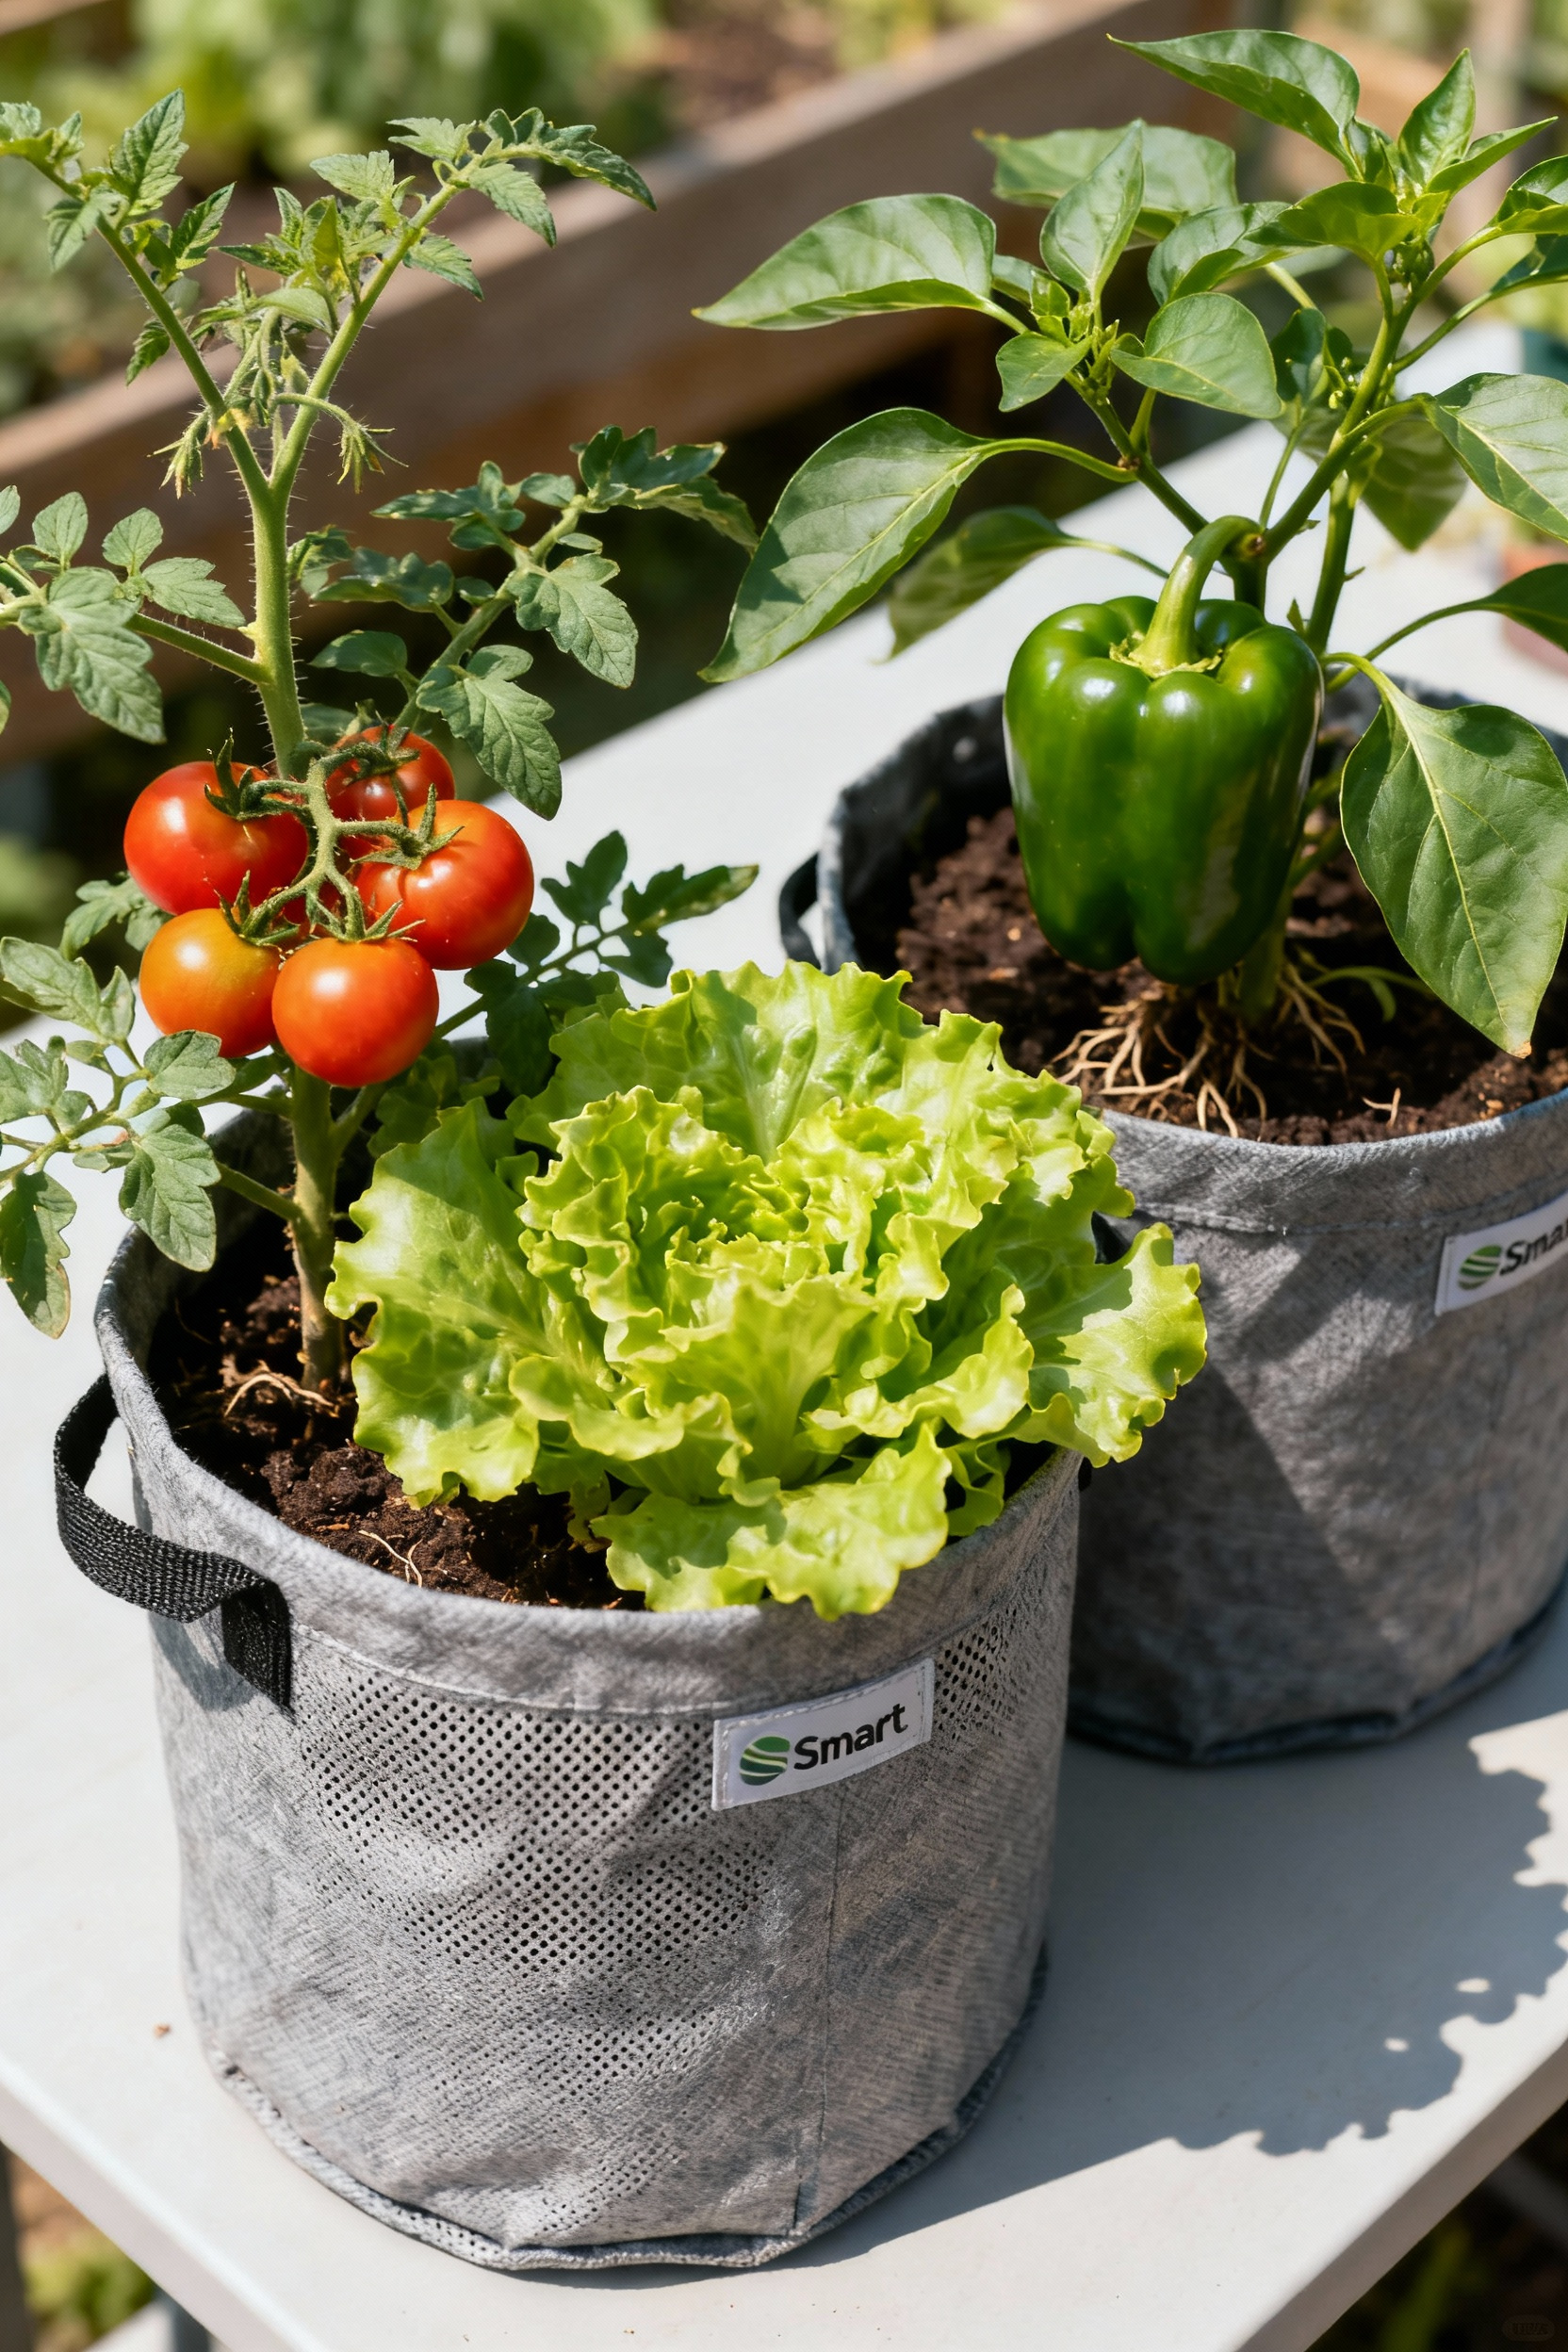
Choosing the right size is everything. A cramped plant is a sad plant. My rule of thumb is to always go a little bigger than you think you need. For things like lettuce, herbs, or radishes, a 3-5 gallon pot is perfect. For bigger producers like peppers, bush beans, or determinate (bushy) tomatoes, you’ll want at least a 7-10 gallon bag. And for the real heavy hitters like vining cucumbers or big indeterminate tomatoes, don’t be shy—go for 15-20 gallons. They’ll thank you for the legroom with a much bigger harvest.
- Budget Hack: Fabric pots are often cheaper than decorative ceramic ones, are lightweight, and fold flat for easy winter storage. Total win-win.
2. Unlock Bountiful Harvests with Premium Drainage-Rich Potting Mix
Okay, lean in for a secret. You can have the best pot in the world, but if you fill it with dirt from your backyard, you’re setting yourself up for disappointment. Garden soil is heavy and compacts in a pot like concrete, strangling roots and holding way too much water. You absolutely need to use a designated potting mix. It’s light, fluffy, and designed for the specific environment of a container.
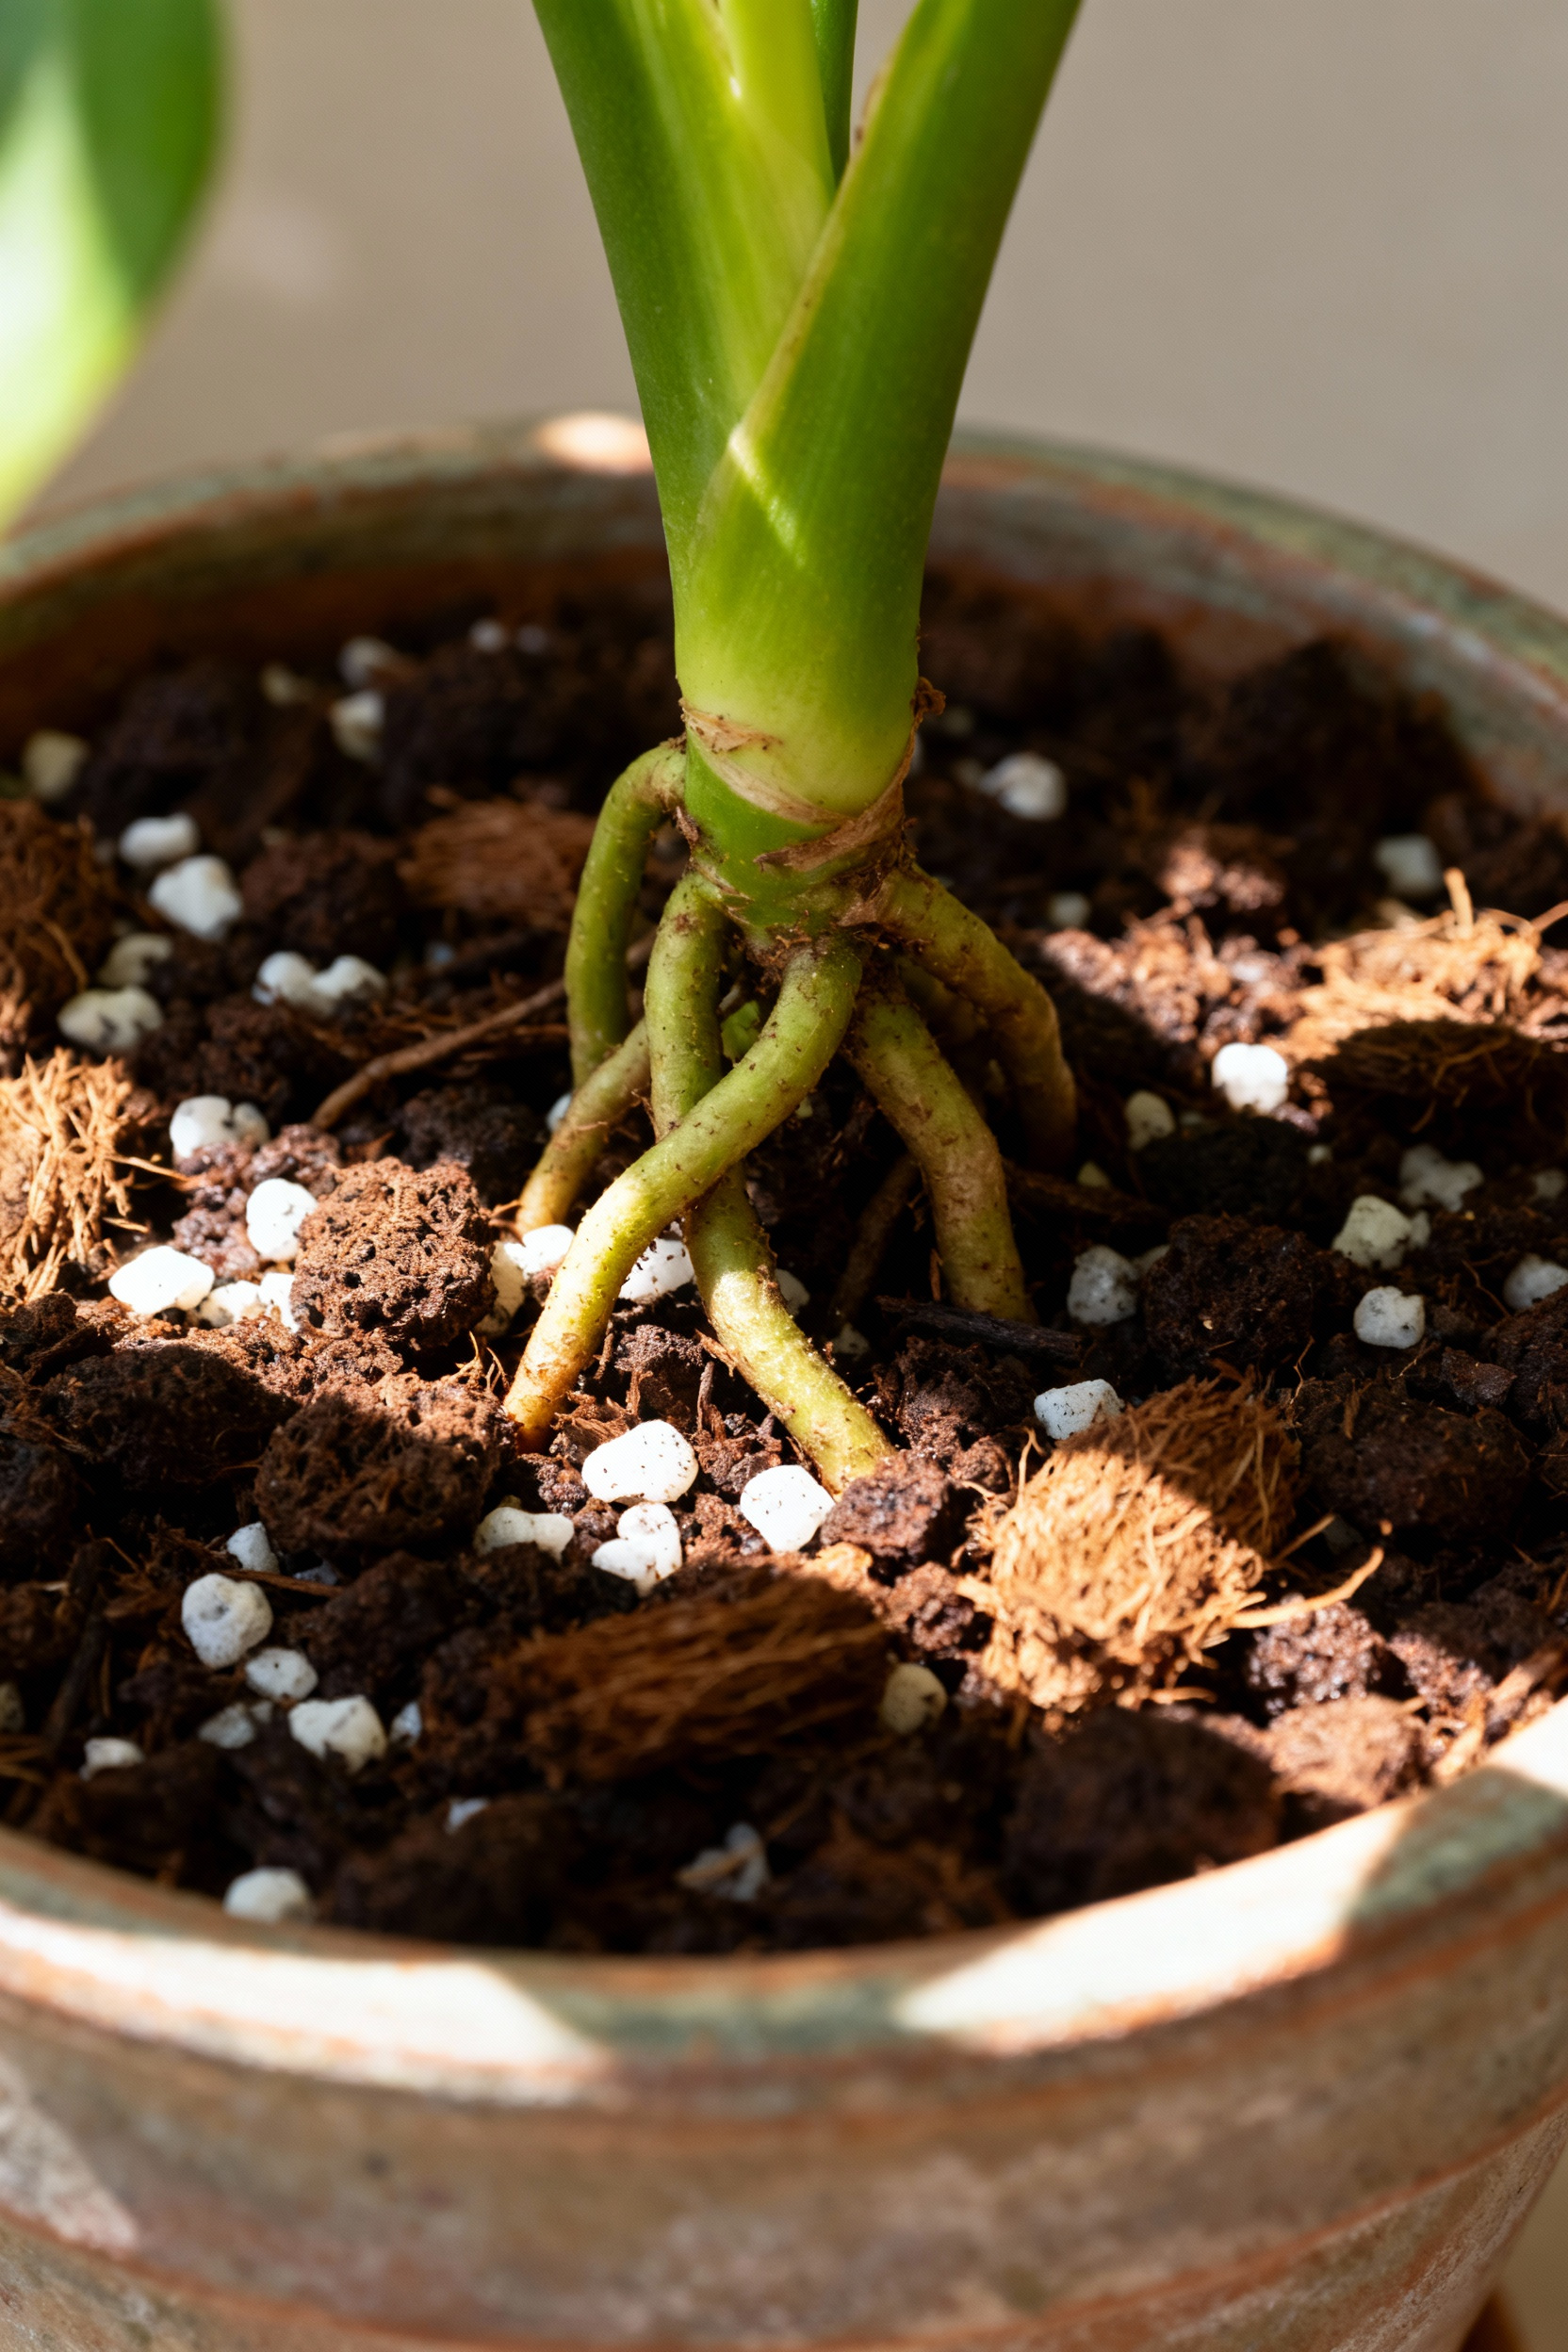
What you’re looking for on the bag are words like “peat moss” or “coir” (for moisture), and “perlite” or “vermiculite” (those little white specks that look like styrofoam). Those create air pockets so roots can breathe and water can drain freely. In my DIY projects, I’ve noticed that even a good potting mix can be made better. I always buy a big bag of perlite and add an extra couple of handfuls to my mix, especially for root veggies like carrots. It makes a huge difference in preventing waterlogged soil and gives the roots an easier path to grow.
3. Master Sun Exposure: Map Your Garden’s Prime Spots for Thriving Plants
Before you plant anything, you’re going to become a sun detective. This is a fun, lazy weekend project. Grab a cup of coffee and just watch your space. Where does the sun hit in the morning? Where is it at noon? Where does it cast shadows in the afternoon? You can even take a photo every hour to create a little time-lapse. You’ll quickly discover your “prime real estate”—the spots that get 6 or more hours of direct sun.
This little map is your secret weapon. Those prime spots are reserved for your sun-worshippers: tomatoes, peppers, cucumbers, and squash. They need all that energy to produce fruit. Spots that get more like 4-6 hours are perfect for root vegetables like carrots and beets. And those areas that get mostly morning sun or are a bit shady? That’s where your leafy greens will be happiest. Lettuce, spinach, and kale can’t stand the intense afternoon heat, so they’ll love a little protection. It’s a simple space-planning trick that makes a world of difference.
4. Cultivate Beginner-Friendly Bounties: Lettuce, Radishes & Bush Beans in Compact Spaces
If you’re just starting out, you want a win. You need a plant that’s going to reward your efforts quickly and build your confidence. So, let’s start with the superstars of easy container gardening. First up: loose-leaf lettuce. It grows incredibly fast, you can snip off the outer leaves for a salad and it will keep producing from the center. It’s the ultimate cut-and-come-again crop.
Next, radishes. Seriously. From seed to snack in about three weeks. There is nothing more gratifying than pulling a crisp, spicy radish out of a pot you planted less than a month ago. Finally, bush beans. Unlike pole beans that need a huge trellis, bush beans stay compact and produce a ton of beans in a small space. They’re wonderfully low-maintenance. Starting with these three will give you a delicious, tangible reward for your work and make you feel like a total gardening pro from day one.
Getting Started with Productive Container Gardening Vegetables (Part 2)
Watering can feel like a constant chore, right? Especially when you’ve got thirsty plants on a hot day. But it doesn’t have to be. Let’s look at some super-smart, budget-friendly ways to keep your plants perfectly hydrated without having to stand there with a hose every single day.
5. DIY Smart Watering Systems: Budget Solutions for Consistent Hydration
Let’s start simple. The easiest hands-off watering system is an old plastic wine bottle or soda bottle. Just poke a small hole in the cap, fill it with water, and stick it upside-down in the soil near your plant’s base. It will slowly drip-drip-drip water right where it’s needed. For a little upgrade, you can create a “wicking” system. Take a container (like a yogurt cup with a hole in the bottom) and run a piece of cotton rope or a strip from an old t-shirt through the hole. Bury the cup in your planter and let the rope dangle into a larger water reservoir below (like a bucket). The rope will wick water up into the soil as it dries out. Genius!
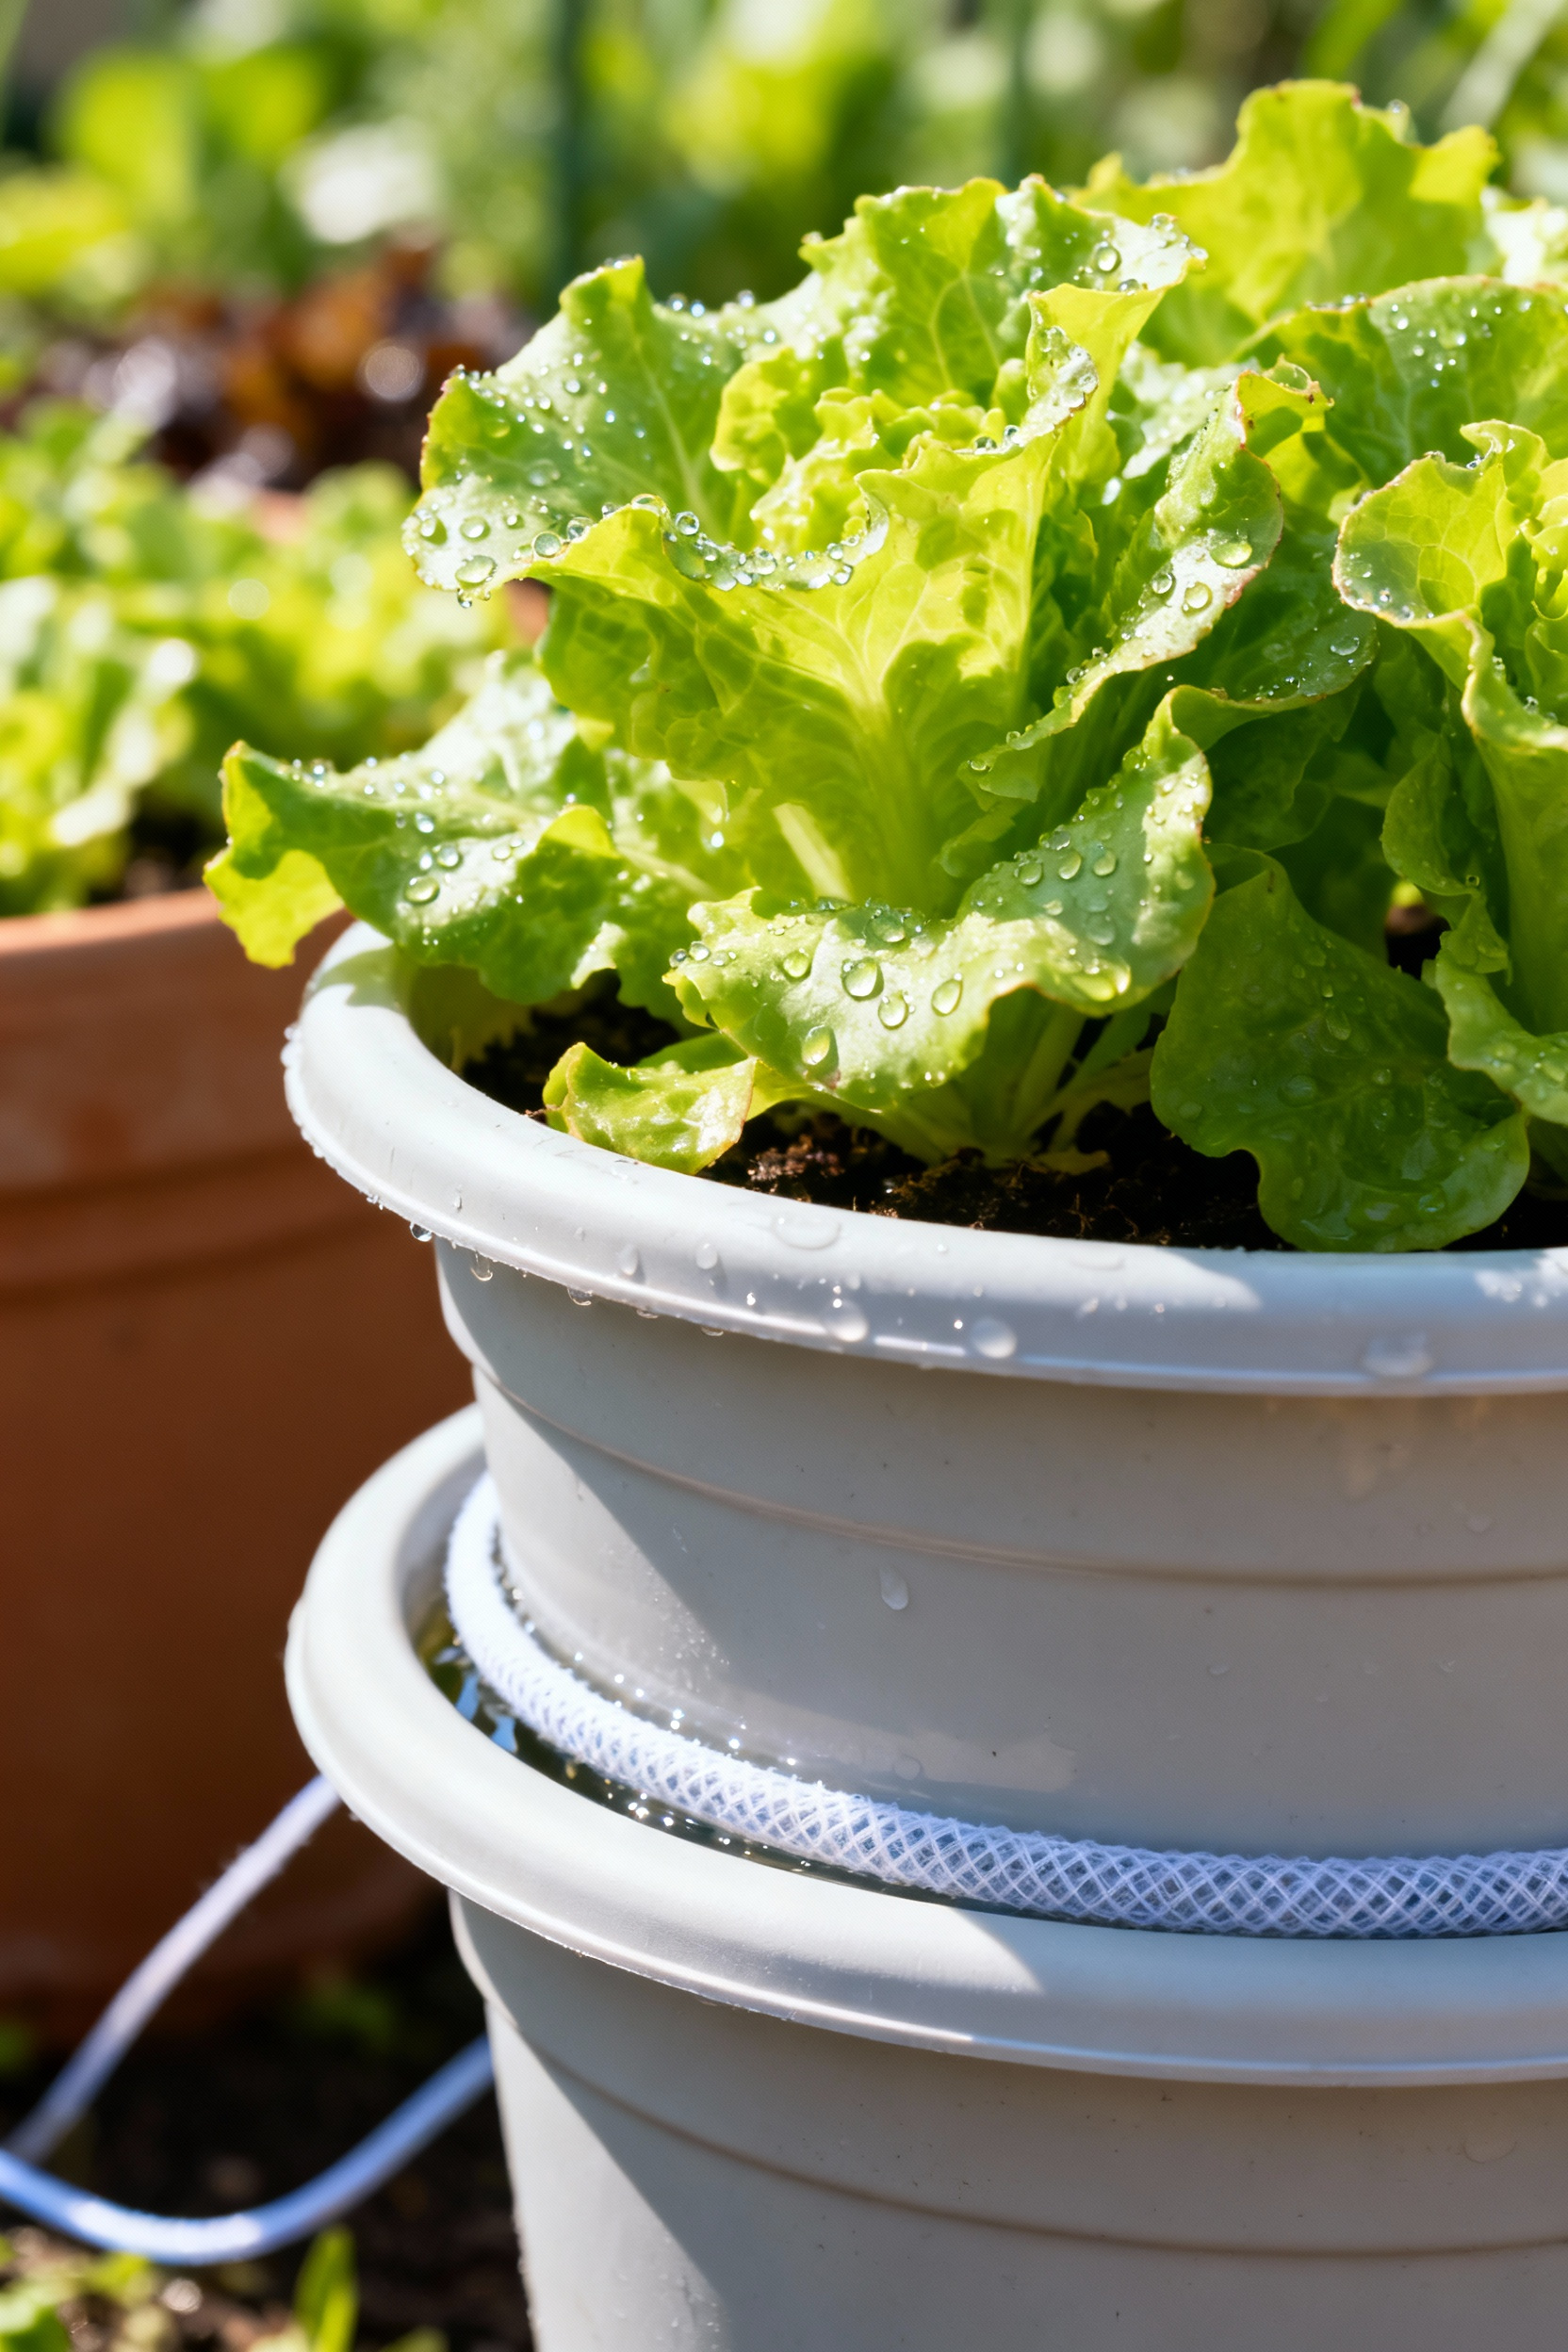
Now, if you want to get a little fancier without spending a lot, you can build a simple drip system from a 5-gallon bucket. Place the bucket on a stool or cinder blocks to elevate it, drill a few tiny holes near the bottom, and run some cheap aquarium tubing from the holes to your various pots. Fill the bucket, and gravity will do the rest, providing a slow, steady drip. From my work in budget-friendly design, I’ve seen that marrying a DIY setup with a cheap battery-operated timer from the hardware store is the ultimate hack. For about $25, you can automate your homemade system and never worry about forgetting to water again. Your plants get the consistent moisture they crave, and you get your time back.
Elevating Your Container Harvests with Savvy Intermediate Techniques (Part 1)
You’ve got the basics down, and your plants are growing. Awesome! Now it’s time to learn a few intermediate tricks that will take your garden from just surviving to truly thriving. These are the techniques that create bigger, healthier, and more delicious harvests.
6. Fueling Success: Crafting DIY Organic Liquid Fertilizers for Vigorous Growth
Once your plants have used up the initial nutrients in their potting mix, they’re going to get hungry. Think of liquid fertilizer as a nutrient-packed smoothie for your plants. While you can buy it, making your own is cheap, organic, and incredibly effective. My favorite is what I affectionately call “weed tea.” You can use nutrient-rich plants like comfrey or even just a bucketful of grass clippings or weeds (the non-seedy kind!). Just stuff them in a bucket, cover them with water, and let it sit for a week or two. Fair warning: it will get stinky! But just dilute that potent brew—about one part tea to ten parts water—and use it to water your plants every couple of weeks.
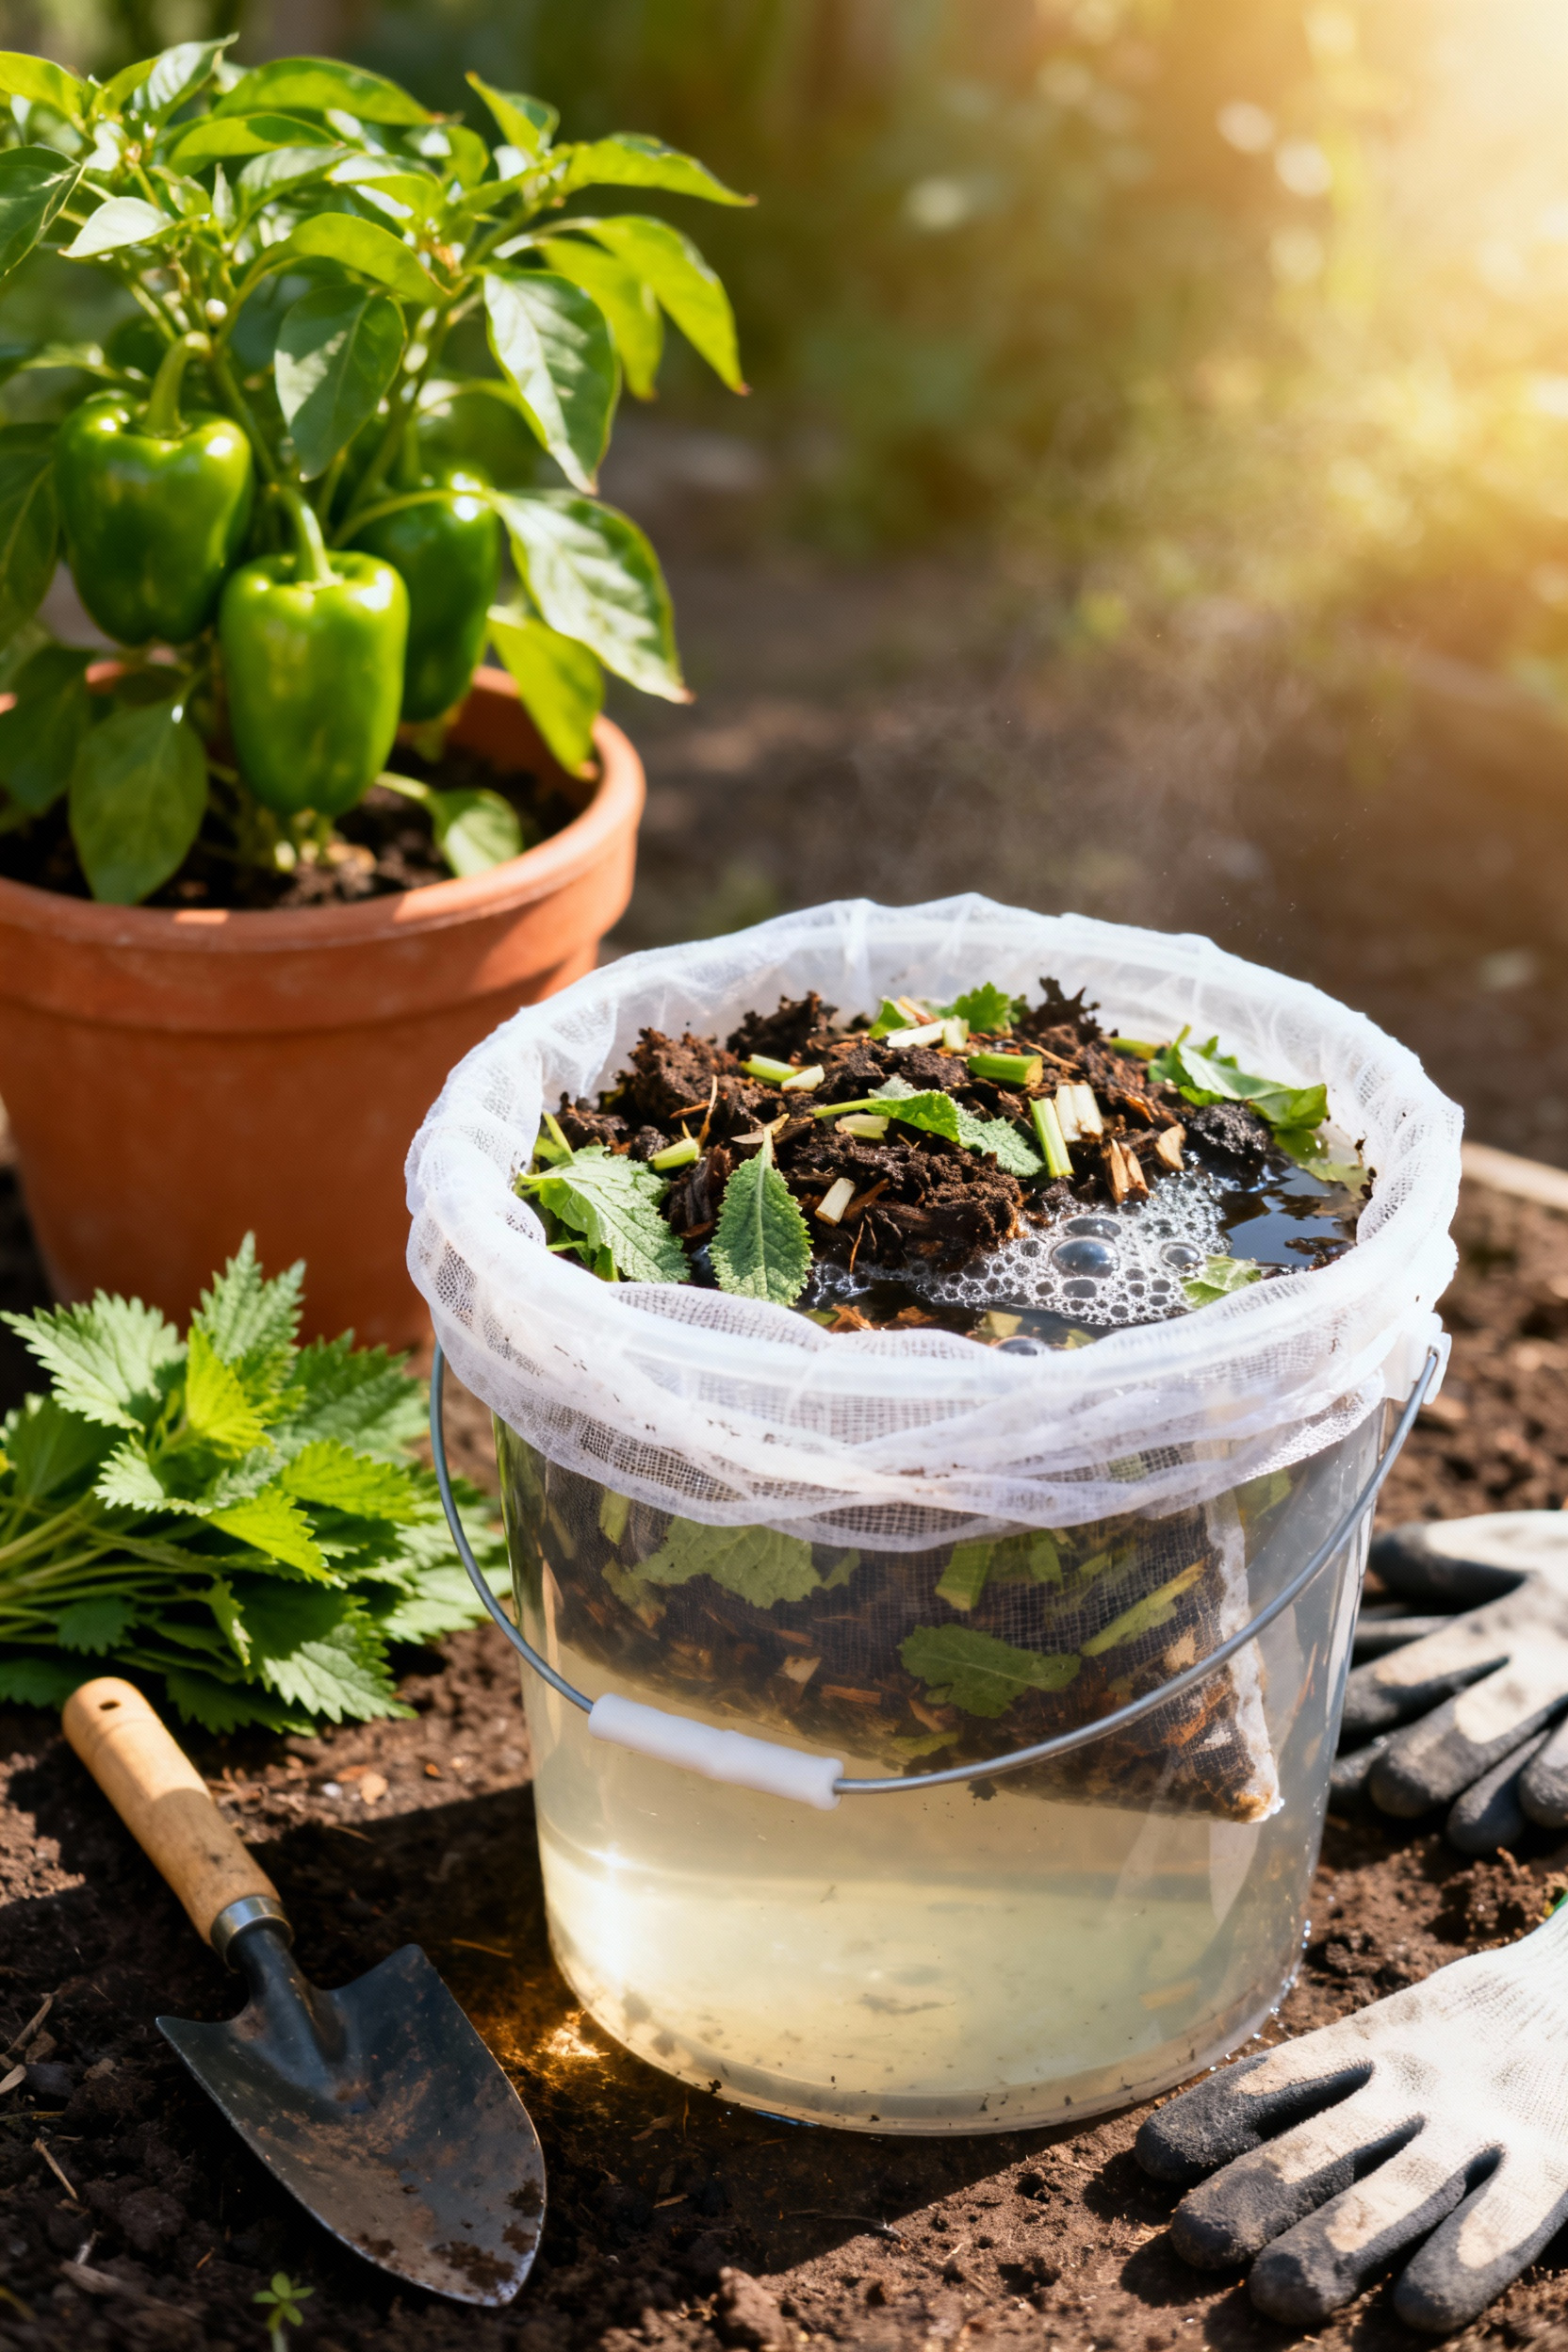
Another fantastic option is banana peel tea. Just soak a few banana peels in a jar of water for a couple of days. This creates a potassium-rich feed that is perfect for when your tomatoes and peppers start to flower. It encourages more blossoms, which means more fruit. What I tell my readers and clients is that you can get creative and tailor your “teas” to what your plants need. High-nitrogen weeds for leafy greens, high-potassium bananas for fruiting plants. You’re becoming a garden chef, creating custom meals for your plants from stuff you’d normally throw away.
7. Strategic Staking & Trellising: Maximizing Vertical Yields for Climbing Varieties
In a small space, the only way to go is up! Many vegetables, like indeterminate tomatoes, cucumbers, and pole beans, are natural climbers. Letting them sprawl on the ground is a recipe for pests, disease, and a much smaller harvest. You need to give them a ladder to the sun. This is where your inner artist can really come out. Think of it as plant architecture.
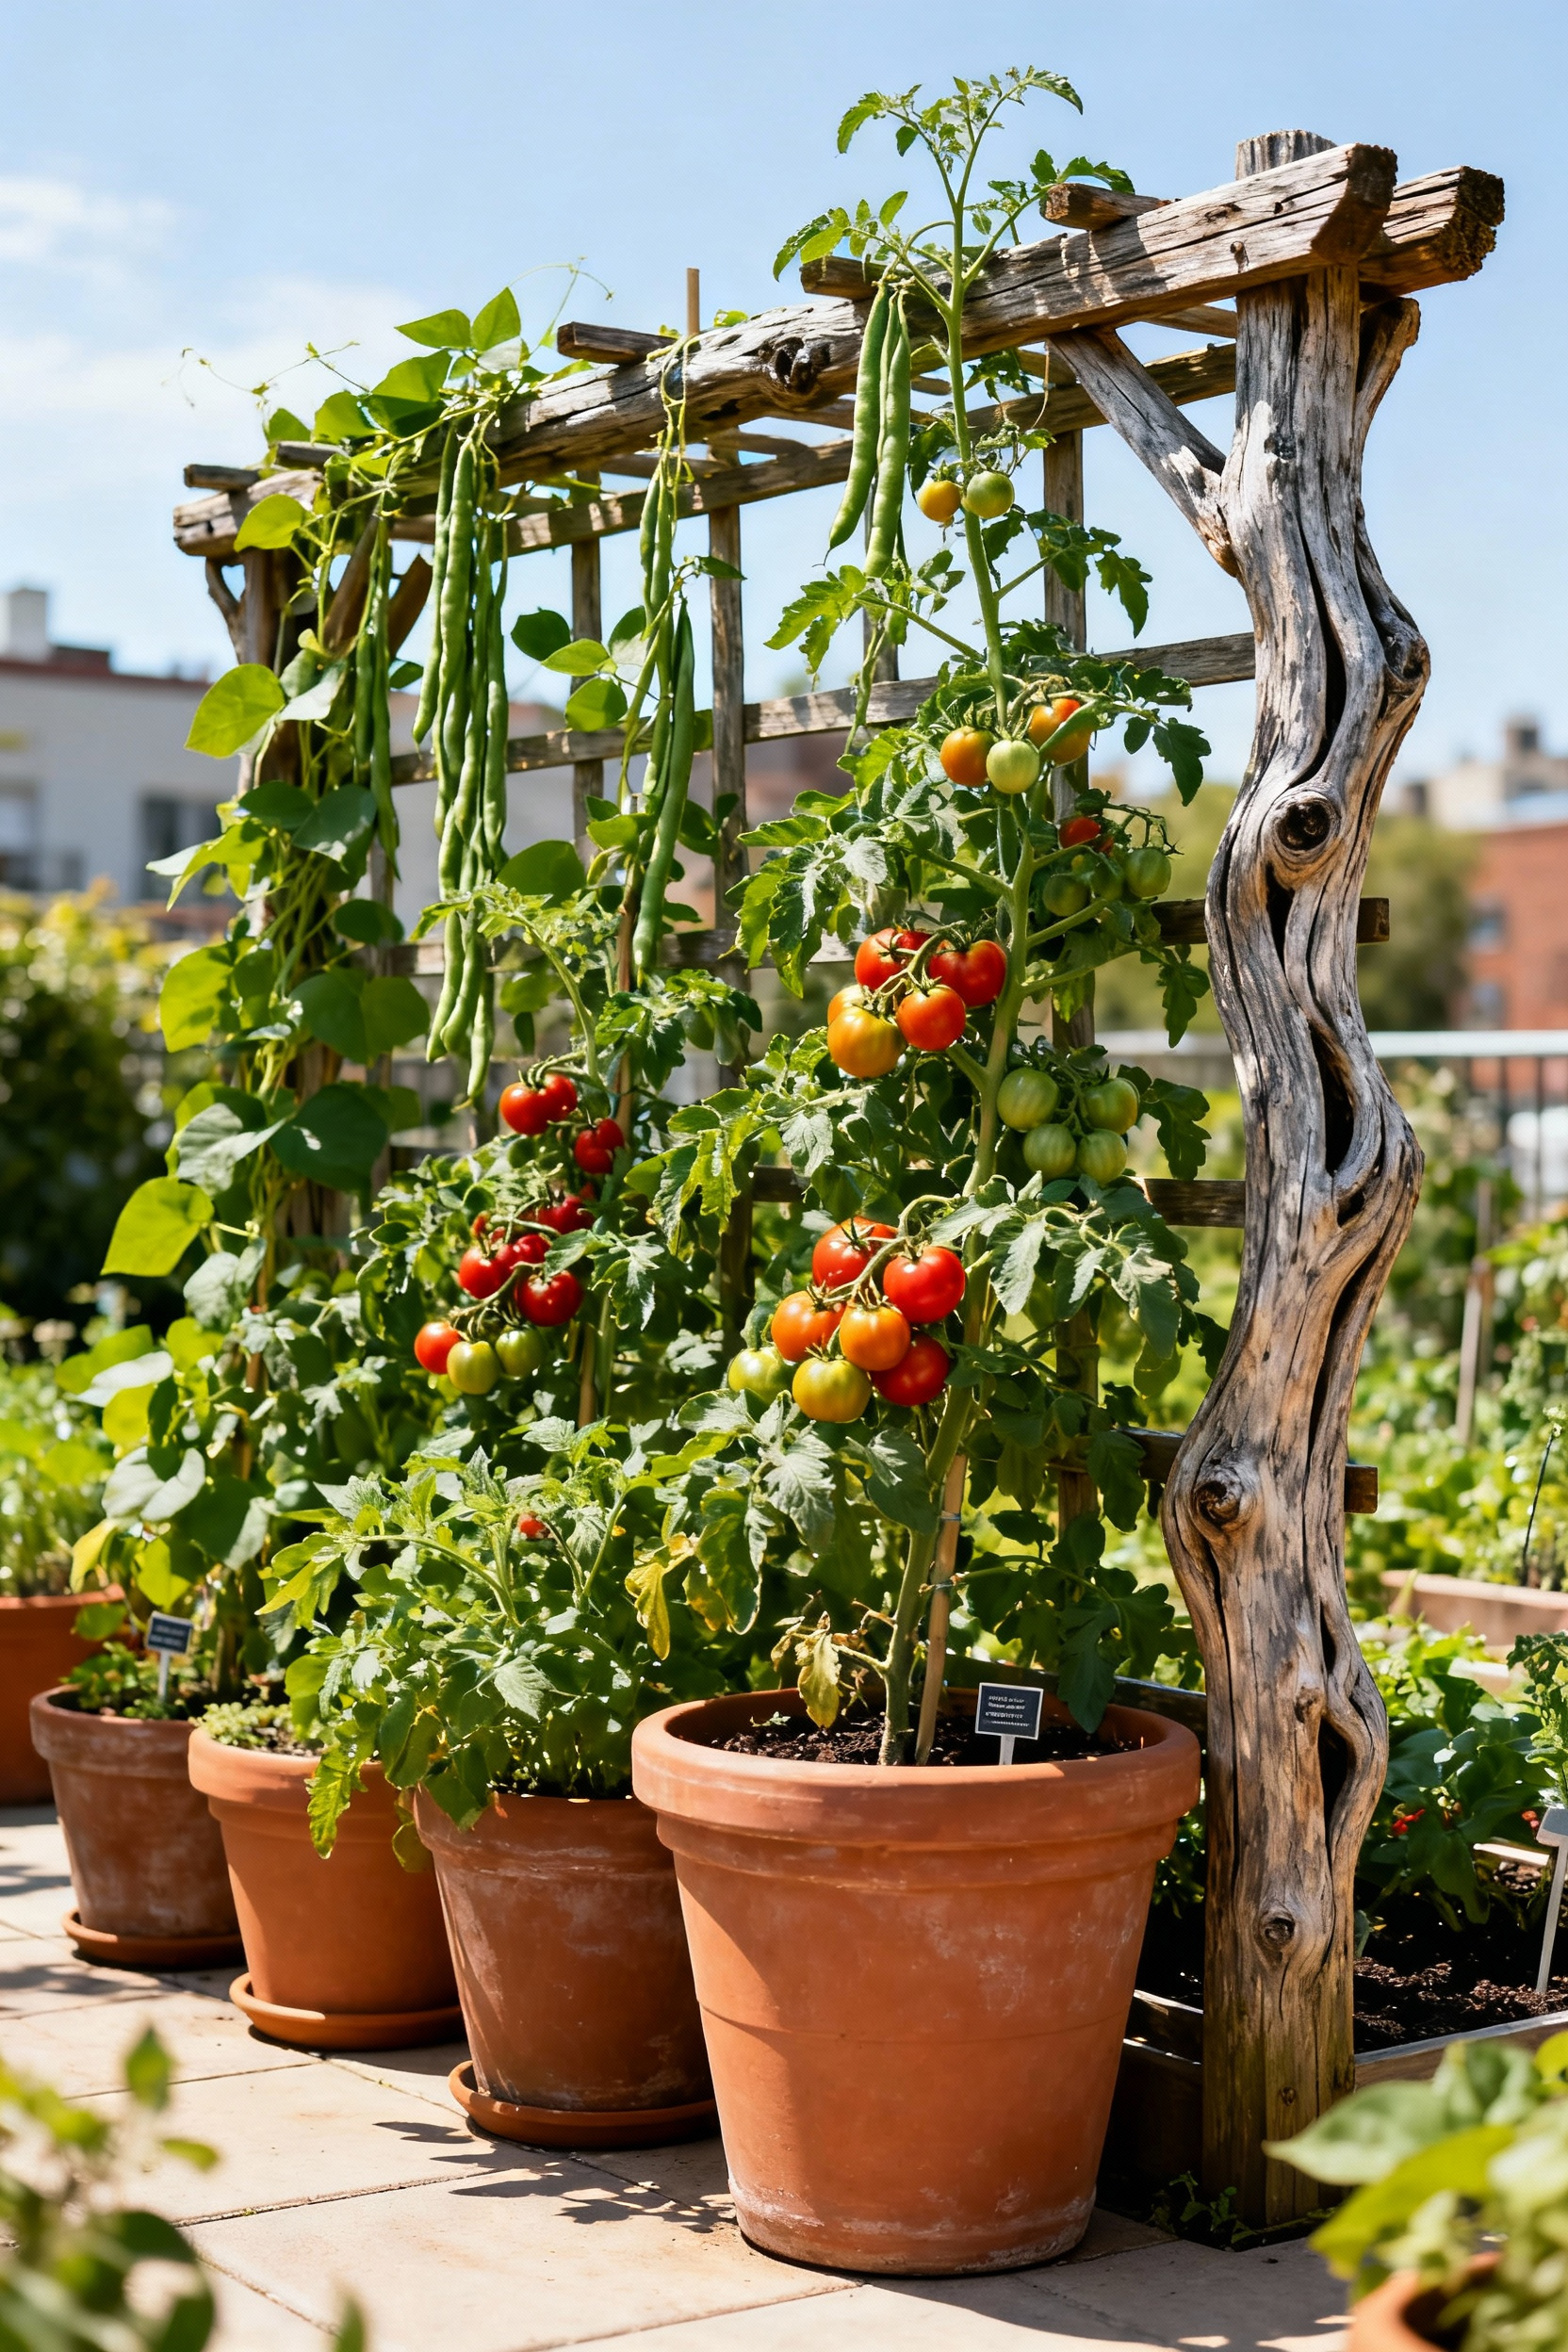
You don’t need to buy expensive cages. A few bamboo stakes tied together into a teepee shape make a beautiful and sturdy support for beans or peas. For my tomatoes, I often use a single, tall, heavy-duty stake and use soft ties (like strips of old t-shirts) to gently tie the main stem to the stake as it grows. A piece of lattice leaned against a wall can become a perfect climbing frame for cucumbers. The goal is to get the leaves and fruit up off the soil, improving air circulation and sun exposure. You’ll be amazed at how much food you can grow in a tiny footprint just by thinking vertically.
8. Outsmart Pests Naturally: Implement Budget-Friendly Integrated Pest Management Tactics
Seeing little bugs on your precious plants can be disheartening, but please, step away from the harsh chemical sprays. The best way to deal with pests is to create a healthy, balanced little ecosystem where problems don’t get out of hand. Your first line of defense is just being observant. Every few days, take a close look at your plants, especially the undersides of leaves. If you see a few aphids, a blast of water from a spray bottle is often enough to knock them off.
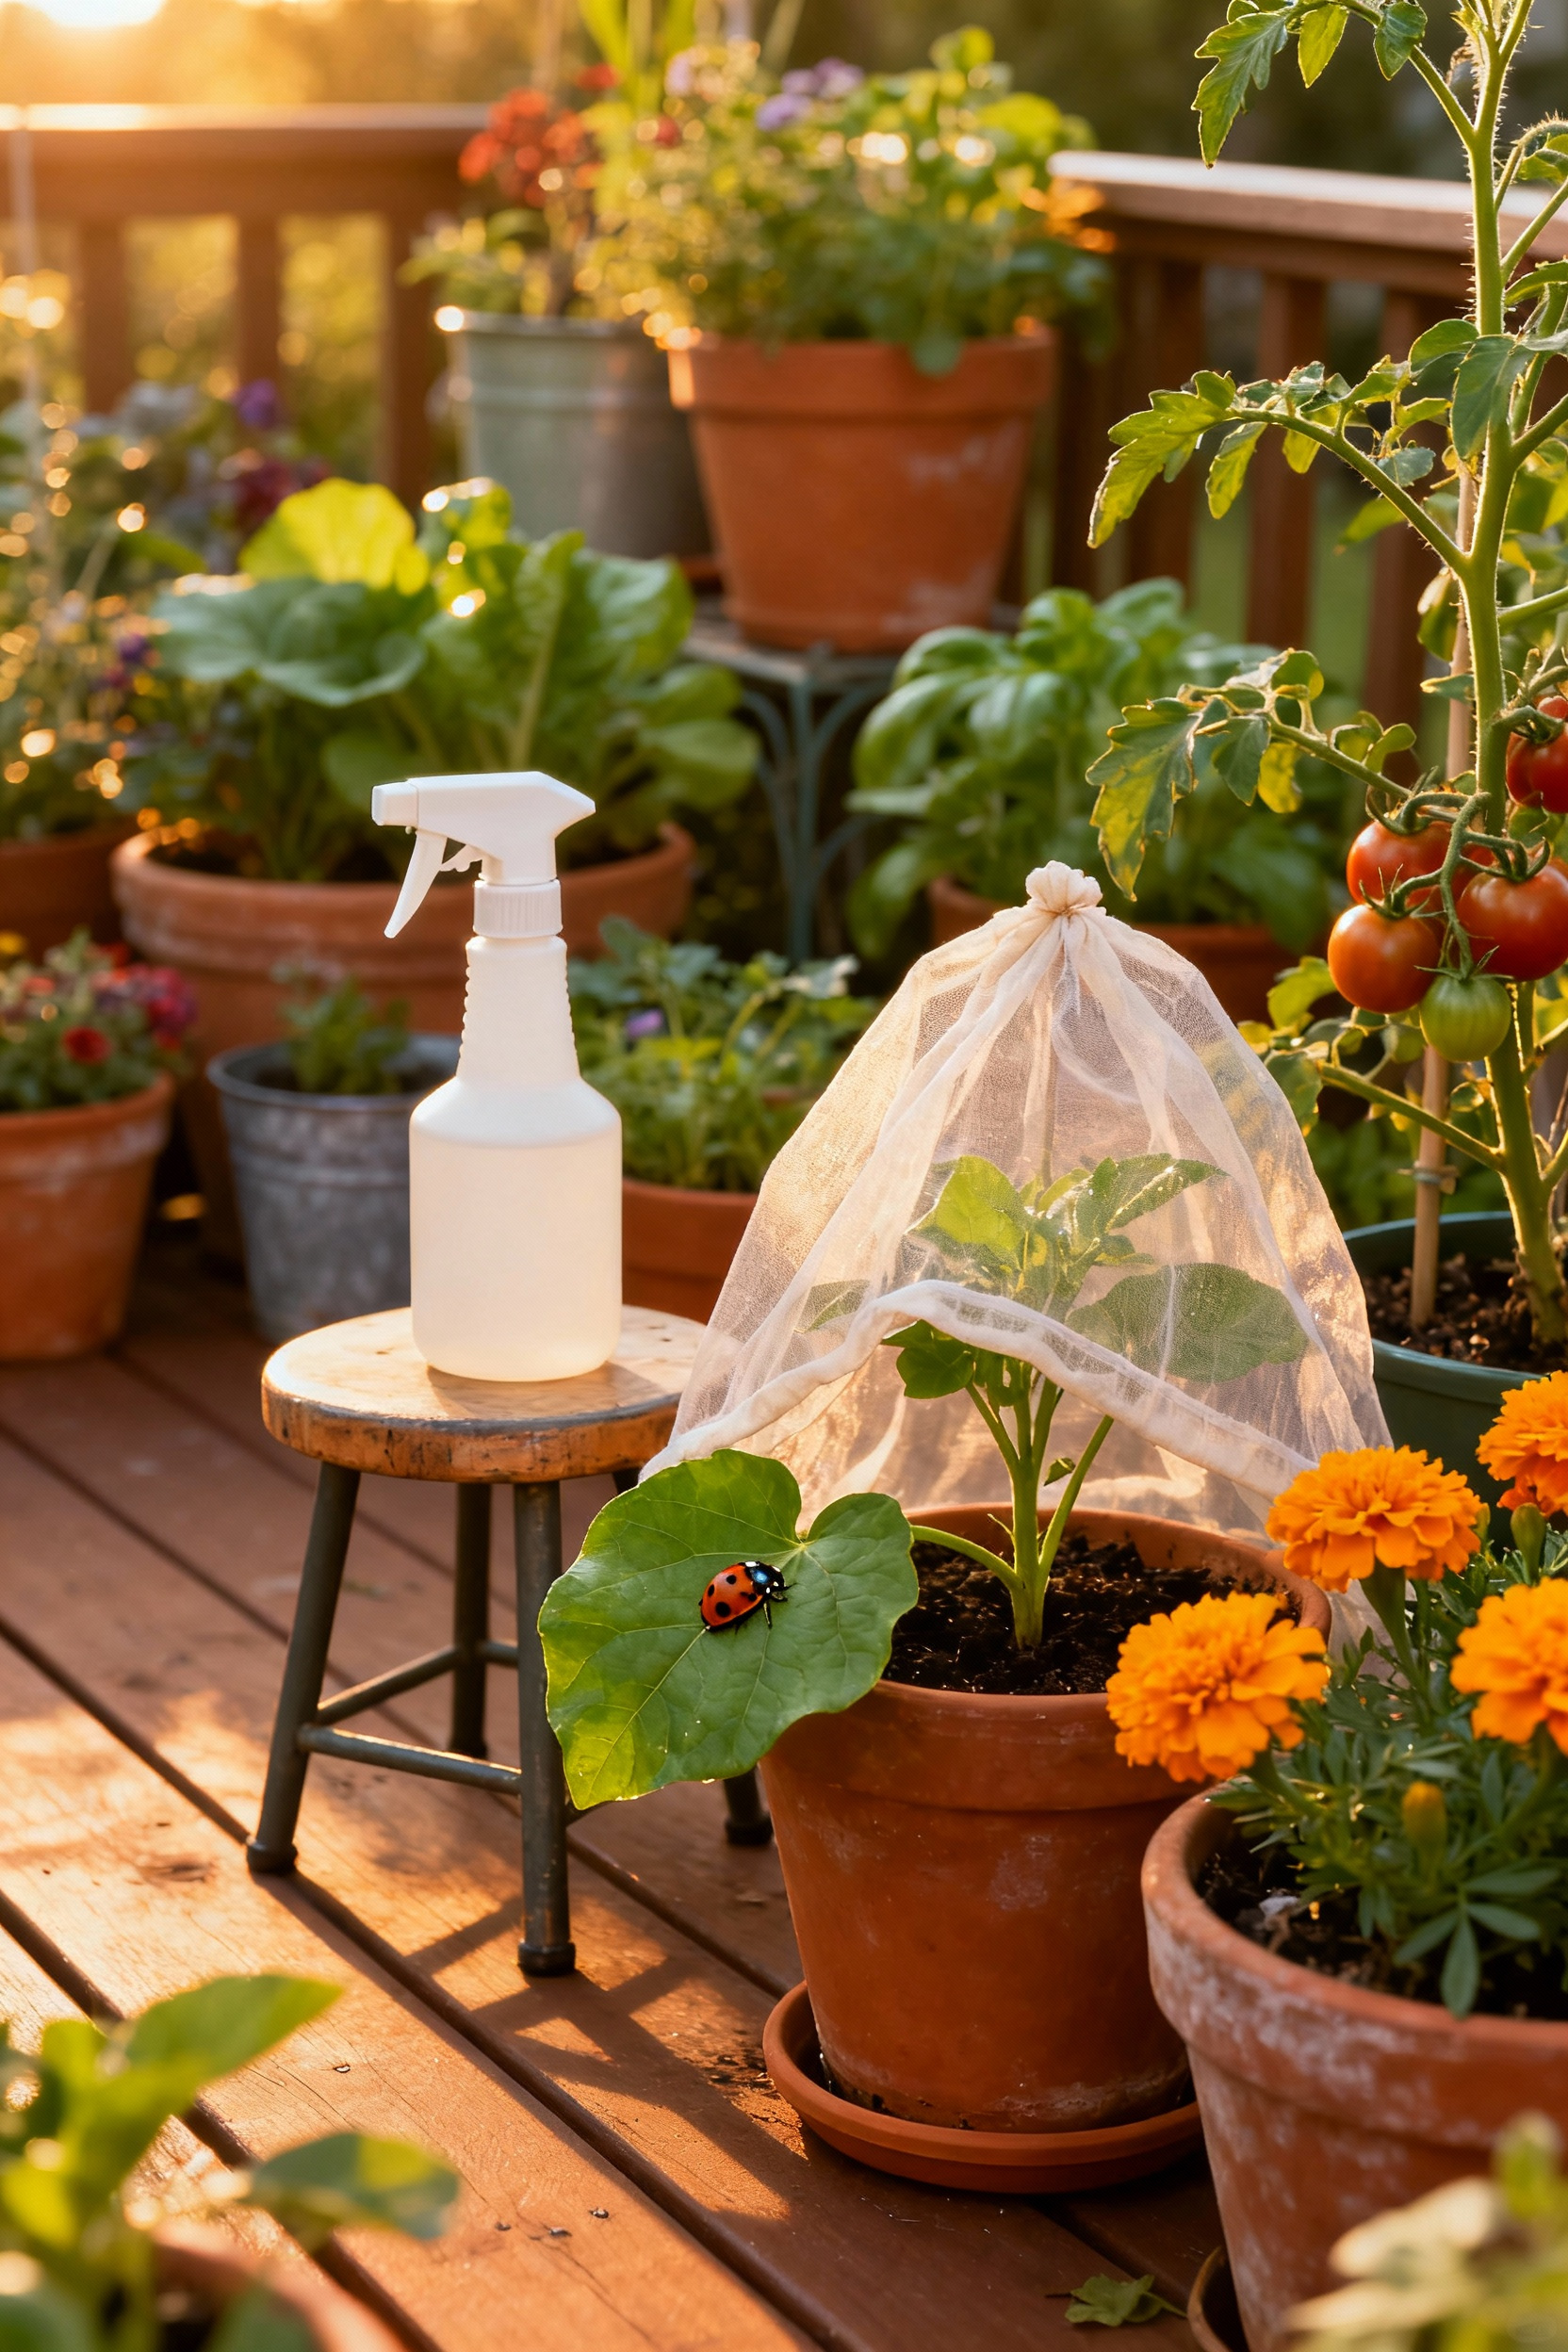
If you need a little more firepower, a simple spray of diluted soapy water (use a mild dish soap without bleach or degreasers) can take care of most soft-bodied insects. You can also plant a few “trap crops” like marigolds or nasturtiums nearby. Aphids love them, and will often flock to them, leaving your precious veggies alone. Inviting beneficial insects like ladybugs and lacewings by planting flowers like dill or cosmos is another fantastic strategy. You’re not fighting a war; you’re just gently nudging nature back into balance.
9. Seamless Succession Planting: Ensure Continuous Vegetable Production with Smart Scheduling
Have you ever planted a whole packet of lettuce seeds, ended up with more salad than you could possibly eat for two weeks, and then had none for the rest of the summer? That’s where succession planting comes in. It’s a simple concept that will revolutionize your harvests: instead of planting everything at once, you plant a little bit every few weeks.
Think of it like creating a constant conveyor belt of fresh produce. Plant a small row of radish seeds this week. In two weeks, plant another small row. When you harvest the first row, the second is already halfway grown. This works perfectly for fast-growing crops like lettuce, spinach, cilantro, bush beans, and radishes. Keep a simple calendar and make a note to “plant more lettuce” every 2-3 weeks. This simple bit of scheduling turns your container garden into a reliable, season-long source for fresh food, not just a one-time boom and bust.
Elevating Your Container Harvests with Savvy Intermediate Techniques (Part 2)
Once you’re comfortable with individual plants, it’s time to start thinking about your garden as a whole composition. How can you arrange your pots and combine your plants to create a system that’s more productive, efficient, and beautiful? Let’s dive in.
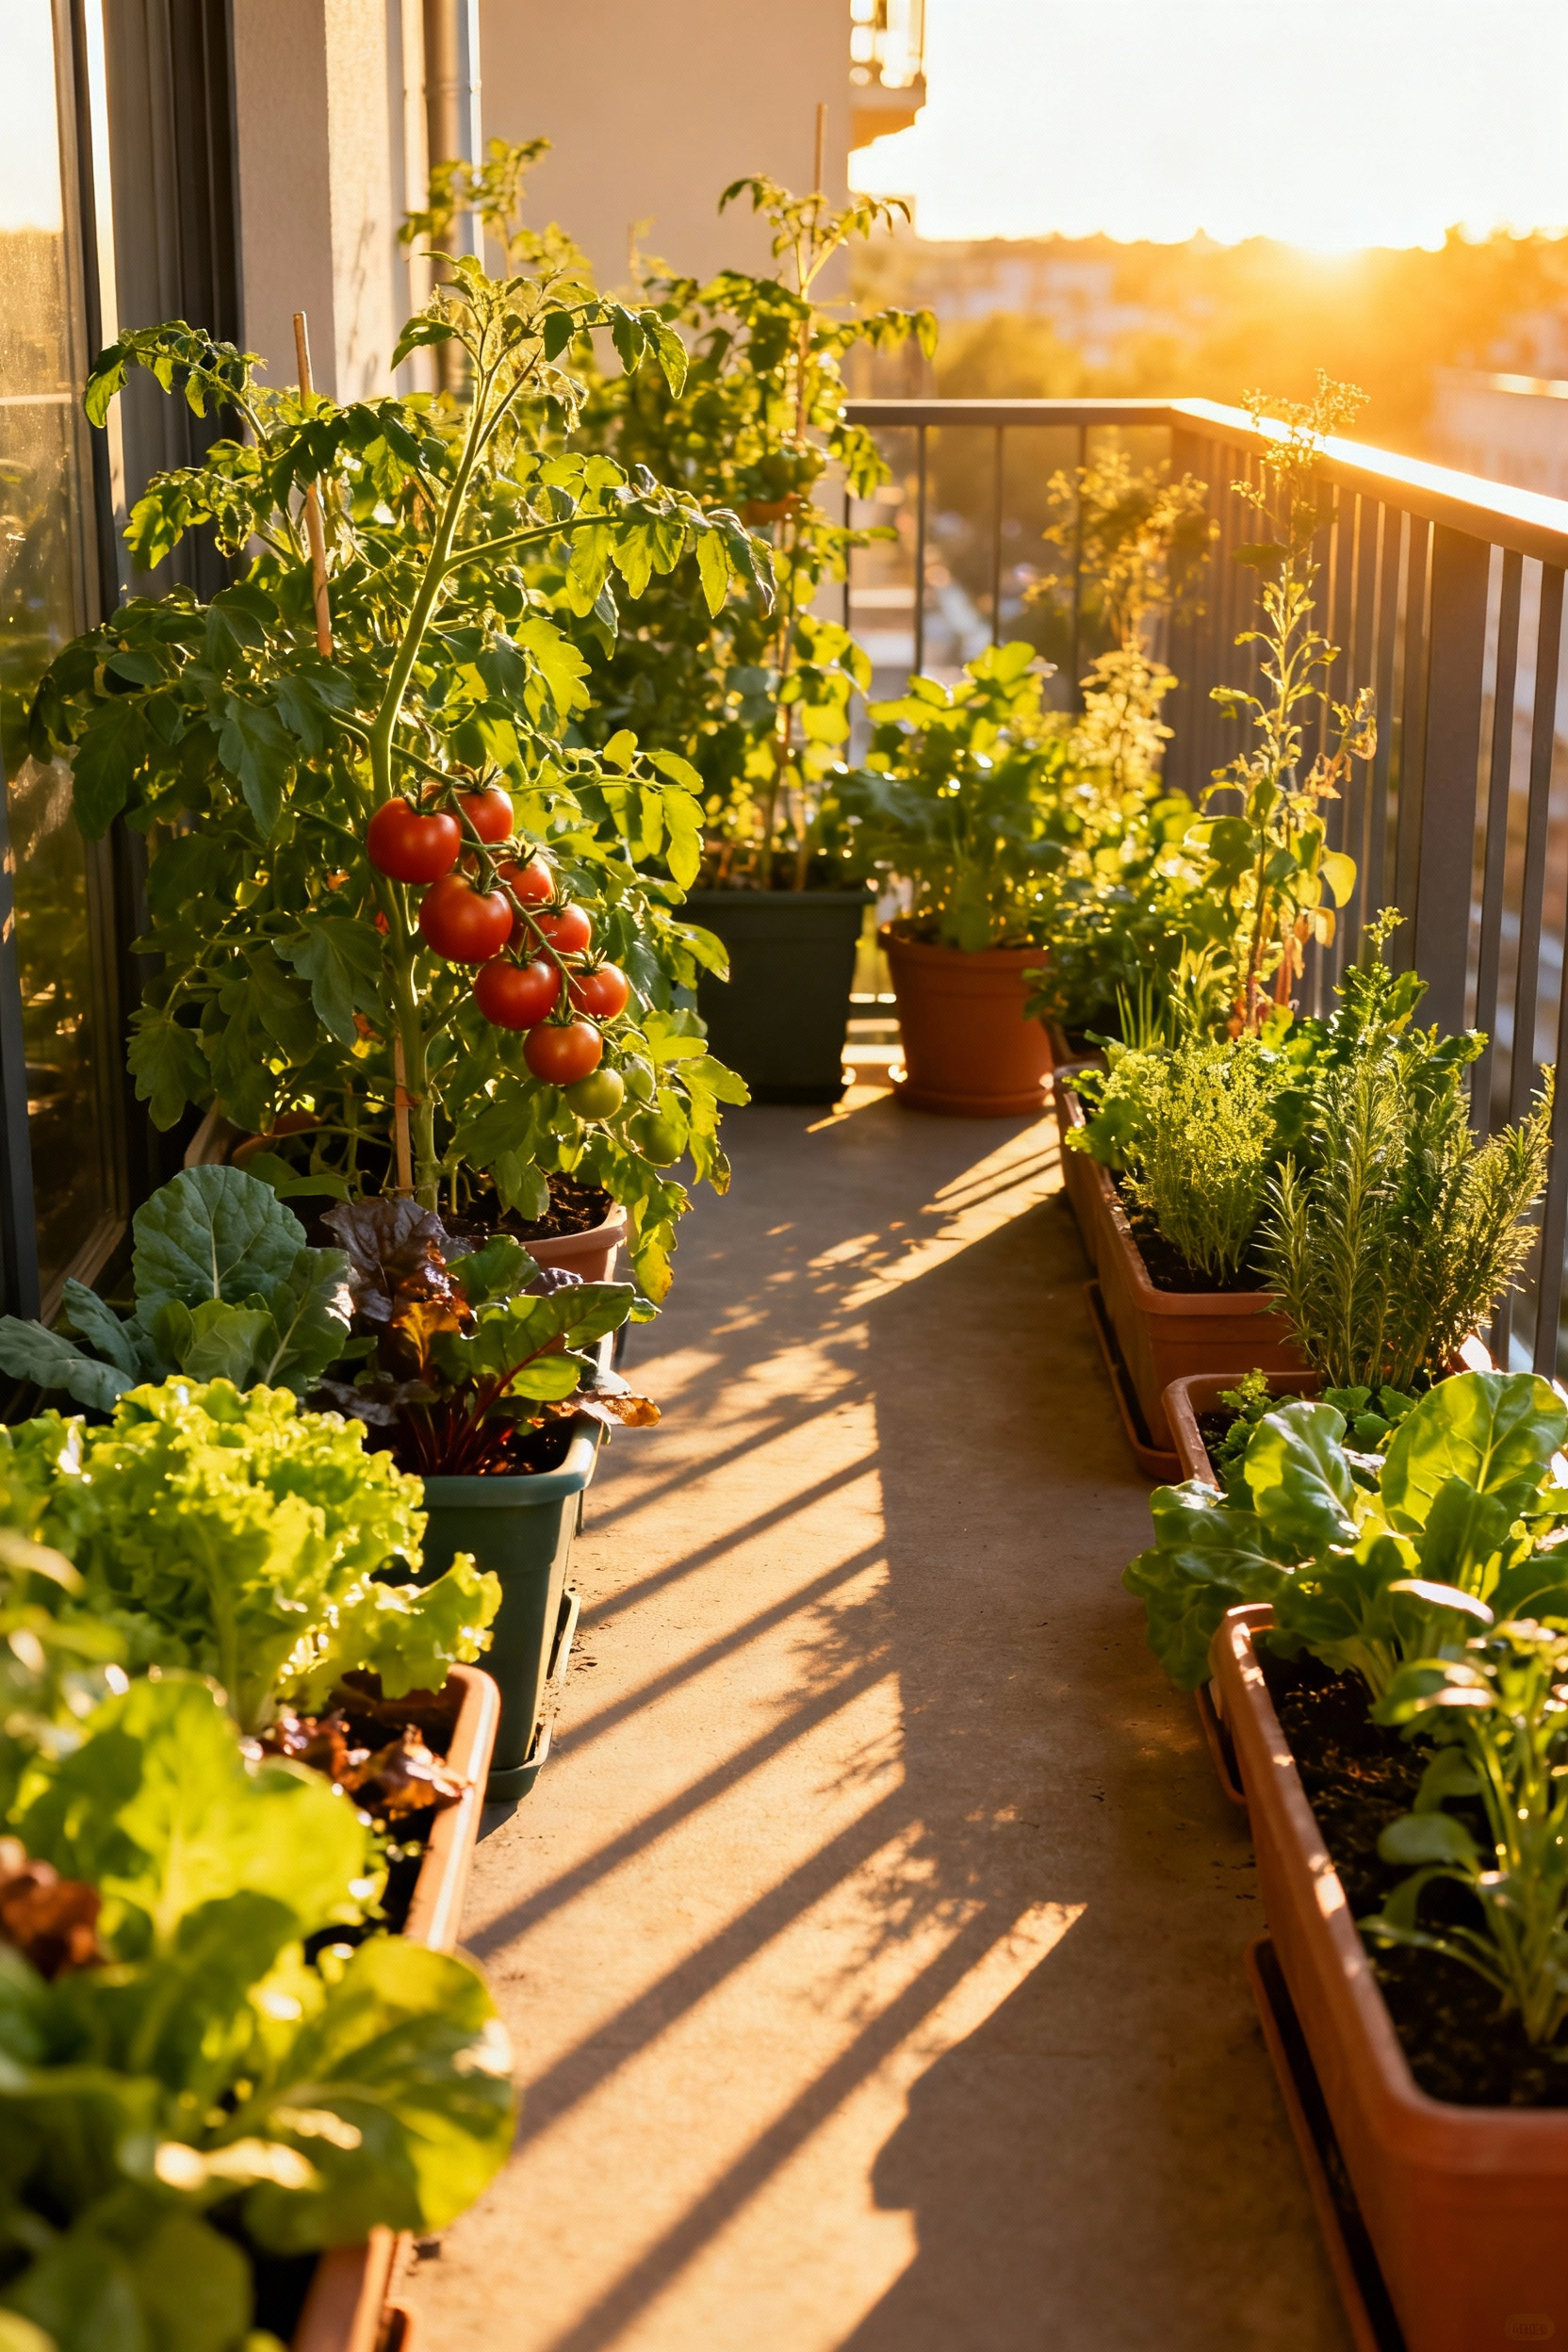
10. Smart Space Synergy: Optimize Small Footprints with Creative Vertical & Companion Container Layouts
When you’re working with a small balcony or patio, every square inch counts. It’s time to stop thinking in 2D and start designing in 3D. Combine vertical strategies with smart Companion Planting to create a truly synergistic little ecosystem. A tiered plant stand, for example, allows you to place sun-lovers on top and more shade-tolerant herbs on the bottom shelves. A hanging basket of trailing strawberries or cherry tomatoes can flourish above a large pot of peppers on the ground, effectively doubling your growing space.
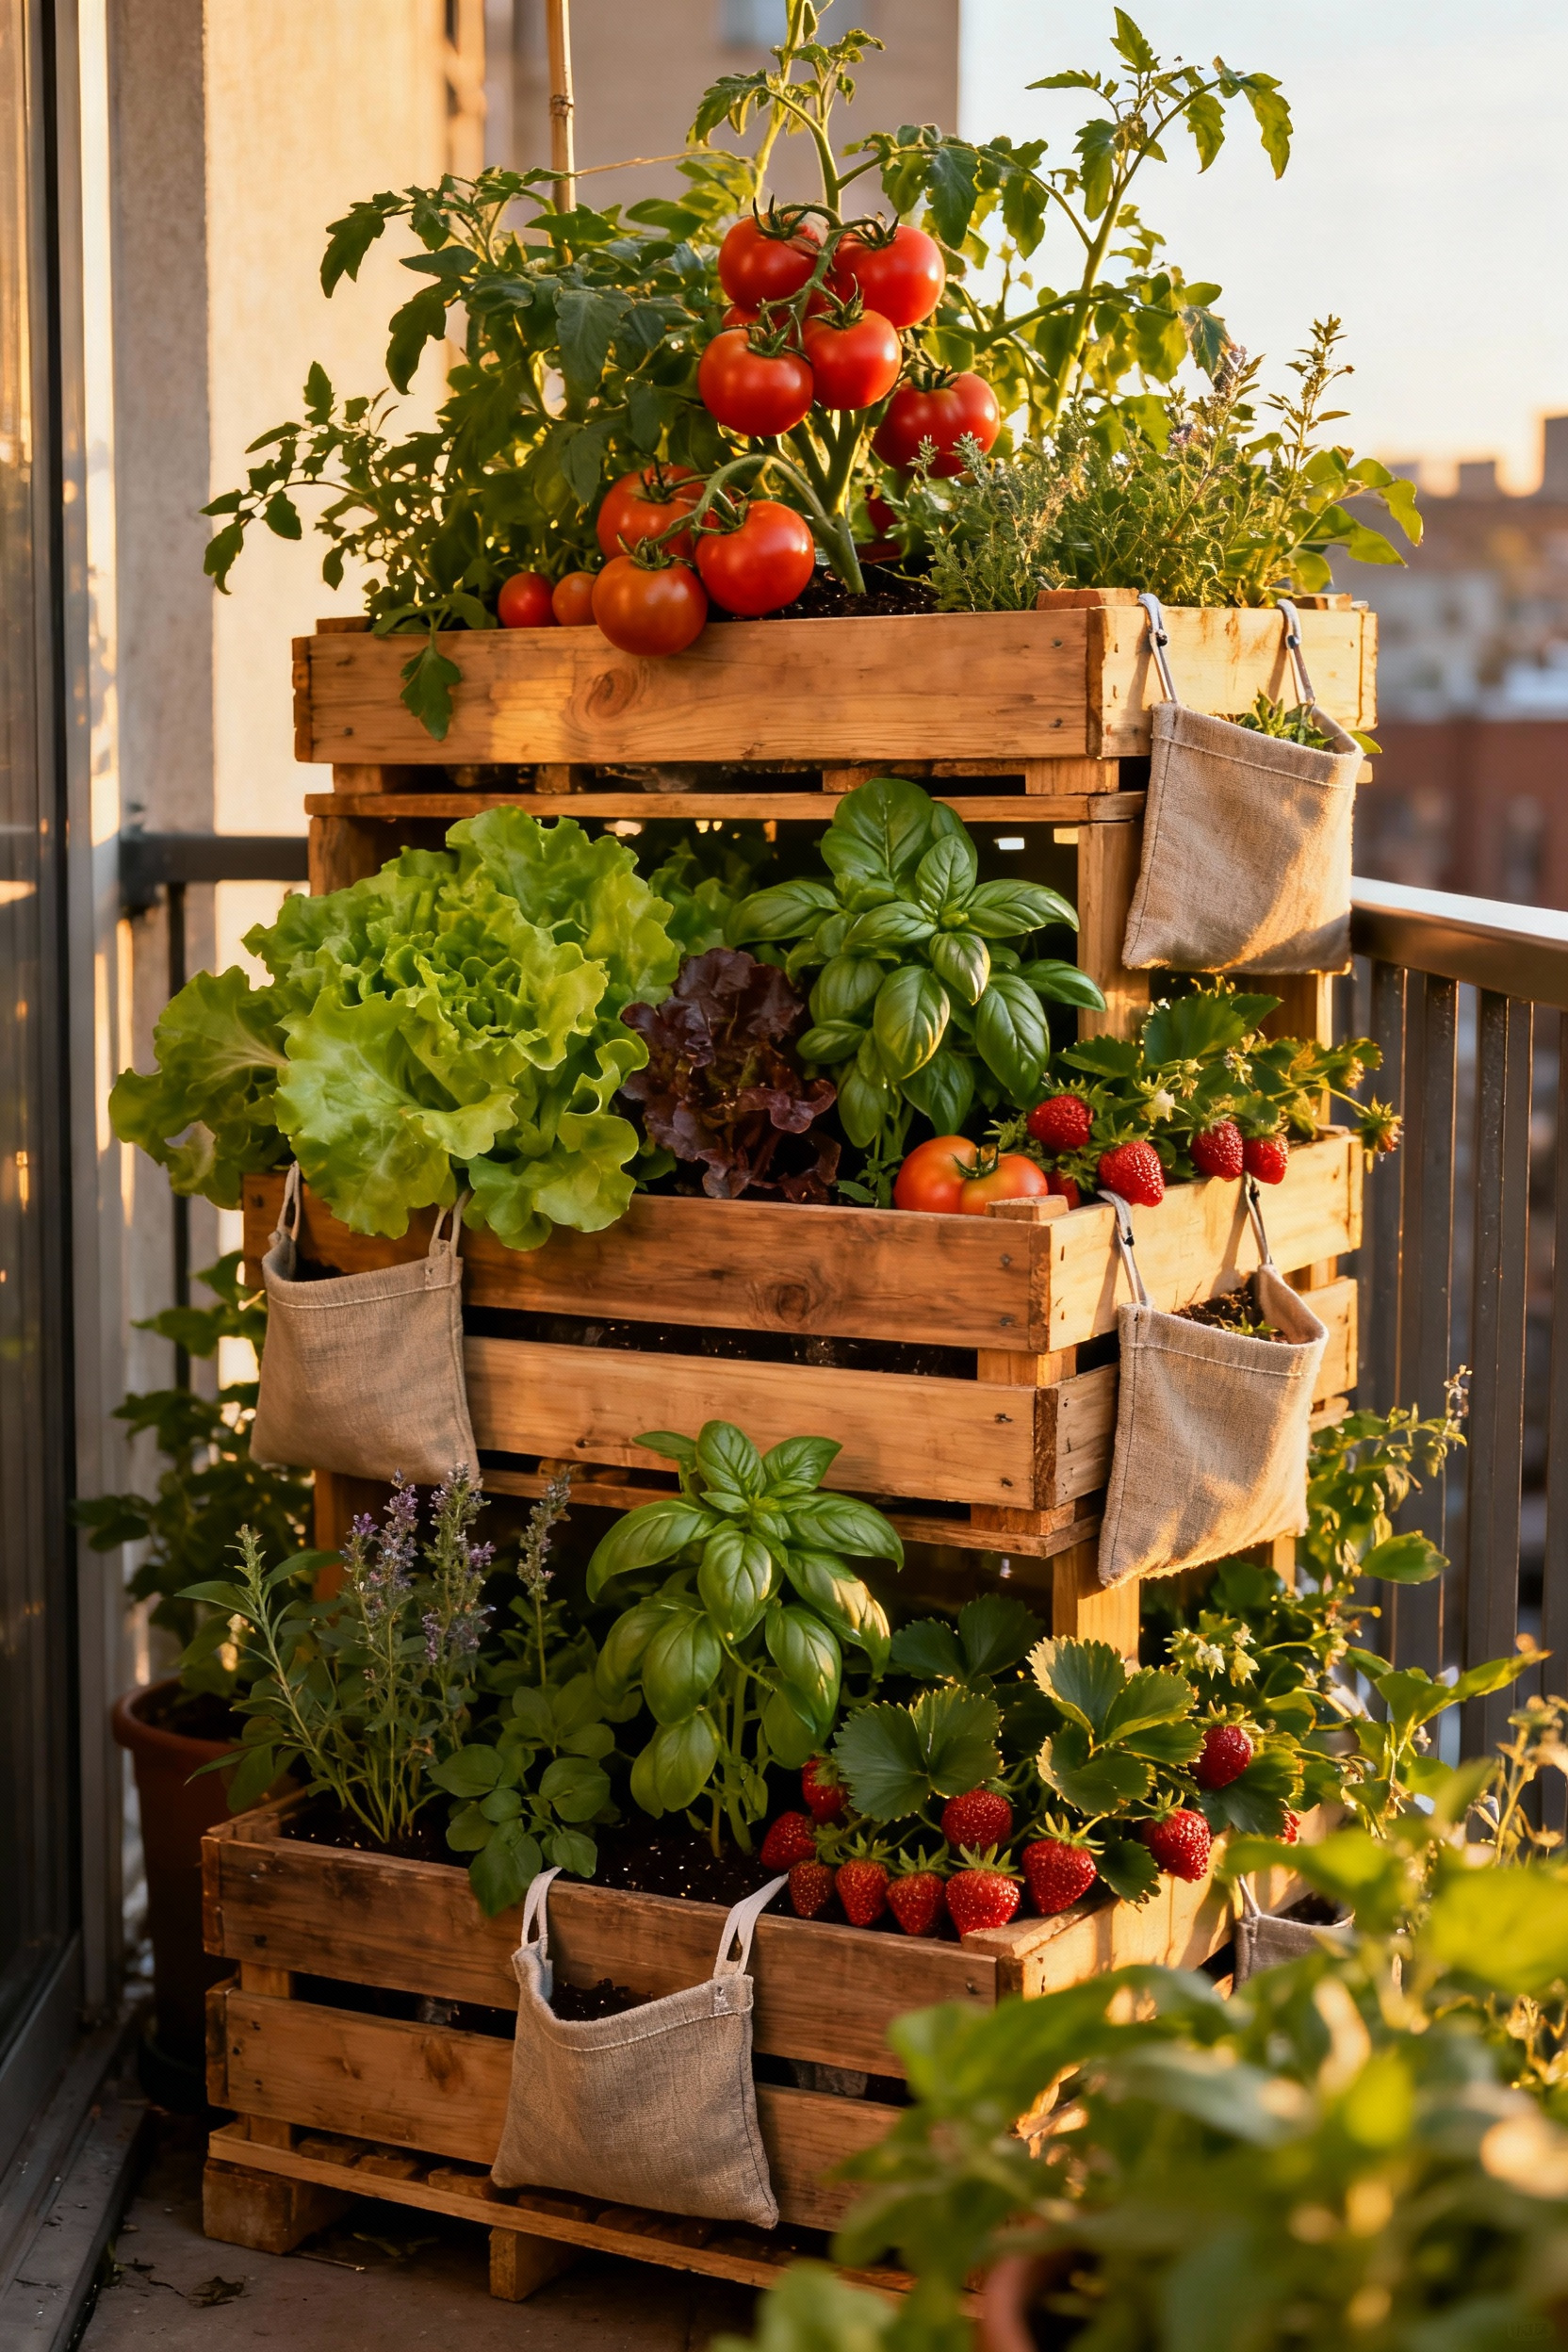
But synergy goes deeper than just layout. In my design work, I’m always looking for pairings that do more together than they could alone. It’s the same with plants. Companion planting isn’t just folklore; it works. Tucking basil plants around the base of your tomatoes is said to improve their flavor and repel certain pests. Planting marigolds in with your beans can deter bean beetles. I love planting chives or garlic at the edge of my pots; their strong scent can confuse pests looking for my prize vegetables. You’re not just placing pots anymore; you’re orchestrating a community where the plants actually help each other thrive.
Advanced Container Vegetable Cultivation: Strategies for Peak Performance (Part 1)
Ready to go from a good gardener to a great one? These advanced techniques are all about fine-tuning your approach. We’re going to dive into the science of soil, the art of weather management, and the long-term strategies that create a truly resilient and productive garden.
11. Custom Potting Mix Blends: Amending for Targeted Nutrient Delivery and Soil Health
Think of yourself as a soil chef. A basic bagged potting mix is your starting point, but a custom blend is what creates a truly gourmet meal for your plants. Different vegetables have different appetites. Fruiting plants like tomatoes and peppers are heavy feeders and will adore a mix that’s been enriched with extra compost and a handful of bone meal to provide the phosphorus they need for blossoms and fruit.
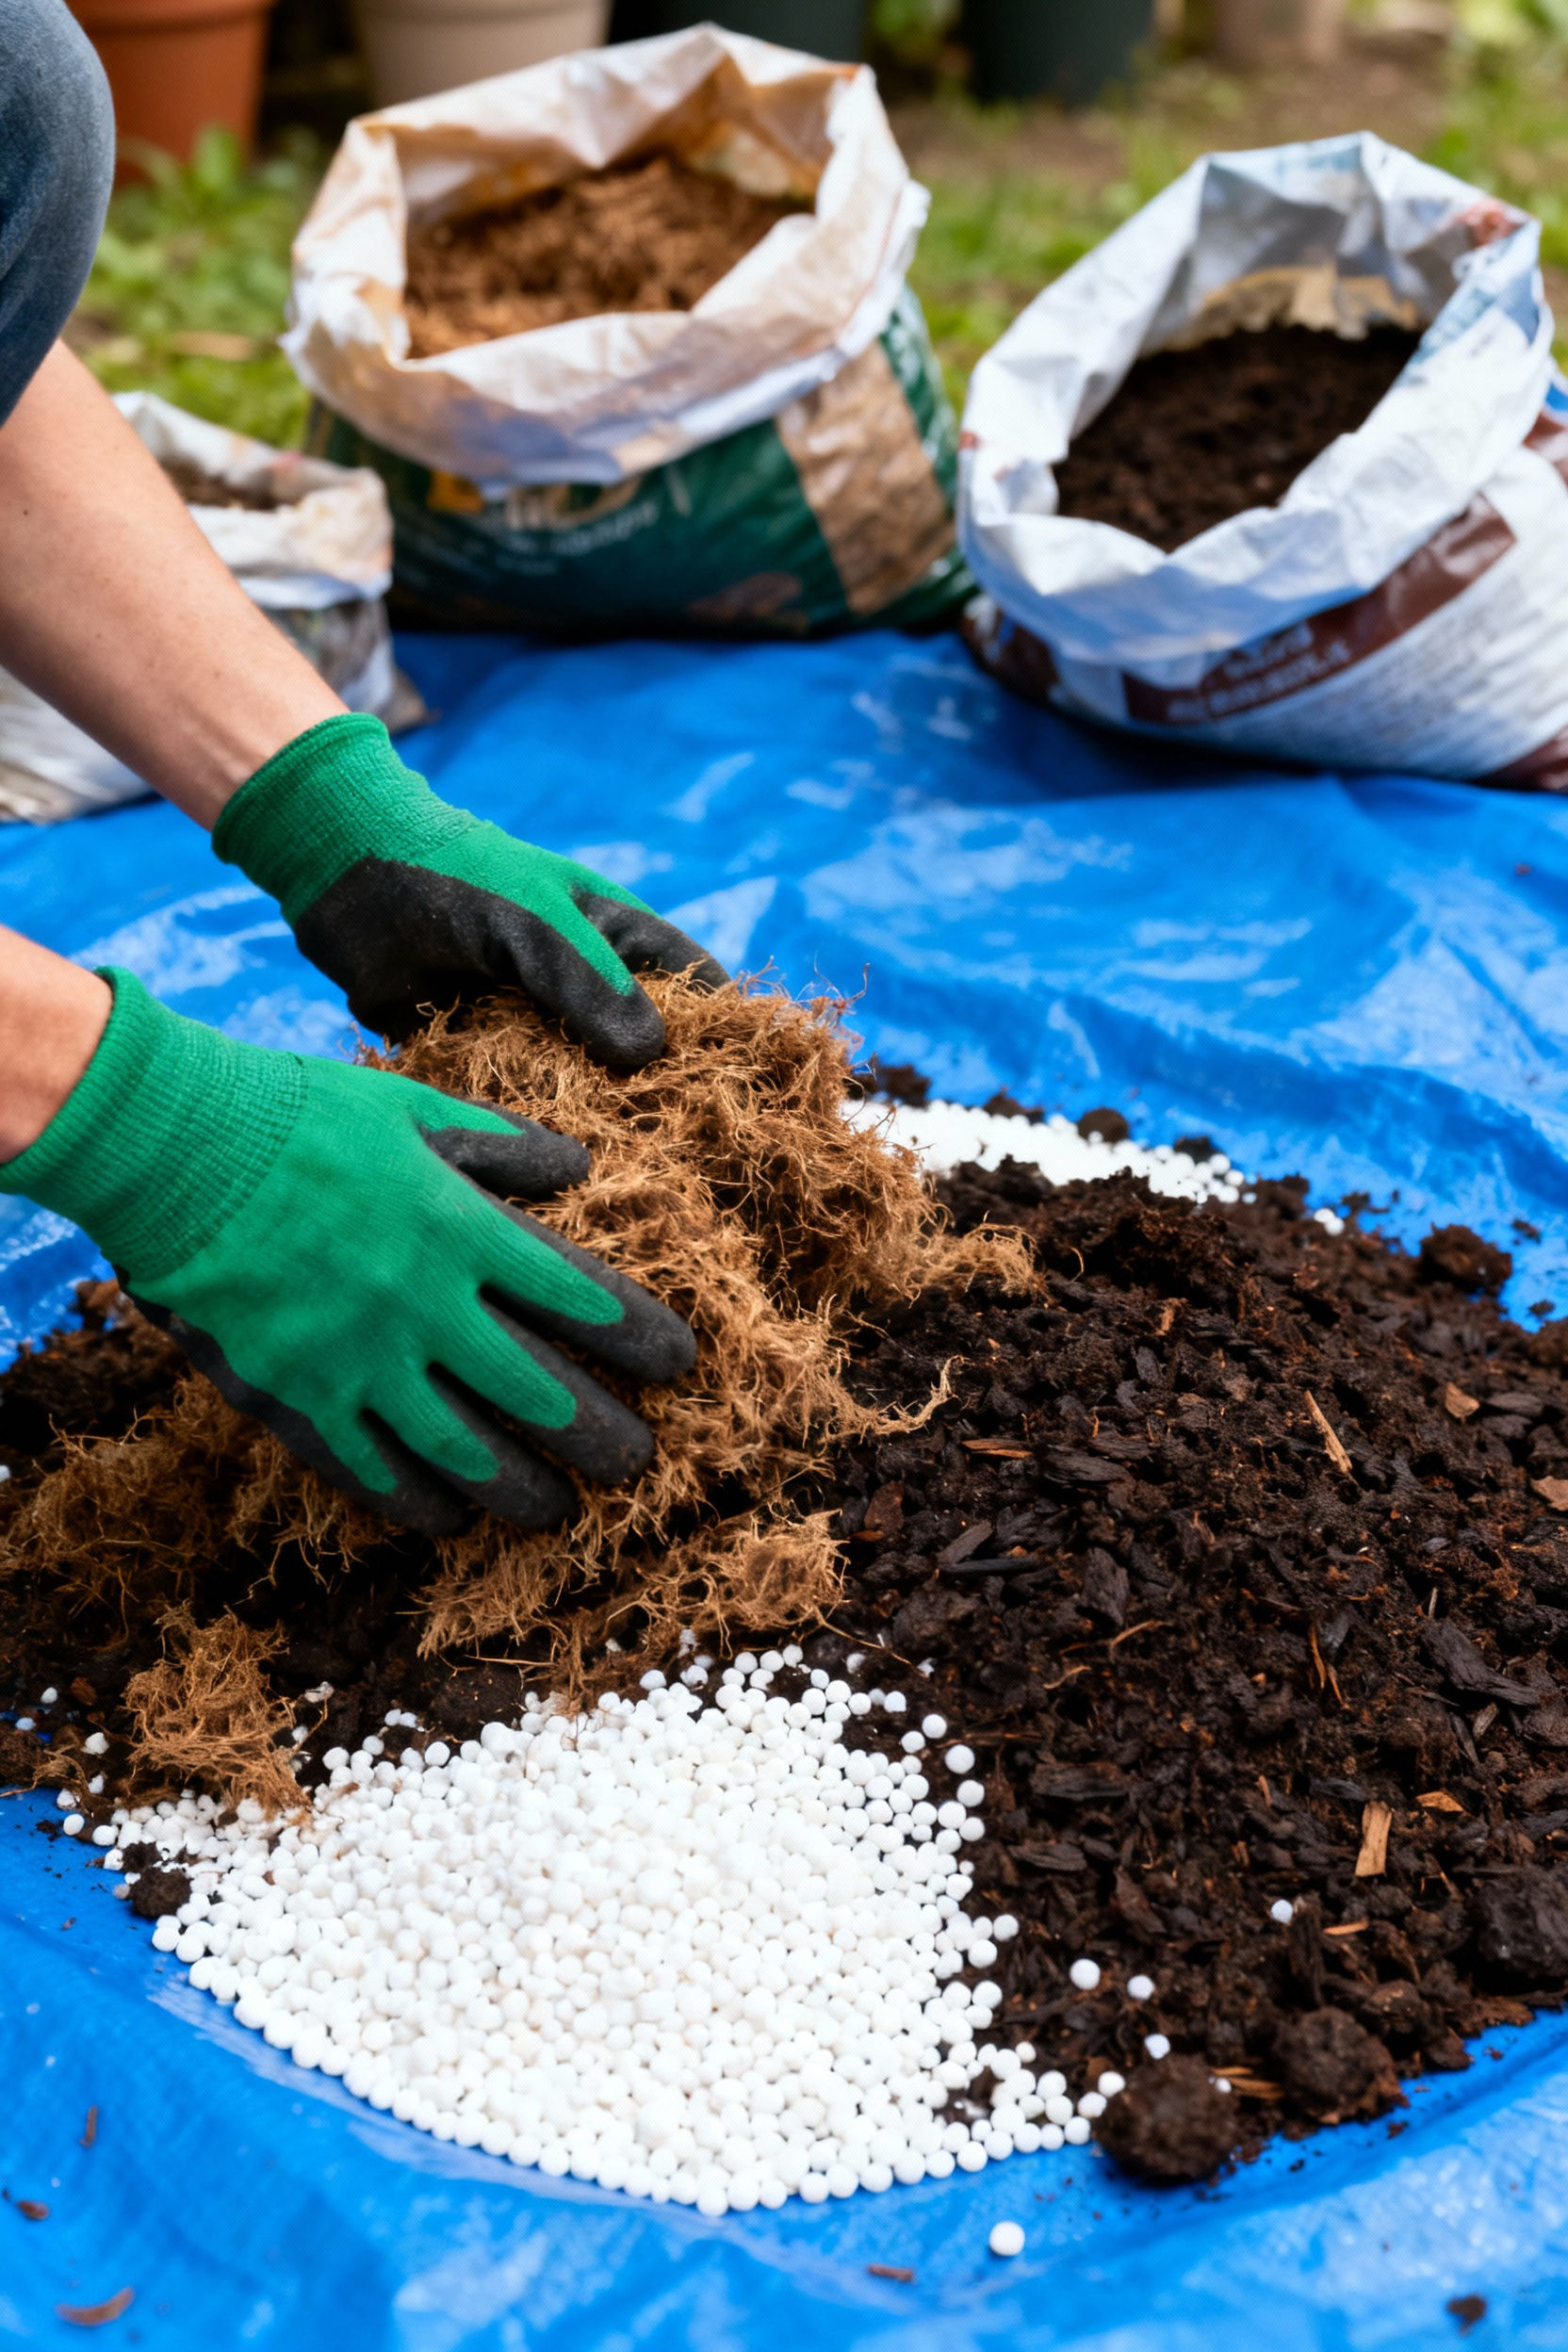
Leafy greens, on the other hand, crave nitrogen for lush growth. Adding some alfalfa meal or even a bit of blood meal to their mix gives them the boost they need. Root vegetables like carrots need a lighter, sandier soil to grow straight and long, so adding some coarse sand to their mix is a fantastic idea. From my work in budget-friendly design, I can tell you that buying the cheapest “potting soil” and amending it yourself with things like perlite, compost, and specific organic fertilizers is far more cost-effective and yields better results than buying the most expensive pre-mixed bag. You’re creating the perfect recipe for each plant’s success.
12. Micro-Climate Mastery: Shielding Container Plants from Extreme Weather Fluctuations
Every balcony, patio, and porch has its own little micro-climates. That spot against a sunny brick wall gets way hotter than the corner by the railing that gets a constant breeze. Becoming a master of these little weather pockets is an advanced skill that pays off big time. An unexpected late frost? Cluster your pots together and throw an old bedsheet over them overnight. That collective warmth can be enough to save them.
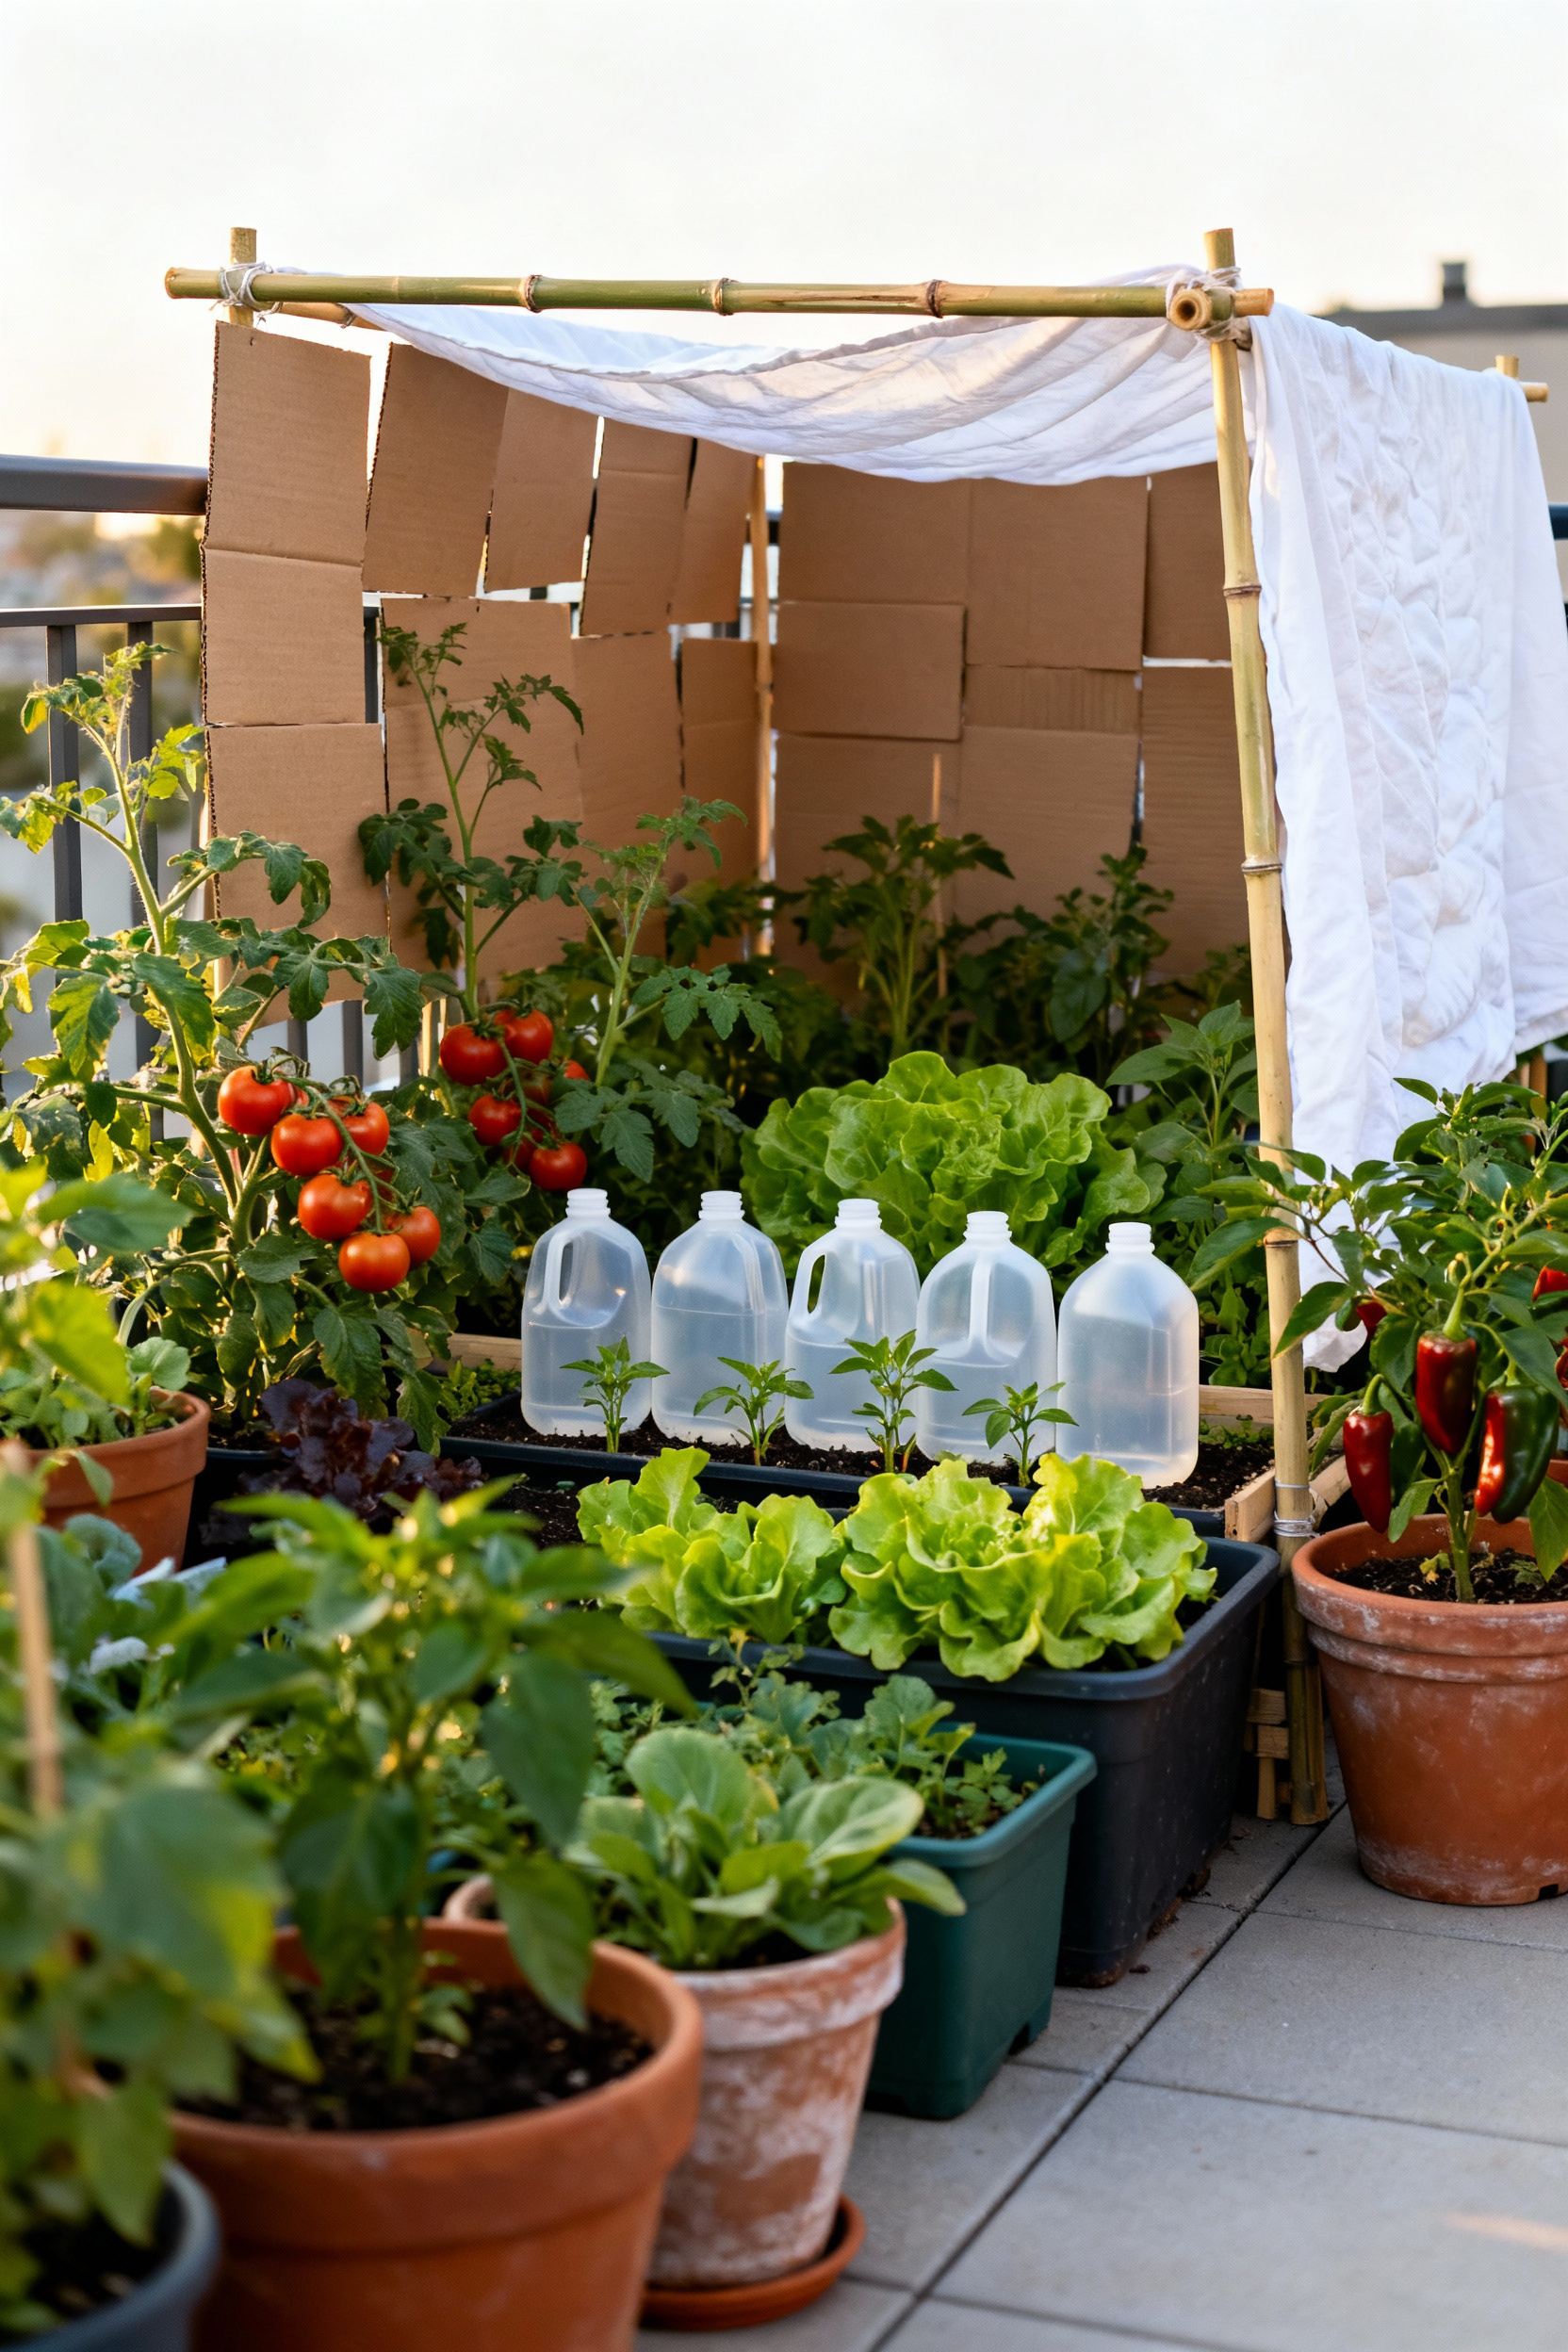
Scorching heat wave? A simple piece of shade cloth draped over a couple of stakes can prevent your tender lettuce from bolting and your tomato leaves from getting sun-scalded. Use the environment to your advantage. A dark-colored pot against a south-facing wall will absorb heat and keep roots warm, extending your growing season in the spring and fall. A light-colored pot will reflect heat, keeping roots cooler in the dead of summer. Paying attention to these subtle differences allows you to create the perfect little environment for each plant, no matter what the weather forecast says.
13. Mastering Container Crop Rotation: Prevent Soil Fatigue and Optimize Future Yields
You probably know you shouldn’t plant tomatoes in the same spot in a garden bed year after year. The same rule applies to your pots! Continuously growing the same type of plant in the same soil depletes specific nutrients and can allow soil-borne diseases to build up. This is a super common reason why a container that produced great tomatoes one year gives you a disappointing crop the next.
The solution is simple: rotate. If you grew a tomato (a heavy feeder) in a big pot this year, try planting bush beans (which add nitrogen to the soil) in that same pot next year. It’s best to rotate between plant families: a pot that had a root vegetable (like carrots) could grow a leafy green (like kale) next. When you empty a pot at the end of the season, don’t just dump the soil. Put it in a large bucket or tub, mix in a few generous scoops of fresh compost to recharge it, and let it rest for a bit before using it for a different plant family. This simple act of strategic rotation keeps your soil healthy and your plants productive for years to come.
14. Extend Your Harvest: Proven Techniques for Overwintering Perennial Container Vegetables
It’s always a little sad when the first frost signals the end of the season. But for some plants, it doesn’t have to be the end! Certain edible plants, like herbs (rosemary, thyme, sage) and even some chili peppers, are perennials. With a little winter protection, you can keep them alive for another year, and they’ll come back bigger and better in the spring.
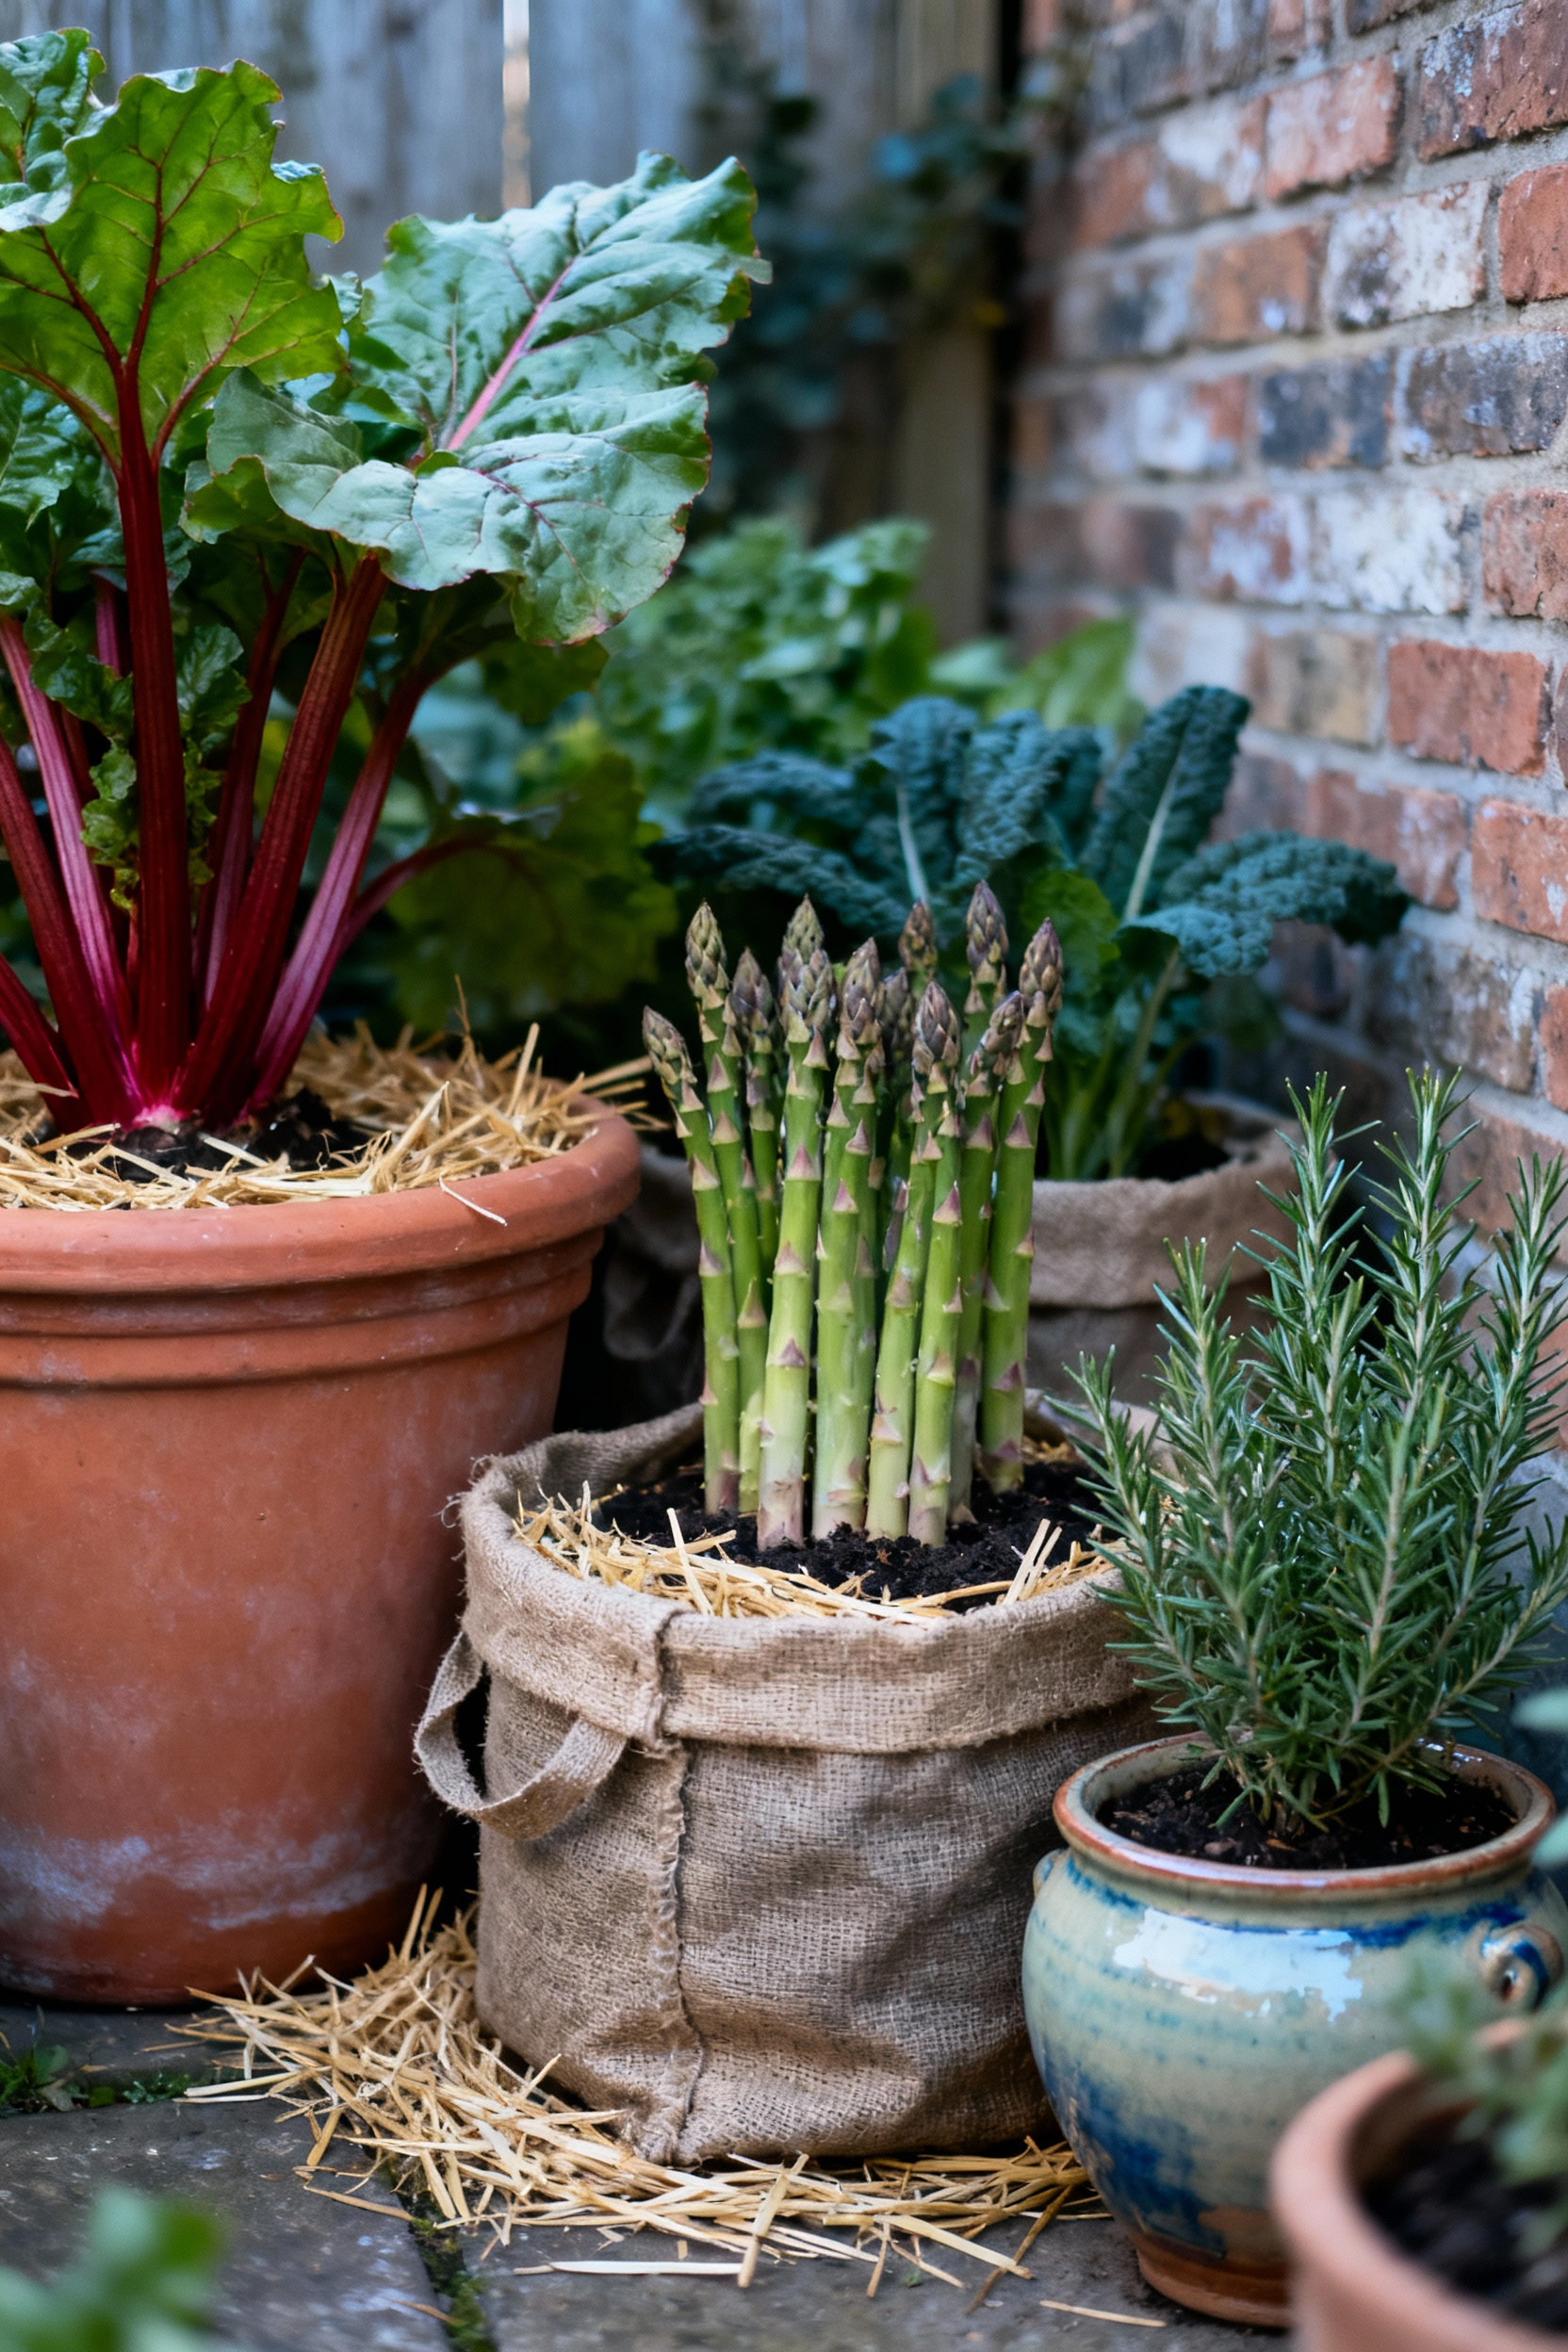
Since container roots are more exposed to cold than in-ground plants, they need insulation. The easiest method is to cluster all your pots together against a protected wall and mulch heavily on top with straw or shredded leaves. You can even wrap the pots themselves in burlap or bubble wrap. For less hardy plants, an unheated garage or shed can be a perfect winter home. Just give them a tiny bit of water once a month to keep the roots from drying out completely. I learned this when I managed to keep a beloved rosemary plant alive for five years on a chilly balcony just by wrapping its pot in an old blanket each winter. It saves you money and gives you a wonderful head start on the next season.
Advanced Container Vegetable Cultivation: Strategies for Peak Performance (Part 2)
Now we’re getting into the really satisfying stuff—the practices that make your garden not just productive, but sustainable. This is where you evolve from being a gardener to being a true garden ecosystem creator.
15. Seed Saving & Propagation: Grow Your Garden from Cuttings and Heirloom Seeds Economically
This is where you unlock the next level of gardening freedom and frugality. Saving seeds from your best-performing plants allows you to cultivate varieties that are perfectly adapted to your specific micro-climate. Just make sure you’re saving from “heirloom” or “open-pollinated” varieties, as seeds from hybrid plants won’t grow true to the parent. For tomatoes, scoop out the seeds and gel, let them ferment in a little water for a few days to remove the germination-inhibiting coating, then rinse and dry them completely on a paper towel. For beans and peas, just let the pods dry completely on the vine before harvesting.
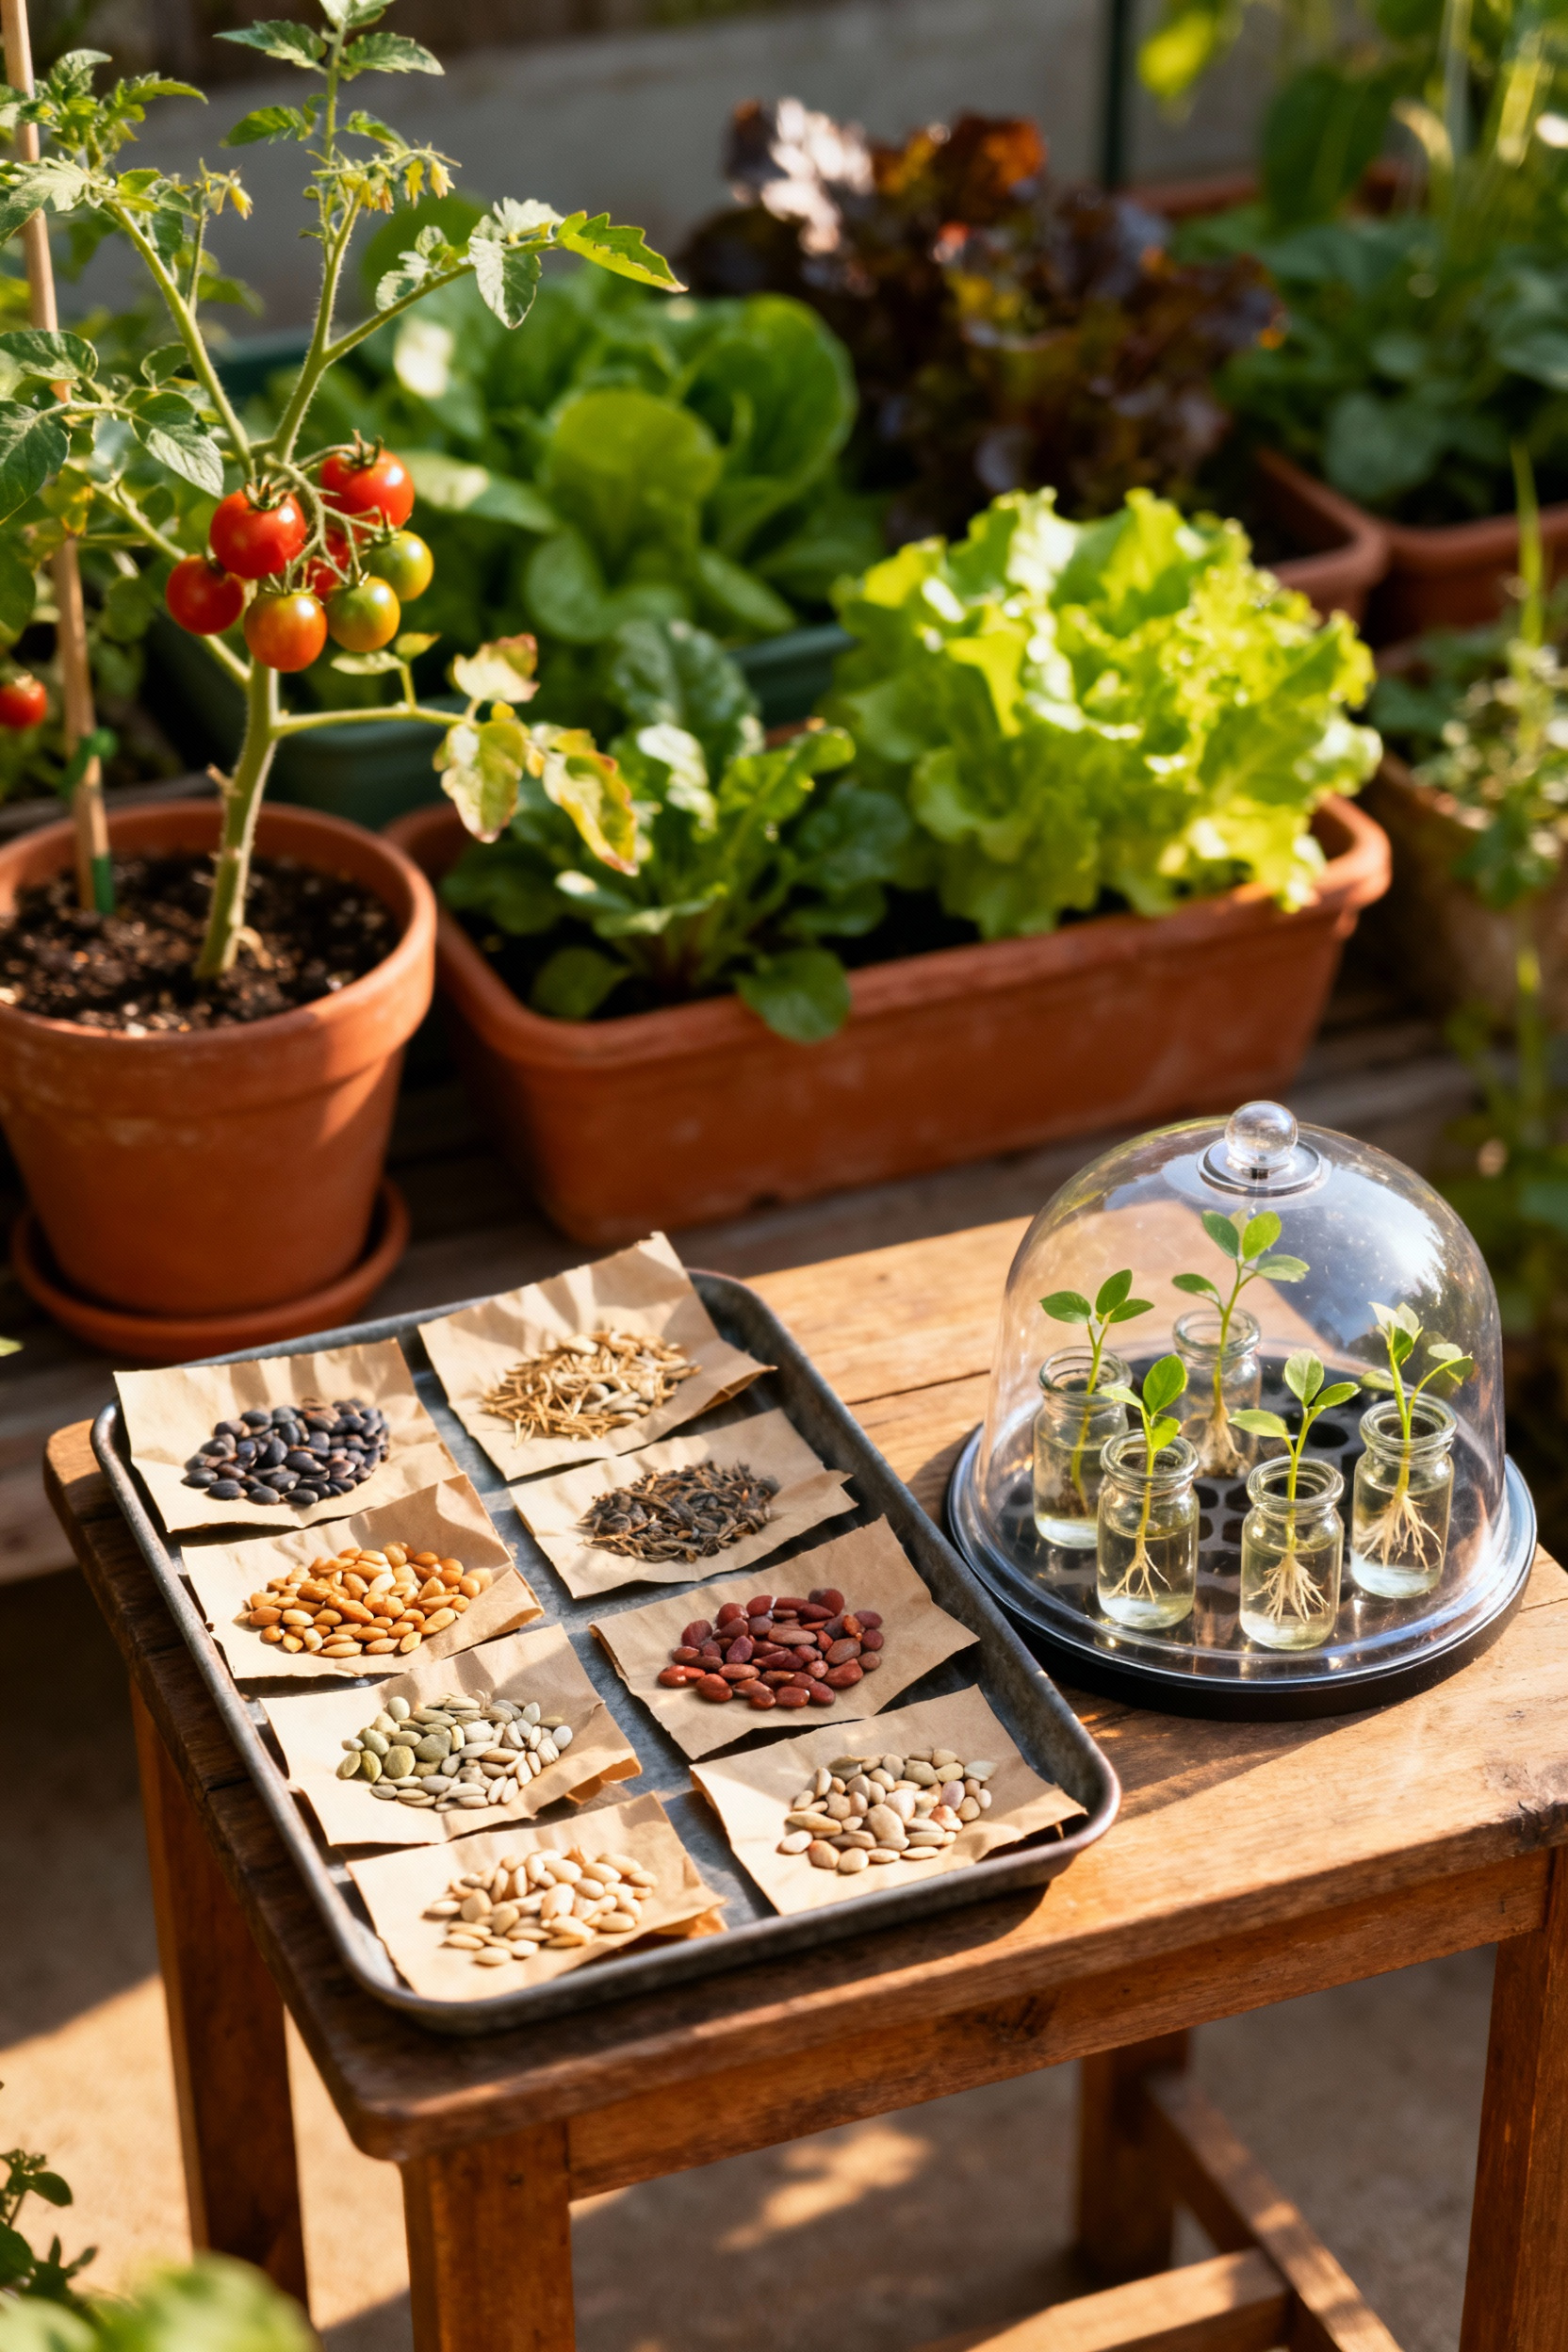
Even easier is propagating from cuttings. So many plants can be cloned this way! Take a 4-6 inch cutting from a healthy basil, mint, or even tomato plant. Pluck off the lower leaves and stick the stem in a glass of water on your windowsill. In a week or two, you’ll see roots forming. Once you have a decent root system, you can pot it up. You just created a brand new plant for free. It’s an empowering way to ensure you always have a ready supply of your favorite plants.
Mastering Container Vegetable Ecosystems: Expert Integration & Innovation (Part 1)
This is the grand finale. It’s where we take all the individual techniques we’ve learned and weave them together to create a beautiful, productive, and largely self-sufficient container garden that functions like a tiny, harmonious ecosystem.
16. Designing Self-Watering Systems: Automated Solutions for Effortless Hydration
Consistent water is the key to happy, productive vegetables. But life gets busy. A self-watering system is your secret to providing that consistency without the daily chore. You can buy self-watering planters, but as a DIYer, I love making my own. The simplest way is the two-bucket method. Take two 5-gallon buckets. Drill a few holes in the bottom of one, and place it inside the other. Fill the space between the buckets with water, and run a “wick” (like a thick cotton rope) from the water reservoir up into the soil of the top bucket. The soil will draw up moisture as it needs it.
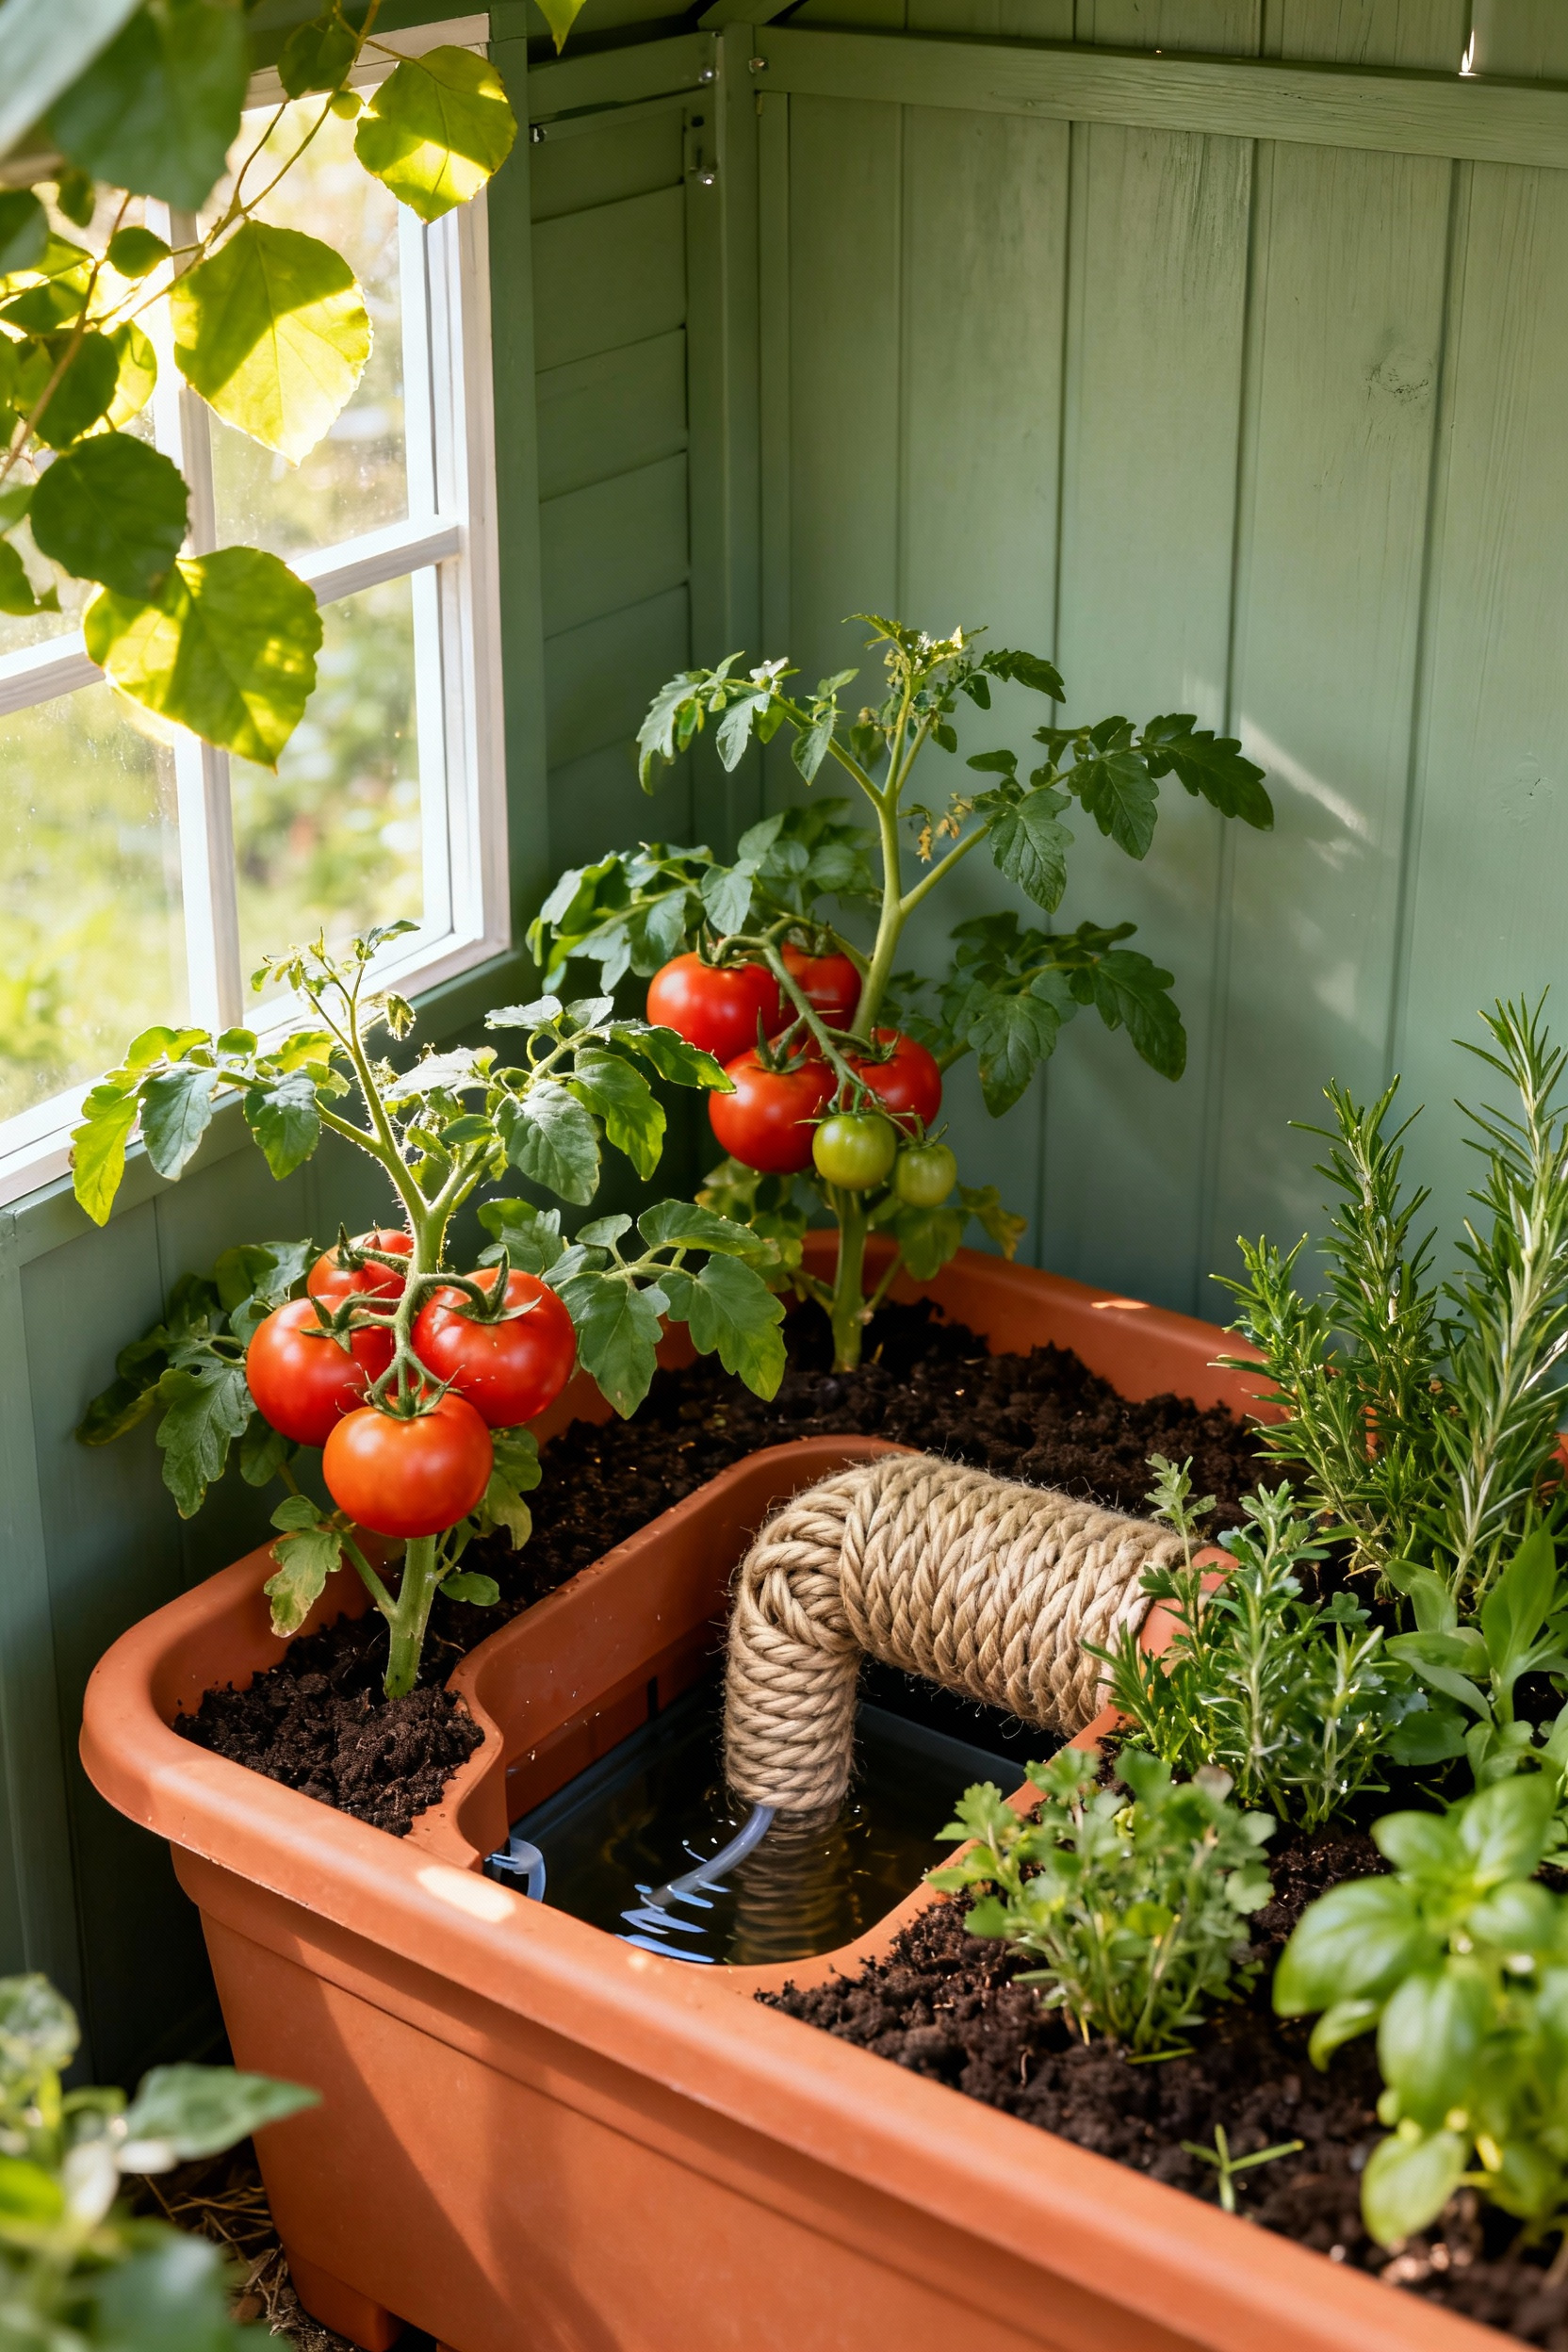
You can apply this principle to almost any container. An old storage tote can be turned into a self-watering raised bed perfect for growing a big tomato plant or a patch of lettuce. For smaller pots, ollas—unglazed terracotta pots that you bury in the soil and fill with water—are an ancient and incredibly efficient method. The water slowly seeps through the porous clay, delivering moisture directly to the roots. Building these systems gives you peace of mind and gives your plants the stable environment they need to truly thrive.
17. Nutrient Cycling Ingenuity: Composting Directly in Large Containers for Continuous Soil Enrichment
Here’s a hack that feels like pure magic: composting directly inside your largest planters. It’s a brilliant way to feed your soil and reduce kitchen waste at the same time. This works best in big containers, like a half-whiskey barrel or a large raised bed (at least 15-20 gallons). All you do is dig a hole in a corner of the pot, away from the main plant roots, and bury your kitchen scraps—coffee grounds, eggshells, veggie peels (avoid meat and dairy). Cover it back up with soil.
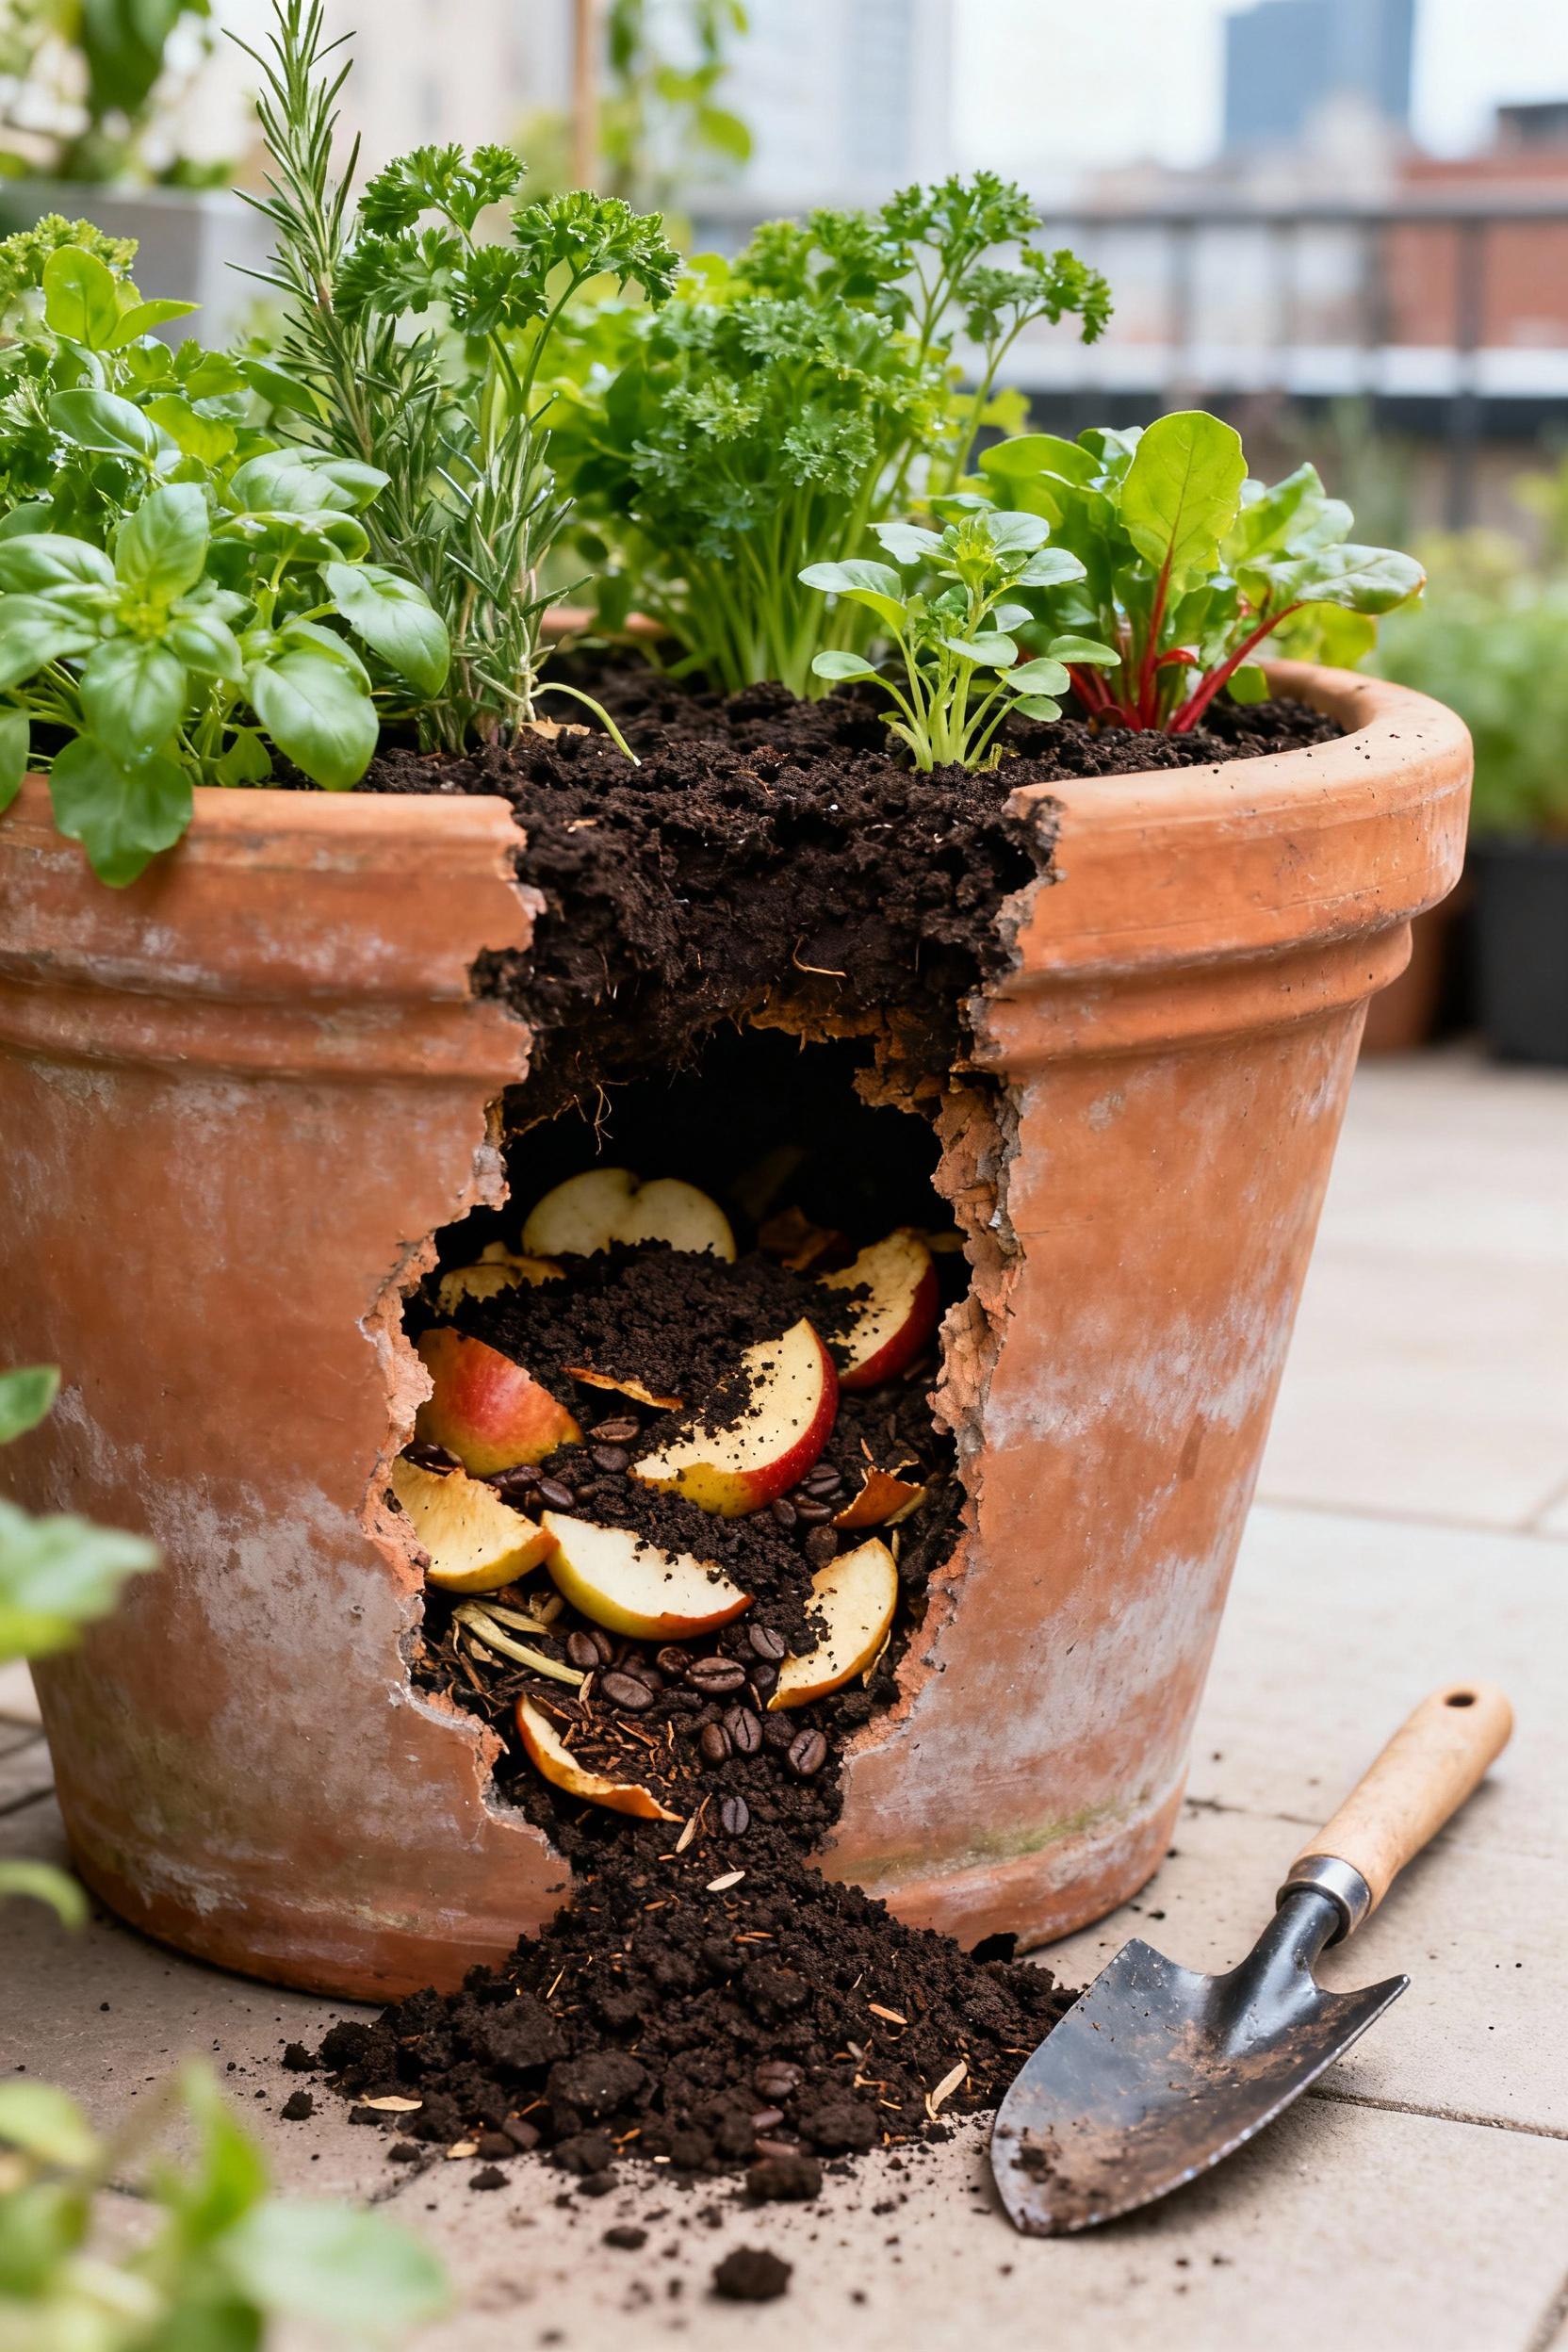
Even better? Create a “worm tower.” Take a plastic bottle or PVC pipe, drill holes all over it, and bury it in the center of your large pot, leaving the top open. You can add composting worms (red wigglers) and drop your kitchen scraps directly into the tower. The worms will travel out through the holes into the soil, delivering nutrient-rich castings right where your plant needs them. I’ve noticed in my own garden that pots with active worm towers produce plants that are noticeably healthier and more vibrant. You’re creating a living, self-fertilizing system.
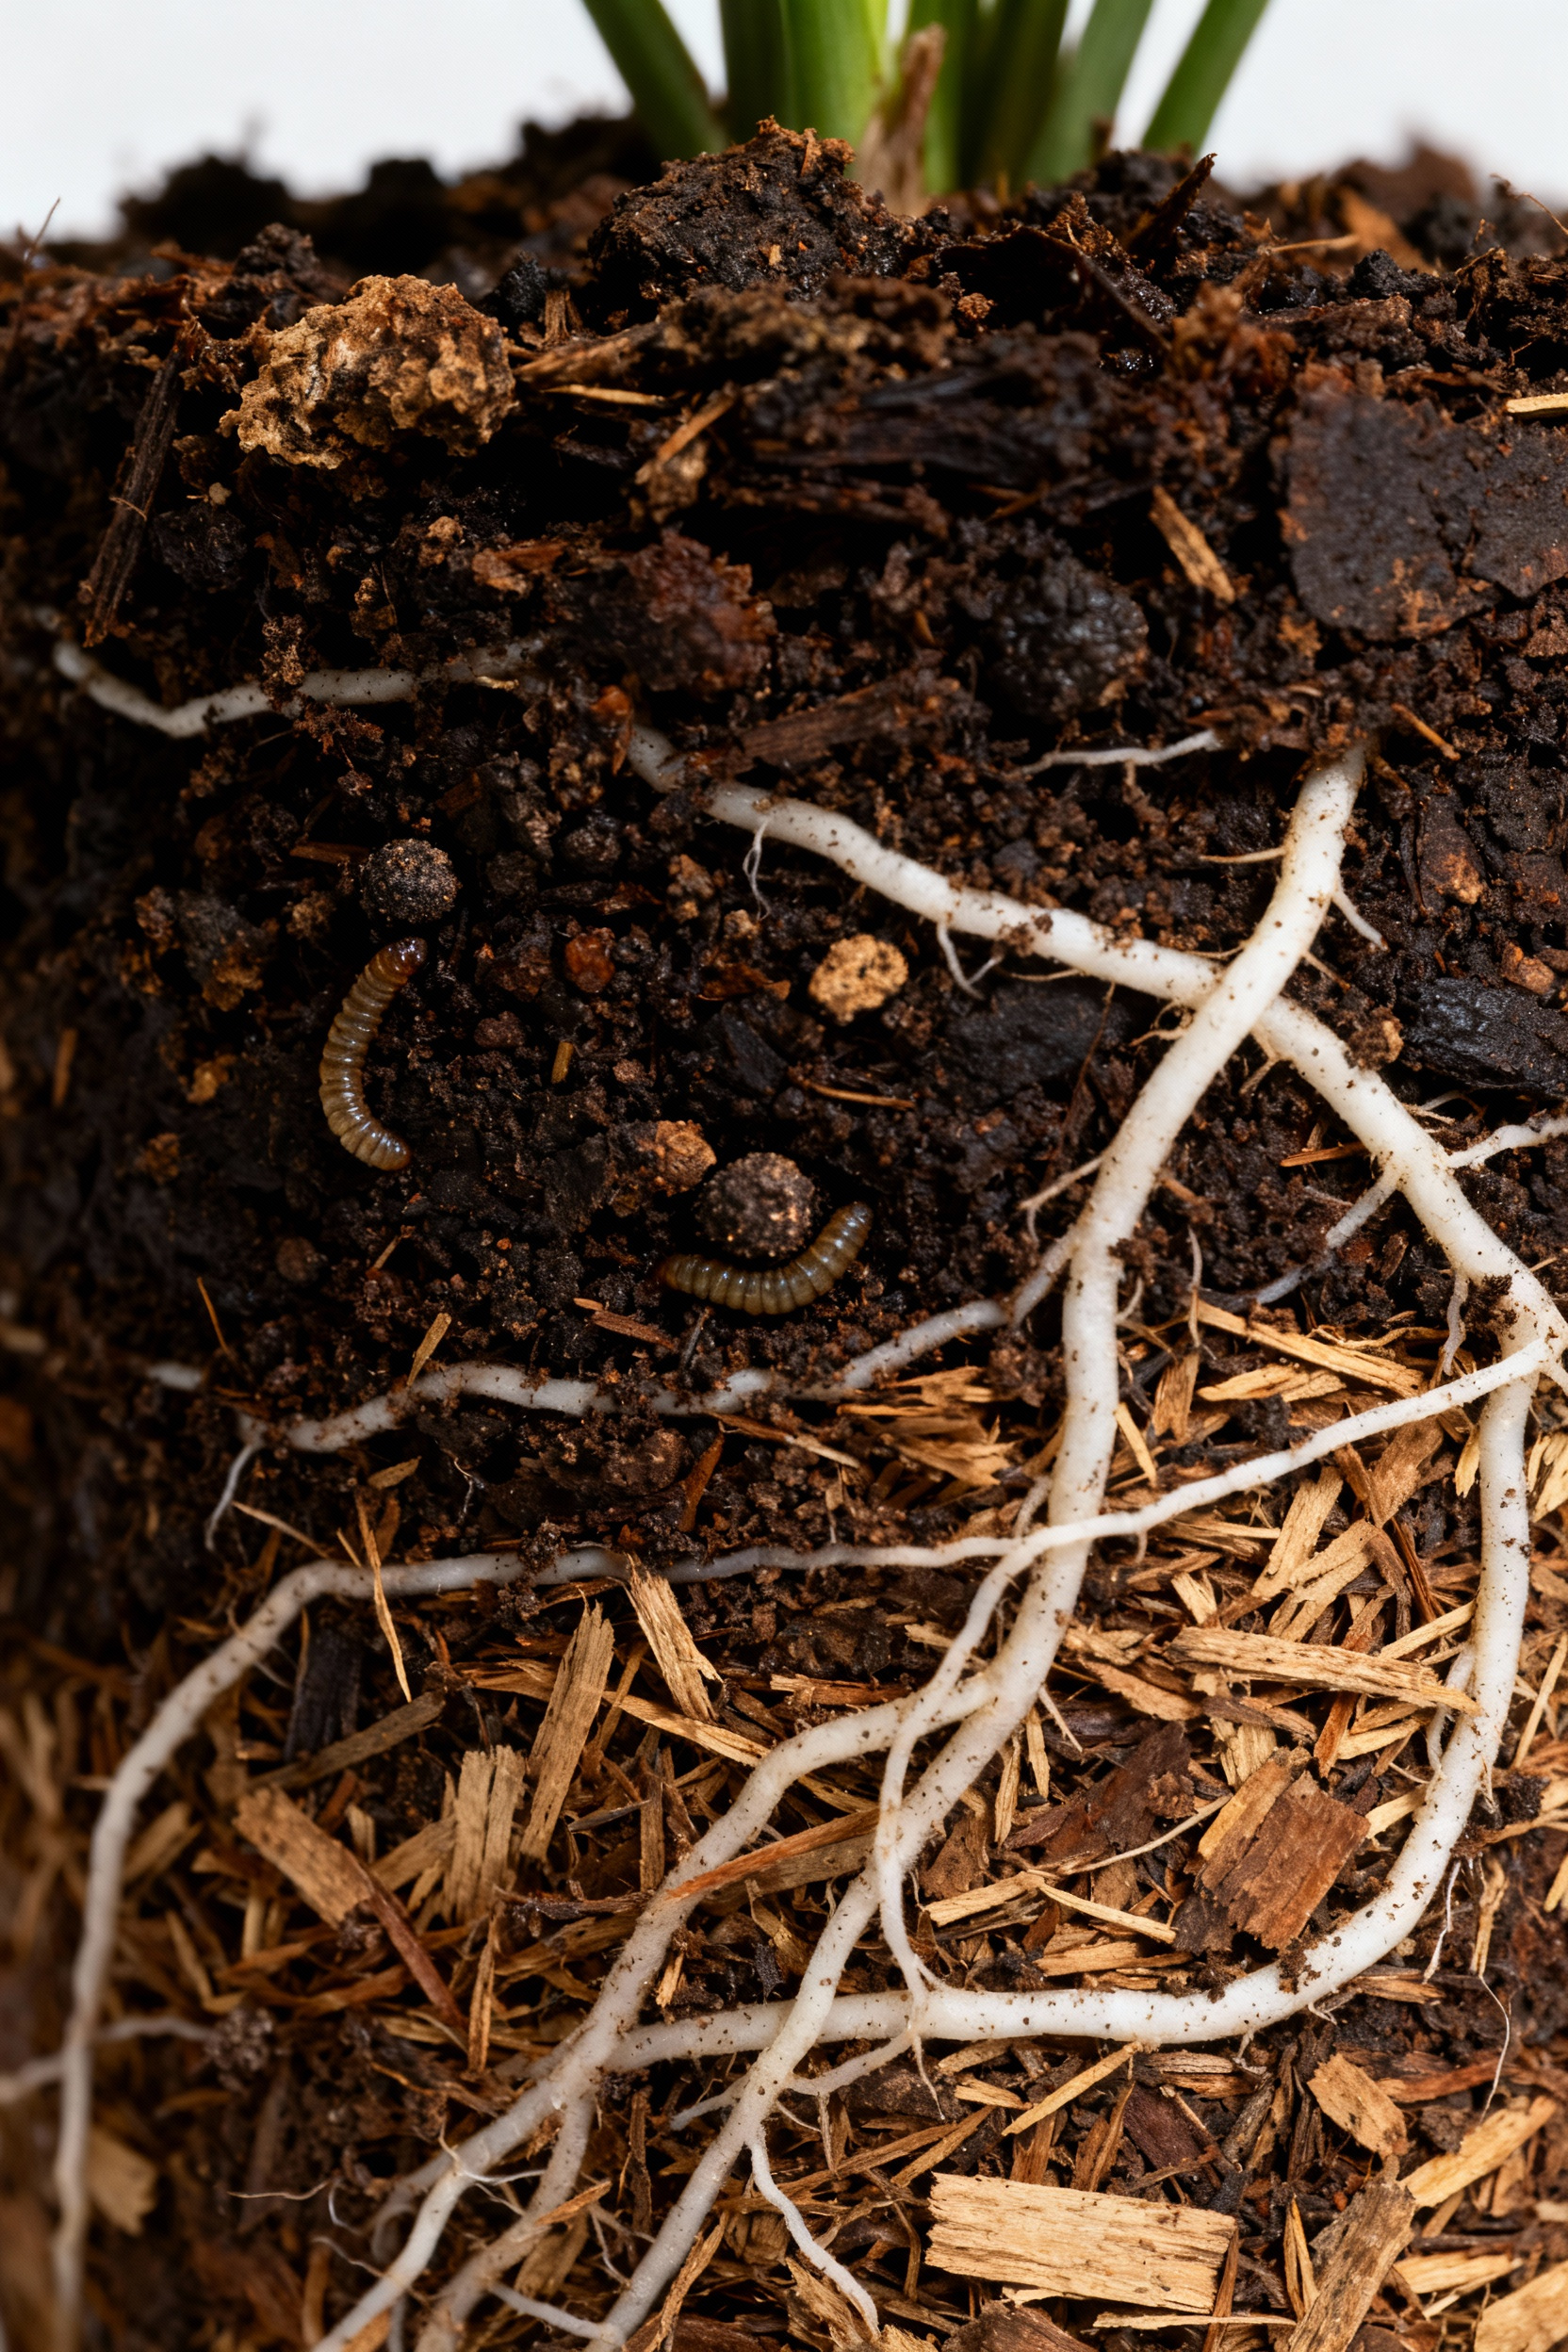
18. Implementing Biologically Active Soil Management for Long-Term Container Health
Healthy soil is so much more than dirt; it’s a living community. It’s teeming with beneficial bacteria, fungi, and microbes that work together to feed and protect your plants. To cultivate this “soil food web” in your containers, start by always adding a good dose of compost to your mix. You can also buy “mycorrhizal inoculant”—a powder you sprinkle on the roots when you plant. These amazing fungi form a symbiotic relationship with your plants, acting like a massive root extension service, bringing back water and nutrients.
Another fantastic technique is to brew your own “compost tea.” Just steep a shovelful of rich compost in a bucket of non-chlorinated water for 24 hours (an aquarium bubbler helps aerate it). The resulting liquid is a probiotic drench for your soil, full of beneficial microbes. Watering your plants with this tea once a month fosters a vibrant, living soil that can better feed your plants and help them fight off diseases.
19. Aesthetic & Edible Integration: Blending Form and Function for Beautiful, Productive Spaces
As a former art teacher, this one is close to my heart. Your edible garden should be beautiful! Forget the idea that vegetables belong in tidy, hidden rows. Use them as the design elements for a stunning and productive space. Apply the “thriller, filler, spiller” design rule to your edible pots. A tall, staked tomato can be the “thriller,” surrounded by leafy kale as the “filler,” with trailing nasturtiums (which have edible flowers!) as the “spiller.”
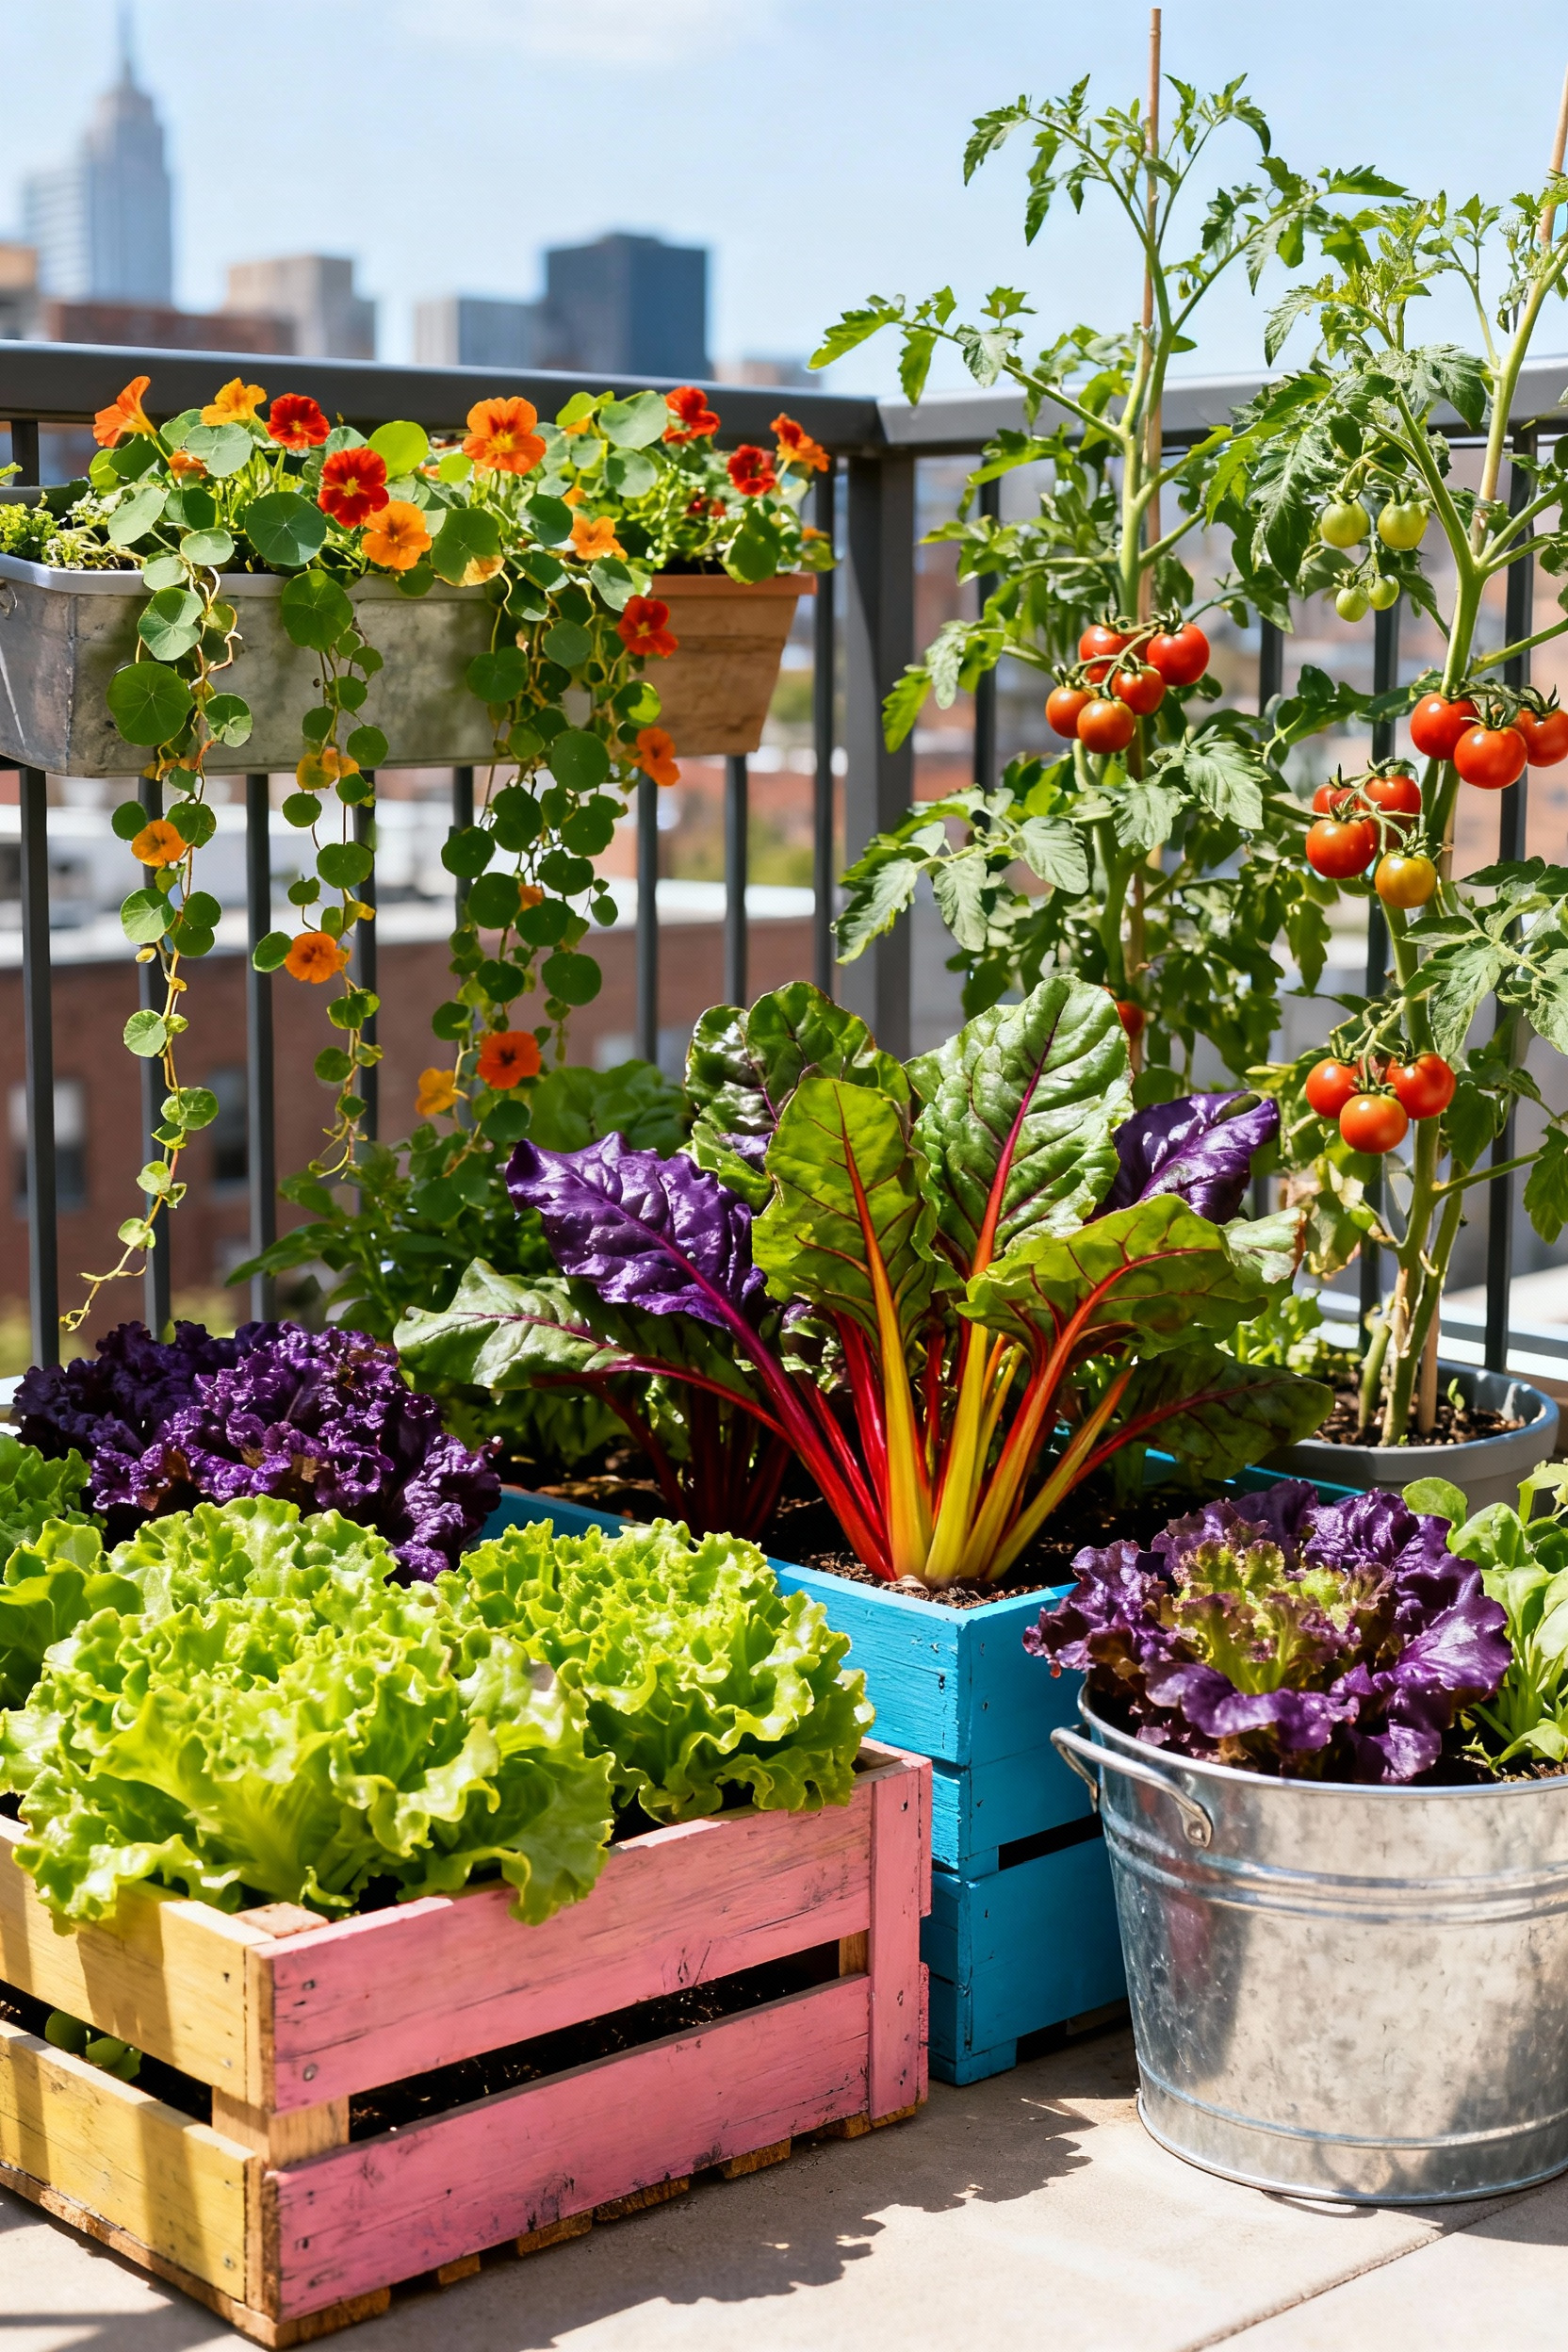
Play with color and texture. The deep purple stems of a ‘Ruby Red’ chard next to the bright green, feathery foliage of a carrot top is a gorgeous combination. Let a climbing squash vine scramble up a decorative iron trellis. Tuck brightly colored edible flowers like violas and calendula into the corners of your pots. When you treat your vegetable garden as a design project, your balcony or patio is transformed from a simple growing space into a beautiful, personal sanctuary that also happens to provide dinner.
Mastering Container Vegetable Ecosystems: Expert Integration & Innovation (Part 2)
We’re bringing it all home now. This final step is about looking at your garden not as a collection of pots, but as a complete, year-round system. It’s about planning and foresight, ensuring that your little Eden provides for you through every season.
20. Year-Round Harvest Systems: Crafting a Perpetual Container Vegetable Garden Schedule
The ultimate goal for many of us is to have something fresh to harvest whenever we want it. This is totally achievable, even in containers, with smart planning. It involves combining succession planting with season extension techniques to create a garden that never really stops. Start by mapping out your year. Know which crops thrive in the cool weather of spring and fall (lettuce, spinach, kale, carrots) and which need the summer heat (tomatoes, peppers, squash).
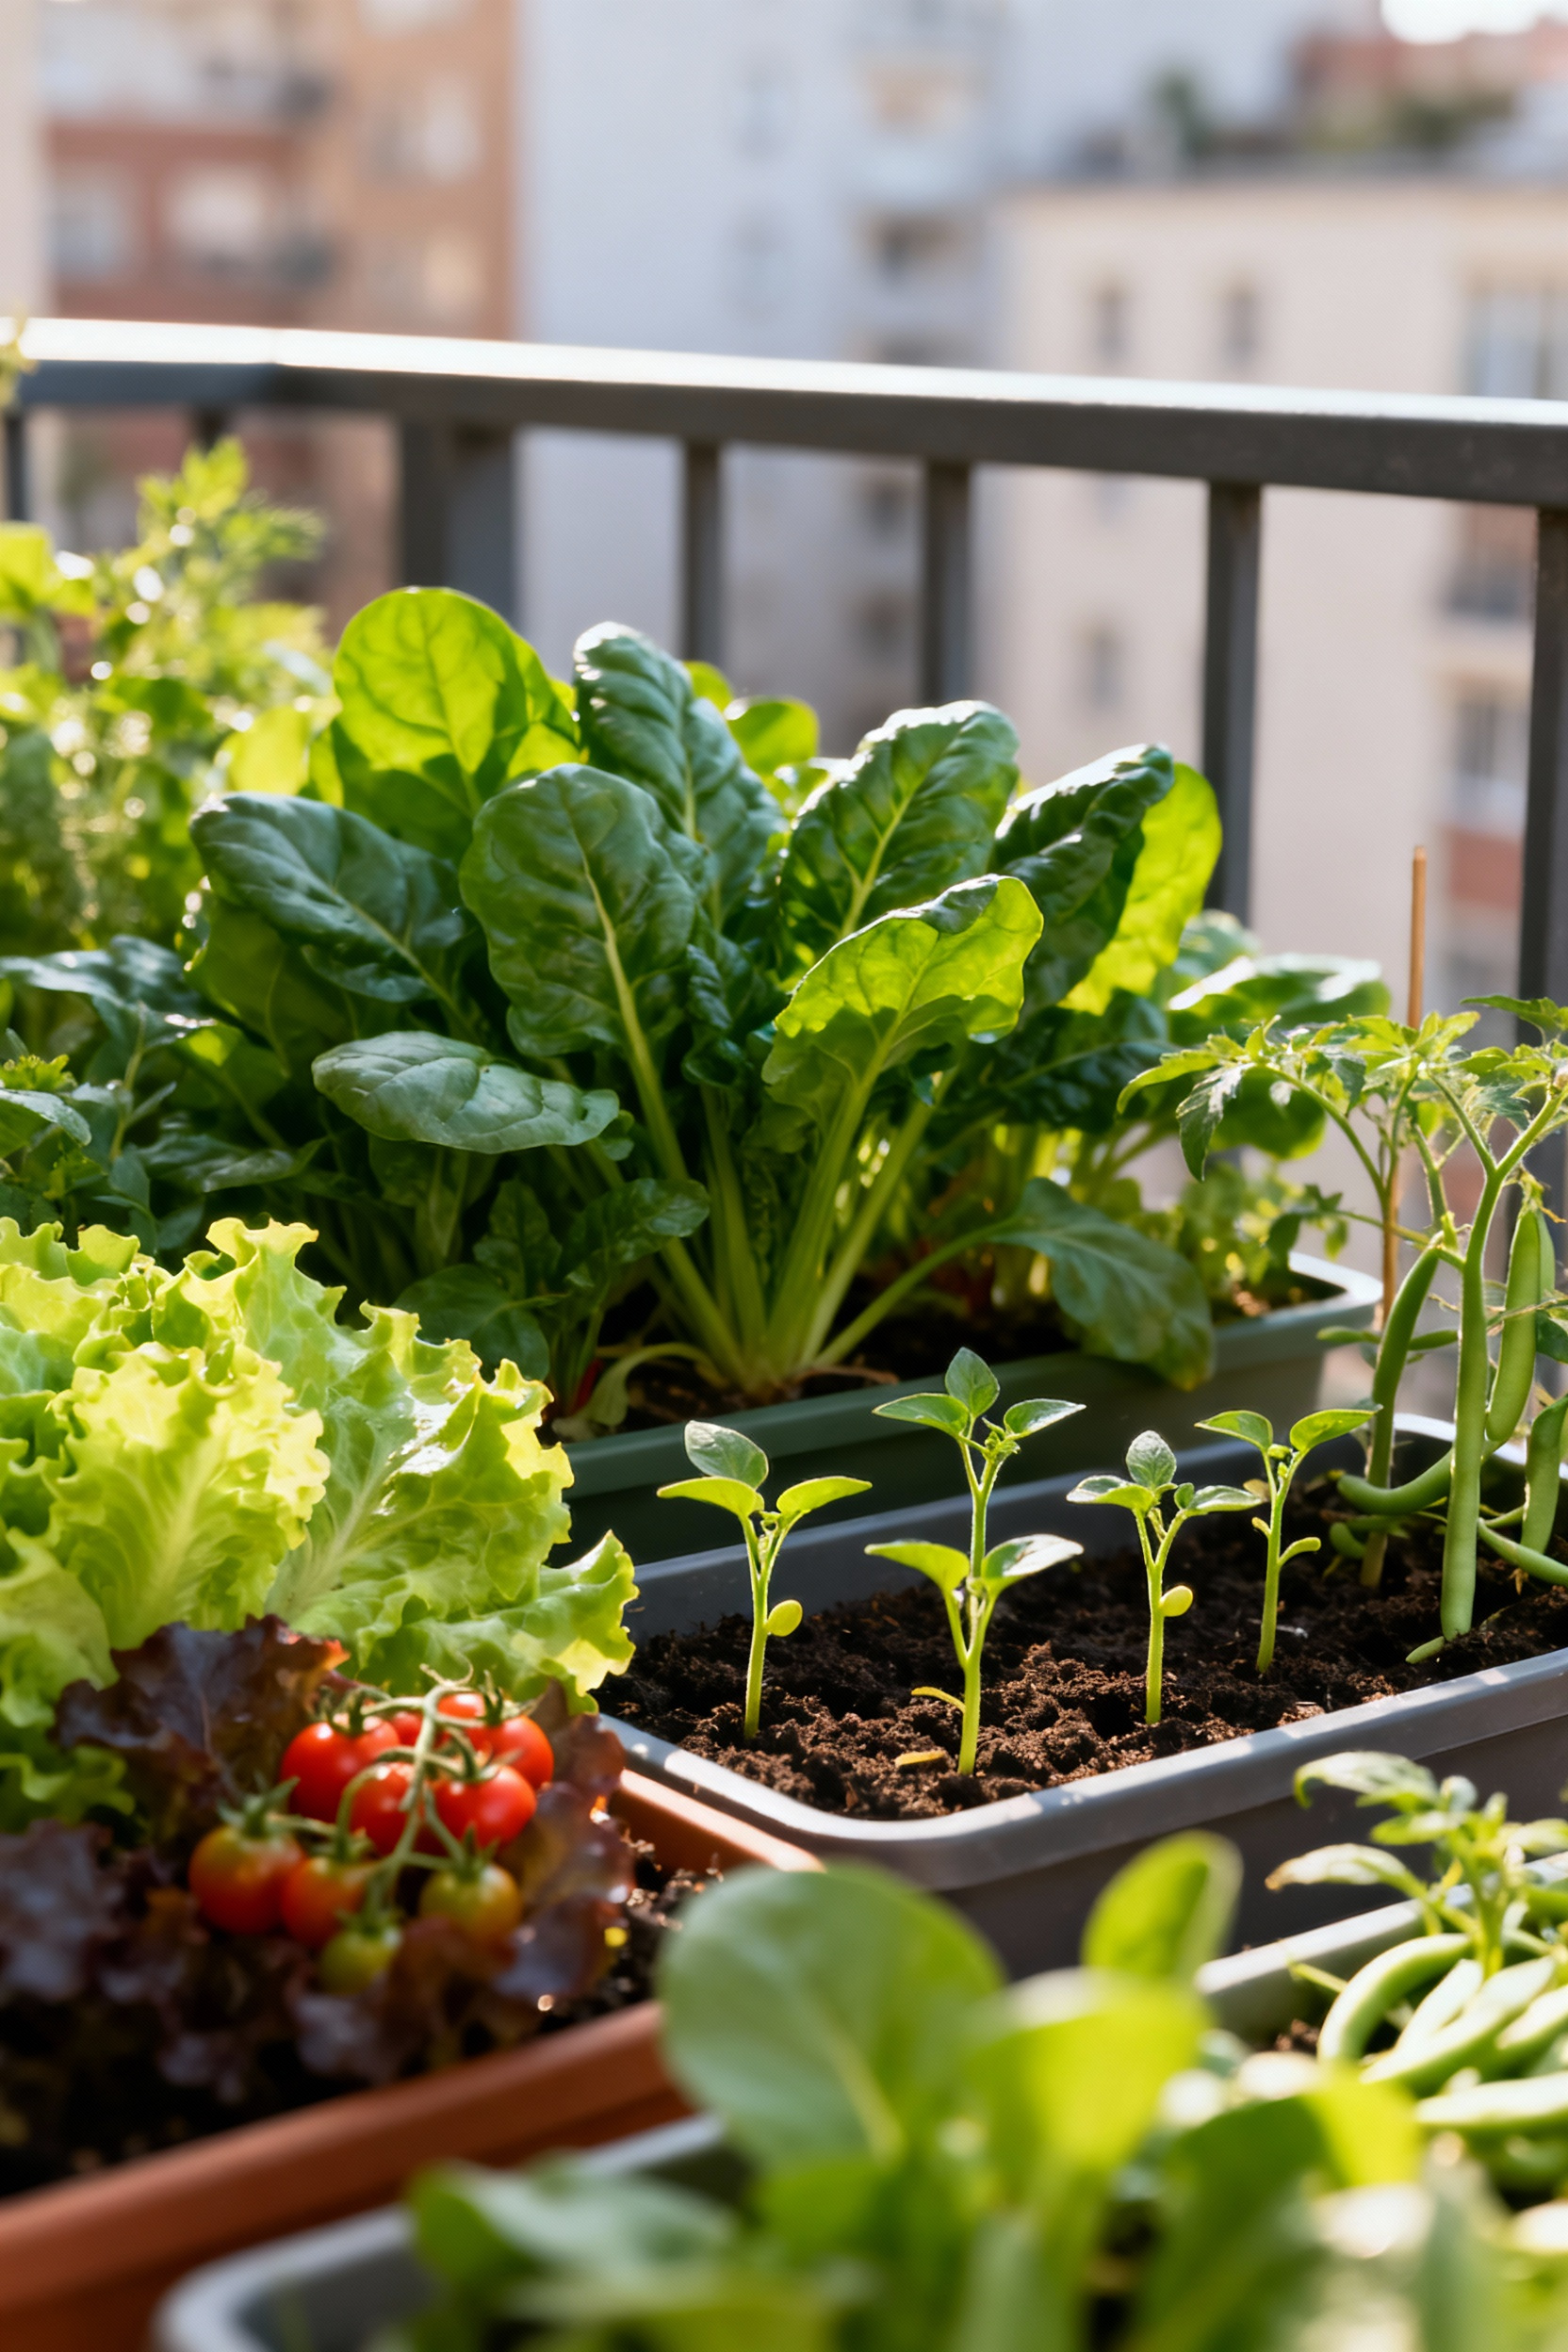
Your schedule is your roadmap. As your summer squash begins to fade in late summer, you should already have seedlings of fall kale and spinach ready to take its place. Use cold frames (a simple box with a clear lid) or even just a heavy fleece row cover to protect your fall and winter crops from the first frosts, extending your harvest by weeks or even months. With careful planning, you can be harvesting fresh salad greens in November and planting your first pea seeds in a protected pot in late winter. It’s the ultimate expression of mastery—turning your small space into a four-season source of fresh, delicious food.
Conclusion
There you have it—20 ways to rethink and reinvent what’s possible in a small space. I hope that walking through these ideas has made the whole idea of container gardening vegetables feel less like a daunting task and more like a fun, creative project. We’ve taken it from the ground up, starting with the very soil in your pots and building all the way to a beautiful, year-round edible ecosystem. It’s never been about having the “perfect” space; it has always been about applying a little creative problem-solving to the space you have.
Now, the best part begins: your turn. Don’t feel like you need to do all of this at once. Pick one thing that sparked your interest—maybe it’s making a self-watering planter or trying your hand at growing radishes—and just start. The incredible thing about gardening is that it’s a conversation. You plant a seed, the plant responds, and you learn. Every little success will build your confidence and every “mistake” is just a lesson for next time.
Remember that joy you feel when you create something with your own hands? That’s what’s waiting for you here. The pride of snipping herbs for dinner that were growing just moments before, of biting into a sun-warmed cherry tomato you nurtured from a tiny seed. That feeling is what this is all about. So go on, get your hands dirty, and start cultivating a little abundance of your own. You can absolutely do this.