Can we just talk for a second about why everyone gets bathroom decor wrong? People treat it like any other room in the house. They find a piece of art they love, stick it on the wall, and then six months later, they’re asking me why it’s got weird brown spots and the frame is peeling. Here’s the secret no one tells you: your bathroom is an ecosystem. It’s a high-humidity, temperature-fluctuating, tiny little biome that will wage war on anything that isn’t prepared for it.
As someone who geeked out on environmental science before I ever touched a design swatch, I see bathrooms differently. The real story isn’t just about making it pretty—it’s about making it healthy, durable, and then beautiful. The good news is, these things aren’t mutually exclusive. In fact, the most sustainable choices almost always lead to the most stunning, serene, and functional spaces. So forget the corporate speak and the 5-minute craft hacks. Let’s talk about what actually matters.
Laying the Foundation: Smart Planning for Your Bathroom Walls
Okay, I know this is the boring part, but if you skip it, you’re just setting yourself up for failure. This is the blueprint. Getting this right means you buy things once, they last for years, and you end up with a room that feels intentional, not just like you threw a bunch of stuff at the walls.
1. Determine Your Bathroom’s Core Style to Guide Decor Choices
Before you buy a single thing, you need a plan. People see a cool mirror on Instagram and a funky soap dish at a market, and they buy them both without thinking about whether they belong in the same room. The result is a space that feels chaotic and cheap, even if you spent a ton of money. So, stop. Look at the permanent fixtures—your tile, your vanity, your tub. What’s their DNA? Are they sleek and modern? Classic and traditional?
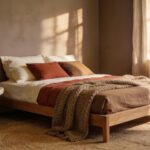
Once you have that, create a quick mood board. It doesn’t have to be fancy. Just a few images that capture the feeling you want. Is it “calm, earthy spa” or “bold, graphic powder room”? This isn’t just fluffy designer talk; this is your North Star. It’s what stops you from making impulse buys that you’ll end up donating in a year, which is a waste of money for you and a waste of resources for the planet. Having a clear style roadmap is the single most sustainable—and budget-friendly—thing you can do.
With a clear vision in your head, the next non-negotiable step is to face the bathroom’s biggest enemy: water.
2. Evaluate Humidity & Splash Zones for Durable Material Selection
I’m going to be blunt: if you ignore humidity, your bathroom will destroy your decor. I once had a client who hung a gorgeous, expensive, custom-framed print on paper—a wedding photo—right over the toilet in a bathroom with a shower and a weak fan. A year later, it was a mess of wavy paper and the beginnings of black mold inside the frame. They were heartbroken, and it was 100% preventable. Your bathroom has different zones, and you have to treat them that way.
The “splash zone” is the area right behind the sink or inside the shower. That needs truly waterproof materials like tile, glass, or waterproof panels. Then there’s the “steam zone”—the upper walls and ceilings that get hit with constant humidity. Here, you need at least a high-quality, mold-resistant paint. Thinking in zones lets you make smart, targeted material choices. This isn’t just about saving your art; it’s about protecting your home and your health from mold and mildew. Proper material choice is the line between a sanctuary and a science experiment.
Once you’ve respected the power of water, you can use a few visual tricks to make your space feel bigger and brighter.
3. Maximize Small Bathroom Walls with Strategic Visual Expansion
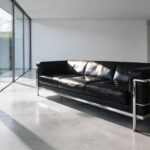
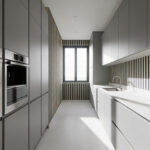
Most of us are working with small bathrooms. The big mistake everyone makes is filling them with tiny things, thinking it will make the room feel bigger. It’s the opposite. A bunch of small frames and little knick-knacks just creates visual noise and makes the walls feel cluttered and chaotic. The shortcut is to think big, but simple. A large, frameless mirror is your best friend. It bounces light around and basically erases a wall, doubling the perceived size of the room without any demolition.
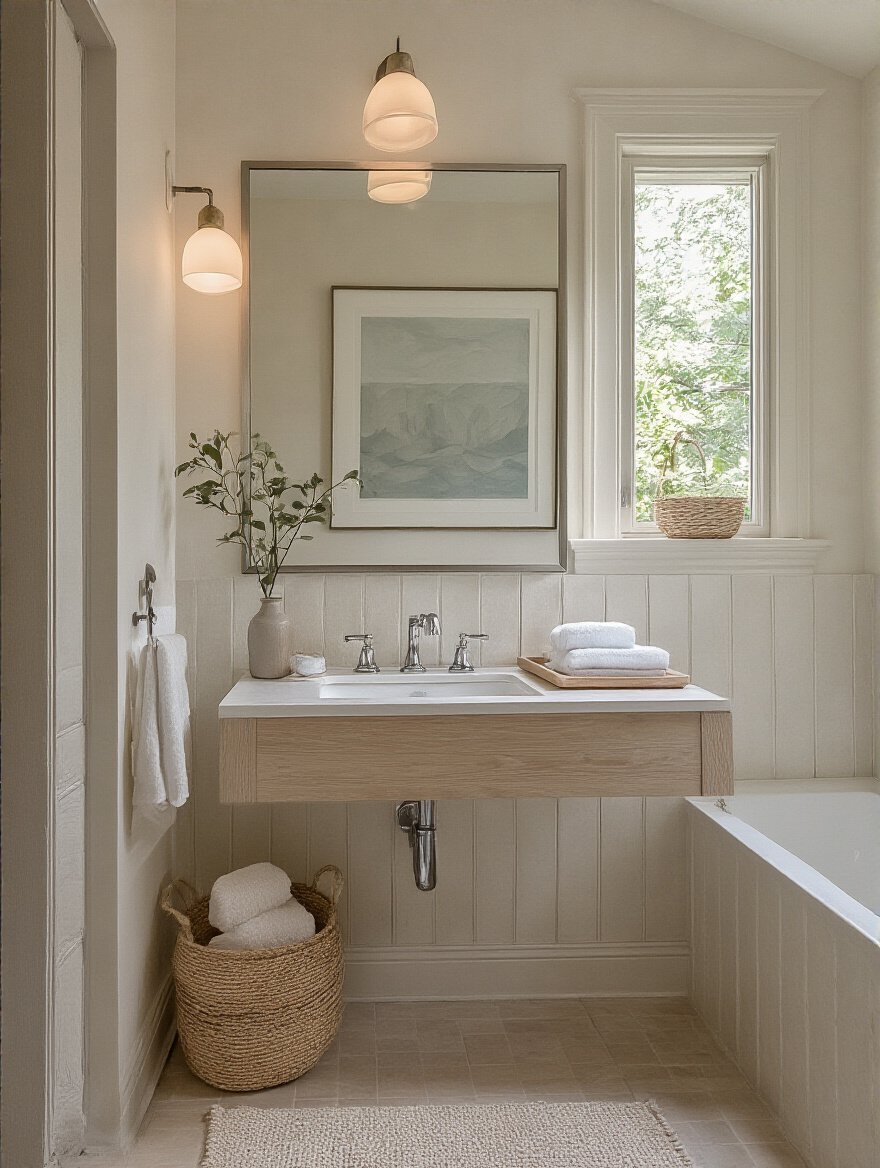
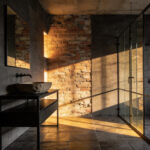
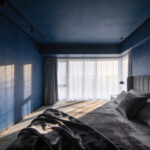
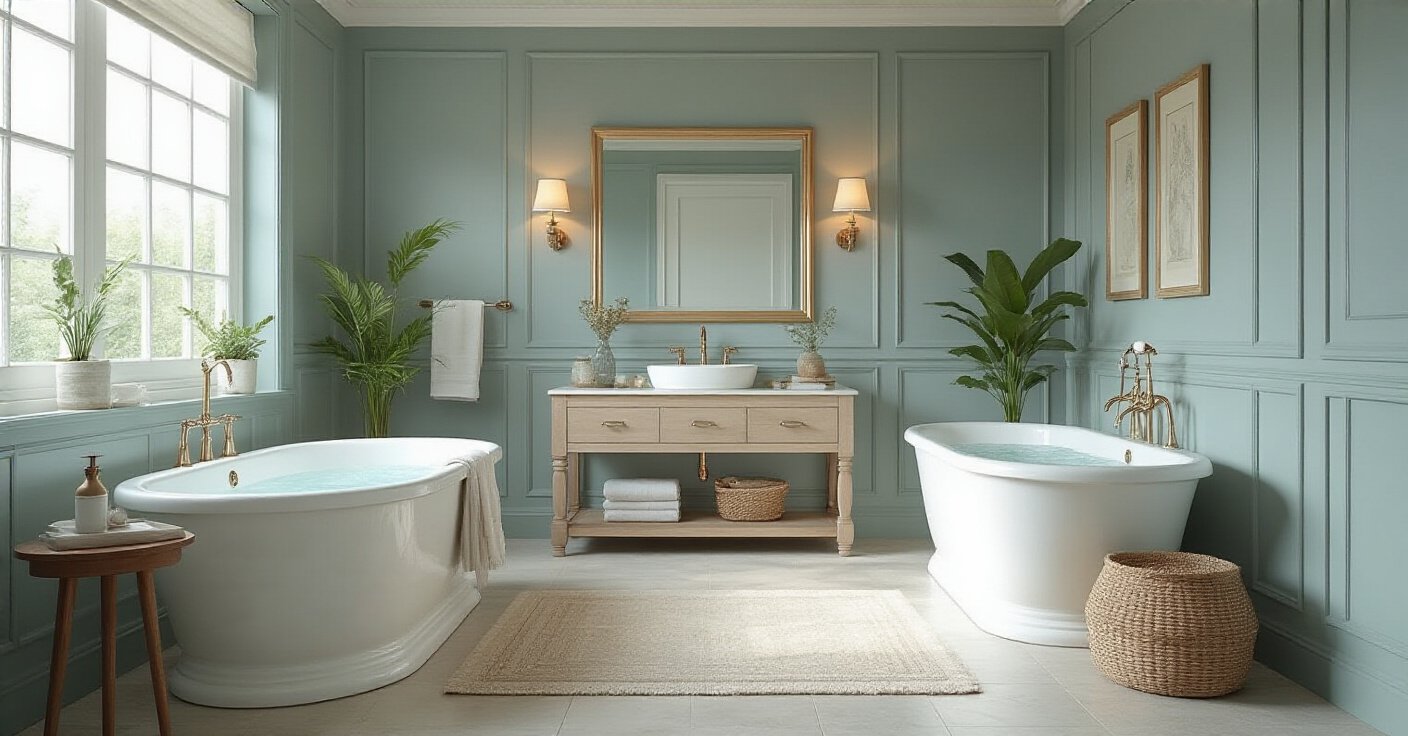
For color, stick to a light and simple palette. Whites, soft grays, pale blues—they reflect light and create an airy, seamless feeling. Think of your walls, floor, and ceiling as one continuous surface. A dark accent wall can work, but use it strategically on the farthest wall from the door to create an illusion of depth. This isn’t just about tricking the eye; it’s about creating a space that feels calming and uncluttered. A serene mind is a direct result of a serene environment.
With your layout strategy in mind, it’s time to decide where you actually want people to look.
4. Identify Your Bathroom’s Focal Point for Impactful Wall Art Placement
When you walk into a room, your eye needs somewhere to land. If it doesn’t, it just bounces around, and the space feels unsettled. You need to choose one wall or one feature to be the star of the show. This is your focal point. It might be the wall behind your beautiful freestanding tub, or the space above your vanity. Don’t try to make every wall a focal point—that’s a recipe for visual chaos.
Once you’ve picked your star player, that’s where you put your best piece of wall decor. Your “wow” item. This could be a dramatic piece of waterproof art, a stunning statement mirror, or a wall of gorgeous tile. By giving one area the most visual weight, everything else can relax and play a supporting role. This creates a sense of order and intention. It shows that you’ve designed the space, not just decorated it.
And of course, all this great planning needs to be grounded in reality, which means we have to talk money.
5. Set a Realistic Budget to Optimize Your Bathroom Decor Spending
Your budget isn’t a limitation; it’s your creative director. Seriously. A tight budget forces you to be resourceful and make choices that are often more unique and personal than if you just had an unlimited credit card. The key is to decide where your money will make the most impact. I always tell my clients to identify their “hero” piece. Is it the oversized, antique-inspired mirror? The beautiful, hand-glazed tile for an accent wall? Allocate a good chunk of your budget there.
Then, you can get creative and save on the rest. Maybe you find some great frames at a thrift store and paint them to match. Or you propagate your own plants for the wall planters. Always, always add a 15-20% contingency fund. There will always be something you didn’t plan for. Budgeting this way prevents that end-of-project panic and ensures you end up with a space you love, without the financial hangover. It’s the responsible way to bring your vision to life.
With a solid plan in place, we can finally get to the fun part: picking out the actual pieces.
Selecting Key Decor Elements: Design Pieces for Your Walls
This is where your bathroom’s personality comes to life. But remember the rules we just set: every choice should honor your style, respect the humidity, and fit your budget. The goal is to select pieces that are not only beautiful but also smart.
6. Select Moisture-Resistant Art Prints to Prevent Damage and Peeling
Please, for the love of all that is good, do not hang a standard paper print in your bathroom. It will end in tears. Paper absorbs moisture from the air, causing it to ripple, buckle, and become a breeding ground for mildew. The frame will trap that moisture, and it’s all downhill from there. This is just creating future landfill fodder. Instead, look for art that’s inherently waterproof.
Prints on metal or acrylic are fantastic options. They have a sleek, modern look and you can literally wipe them down. Another great choice is a giclée print on canvas, but—and this is critical—it needs to be sealed with a waterproof, museum-grade varnish. This creates a barrier against humidity. Choosing the right material from the start means your art will look amazing for a decade, not a single season. It’s the ultimate “buy it once, buy it well” philosophy.
Now, let’s talk about the single most powerful element you can put on a bathroom wall.
7. Incorporate Statement Mirrors for Both Functionality and Design Flair
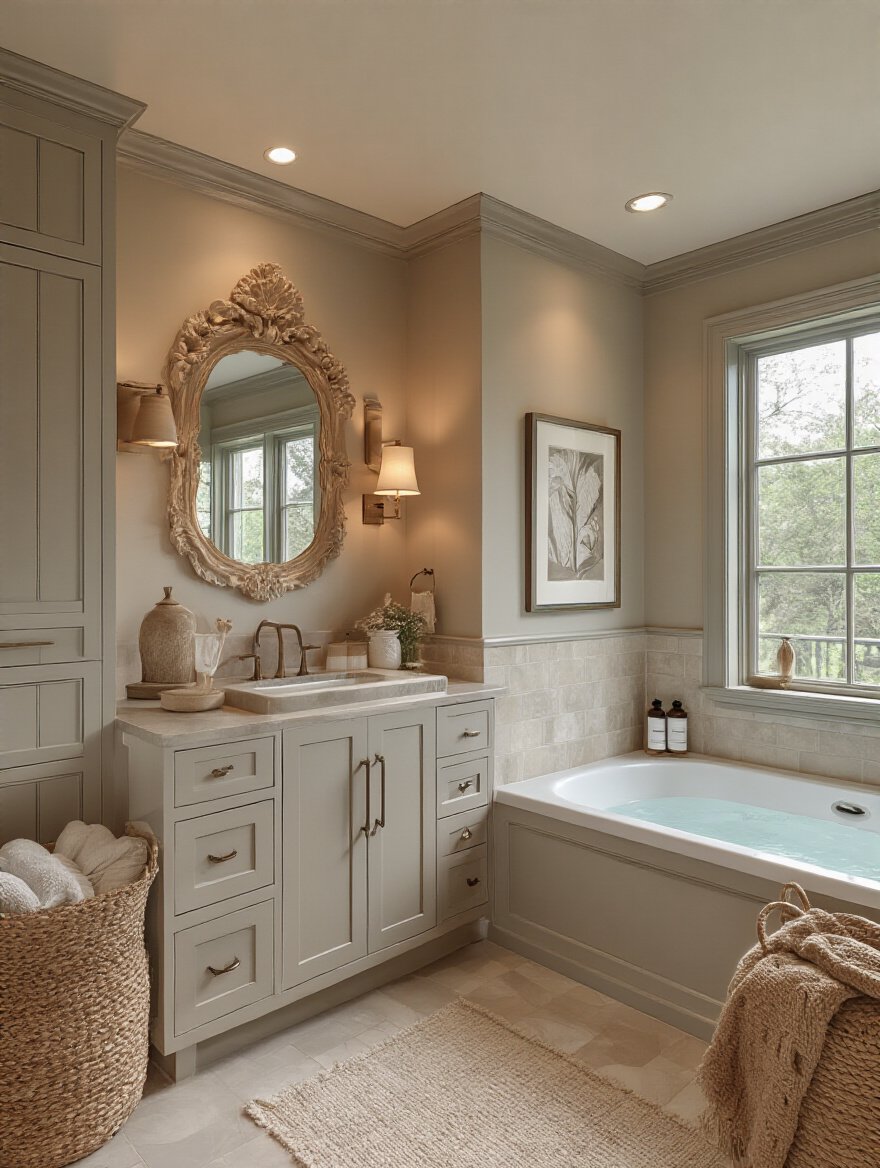
A mirror is a functional necessity, but it’s also your biggest design opportunity. Ditching the builder-grade plate glass mirror for a statement piece is the fastest way to upgrade your entire bathroom. Think of it as the jewelry for your room. It can define the style, from a vintage-inspired ornate gold frame to a sleek, black-rimmed minimalist circle. A statement mirror instantly signals that this space has been thoughtfully designed.
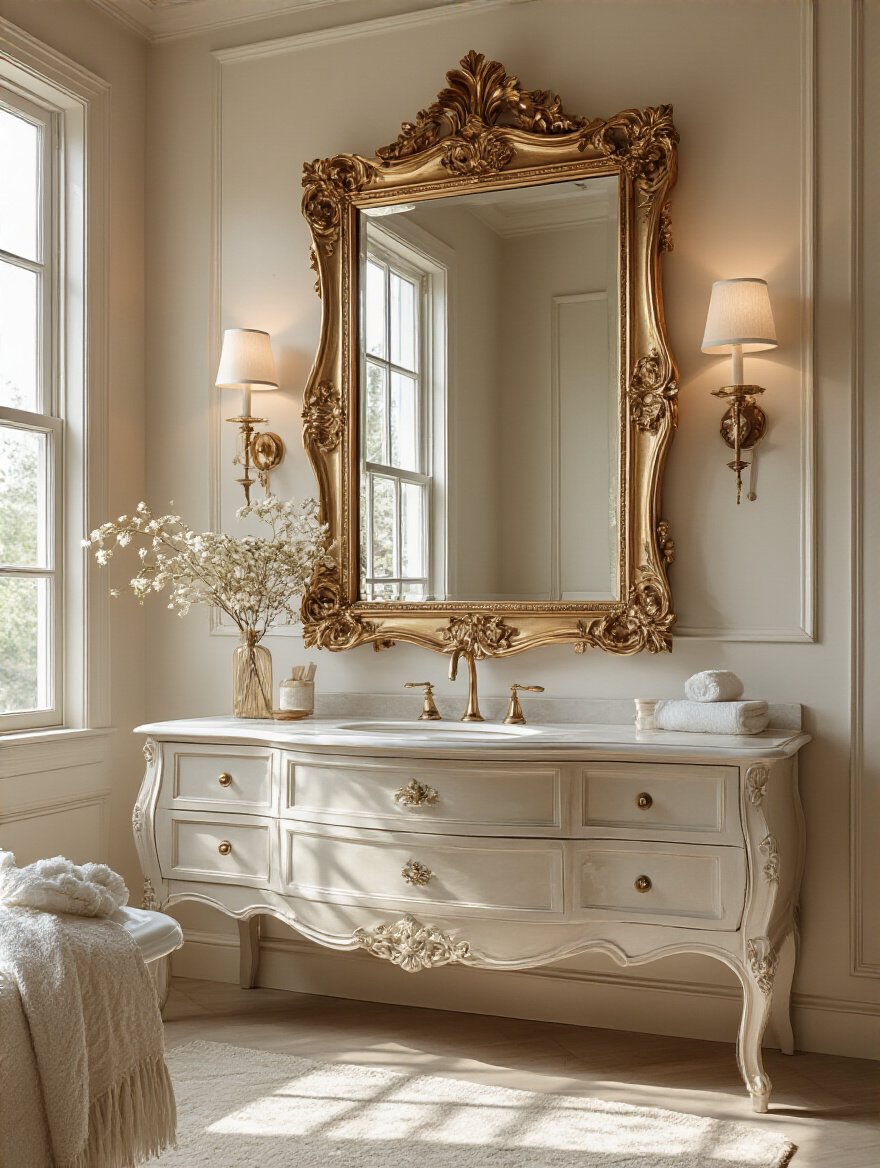
Beyond style, it’s a sustainable design tool. A large mirror is basically a light-multiplier. It grabs every bit of natural or artificial light and bounces it around the room, making the space feel brighter and more open without needing to add more electrical fixtures. This is especially true for mirrors with unique shapes or beveled edges that catch the light in interesting ways. Go as big as your vanity will allow; it’s a bold move that always pays off.
Mirrors are great for visual impact, but you also need practical spots for your daily items.
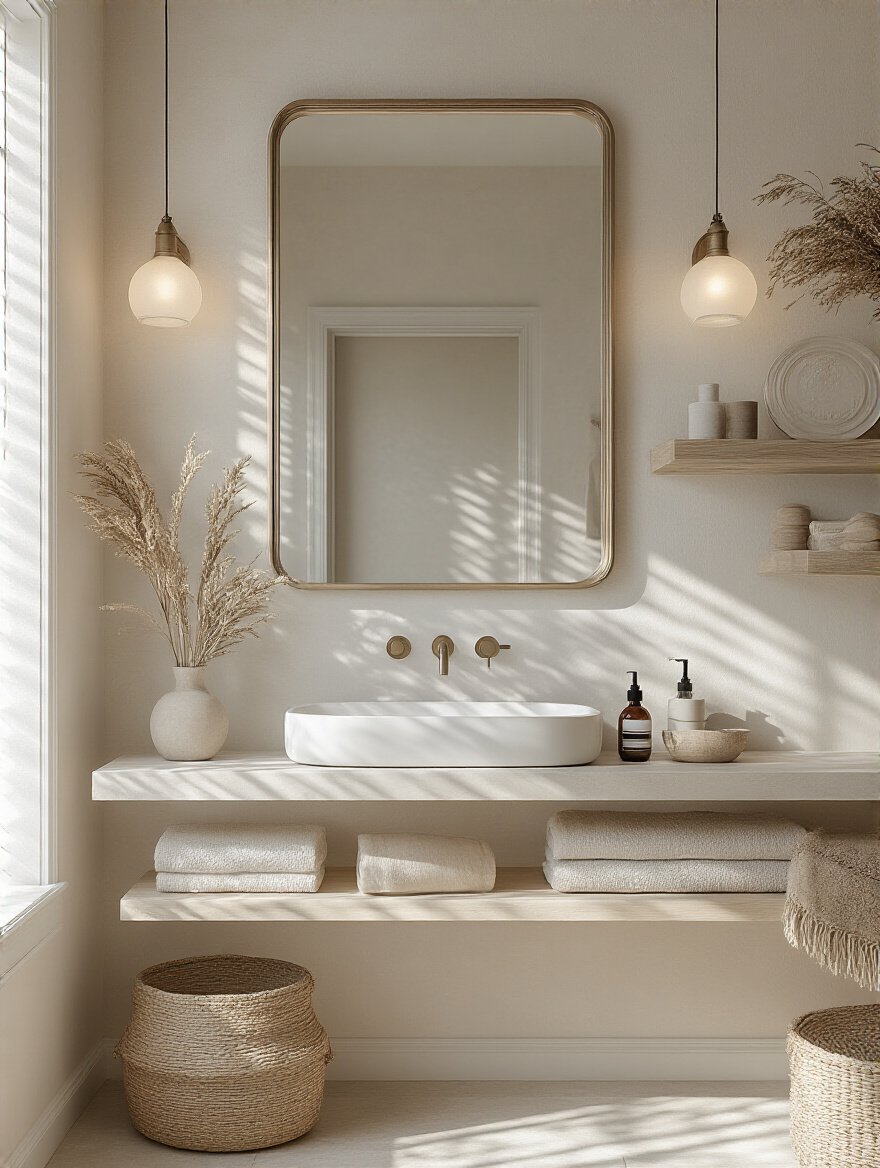
8. Add Floating Shelves for Stylish Storage and Display Opportunities
Bathroom counters are clutter magnets. The best way to combat this is to go vertical. Floating shelves are brilliant because they provide much-needed storage without the visual bulk of a cabinet. They keep the space feeling open and airy. Use them for things you need to access and things you want to display: rolled-up towels, a beautiful jar of bath salts, a small plant, extra toilet paper in a nice basket.
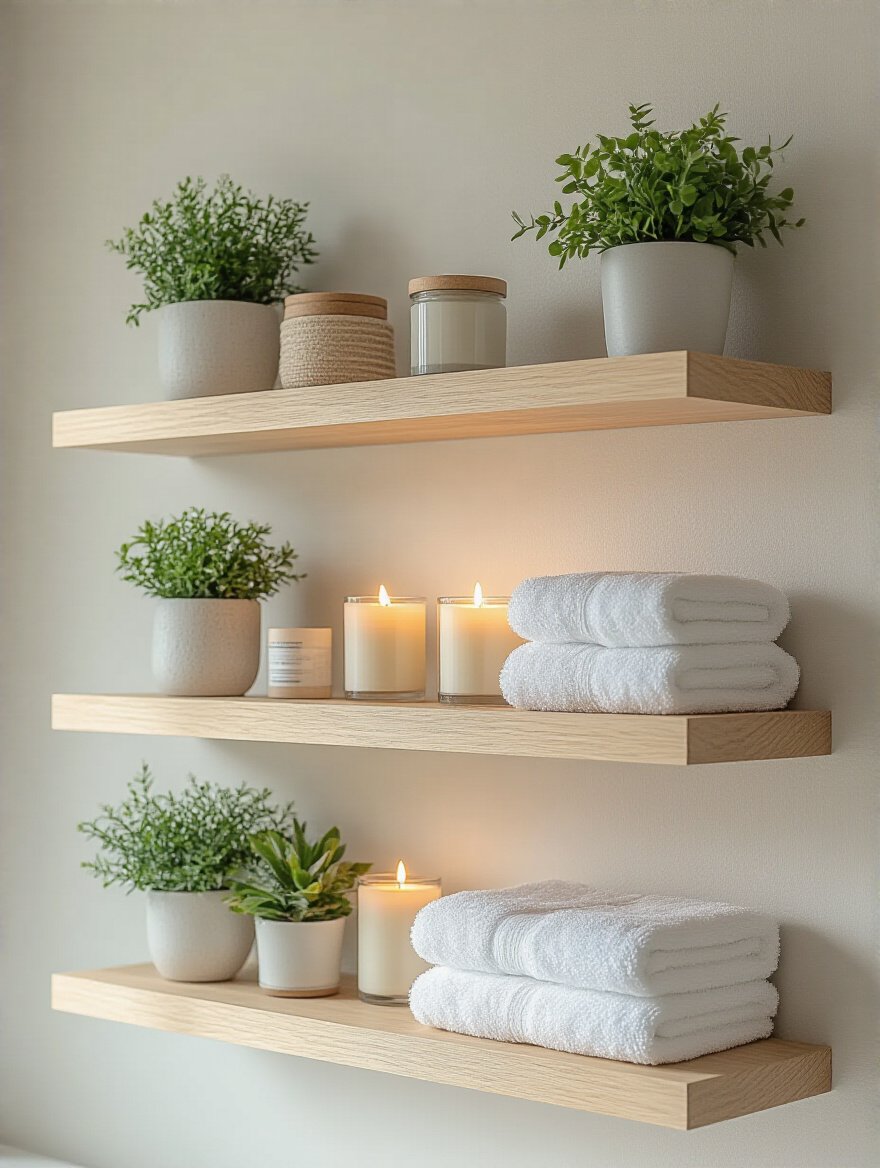
From an eco-perspective, look for shelves made from reclaimed wood or sustainably harvested bamboo. Make sure they are sealed properly to protect them from moisture—a few coats of marine varnish will do the trick. The key to making them look chic and not cluttered is to curate what you put on them. Leave some empty space. This isn’t just about storage; it’s about creating a styled moment, a little vignette that adds character to your wall.
And speaking of character, nothing adds life to a room quite like… well, life.
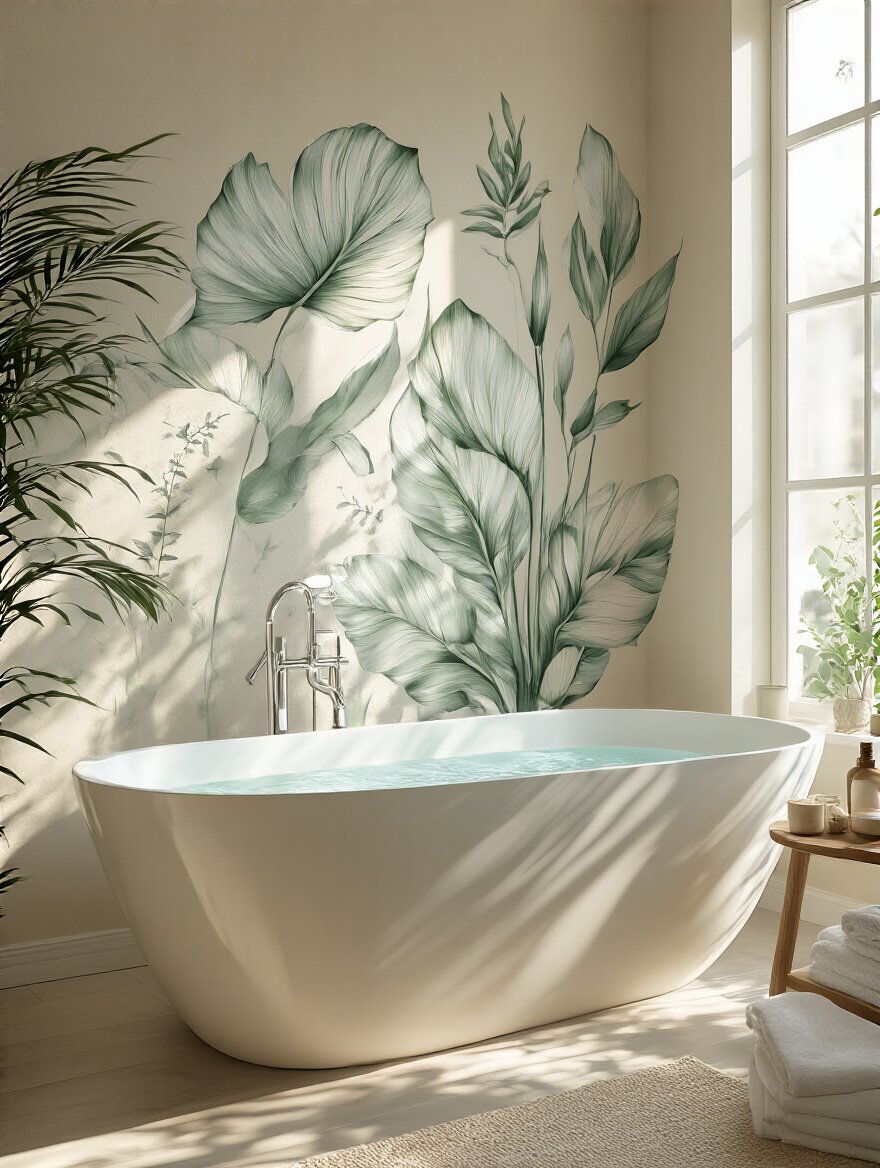
9. Introduce Greenery with Humidity-Loving Plants on Wall Planters
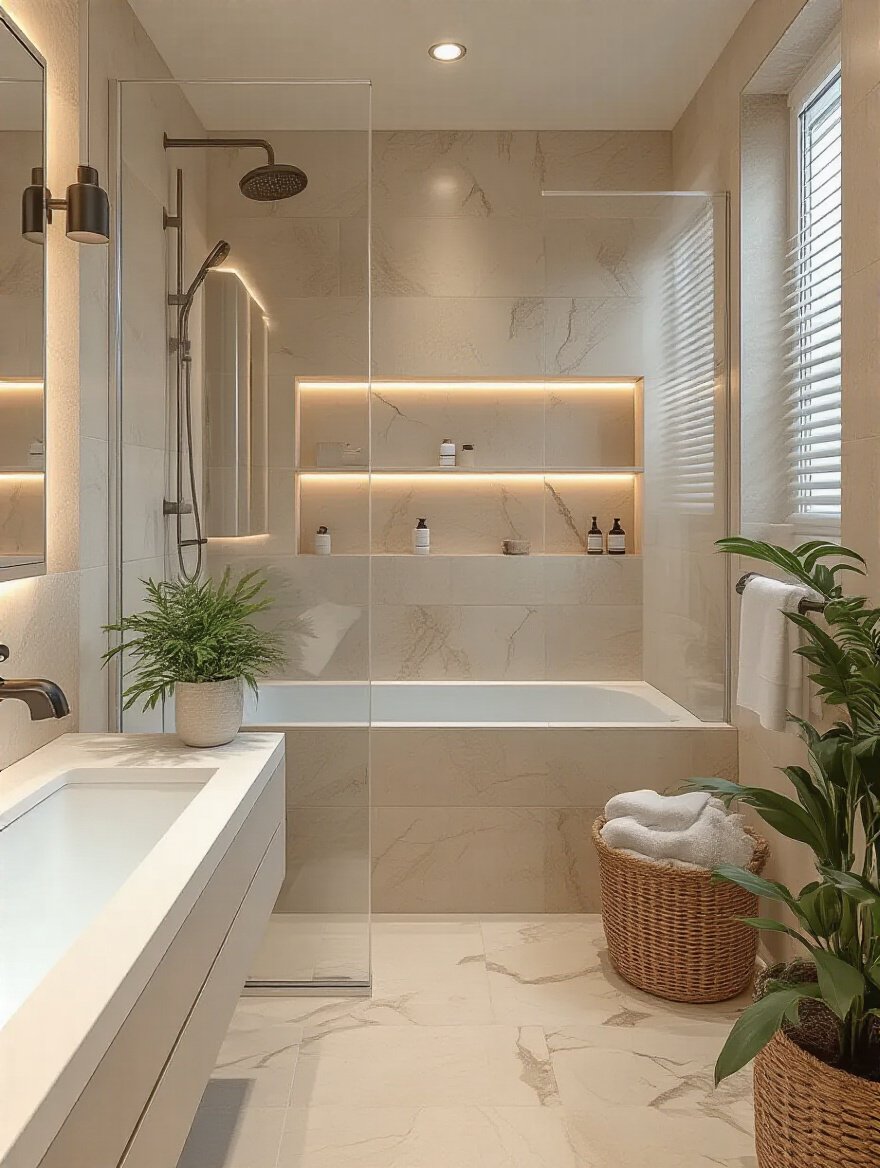
Your bathroom is a tropical paradise for certain plants! The high humidity that kills your paper art is what allows species like Boston ferns, pothos, and philodendrons to thrive. Bringing plants into your bathroom is a core principle of biophilic design—the idea that connecting with nature, even indoors, is essential for our well-being. Plants are proven to reduce stress and purify the air, naturally filtering out common indoor pollutants. They are literally making your bathroom a healthier space to be in.

Use wall-mounted planters to keep your counters clear and turn your plants into living art. Make sure you choose waterproof planters (ceramic, glazed terracotta) with drainage holes to prevent root rot and protect your walls. Grouping a few together can create a stunning ‘living wall’ effect. It’s such an easy, affordable, and healthy way to bring color, texture, and life into what can often be a very sterile room.
If you’re craving a big pattern but are hesitant to commit, there’s a perfect solution.
10. Opt for Peel-and-Stick Wallpaper for a Temporary, Damage-Free Refresh
Let’s be real: sometimes you fall in love with a bold pattern that you might not love in five years. Or maybe you’re a renter. This is where peel-and-stick wallpaper is a total game-changer. The quality has gotten so good, with gorgeous textures and sophisticated designs that look incredibly high-end. It allows you to make a huge statement—like a dramatic floral accent wall behind the vanity—without the commitment, cost, or mess of traditional wallpaper.
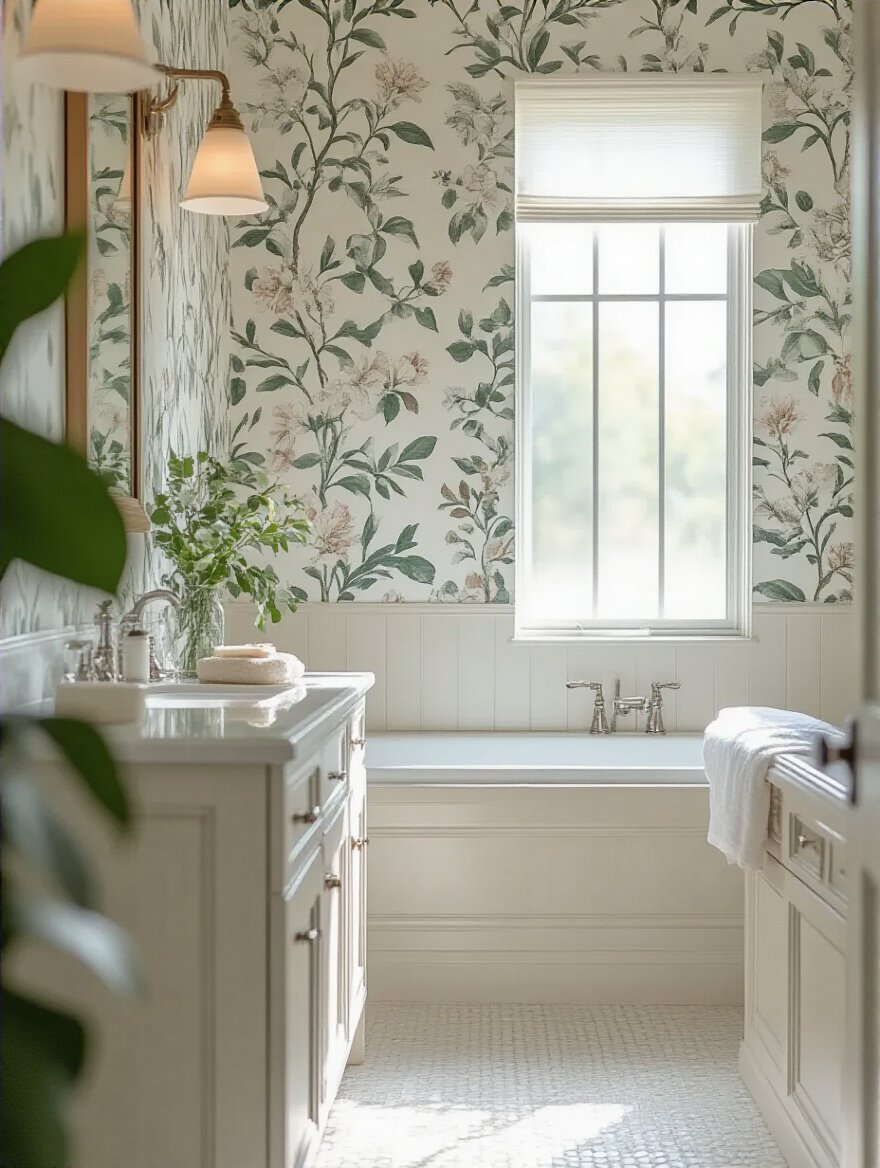
The sustainability angle here is about reducing waste. Because it’s easily removable, you’re less likely to be stuck with a design you hate, and it prevents the cycle of re-painting or re-papering just because of a trend. When you do use it in a bathroom, look for options specifically labeled as “water-resistant” or for use in kitchens and baths. Preparing the wall properly with a good primer will also ensure it stays put in the humidity and comes off cleanly when you’re ready for a change.
For those who want something truly unique, it’s time to think in three dimensions.
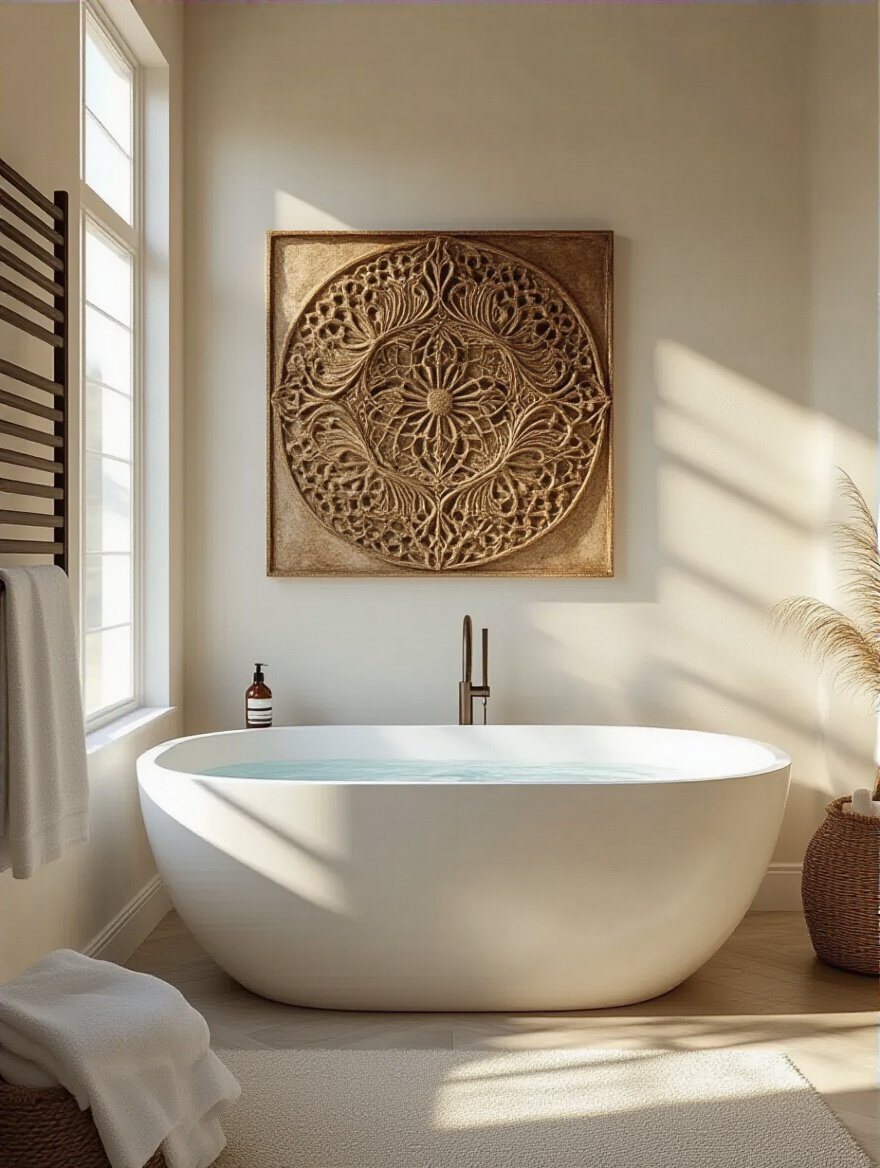
11. Utilize Waterproof Sculptural Elements for Unique 3D Texture
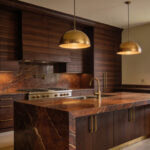
If you really want to elevate your bathroom into a gallery-like space, think beyond flat surfaces. Incorporating 3D sculptural elements adds a layer of texture and sophistication that is simply stunning. This could be a series of glazed ceramic wall tiles with a raised pattern, a waterproof art panel made from sealed concrete, or even architectural wall panels made from molded composite materials. They catch the light and create subtle shadows that change throughout the day, adding incredible depth and dynamism to the wall.

This is about creating a sensory experience. The interplay of light and shadow on a textured surface is deeply calming and luxurious. The key, as always, is material. It has to be 100% waterproof or expertly sealed for a bathroom environment. A wall of fluted plaster, for example, is beautiful but would be a mold disaster waiting to happen. But a wall of fluted porcelain tile? That’s durable, cleanable, and absolutely breathtaking.
Now that you’ve got your key pieces, let’s make sure they all play nicely together.
Mastering Display & Arrangement: How to Hang Your Decor
This is the part that separates a beautifully designed room from a room that just has beautiful things in it. The way you arrange your decor is just as important as the decor itself. It’s about creating rhythm, balance, and flow.
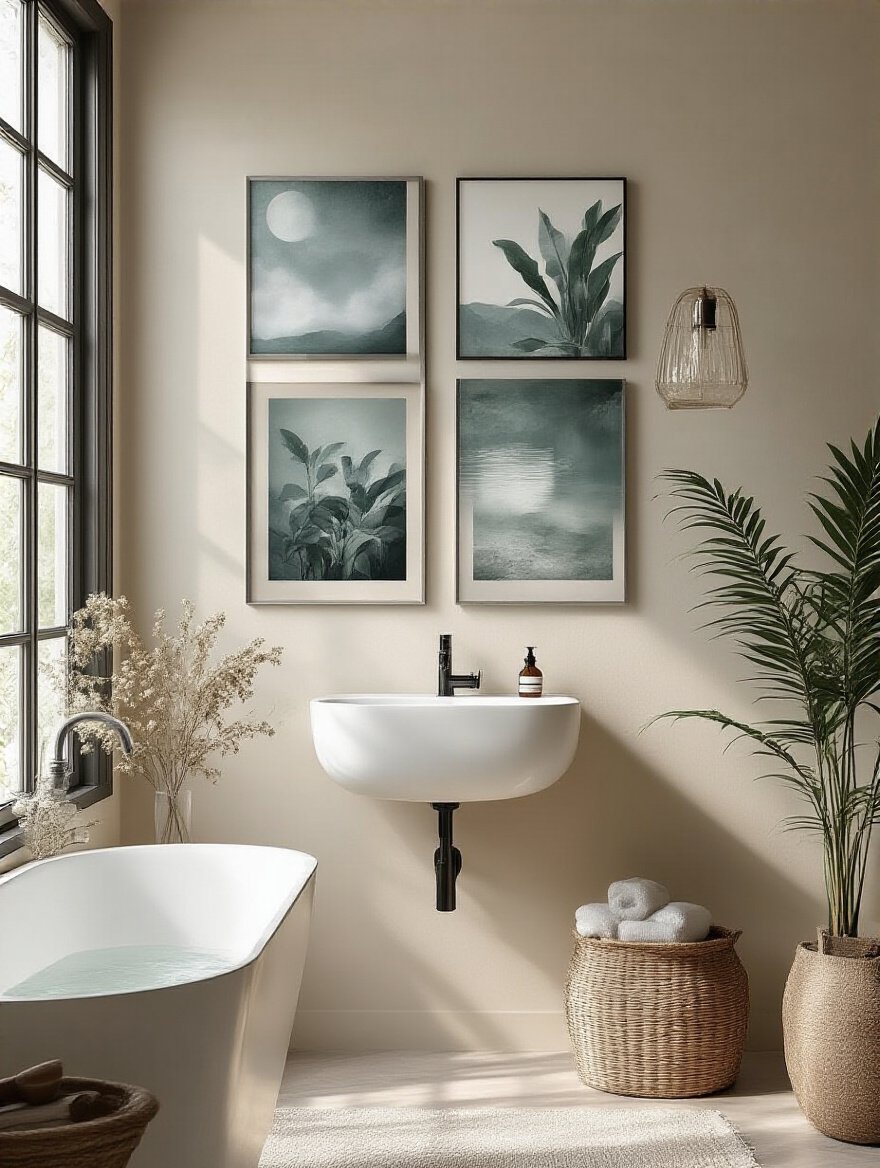
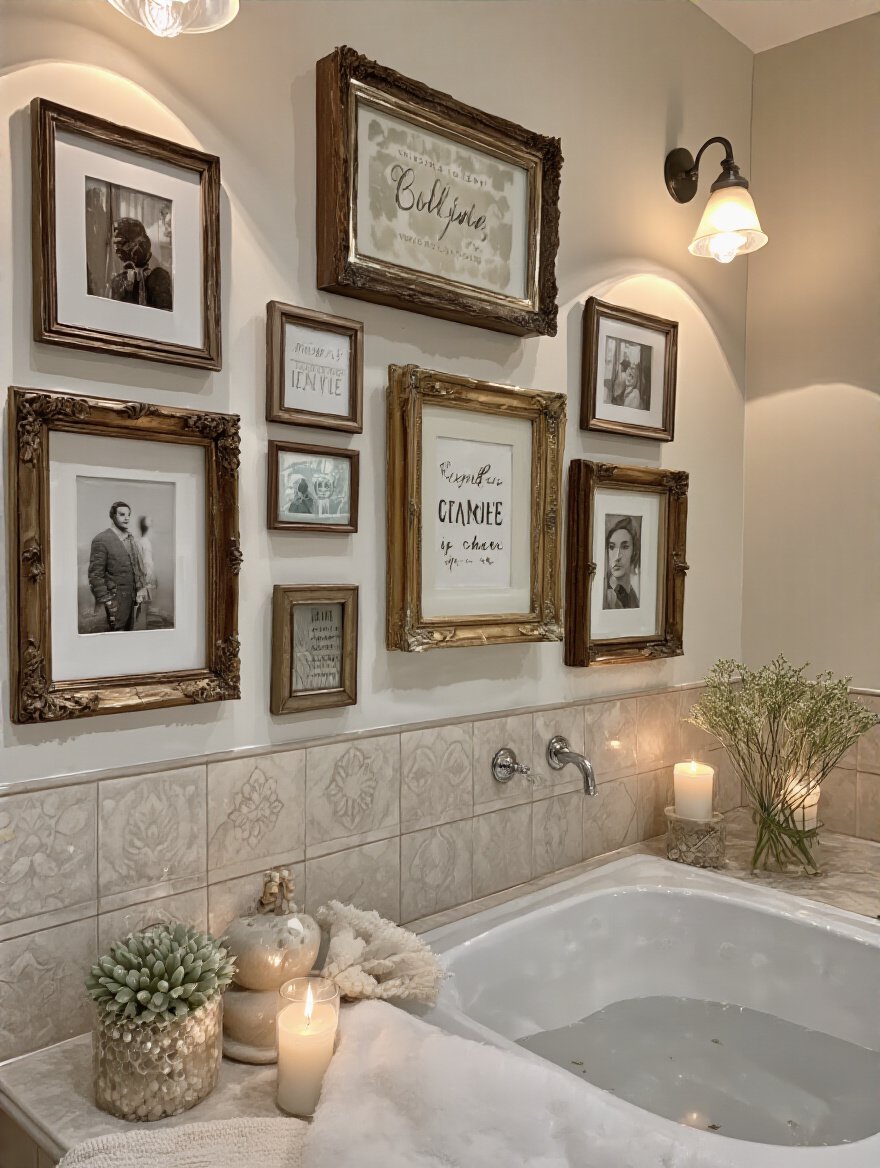
12. Create a Captivating Gallery Wall for Personalized Artistic Expression
A gallery wall is a fantastic way to inject a ton of personality into a small space like a powder room. But here’s the BS everyone falls for: you don’t need to buy a bunch of new “art.” The most compelling gallery walls are the ones that tell your story. Use your own photos! Frame those candids from a family trip, a picture of your pet, even a cool postcard or a child’s drawing. This is the ultimate in sustainable decorating—using what you already have and love.

To make it look cohesive, stick to a simple theme for the frames, like all black or all brass. Lay everything out on the floor first to get the spacing right before you put a single nail in the wall. A good rule of thumb is to keep about 2-3 inches between each frame. And remember our humidity rule: use good, sealed frames with glass or acrylic to protect your personal history from the bathroom ecosystem.
If a whole wall of art feels like too much, you can create a similar impact with a single, bold choice.
13. Define an Accent Wall Using Paint or Tile to Add Depth and Character
An accent wall is a powerful tool. It’s a design shortcut to creating an immediate focal point and adding a ton of personality without having to decorate the entire room. In a bathroom, the wall behind the vanity or the far wall in a long, narrow room are perfect candidates. It draws the eye, creates a sense of depth, and can make the whole space feel more luxurious.

From an eco-conscious perspective, this is your chance to make a great choice. If you’re using paint, pick a low- or zero-VOC (Volatile Organic Compound) option. These paints don’t off-gas harmful chemicals into your air, which is incredibly important in a small, enclosed space. If you’re using tile, look for options made from recycled content or timeless, natural materials like ceramic or porcelain that won’t go out of style. An accent wall is a concentrated dose of style, so make it a healthy one.
Wherever you place your decor, its height on the wall is critical to its success.
14. Optimize Vertical Space by Hanging Decor at Eye-Level for Impact
Here’s a simple mistake I see everywhere: art hung way too high. It makes it feel disconnected from the room, like it’s just floating in space. The professional gallery standard is to hang art so its center is at 57-60 inches from the floor. This is average human eye-level. It feels right. It grounds the piece and connects it to the space and the viewer.

When hanging something above a fixture, like a toilet, the rule changes slightly. You want the bottom of the frame to be about 6-10 inches above the tank. This creates a visual link between the object and the art, making them feel like a cohesive unit. Before you hammer any nails, use painter’s tape to mock up the placement of your frames on the wall. It takes an extra five minutes and saves you from a lot of spackle later.
For those who want a bit of fun without the commitment, let’s talk about a smaller-scale solution.
15. Strategically Use Wall Decals for Flexible Thematic Updates
If peel-and-stick wallpaper is a full outfit, wall decals are the accessories. They’re perfect for adding a small, playful, or elegant touch without overwhelming the space. You could add a cluster of simple gold polka dots around a mirror, a single large botanical leaf decal in a corner, or even a sophisticated geometric pattern above the wainscoting. They provide a lot of design bang for your buck.
Like their wallpaper cousins, they are ideal for renters or anyone who likes to change things up frequently. They allow for easy, low-waste updates. Look for vinyl decals designed to withstand moisture. Concentrating them in one area—like framing your mirror or creating a pattern on the wall behind the toilet—is more impactful than scattering them all over the room. It’s a targeted pop of personality.
Whether you’re using a single decal or a full gallery wall, the final composition must feel balanced.
16. Ensure Visual Balance by Distributing Weight Across the Wall
Visual balance is the secret sauce of good design. It’s about making sure your wall doesn’t feel like it’s about to tip over. Every object has “visual weight”—a large, dark piece feels heavier than a small, light one. Your job is to arrange these pieces so the wall feels harmonious and settled. Think of it like a seesaw. If you put a huge, dark-framed mirror on one side, you need to balance it with something on the other side—maybe two smaller, medium-toned prints stacked vertically.

You can achieve this through symmetry (the same thing on both sides of a center line), which feels very formal and calm. Or you can use asymmetry (different objects with similar visual weight), which feels more modern and dynamic. Laying things out on the floor first is the best way to play with this. It’s an intuitive process, and when you get it right, the entire room just… clicks.
With everything chosen and arranged, let’s cover the final touches that will make your design last.
Elevating & Maintaining Your Wall Decor: Pro Tips & Longevity
Your job isn’t done once the art is hung. A truly great space is one that is well-lit, deeply personal, and easy to maintain. These final steps are what ensure your bathroom stays beautiful and healthy for years to come.
17. Integrate Smart Lighting Fixtures to Highlight Wall Decor and Enhance Ambiance
Lighting is everything. It can make or break a room. The best way to show off your beautiful wall decor is to light it properly. A picture light over a special piece of art, or LED strip lighting behind a mirror or under a floating shelf, can transform the entire mood of the room. It adds a layer of sophistication and makes your design choices look deliberate and high-end.
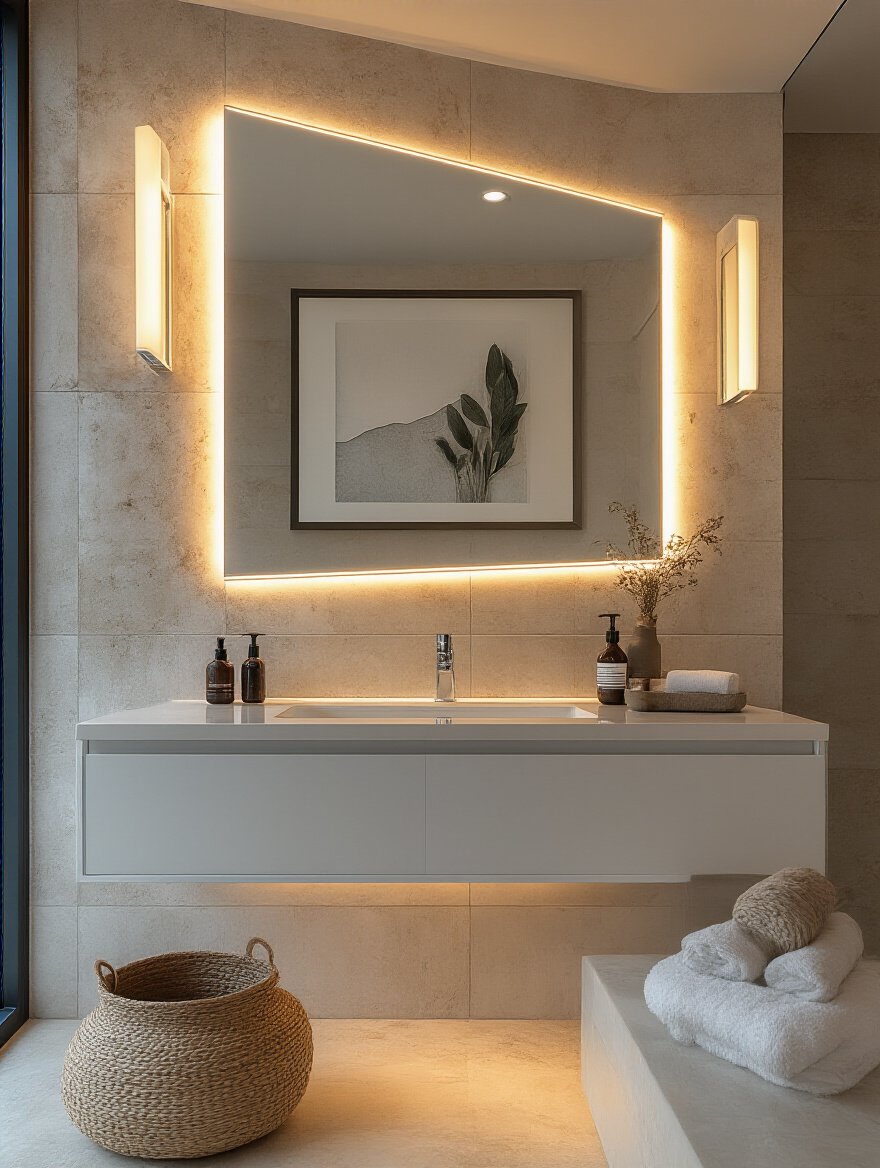
Using smart LED lighting is a brilliant move both for ambiance and sustainability. LEDs use a fraction of the energy of traditional bulbs, and with smart controls, you can dim them, change their color temperature (from a cool, energizing light in the morning to a warm, relaxing glow at night), and set schedules. This means you’re only using the light you need, when you need it. It’s about creating a mood that supports your well-being while being mindful of your energy consumption.
Lighting highlights texture, which is our next powerful tool for creating a rich space.
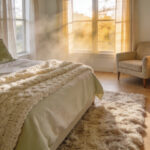
18. Mix Textures and Materials for a Richer, Multi-Dimensional Aesthetic
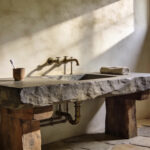
A bathroom designed with only smooth, glossy surfaces can feel cold and clinical. The secret to creating a warm, inviting, spa-like atmosphere is texture. This is your chance to engage more than just the sense of sight. Think about combining a smooth, polished vanity countertop with a matte black faucet, a wall of subtly textured tile, a rough-hewn wooden shelf, and a fluffy, organic cotton towel.

This layering of different materials—wood, stone, metal, natural fibers—creates a rich, multi-dimensional space that feels incredibly sophisticated. It’s another nod to biophilic design, mimicking the varied textures we find in nature. A material mood board is your best friend here. Gather samples of all your choices to see how they feel and look together before you commit. This tactile harmony is what makes a space feel truly luxurious.
And what’s more luxurious than being surrounded by things that mean the world to you?
19. Leverage Personalized Photos and Mementos for Unique Sentimental Value
This is my favorite tip, because it’s the one that makes a house a home. Decorating with your own history is the most authentic and emotionally resonant thing you can do. A beautifully framed photo of your grandparents, a shadow box with shells from a family vacation, a print of a map from a city you love—these things tell your story. They turn a generic bathroom into your personal sanctuary.
This is the pinnacle of sustainable decor because you’re using meaningful items you already possess. It’s about shopping your own home first. Just be sure to follow our earlier advice: protect these priceless memories from humidity with high-quality, sealed frames. Placing a small, framed photo on a shelf or creating a dedicated gallery wall infuses your daily routine with moments of joy and reflection.
Finally, the ultimate pro move is to ensure all this beauty is easy to live with.
20. Select Wall Decor Materials for Easy Cleaning and Long-Term Durability
A beautiful bathroom that’s a nightmare to clean isn’t a successful design. Durability and ease of maintenance are the unsung heroes of sustainable living. Choosing non-porous surfaces like glass, metal, acrylic, and porcelain means you can wipe them down easily without harsh chemicals. This keeps your bathroom more hygienic and reduces the amount of cleaning products you need to buy and use.

This long-term thinking saves you time, money, and hassle. It prevents the cycle of buying, ruining, and replacing, which is incredibly wasteful. When you’re choosing decor, ask yourself: “How will I clean this? Will it withstand a steamy shower?” If the answer is no, it doesn’t belong in your bathroom ecosystem. Investing in durable, high-quality materials from the start is the most responsible choice for your wallet and for the planet.
Conclusion
So there you have it. Transforming your bathroom walls isn’t just about slapping on a coat of paint. It’s a thoughtful process of blending personal style with the hard-working science of a healthy home. It’s about seeing your bathroom not as an afterthought, but as an opportunity—an opportunity to create a serene retreat that reflects your values, enhances your well-being, and stands the test of time.
By starting with a solid plan, respecting the unique challenges of the bathroom environment, and choosing materials that are both beautiful and durable, you’re creating more than just a pretty space. You’re crafting a personal sanctuary that is healthy, sustainable, and uniquely you. Your home should be a reflection of who you are and a haven from the outside world. And that feeling should absolutely extend to the bathroom.